Headlining Trim Panel Replacement LHD
Removal Procedure
Notice: Refer to General Repair Instructions in the Preface section.
- Remove the fuse from the passenger compartment fuse and relay panel assembly.
- Remove the following components as required:
Notice: Refer to General Repair Instructions in the Preface section.
- Disconnect the rain sensor electrical connector (1).
Notice: Refer to General Repair Instructions in the Preface section.
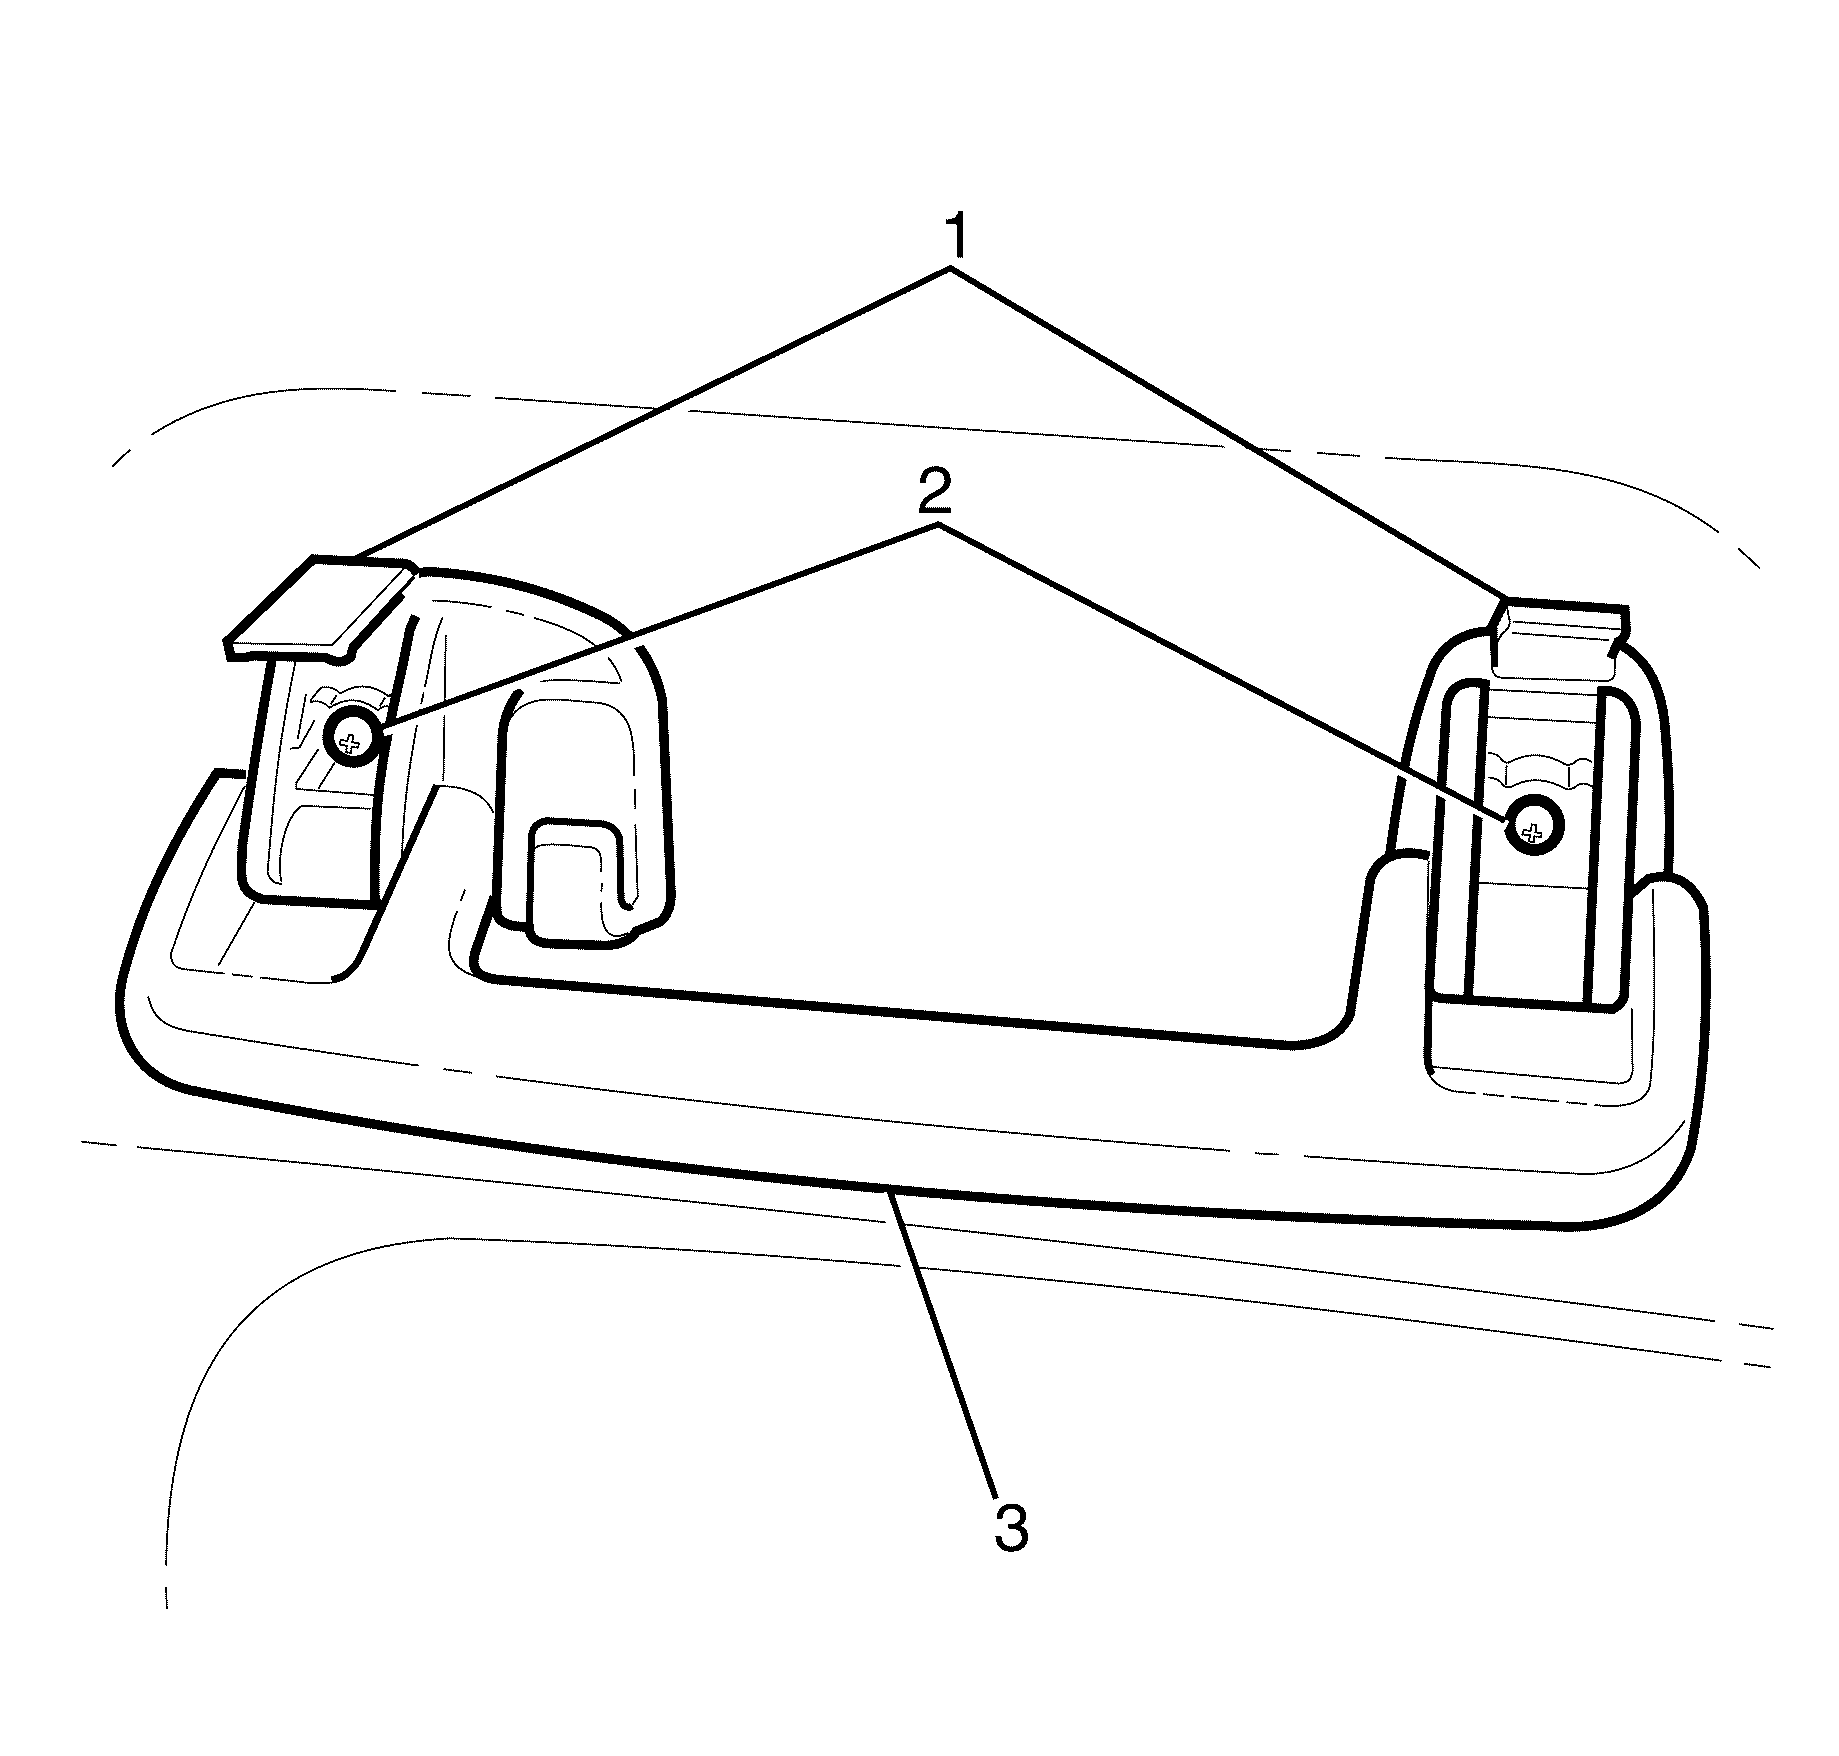
- Prise open the assist handle (3) screw covers (1).
- Remove the two retaining screws (2) and leave the assist handles attach
the headliner.
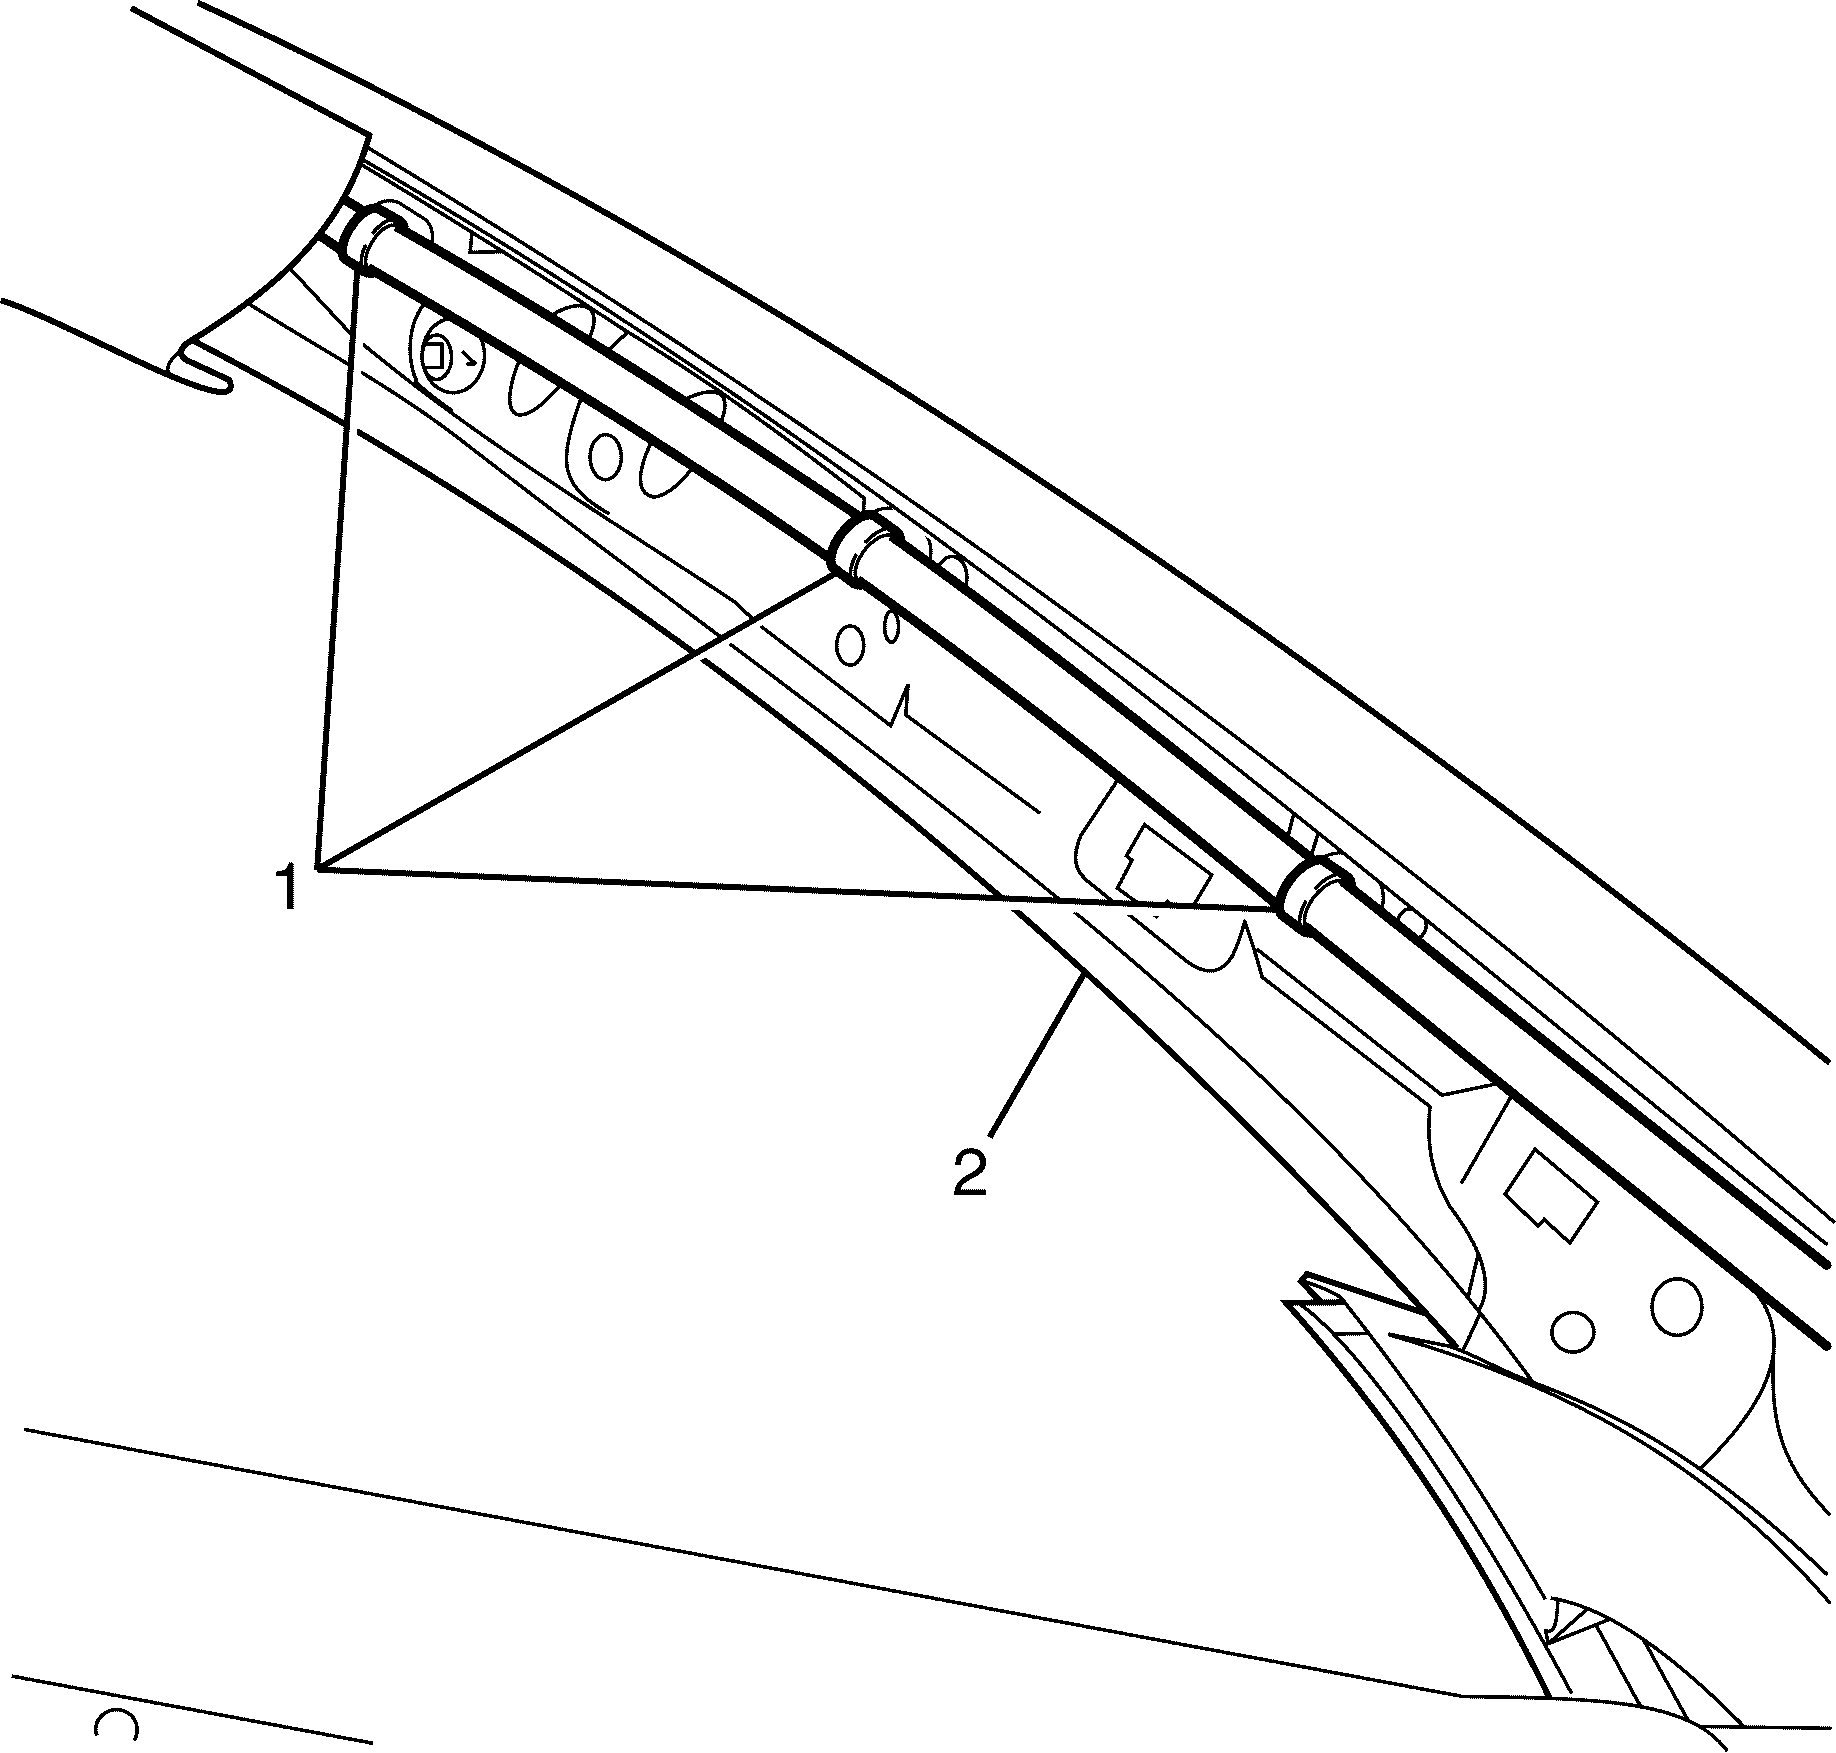
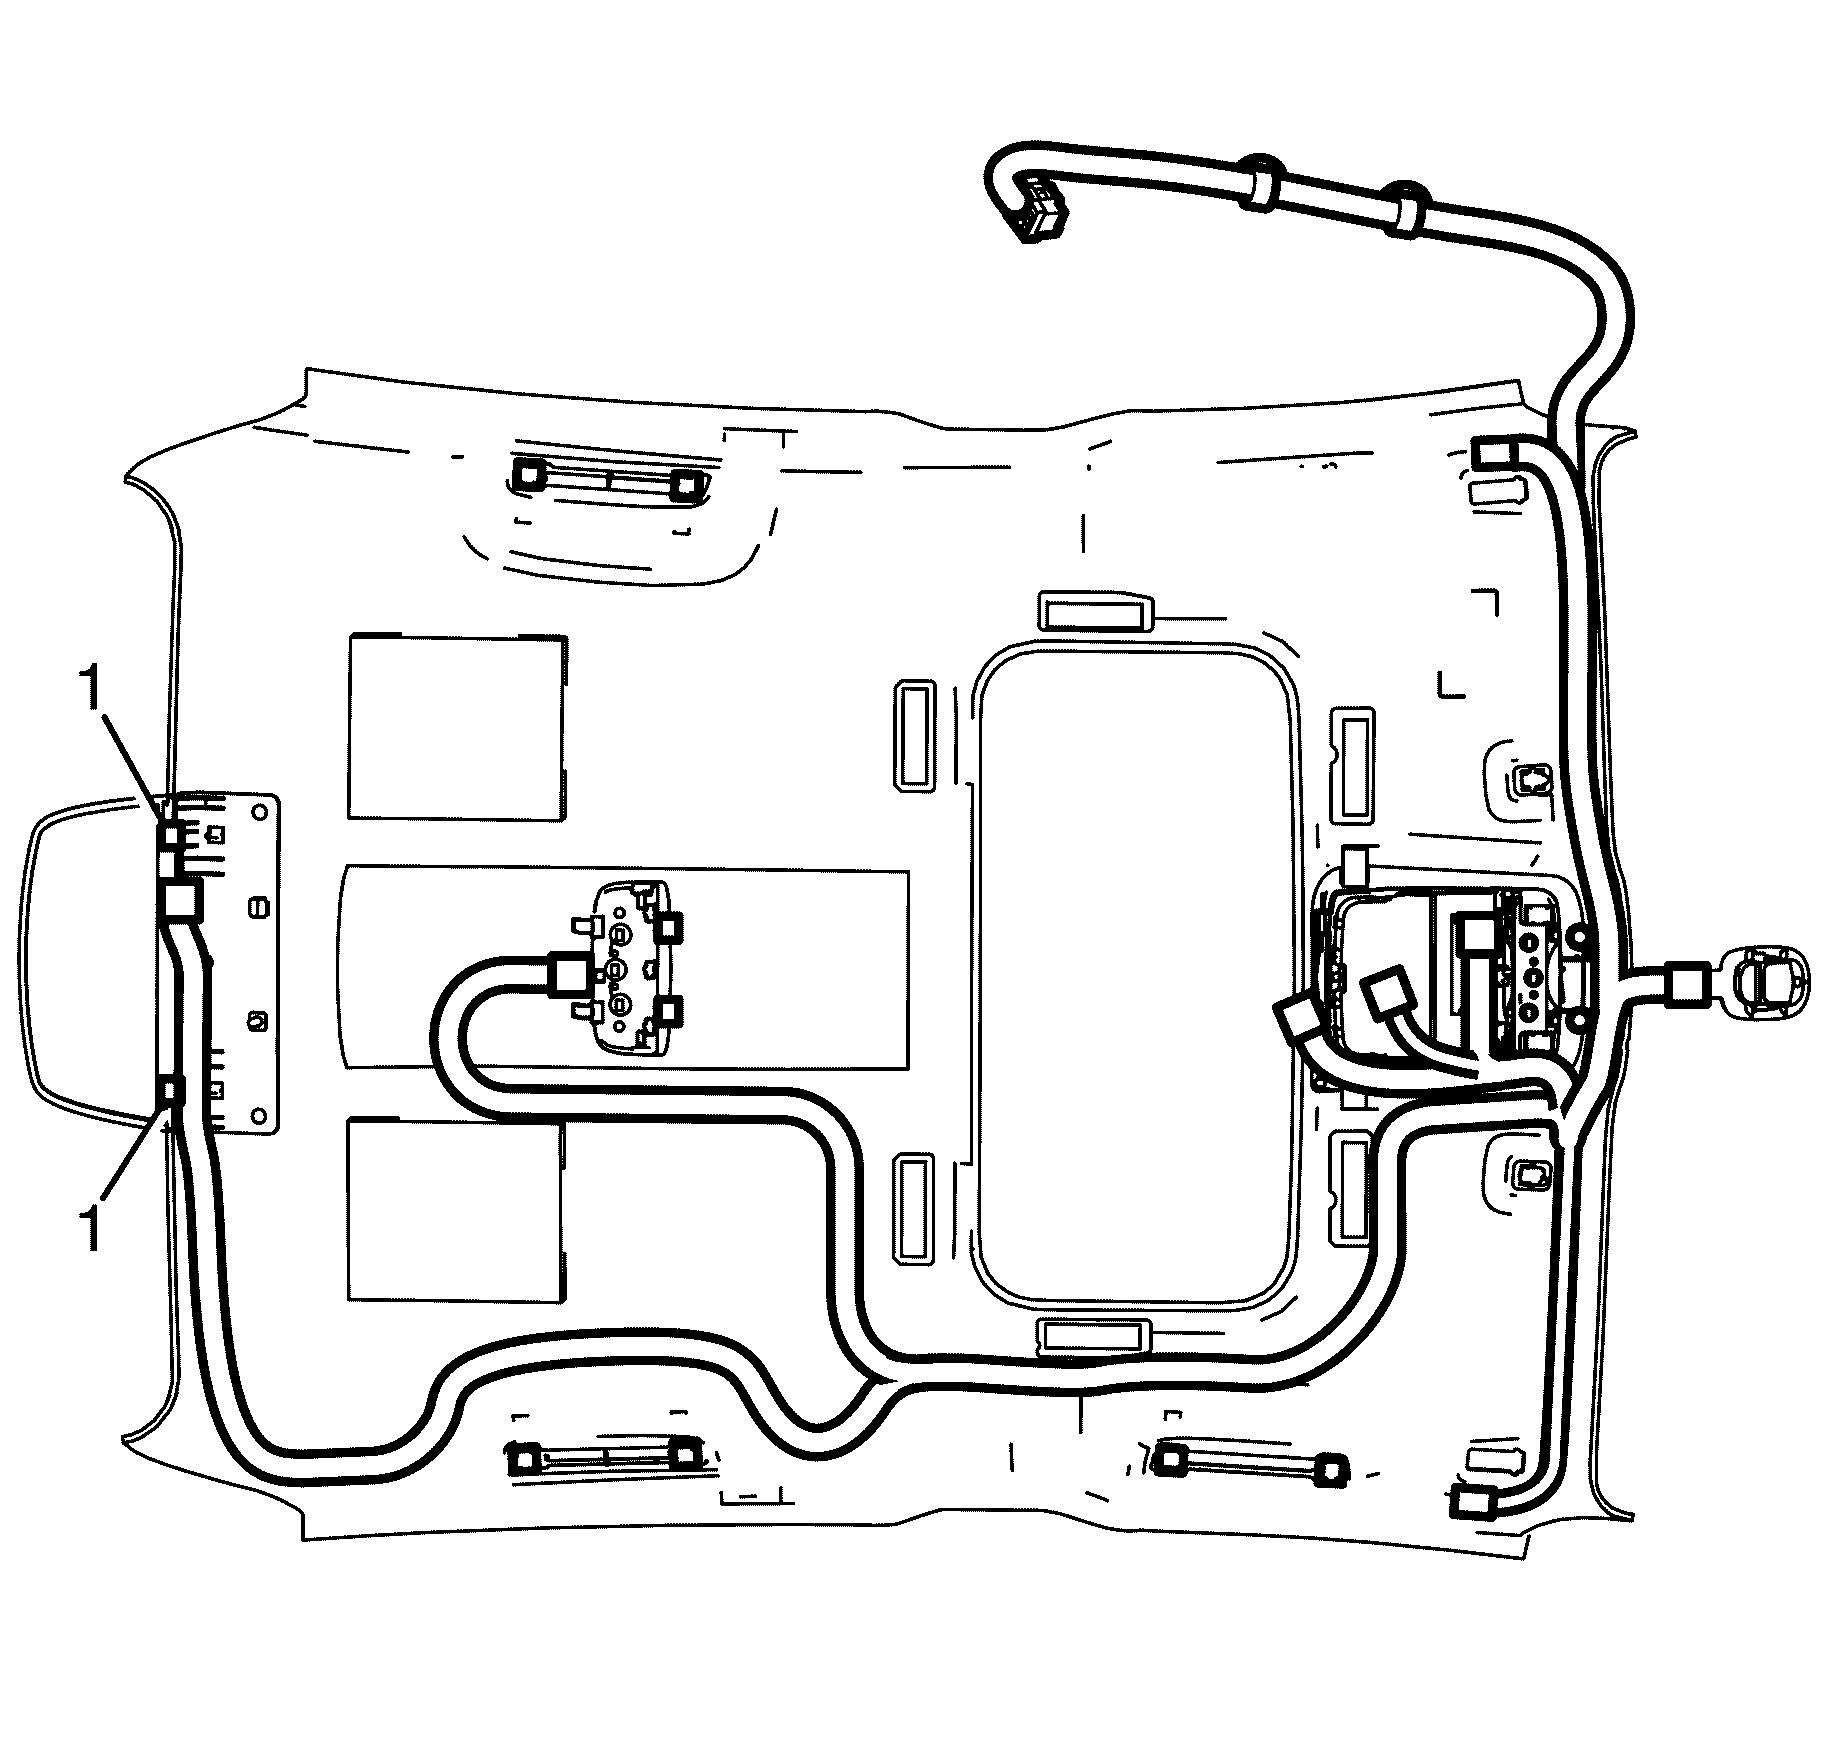
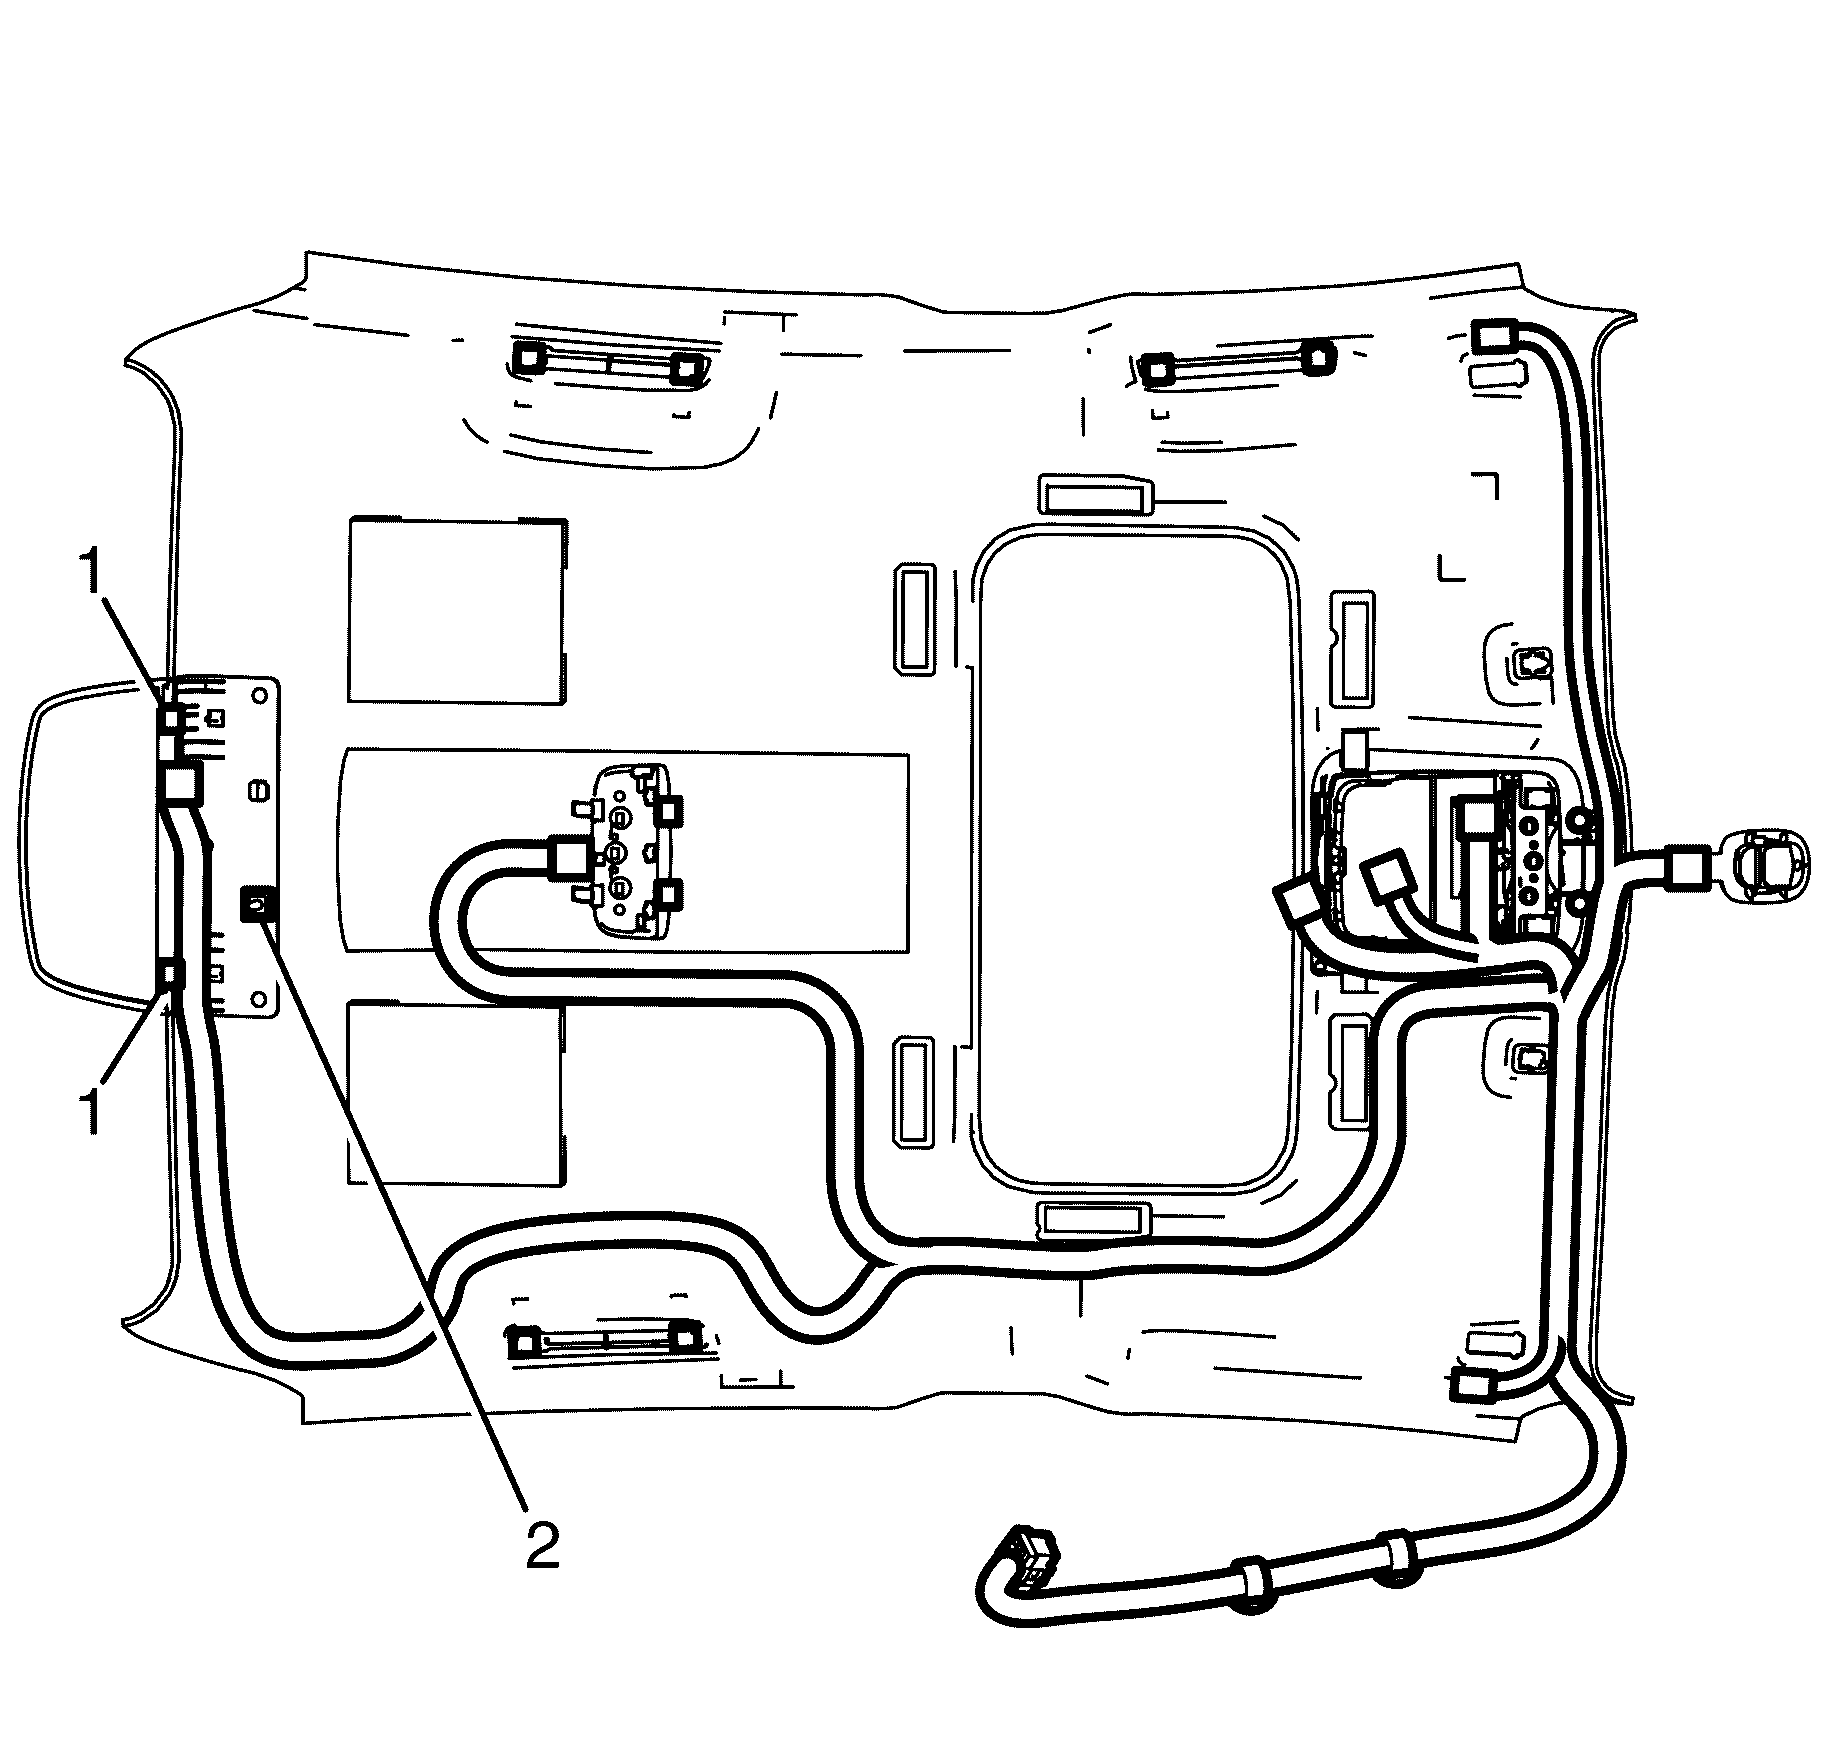
- Detach the headlining wiring harness retaining clips
(1) located on the A-pillar inner panel (2).
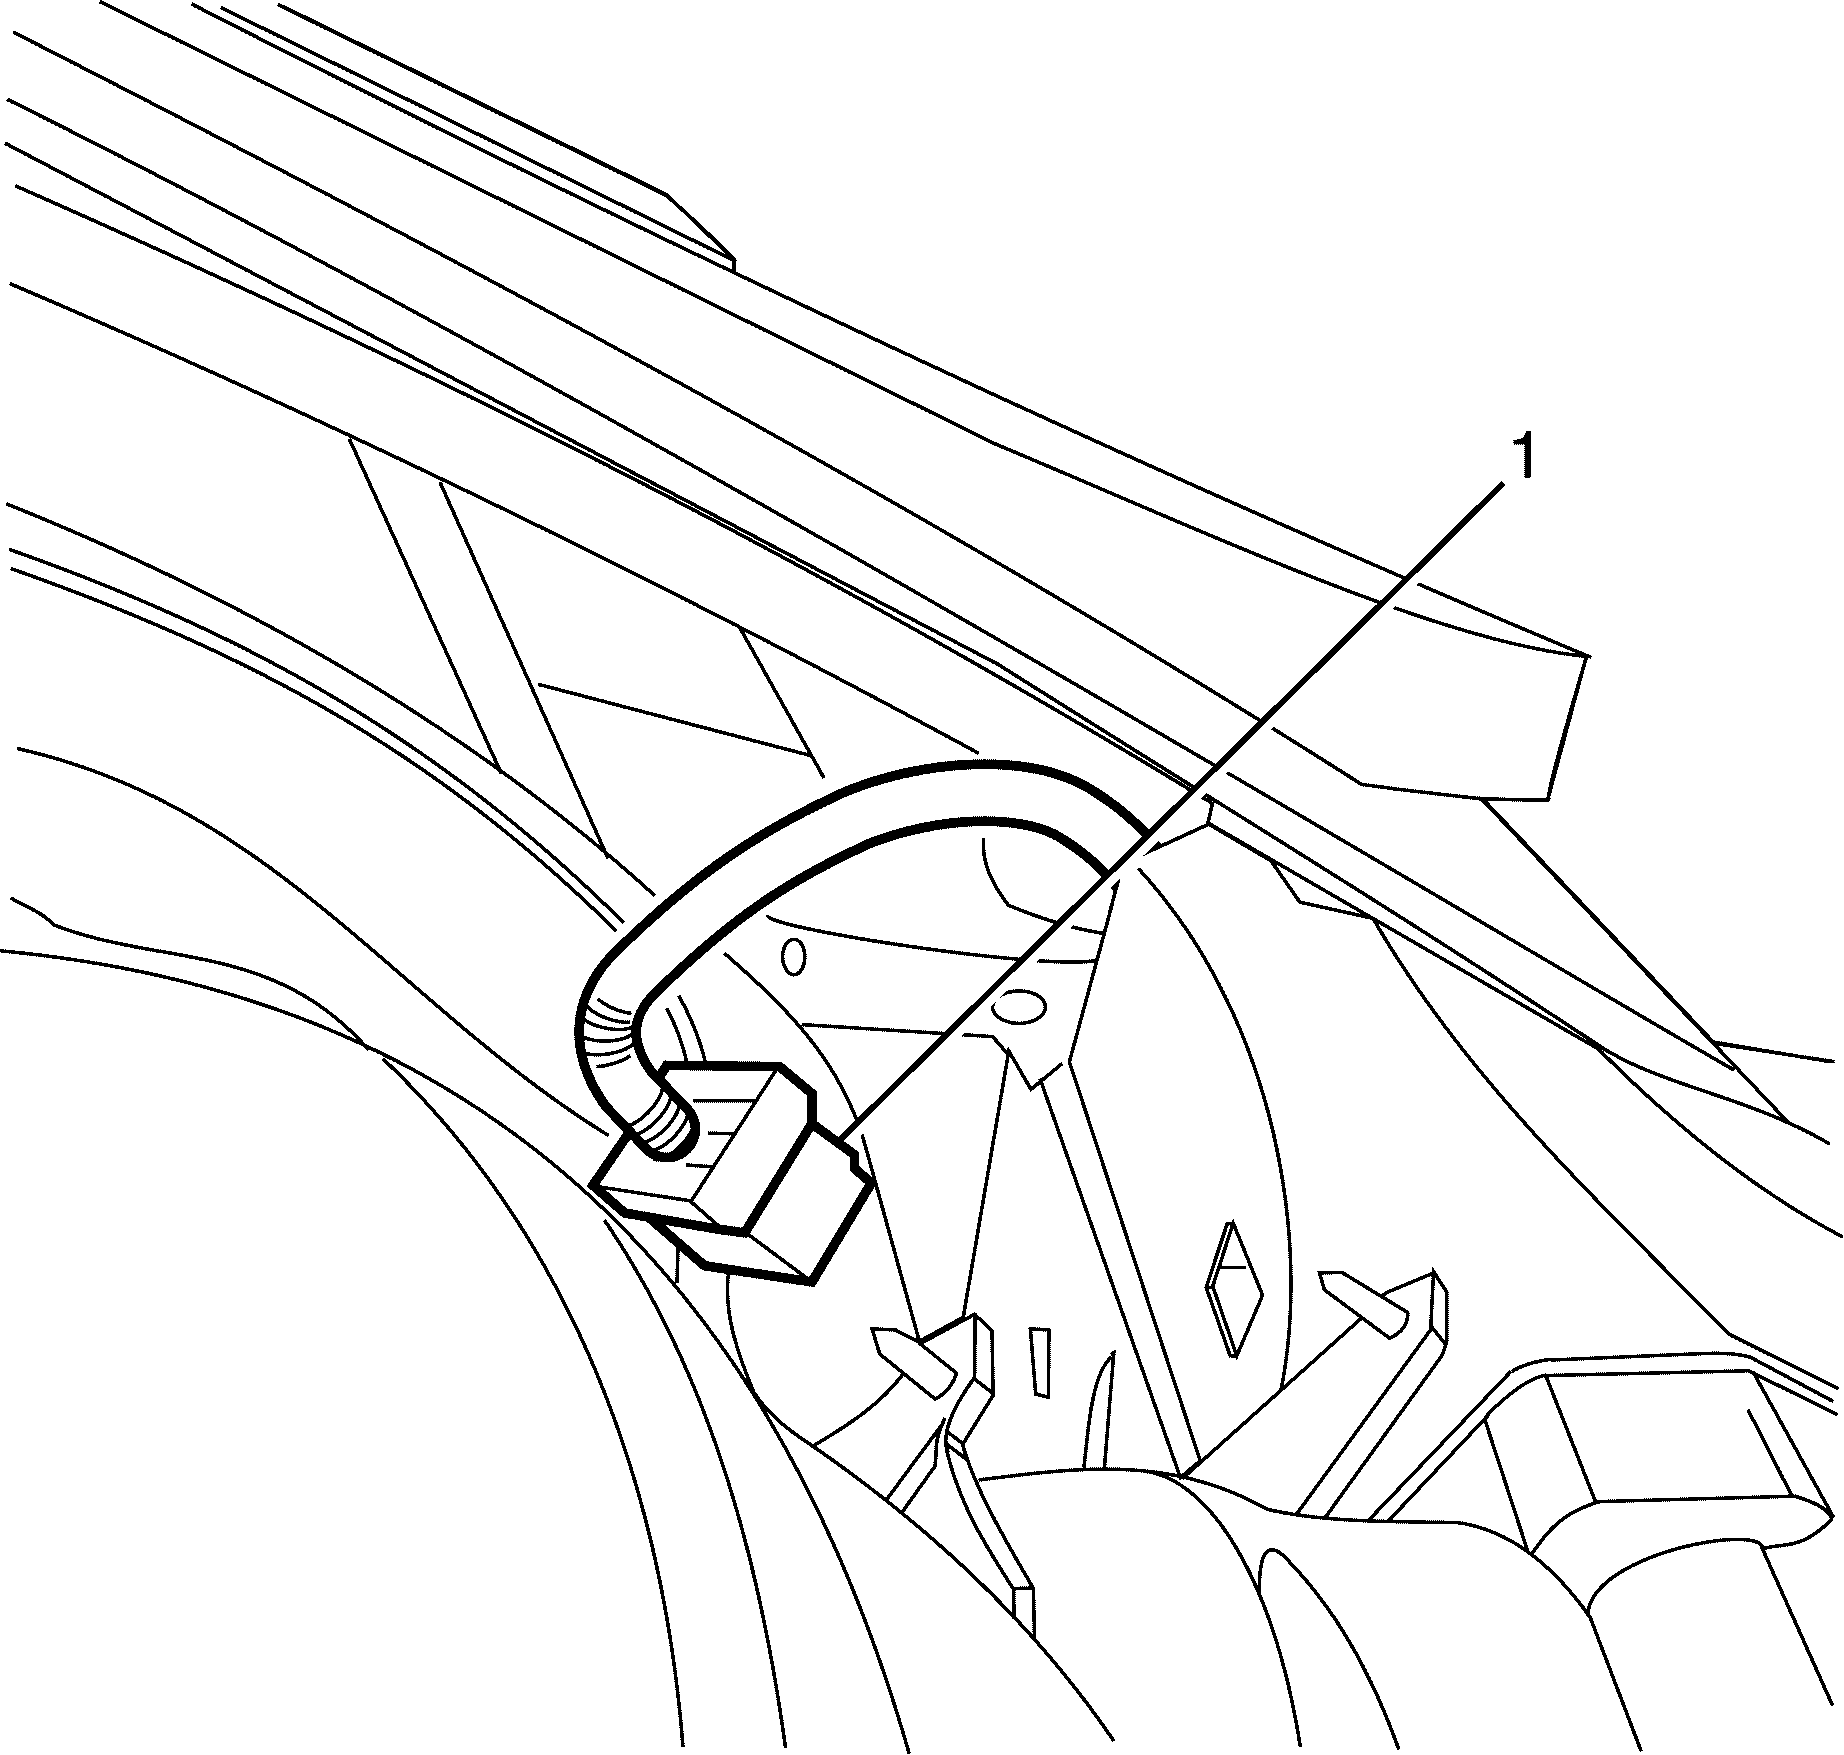
- Disconnect the headliner electrical connector (1),
which is located under the defroster grill.
Important: Removal and installation of the headliner
requires the aid of an assistant, under no circumstances should it be removed or installed
by one person.
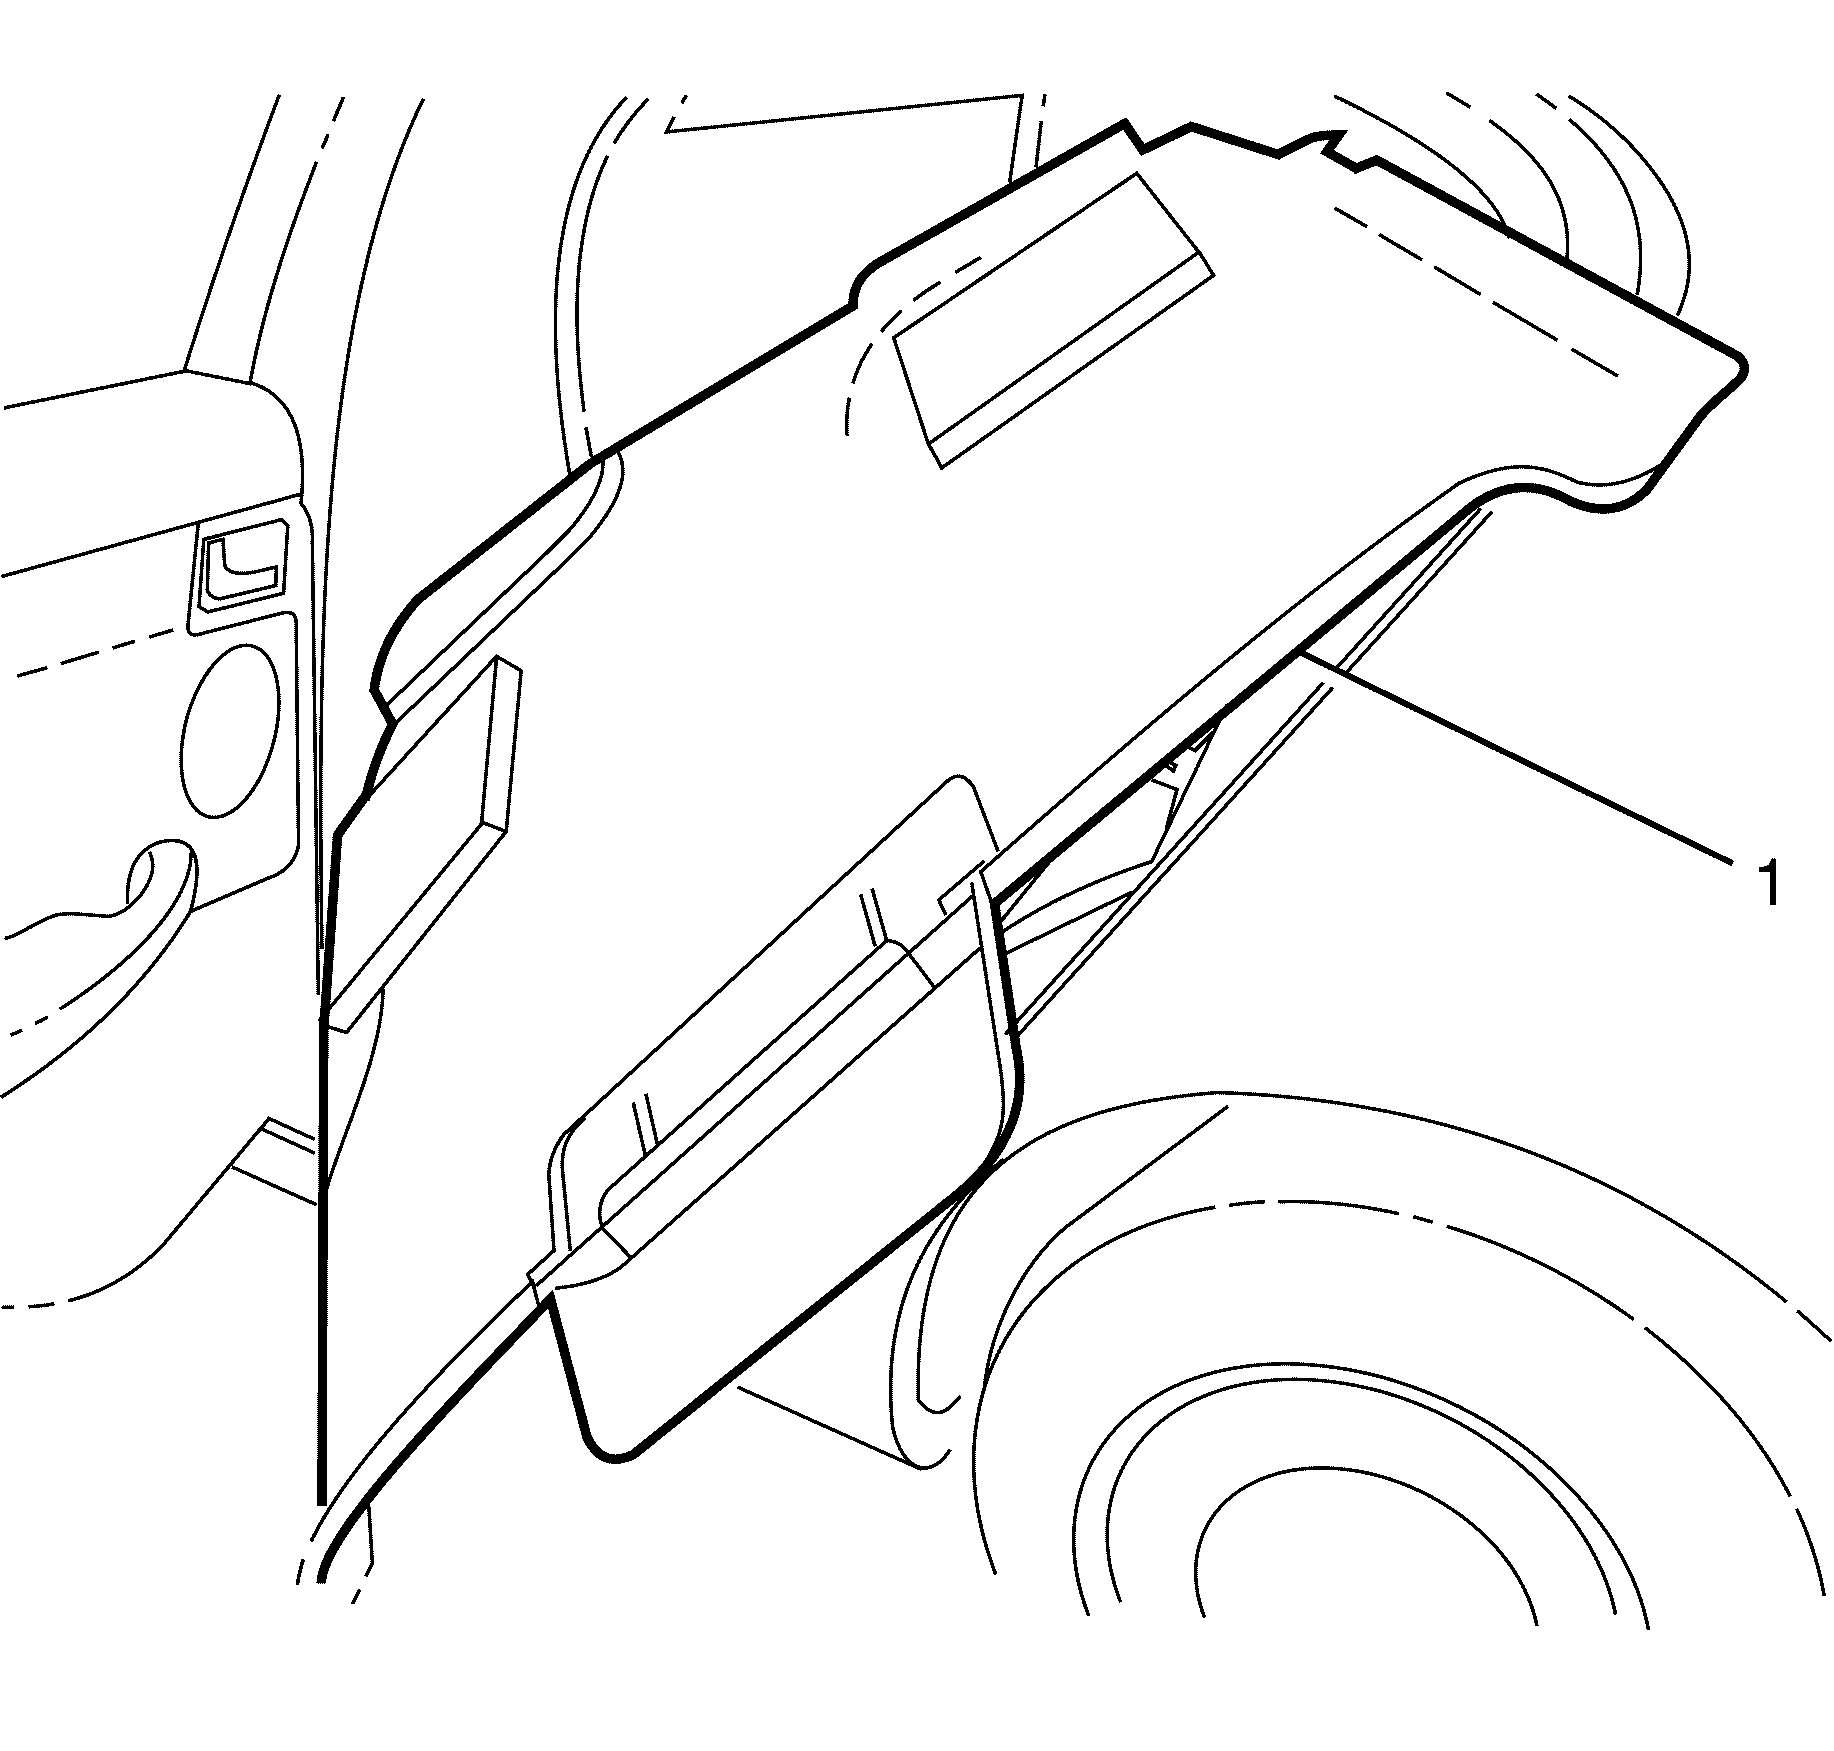
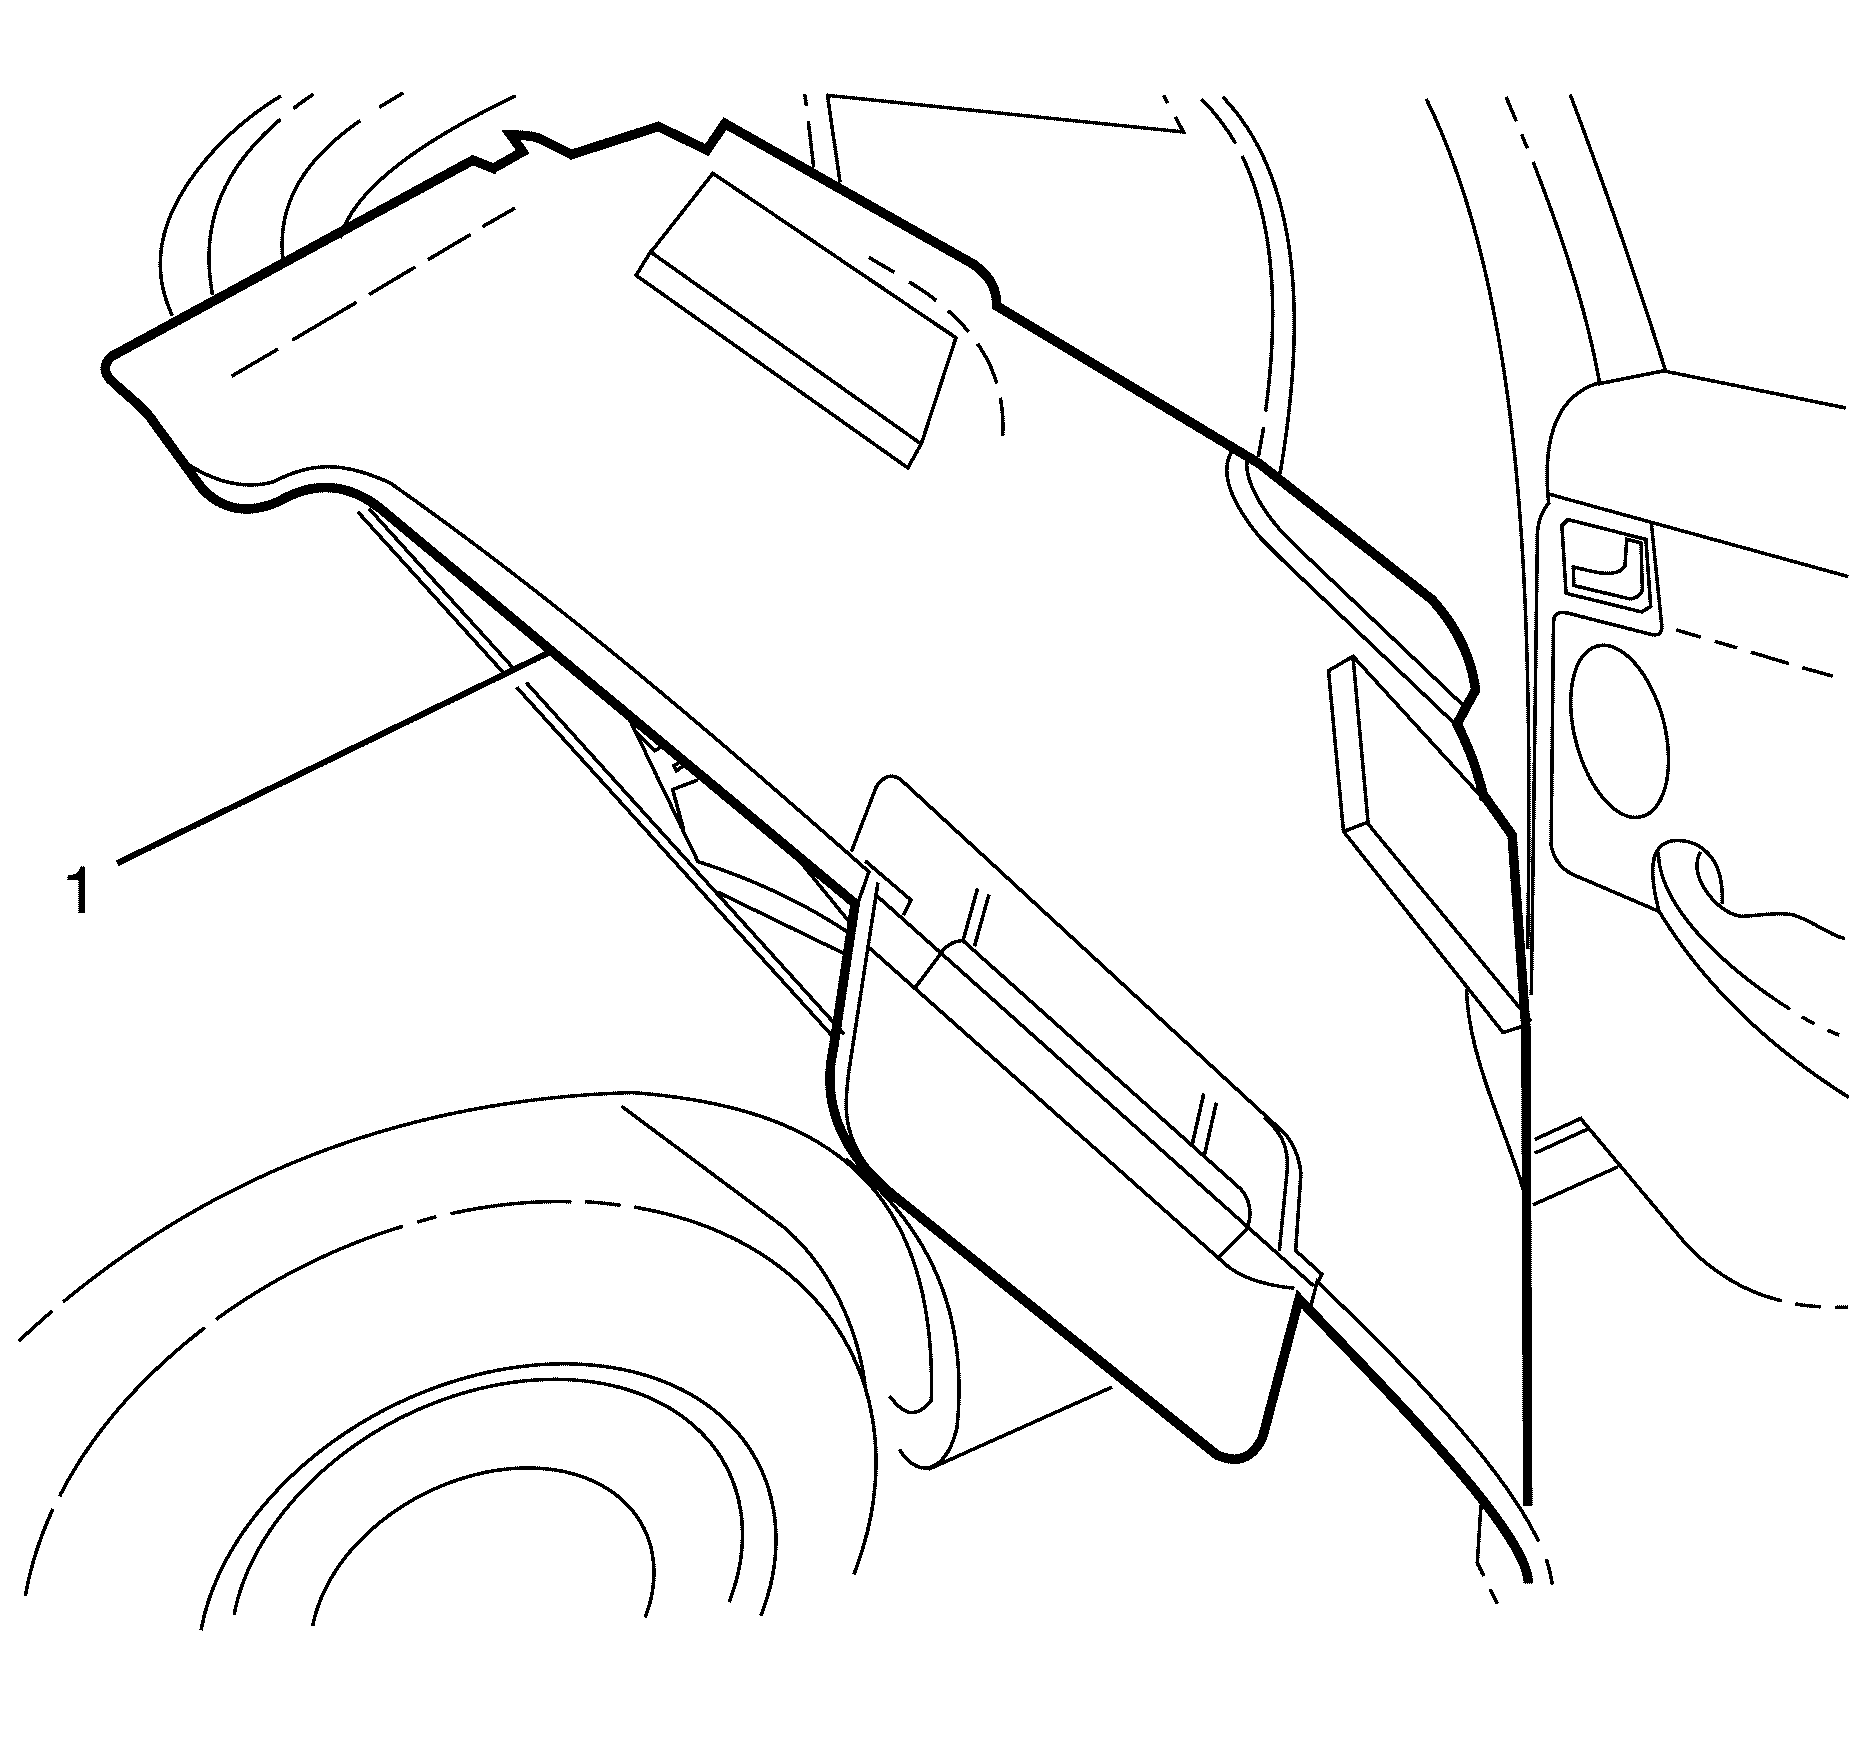
- Once all the components have been removed, disengage the rear retaining clips
(1).
- Remove the headliner assembly.
Important: The headliner must be removed as shown above.
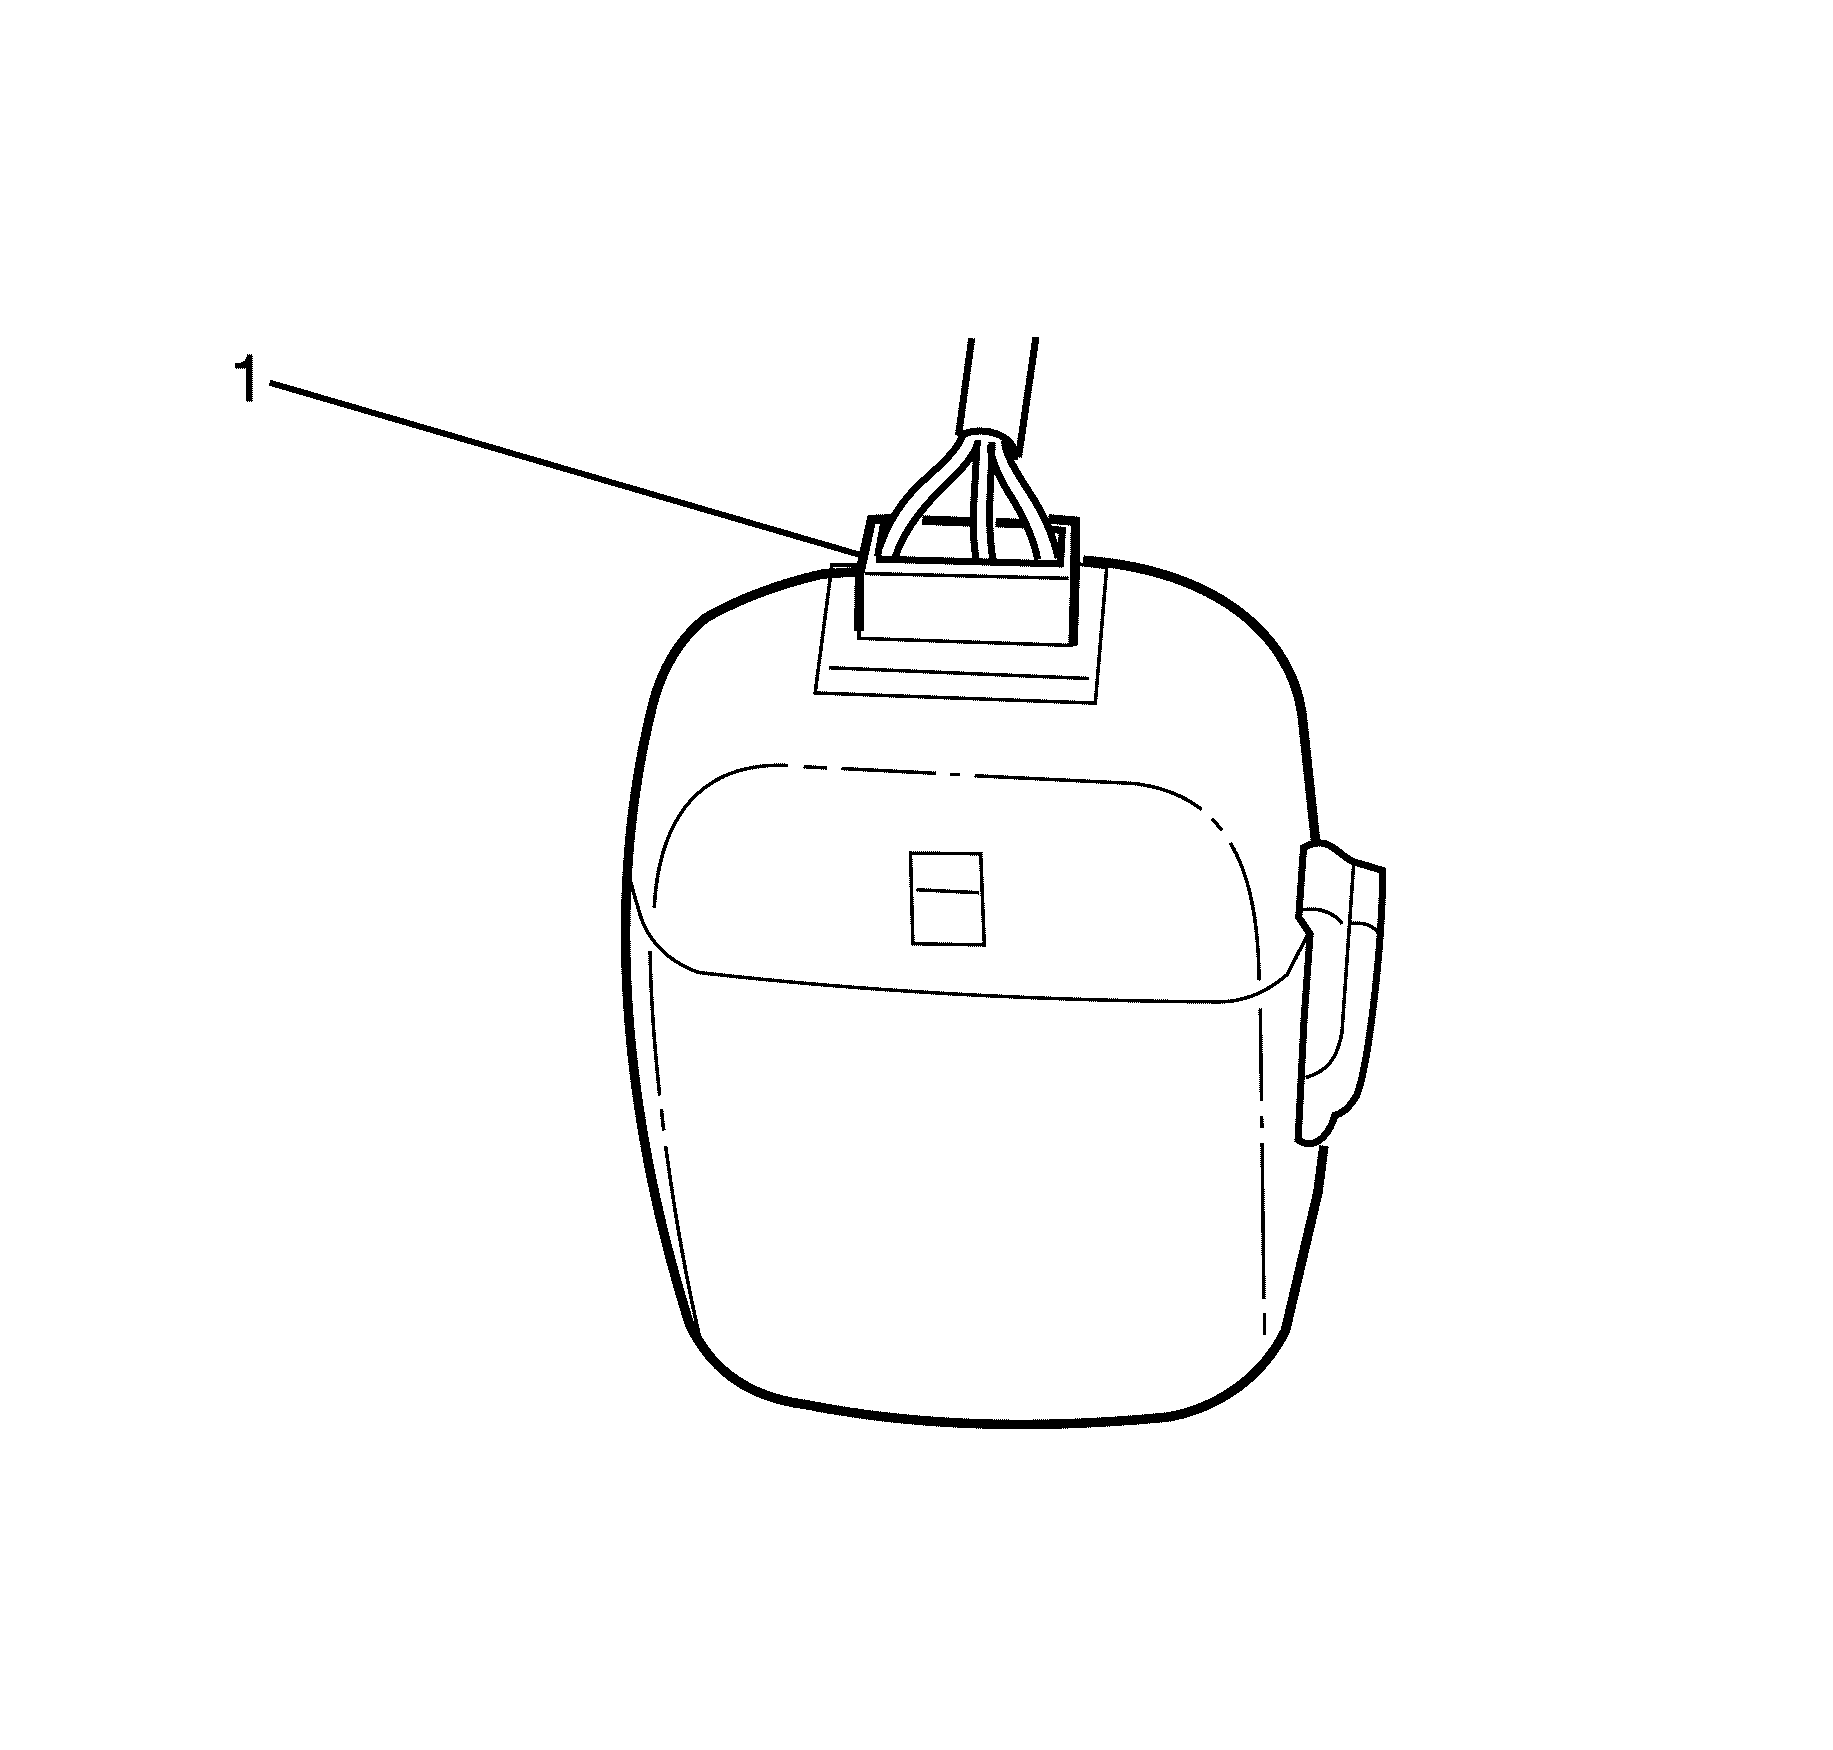
- Remove the headlining (1) via the left hand passenger rear door.
Installation Procedure
- Carefully place headlining (1) into vehicle via right
hand rear door, as per removal.
- Carefully engage the headliner retaining clips (1).
- Connect the headliner electrical connector (1).
- Attach the headlining wiring harness retaining clips
(1) to the A-pillar inner panel (2).
Notice: Refer to General Repair Instructions in the Preface section.
- Install the assist handles (3) retaining torx screws (2).
Tighten
Tighten the assist handle retaining screws to 2.0 N·m
(18 lb in).
- Close the retaining torx screw covers (1).
- Connect the rain sensor electrical connector (1).
- Install the following components as per removal:
- Test all components removed for correct operation.
Headlining Trim Panel Replacement RHD
Removal Procedure
Notice: Refer to General Repair Instructions in the Preface section.
- Remove the fuse from the passenger compartment fuse and relay panel assembly.
- Remove the following components as required:
Notice: Refer to General Repair Instructions in the Preface section.
- Disconnect the rain sensor electrical connector (1).
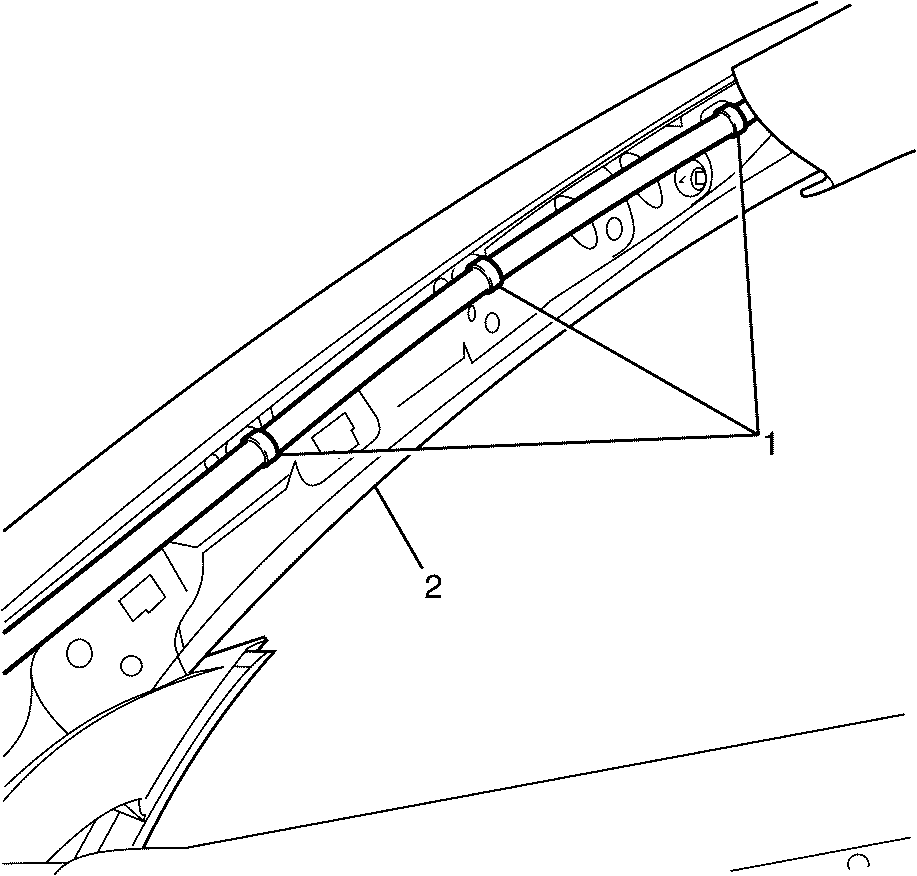
- Detach the headlining wiring harness retaining clips
(1) located on the A-pillar inner panel (2).
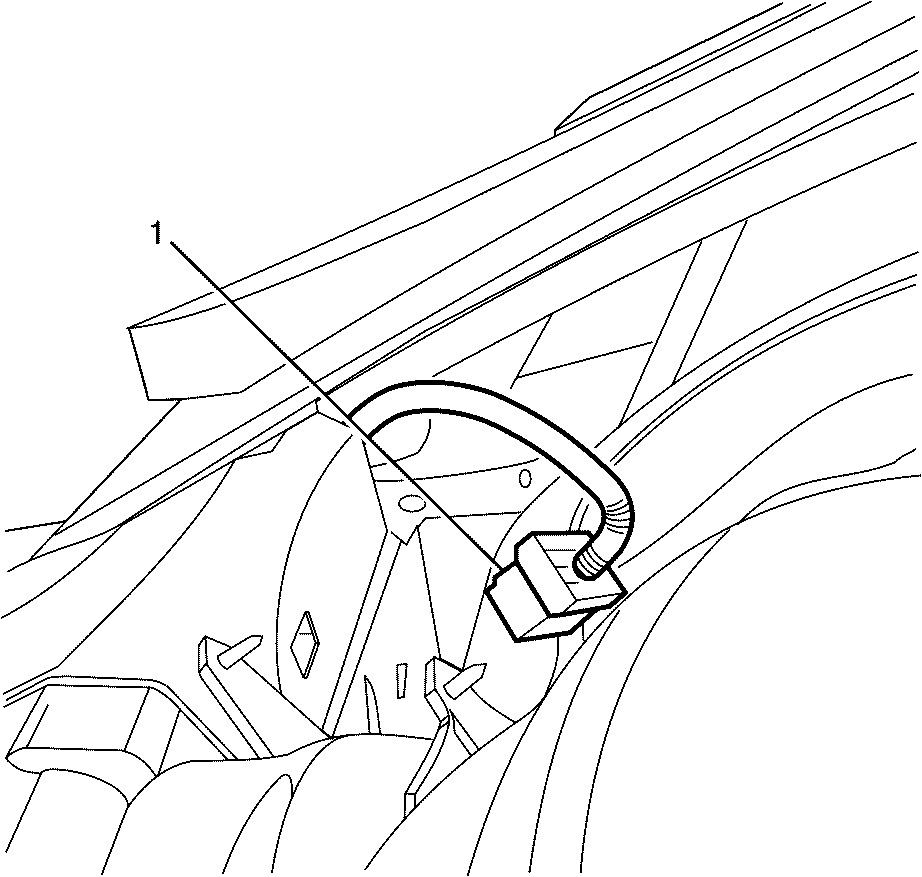
- Disconnect the headliner electrical connector (1), which
is located under the defroster grille.
Important: Removal and installation of the headliner
requires the aid of an assistant, under no circumstances should it be removed or installed
by one person.
- Once all the components have been removed, disengage the rear retaining clips
(1).
- Remove the headliner assembly.
Important: The headliner must be removed as shown above.
- With the aid of an assistant, remove the headlining (1) via the right hand passenger
rear door.
Installation Procedure
Important: Take care not to fold the headliner. Folding
the headliner will result in visible creases in the headliner fabric.
- With the aid of an assistant, carefully place headlining (1) into vehicle via
right hand rear door, as per removal.
- Locate the datum pin (2) to the rear of the roof
assembly.
Important: Make sure that the headliner datum pin is
located in the rear of the roof assembly.
- Carefully engage the headliner retaining clips (1).
- Connect the headliner electrical connector (1).
- Attach the headlining wiring harness retaining clips
(1) to the A-pillar inner panel (2).
- Connect the rain sensor electrical connector (1).
- Install the following components as per removal:
- Test all components removed for correct operation.
