For 1990-2009 cars only
Air Inlet Assembly Replacement LHD
Removal Procedure
- Remove the instrument panel (I/P) compartment. Refer to Instrument Panel Compartment Replacement.
- Remove the close out panel. Refer to Instrument Panel Insulator Panel Replacement - Right Side or Instrument Panel Insulator Panel Replacement - Left Side.
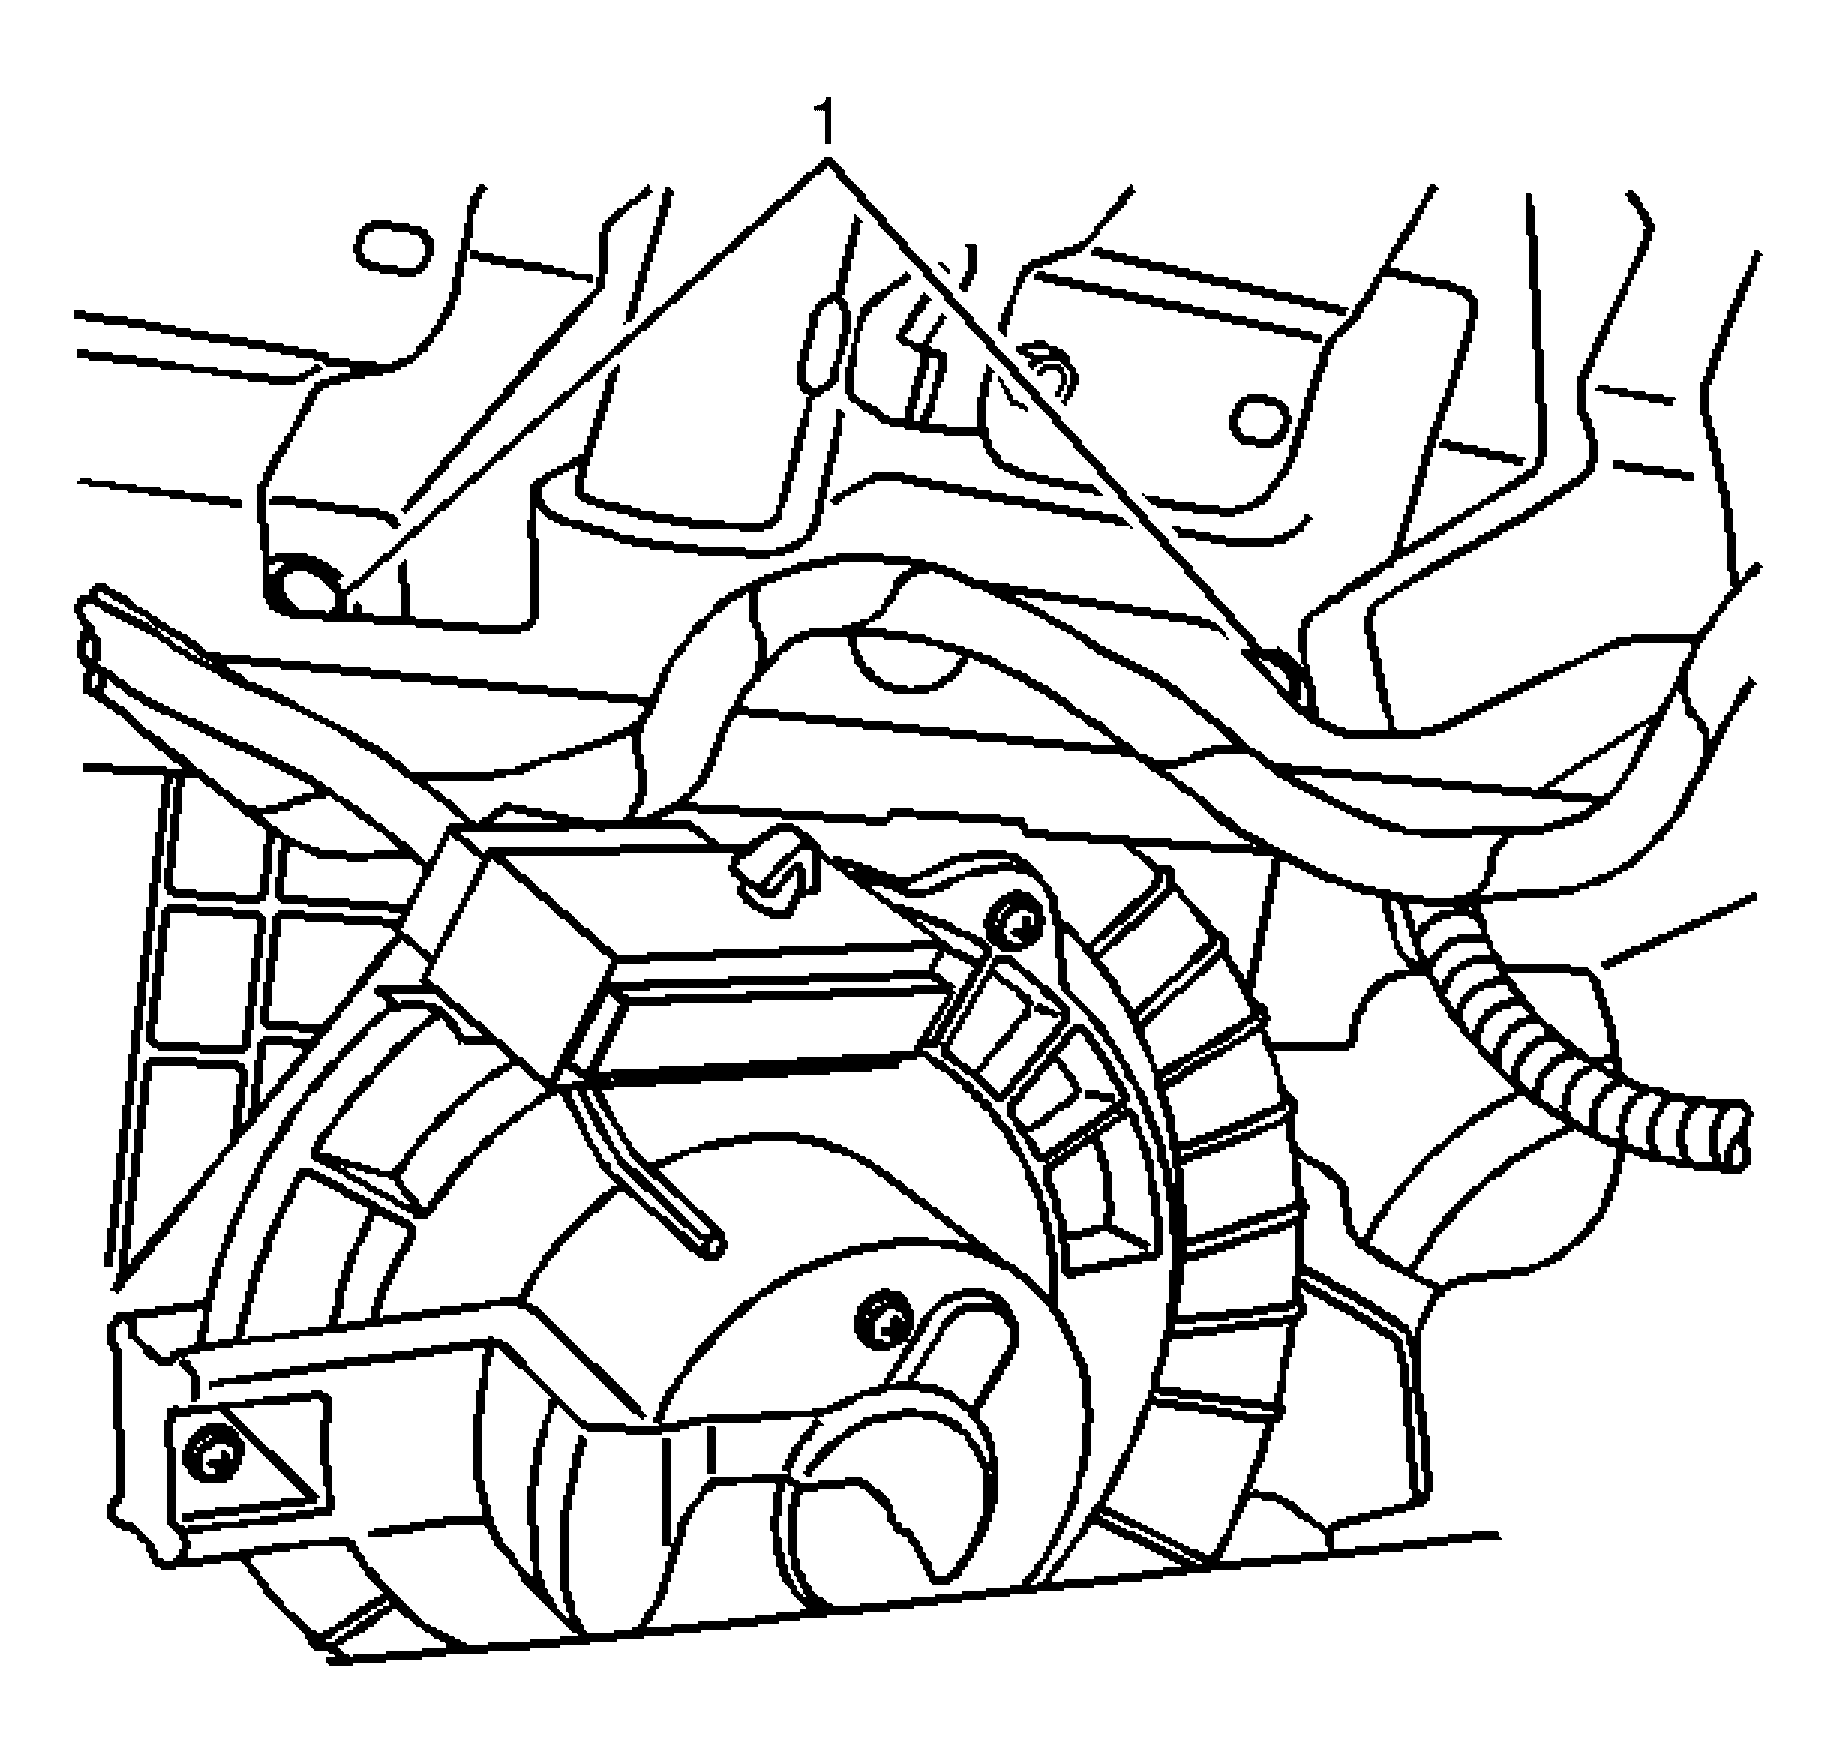
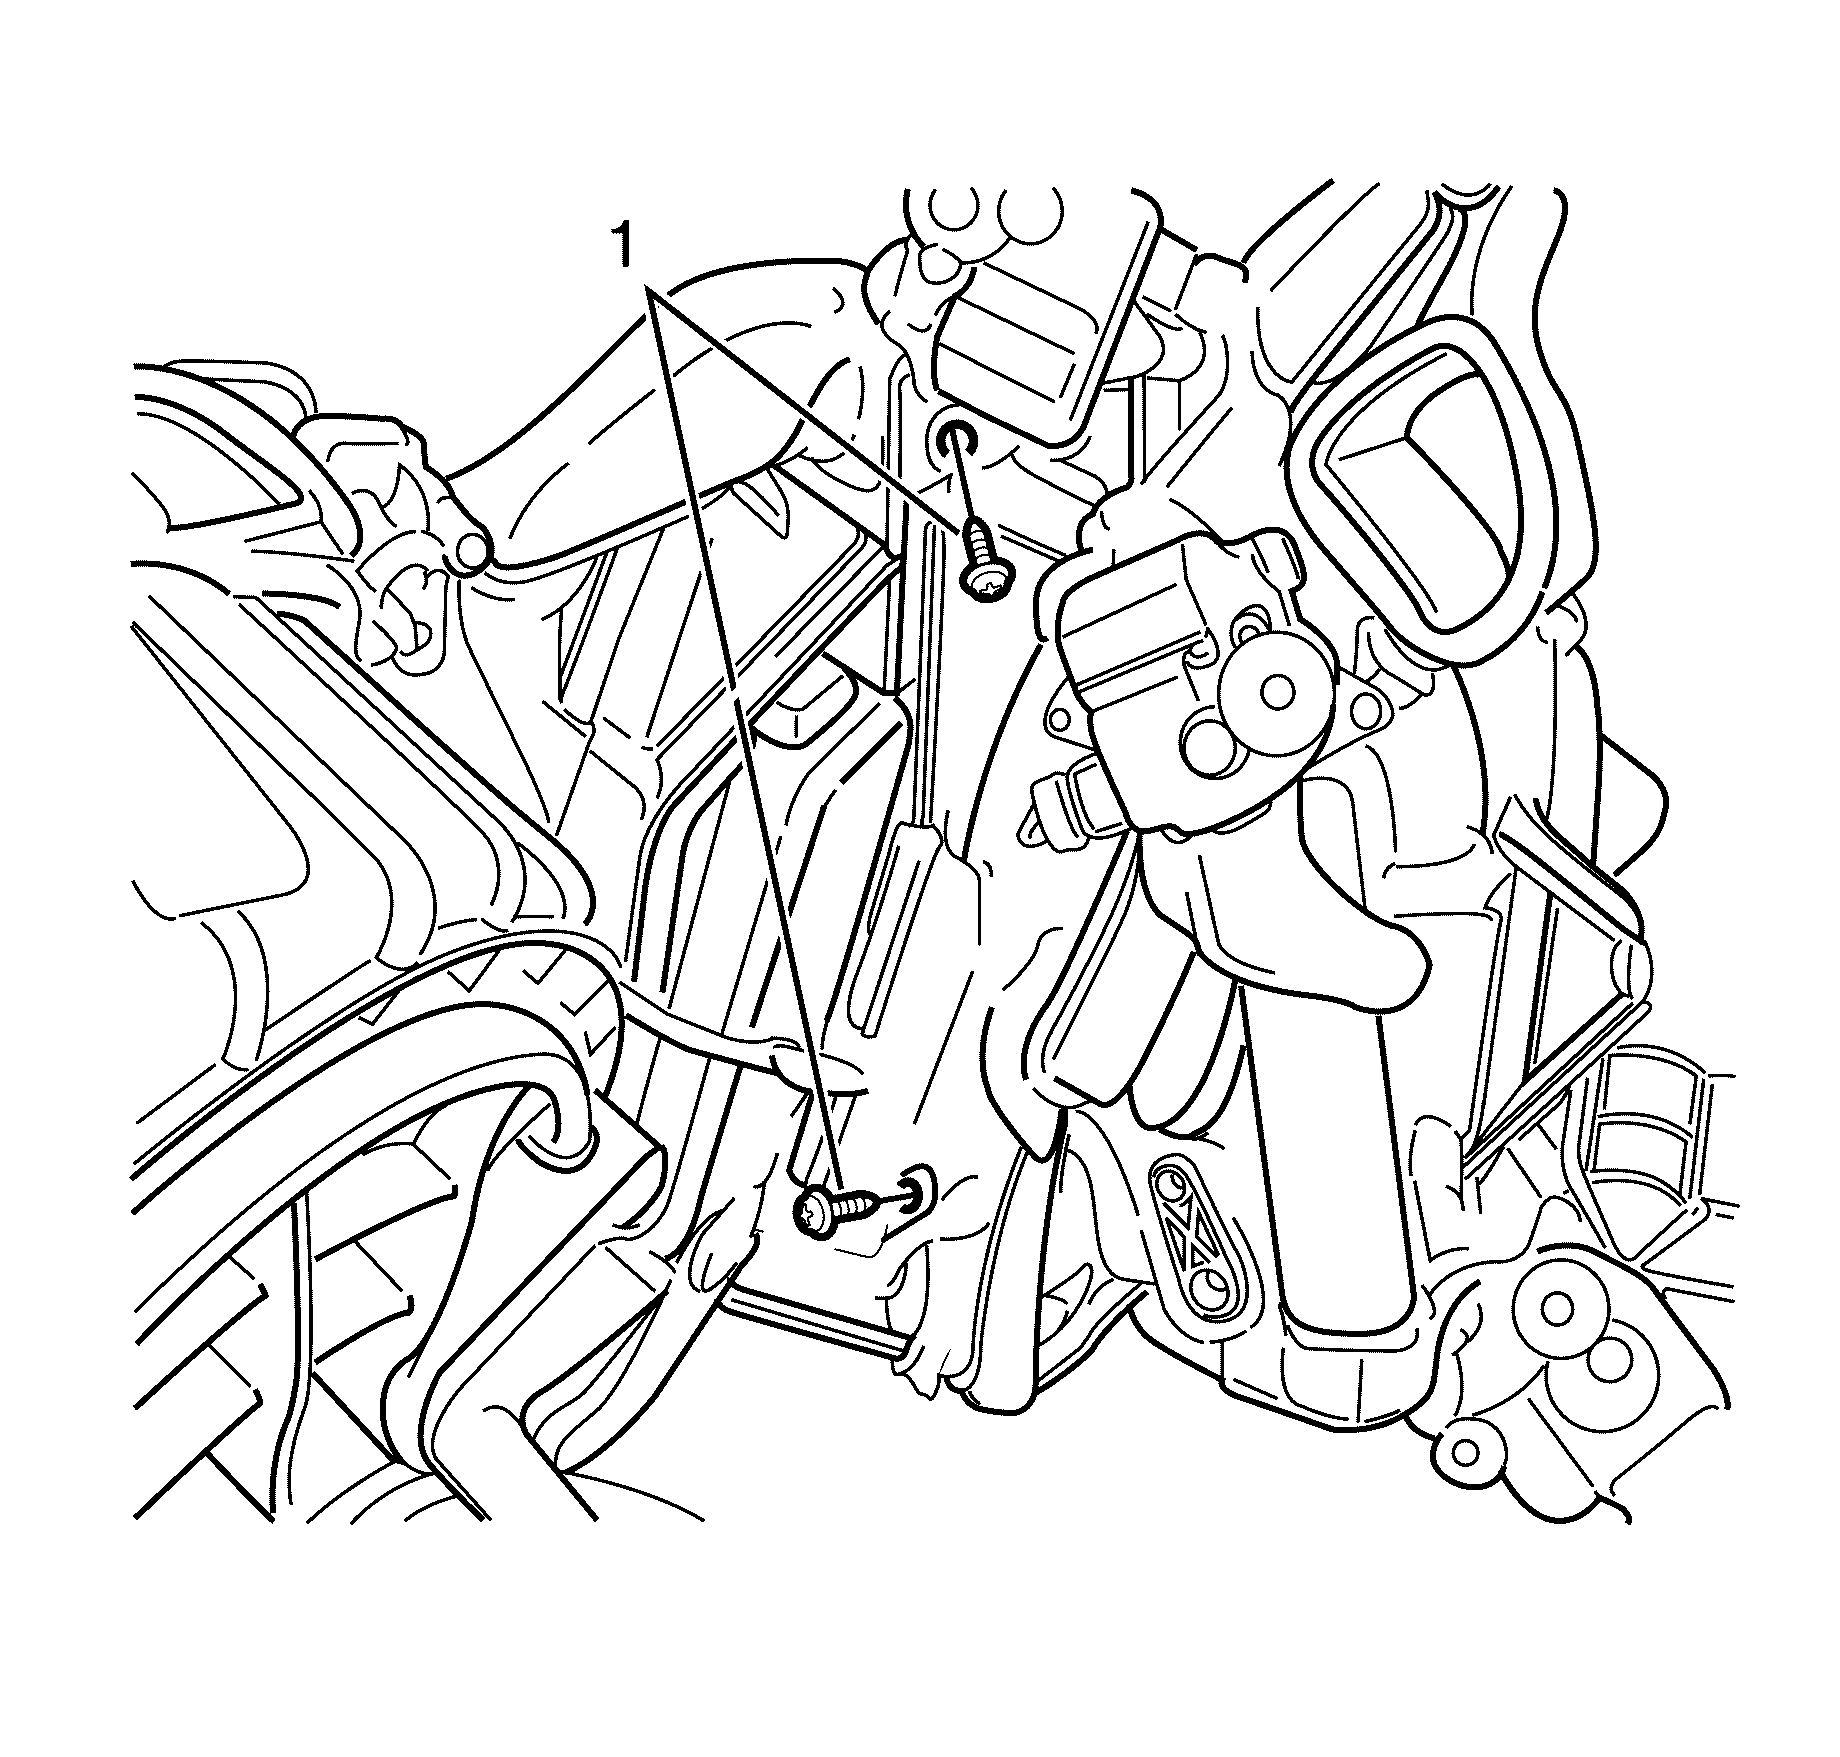
- Remove the upper air inlet assembly bolts (1).
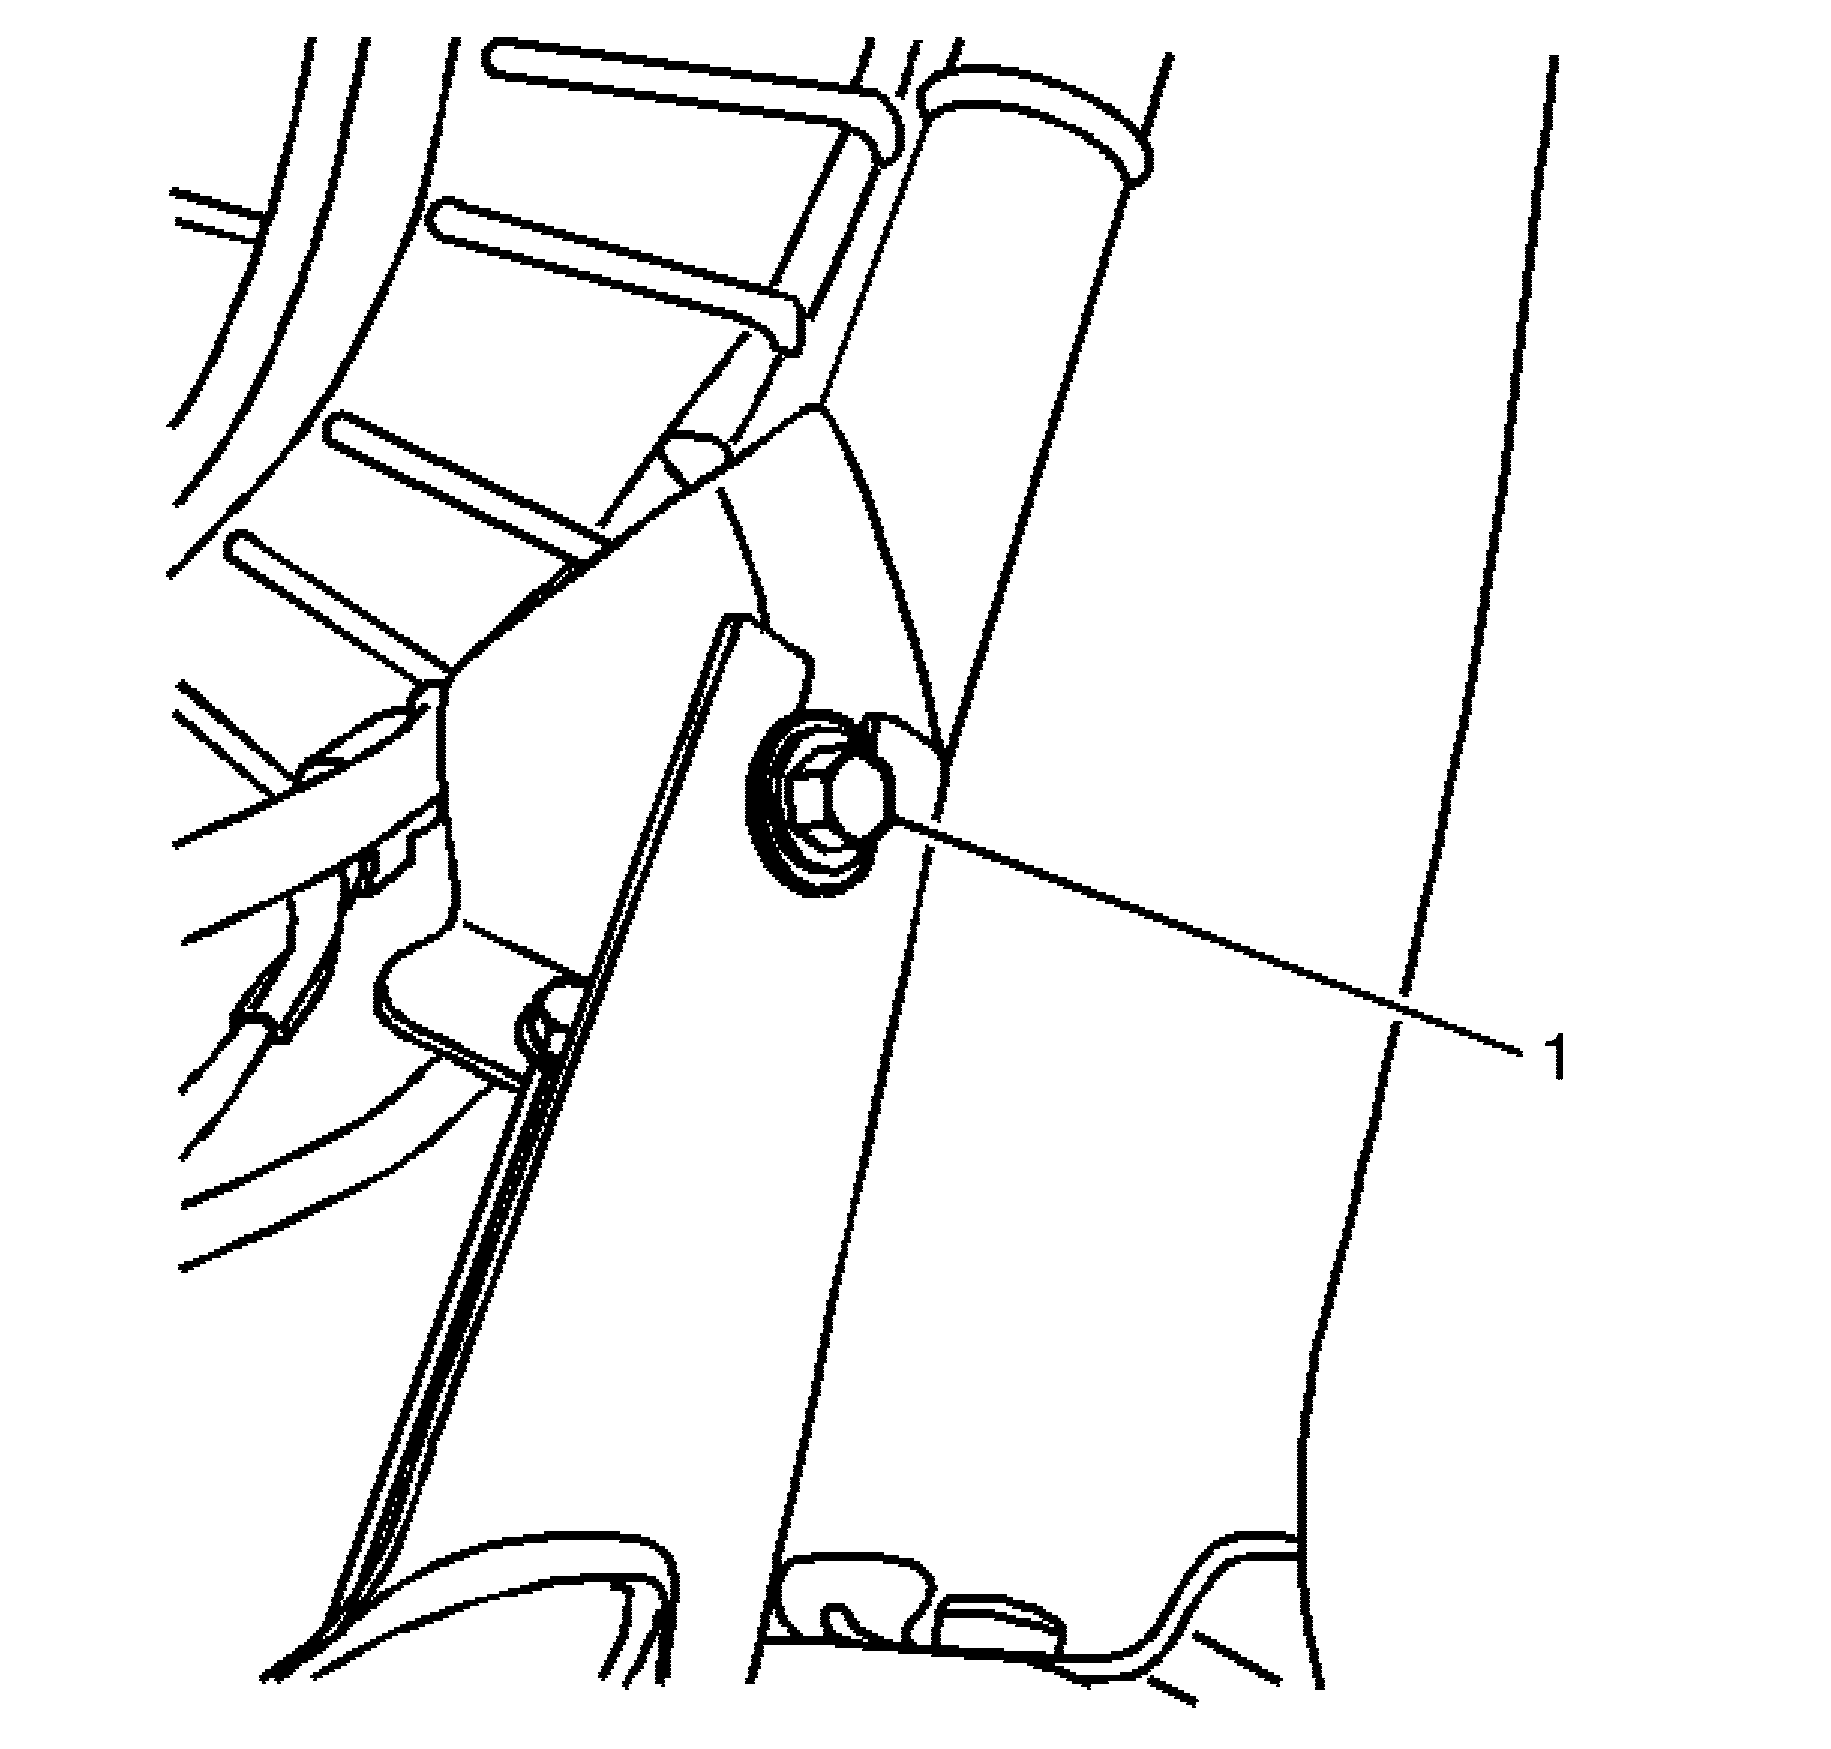
- Remove the lower right air inlet assembly bolt (1).
- Slide the assembly to the right and then lower.
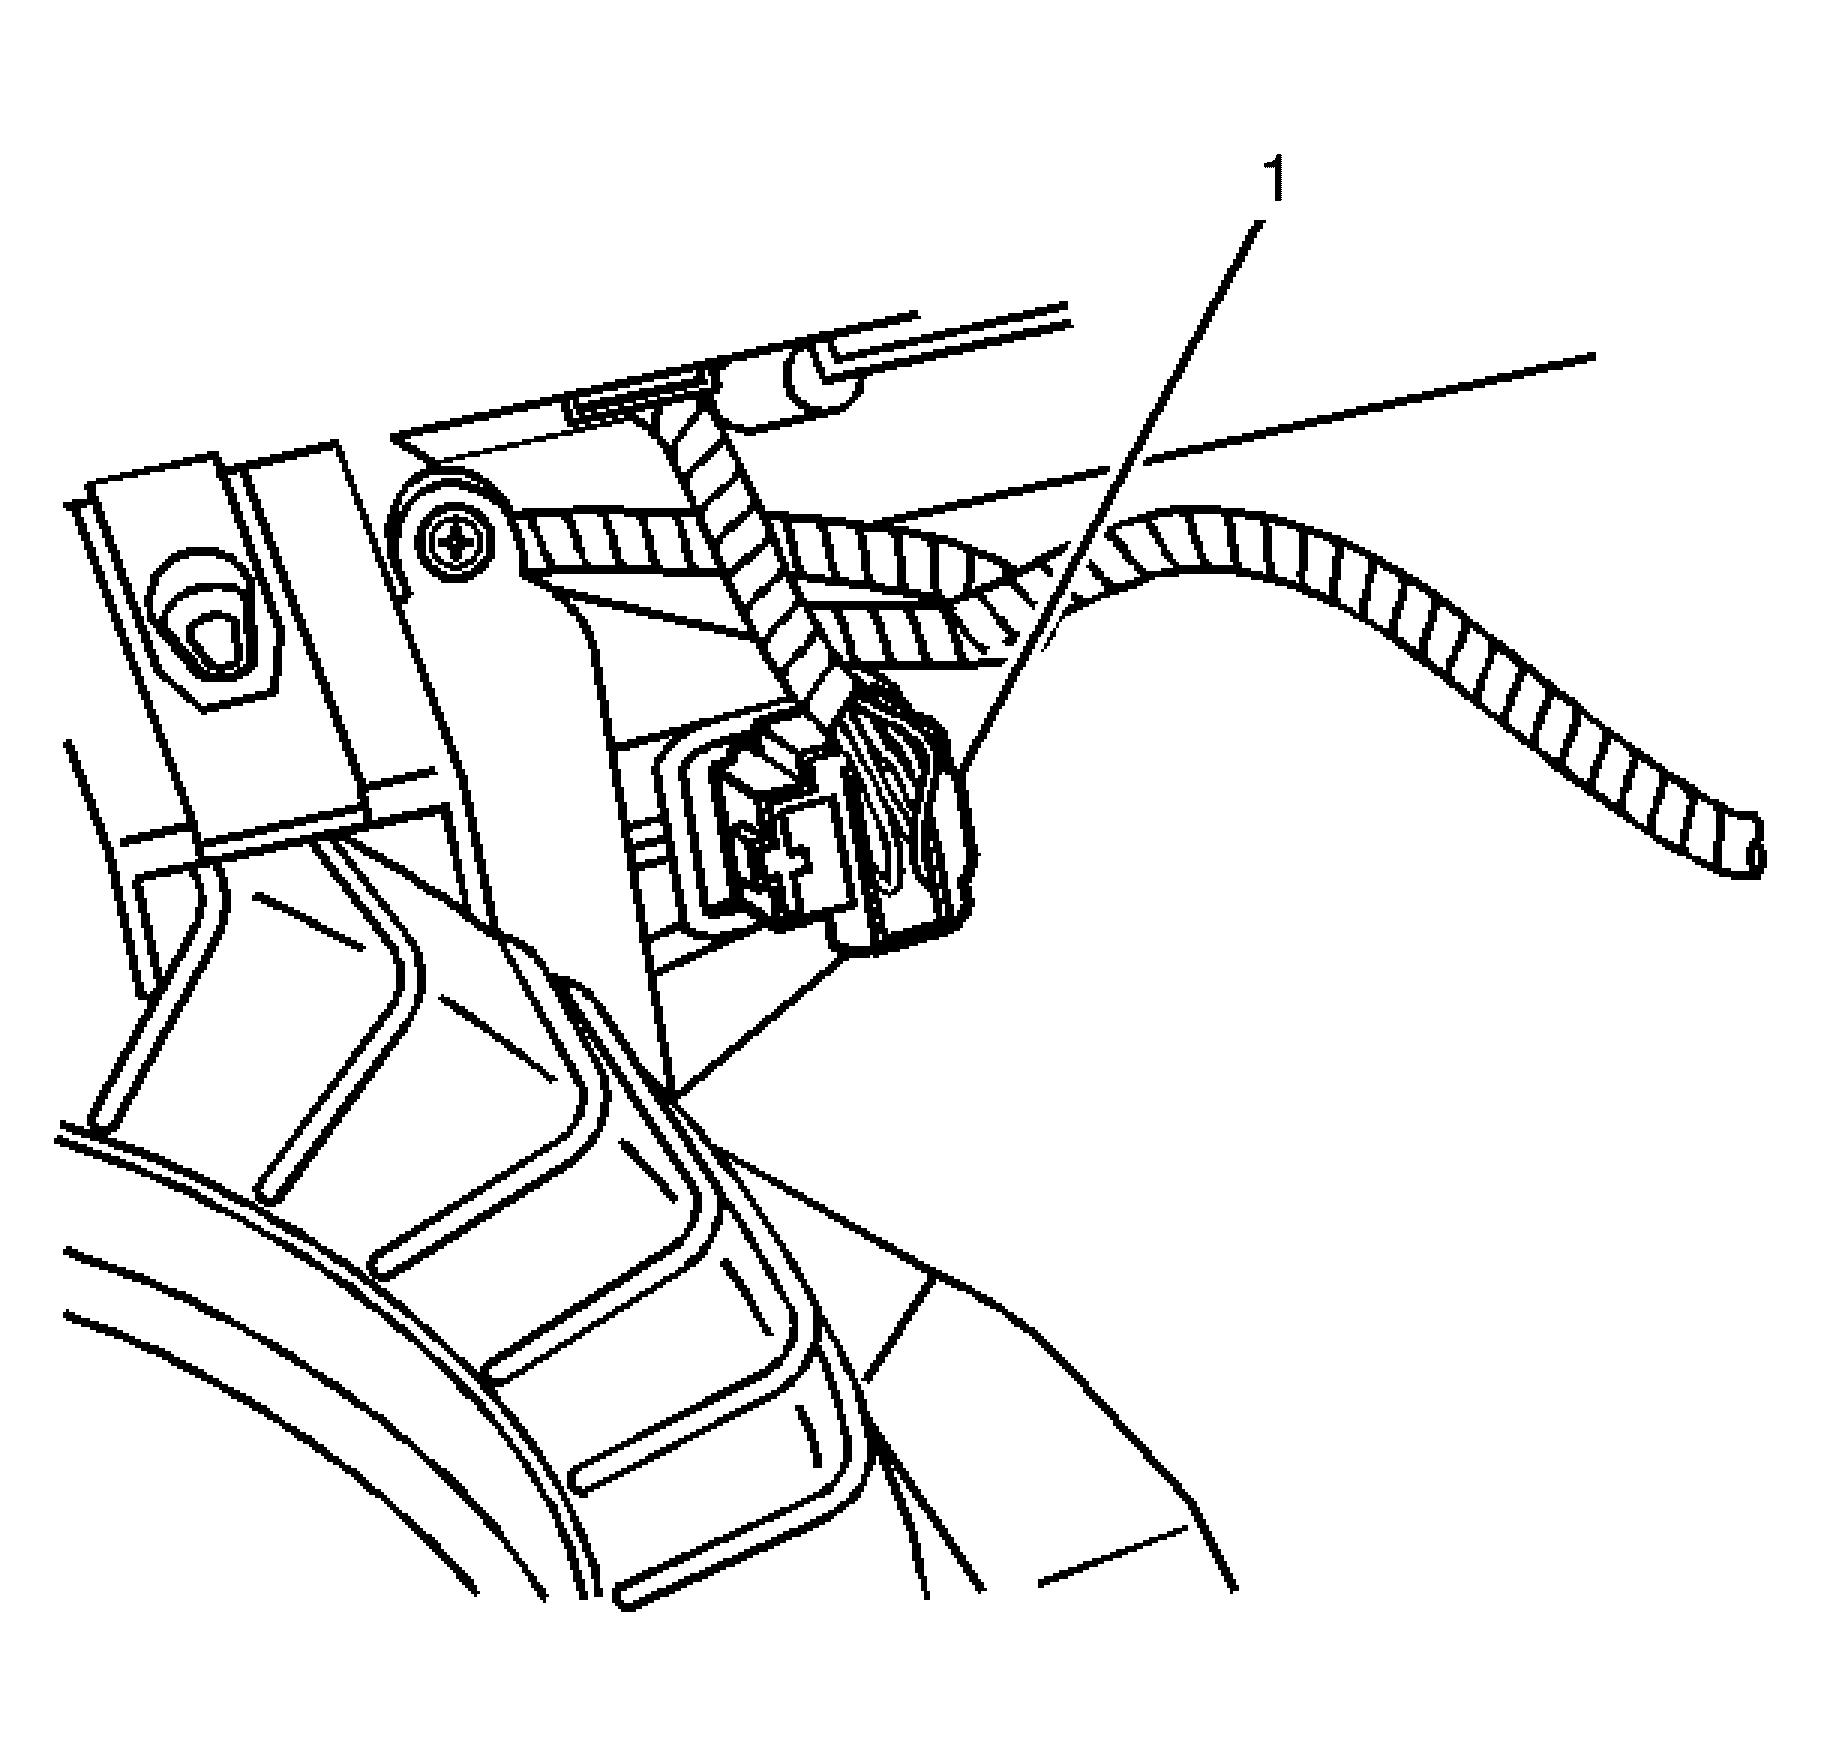
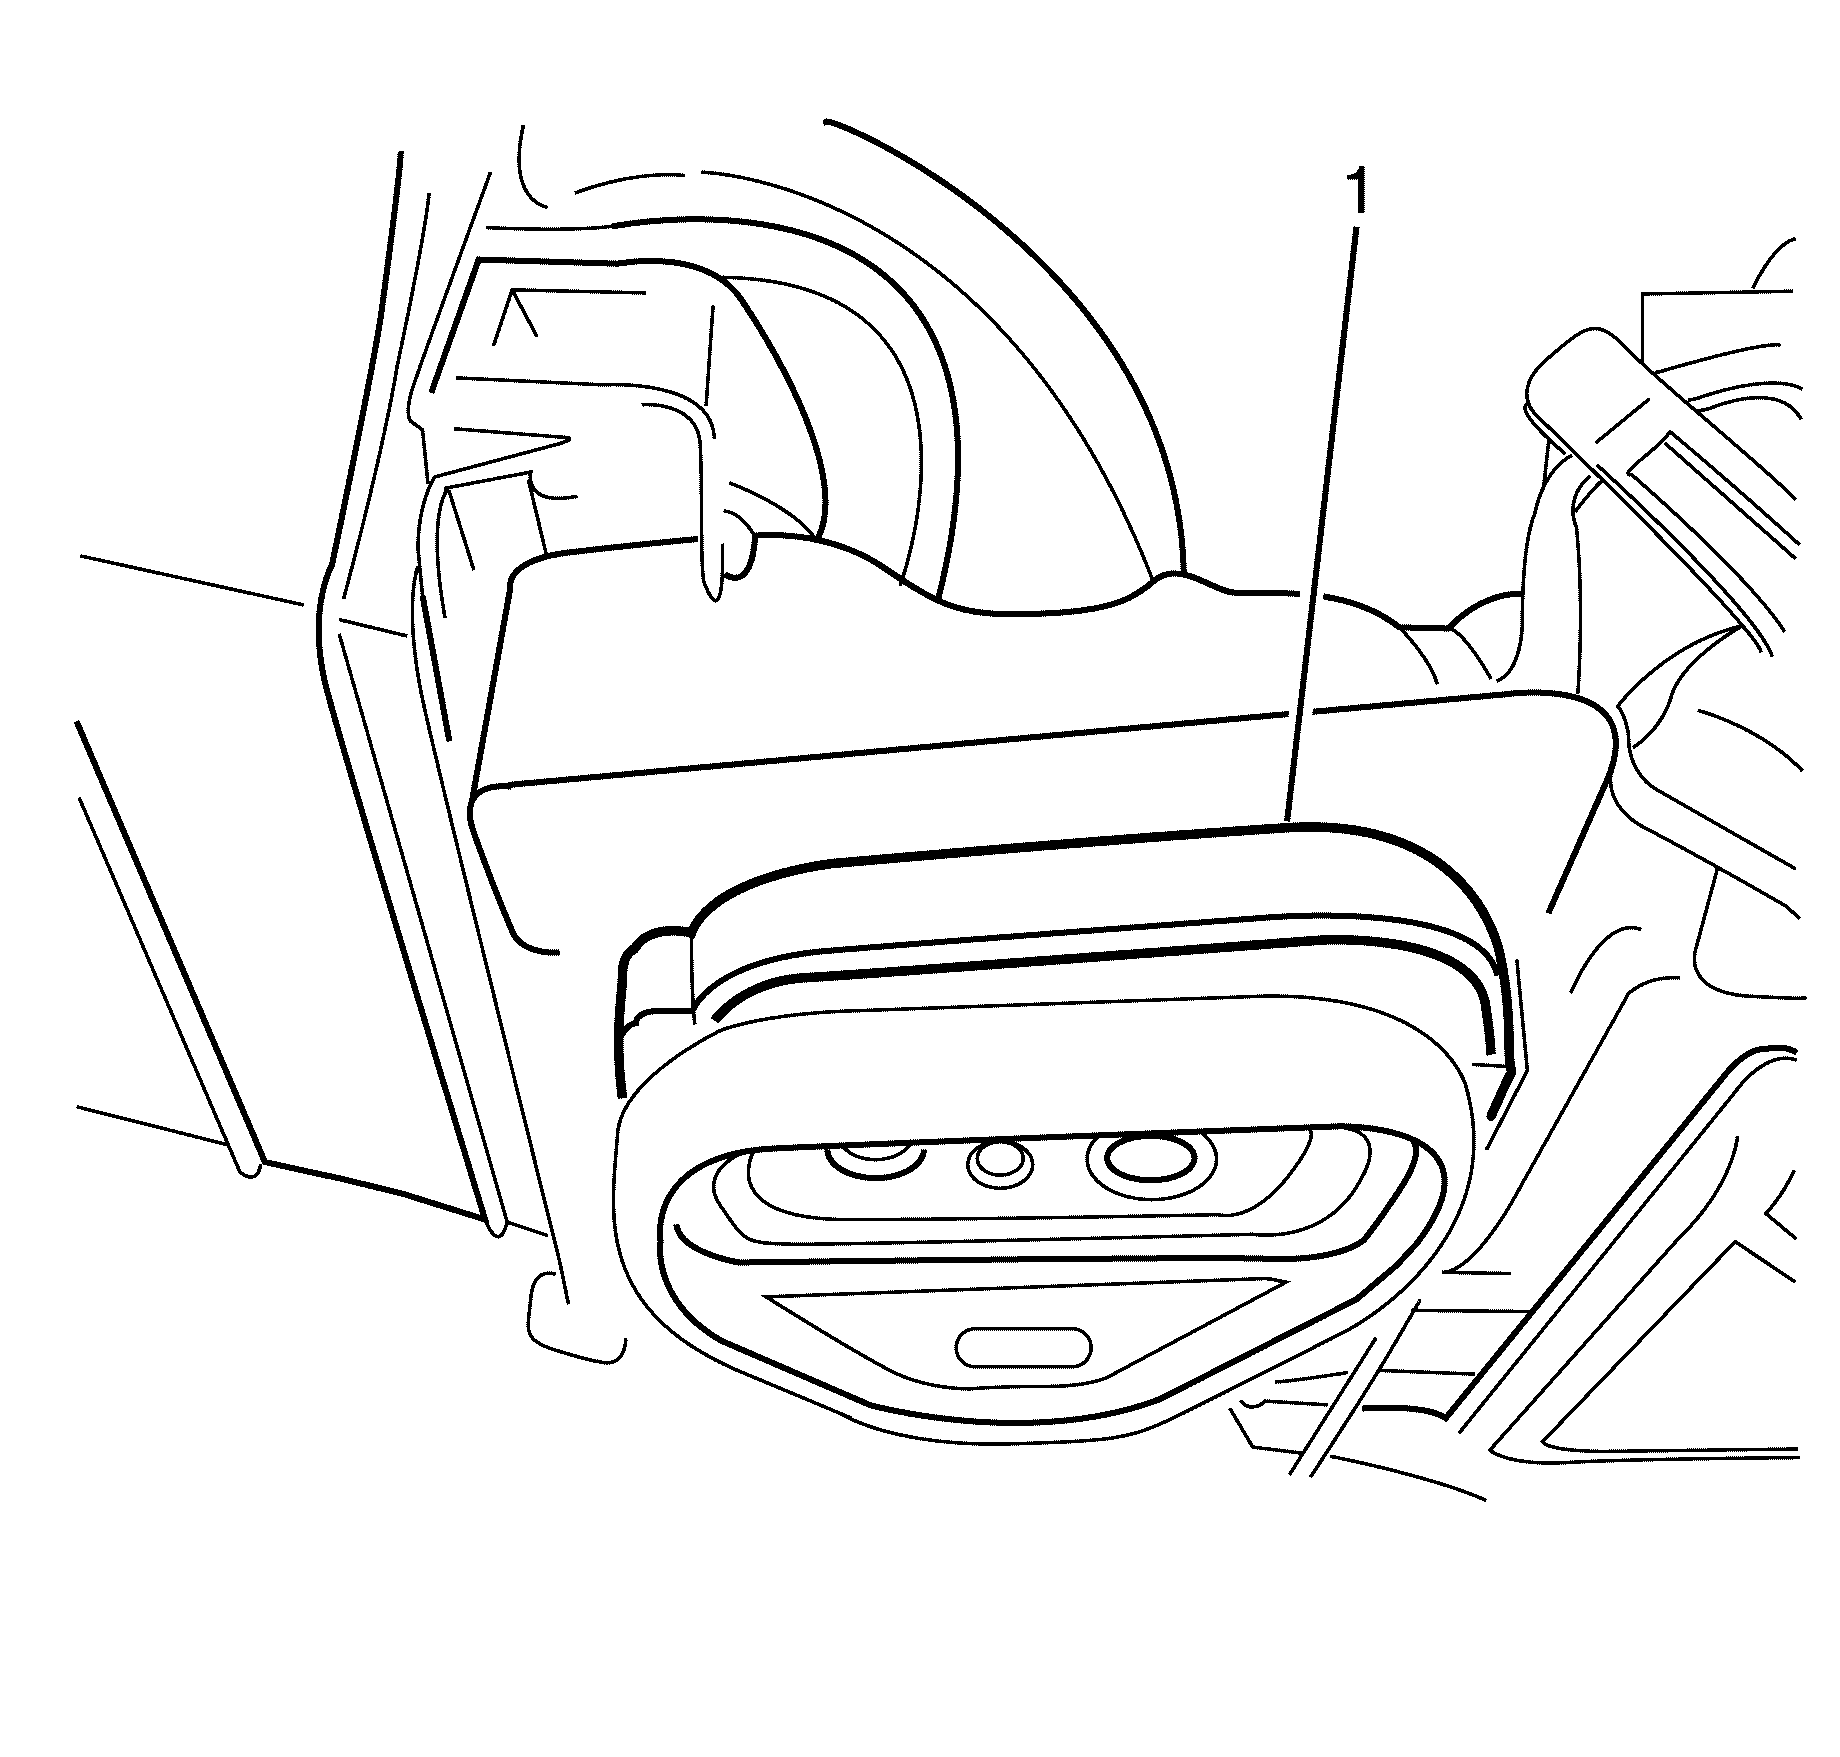
- Disconnect the air inlet assembly electrical connector (1).
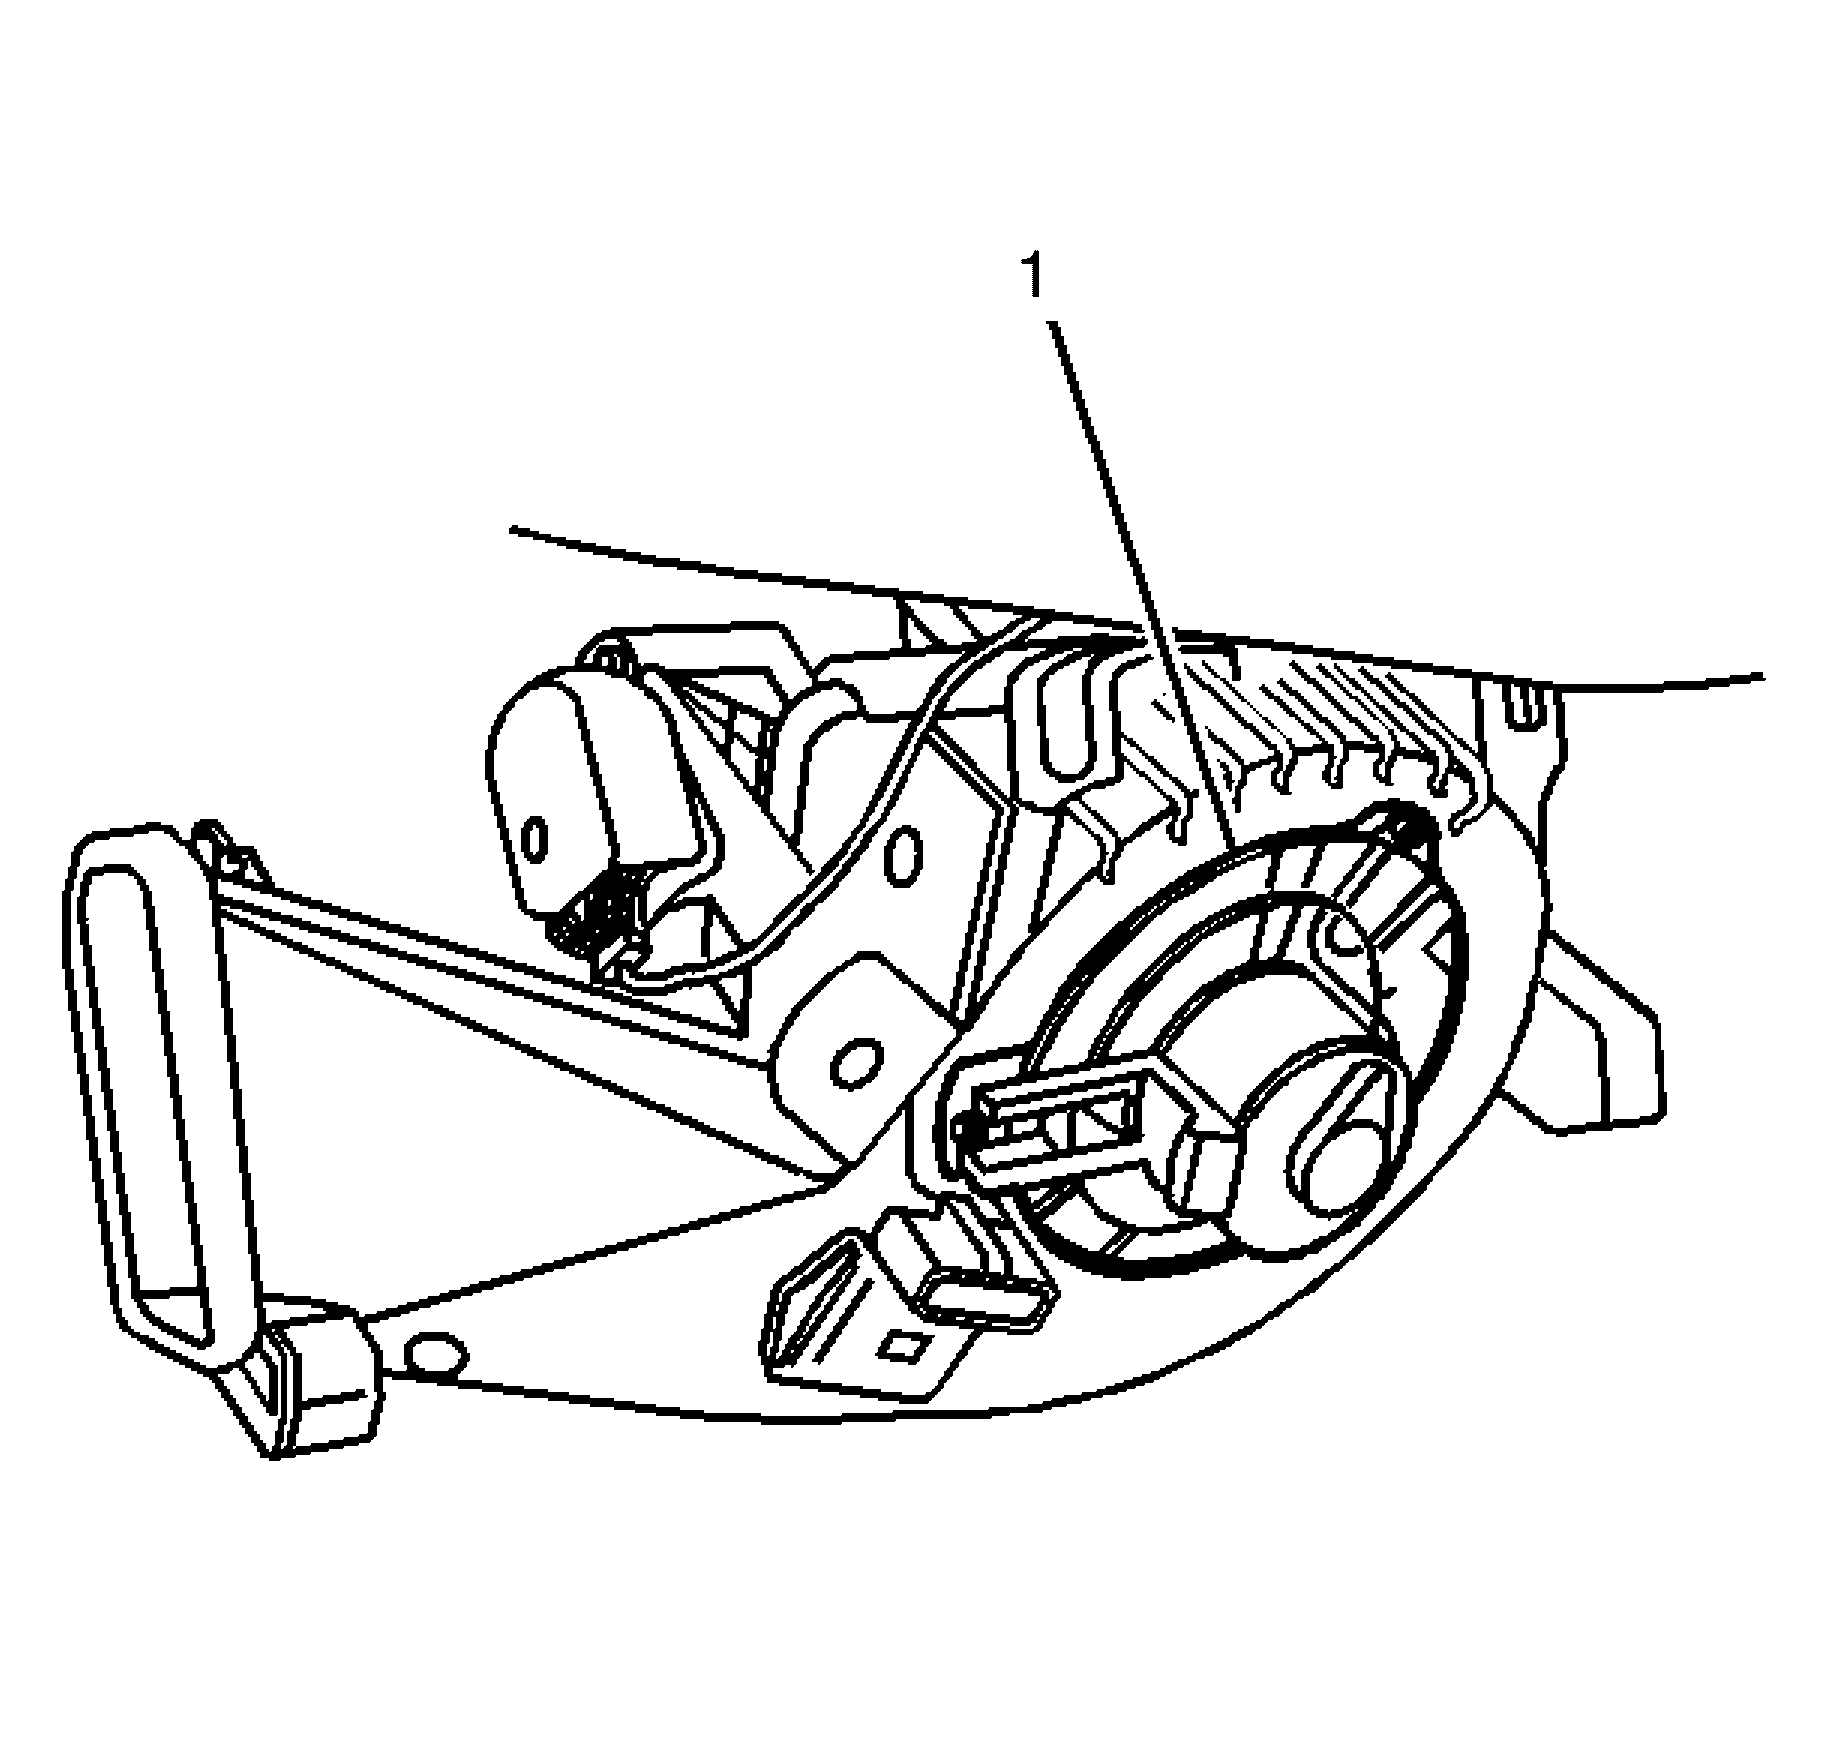
- Rotate the air inlet assembly clockwise (1) and remove.
Installation Procedure
- Connect the air inlet assembly electrical connector (1).
- Install the air inlet assembly (1) to the locator pin.
- Install the upper air inlet assembly bolts (1).
- Install the lower right air inlet assembly bolt (1).
- Install the I/P compartment. Refer to Instrument Panel Compartment Replacement.
- Install the closeout panel. Refer to Instrument Panel Insulator Panel Replacement - Right Side or Instrument Panel Insulator Panel Replacement - Left Side.
Notice: Refer to Fastener Notice in the Preface section.
Tighten
Tighten the bolt to 9 N·m (80 lb
in).
Tighten
Tighten the bolt to 9 N·m (80 lb
in).
Air Inlet Assembly Replacement RHD
Removal Procedure
- Remove the instrument panel (I/P). Refer to Instrument Panel Center Trim Panel Replacement .
- Remove the thermal expansion (TX) valve. Refer to Air Conditioning Evaporator Thermal Expansion Valve Replacement
- Remove the HVAC module assembly. Refer to HVAC Module Assembly Replacement .
- With the HVAC module assembly on a bench locate the TX valve retaining upper plastic cover (1).
- Remove the TX valve retaining upper plastic cover (1).
- Remove the air inlet assembly to HVAC module assembly retaining screws (1).
- Remove the air inlet assembly to HVAC module assembly retaining screws (1).
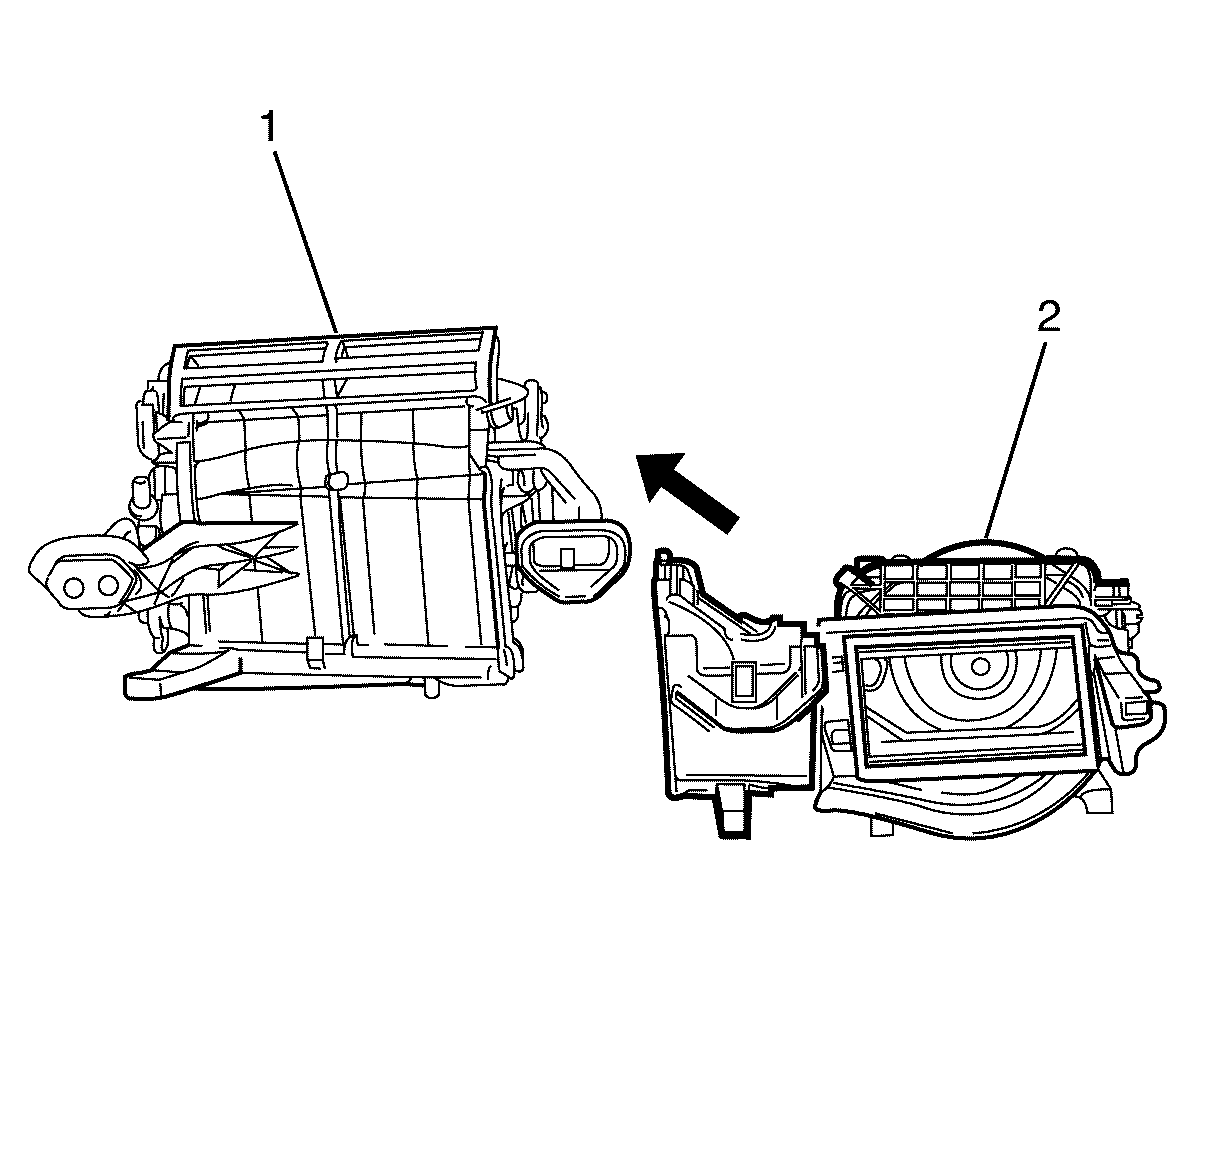
- Remove the air inlet assembly (3) from the HVAC module assembly (1).
Caution: Refer to Safety Glasses Caution in the Preface section.
Important: Unclip the TX valve retaining upper plastic cover (1) and remove by lifting upwards.

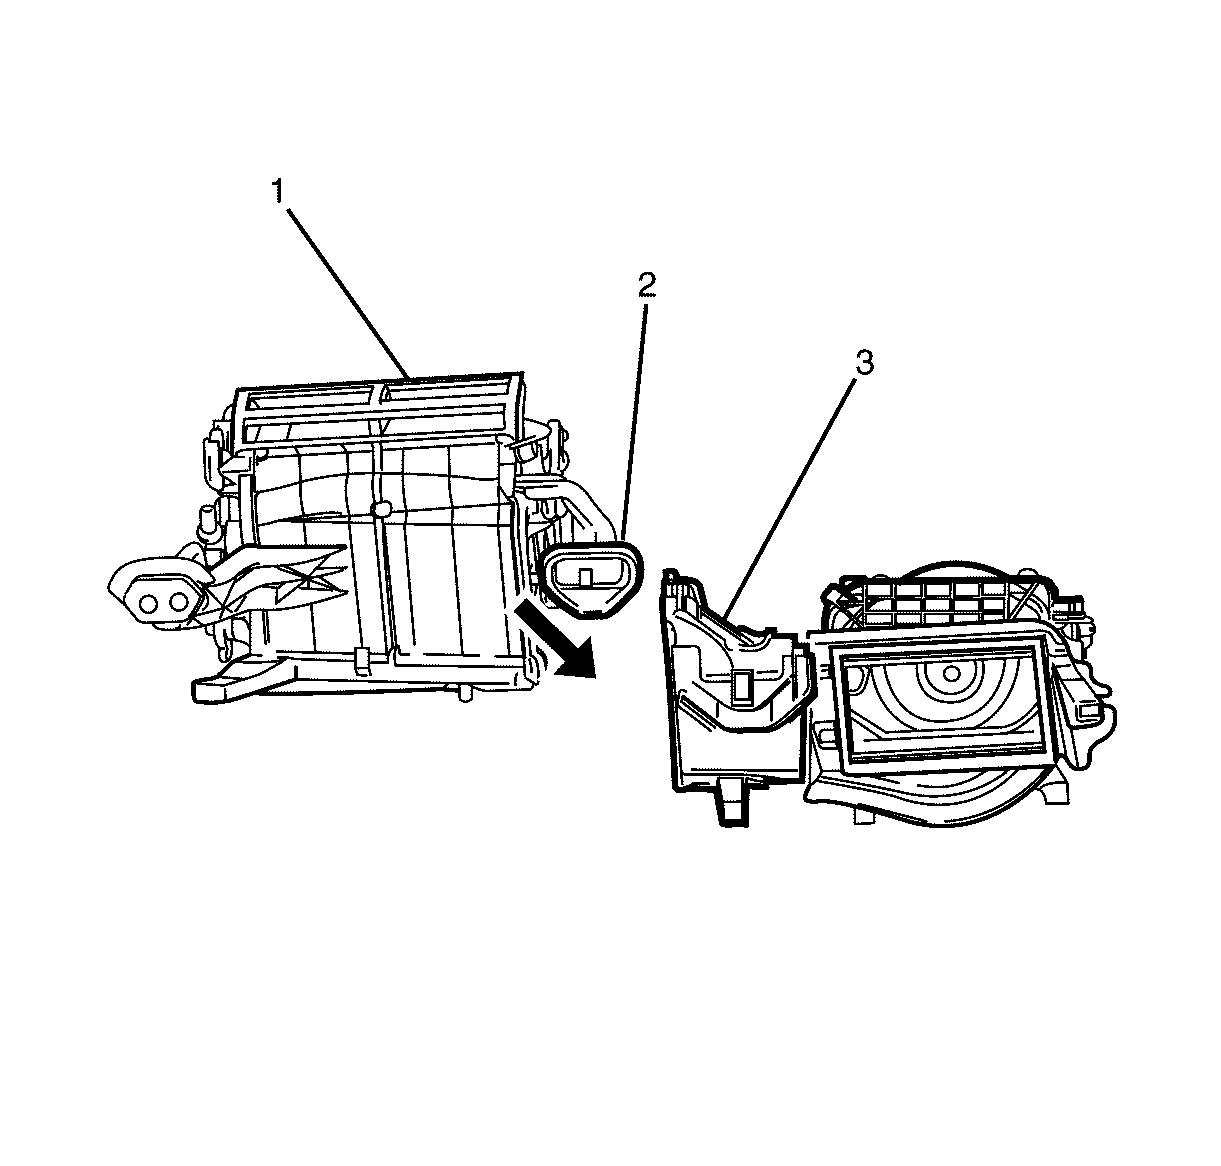
Important: Unclip the air inlet assembly (3) and carefully tilt downwards past the TX valve (2)
Installation Procedure
- Install the air inlet assembly (2) to the HVAC module assembly (1).
- Install the air inlet assembly to HVAC module assembly retaining screws (1).
- Install the air inlet assembly to HVAC module assembly retaining screws (1).
- Install the TX valve retaining upper plastic cover (1).
- Install the HVAC module assembly. Refer to HVAC Module Assembly Replacement .
- Install the TX valve. Refer to Air Conditioning Evaporator Thermal Expansion Valve Replacement
- Install the instrument panel (I/P). Refer to Instrument Panel Center Trim Panel Replacement .
Notice: Refer to Fastener Notice in the Preface section.
Tighten
Tighten the screws to 1 N·m (8 lb
in.)
Tighten
Tighten the screws to 1 N·m (8 lb
in.)
Important: Make sure all the clips on the thermal expansion (TX) valve retaining upper plastic cover (1) are engaged to avoid an induced rattle condition.
