For 1990-2009 cars only
Removal Procedure
- Disable the SIR system. Refer to SIR Disabling and Enabling .
- Disconnect the negative battery cable. Refer to Battery Negative Cable Disconnection and Connection .
- Remove the rear bumper fascia. Refer to Rear Bumper Fascia Replacement .
- Remove the rear impact bar. Refer to Rear Bumper Impact Bar Replacement .
- Remove the tail lights. Refer to Parking and Turn Signal Lamp Replacement .
- Remove the spare wheel and emergency kit from the rear compartment.
- Remove the spare wheel and tyre carrier. Refer to Spare Wheel Carrier Replacement .
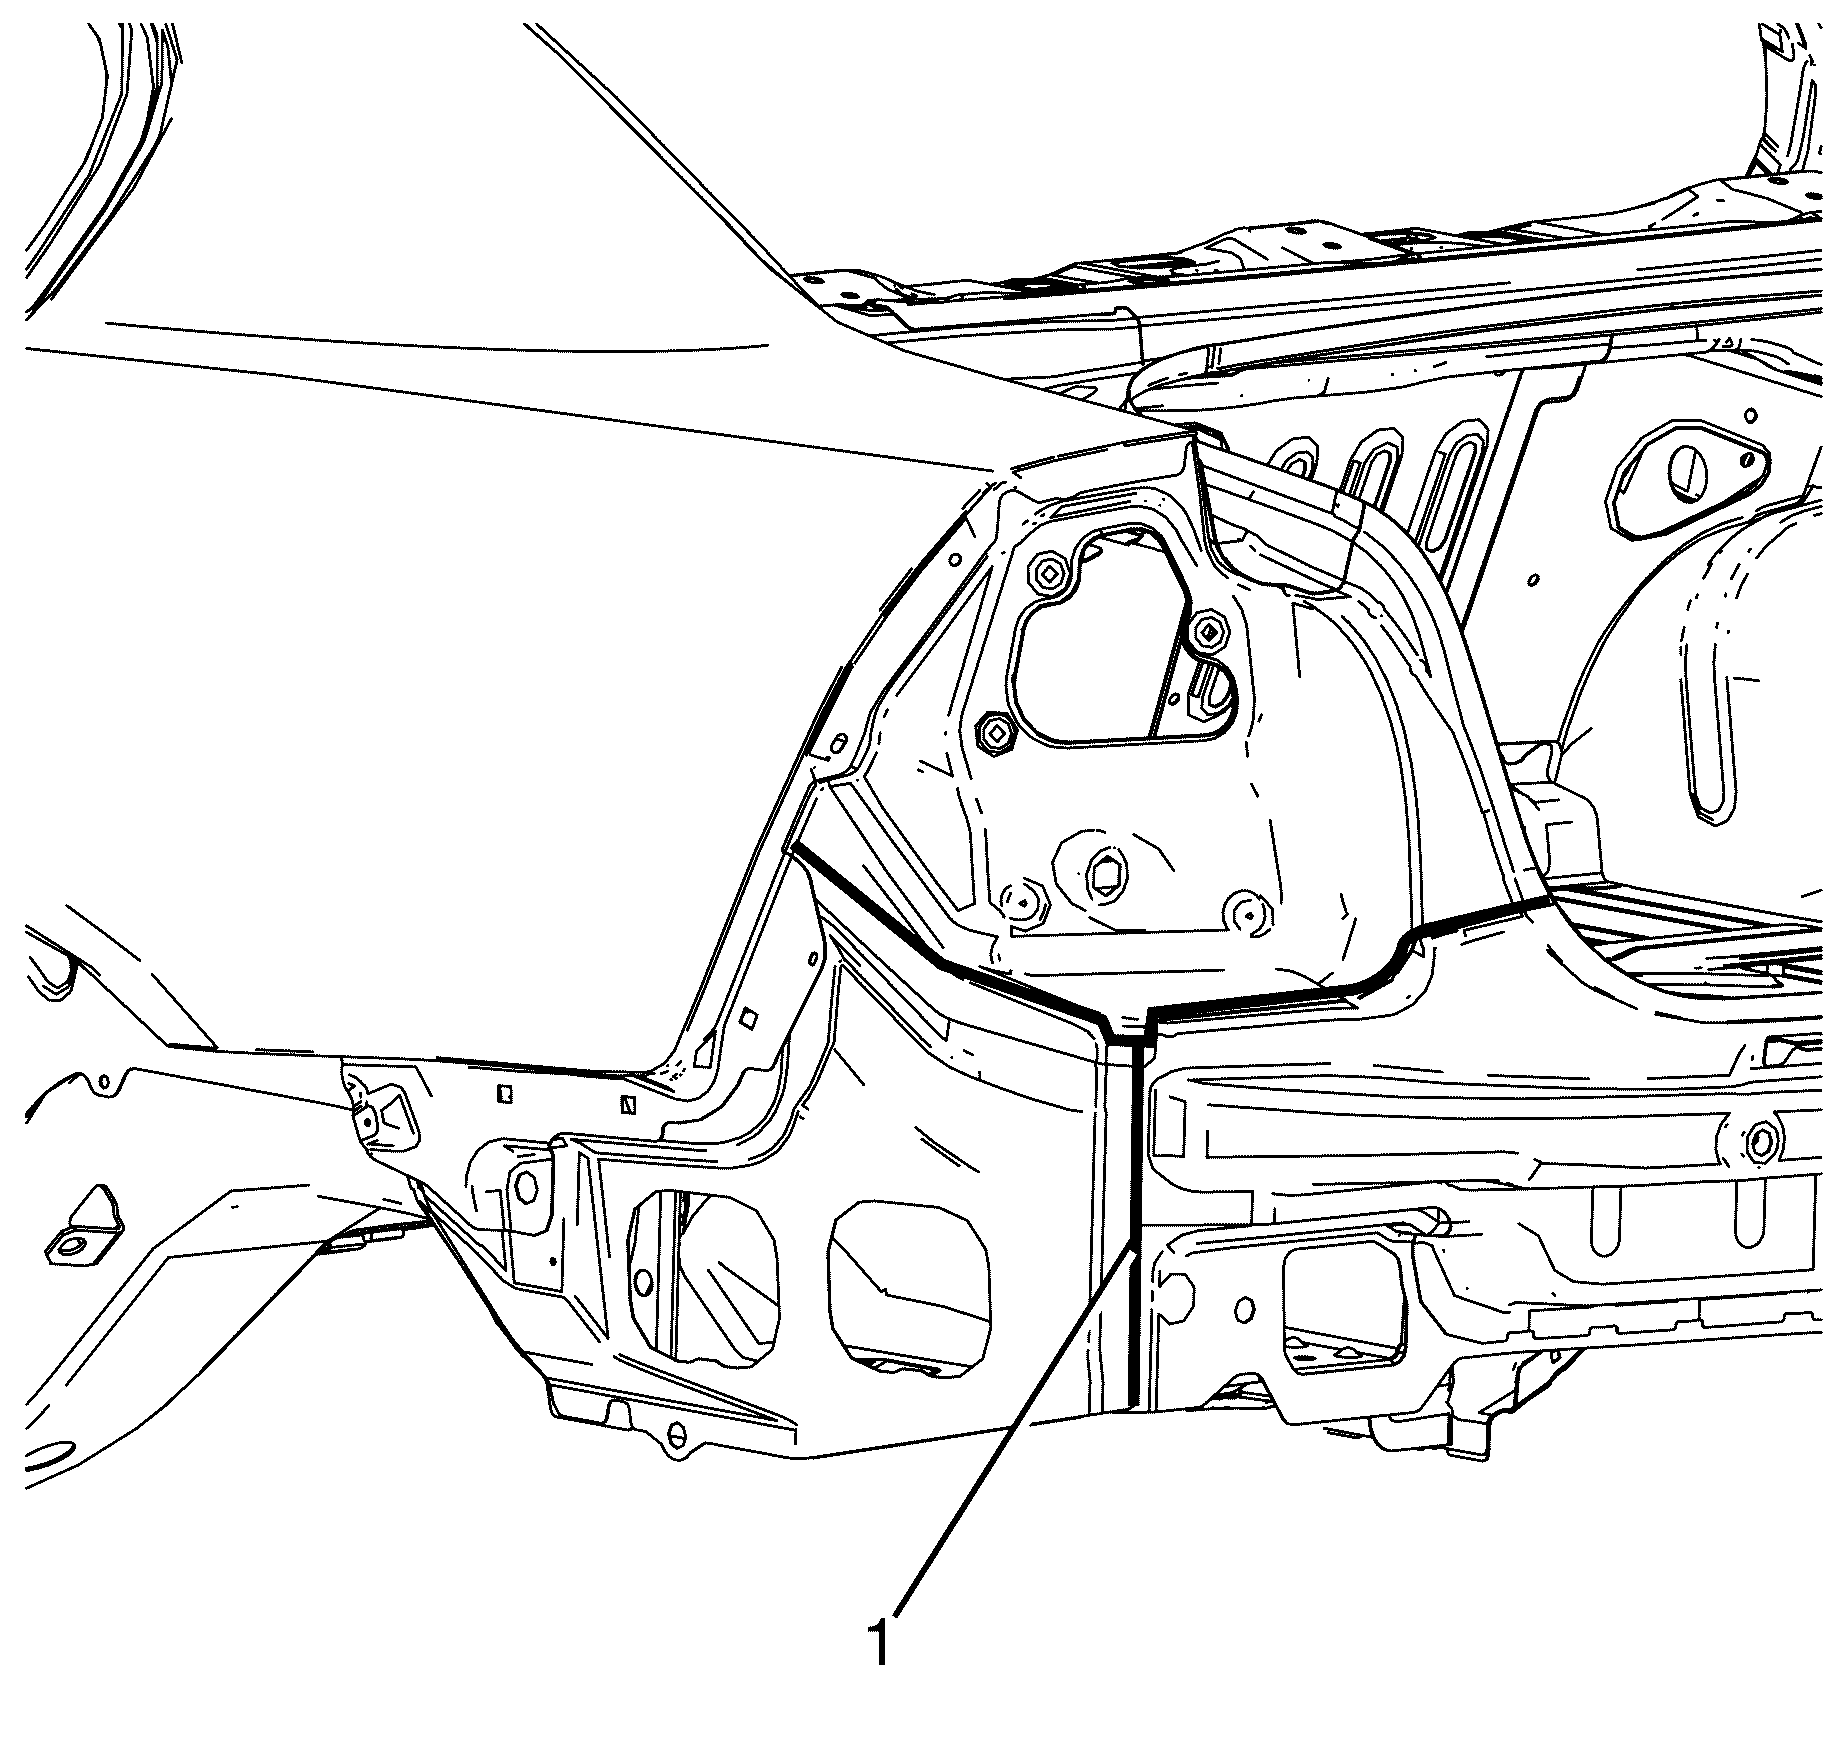
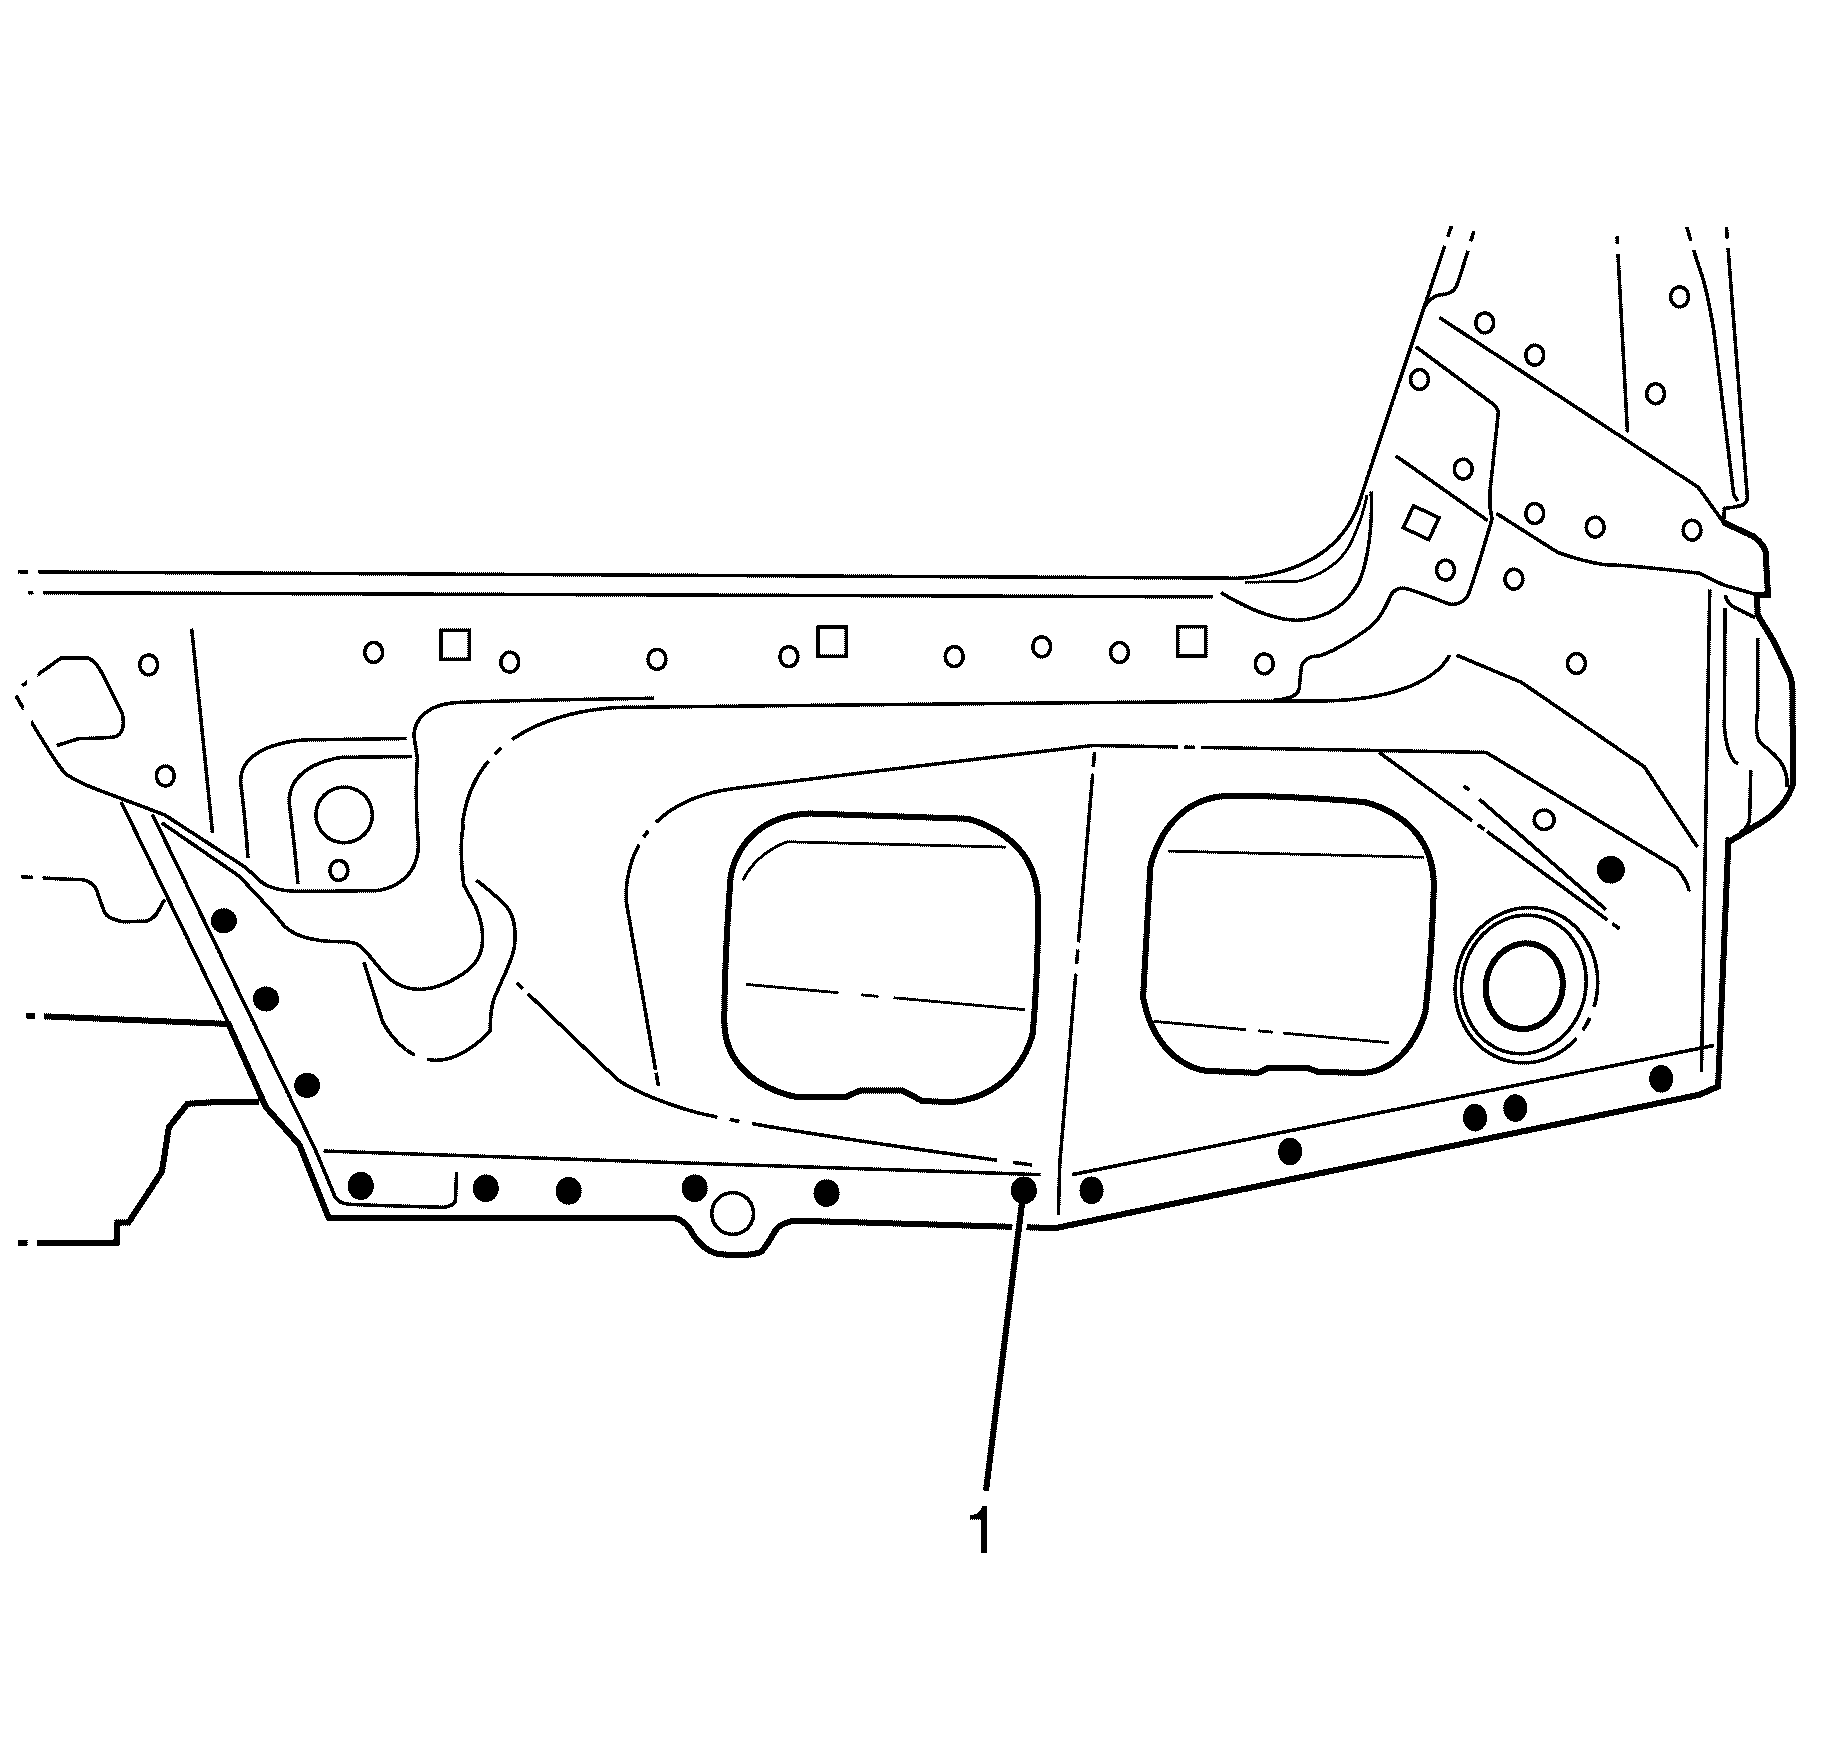
- Locate, mark and drill out the spot welds (1)in the side extension panel to the rear chassis rail.
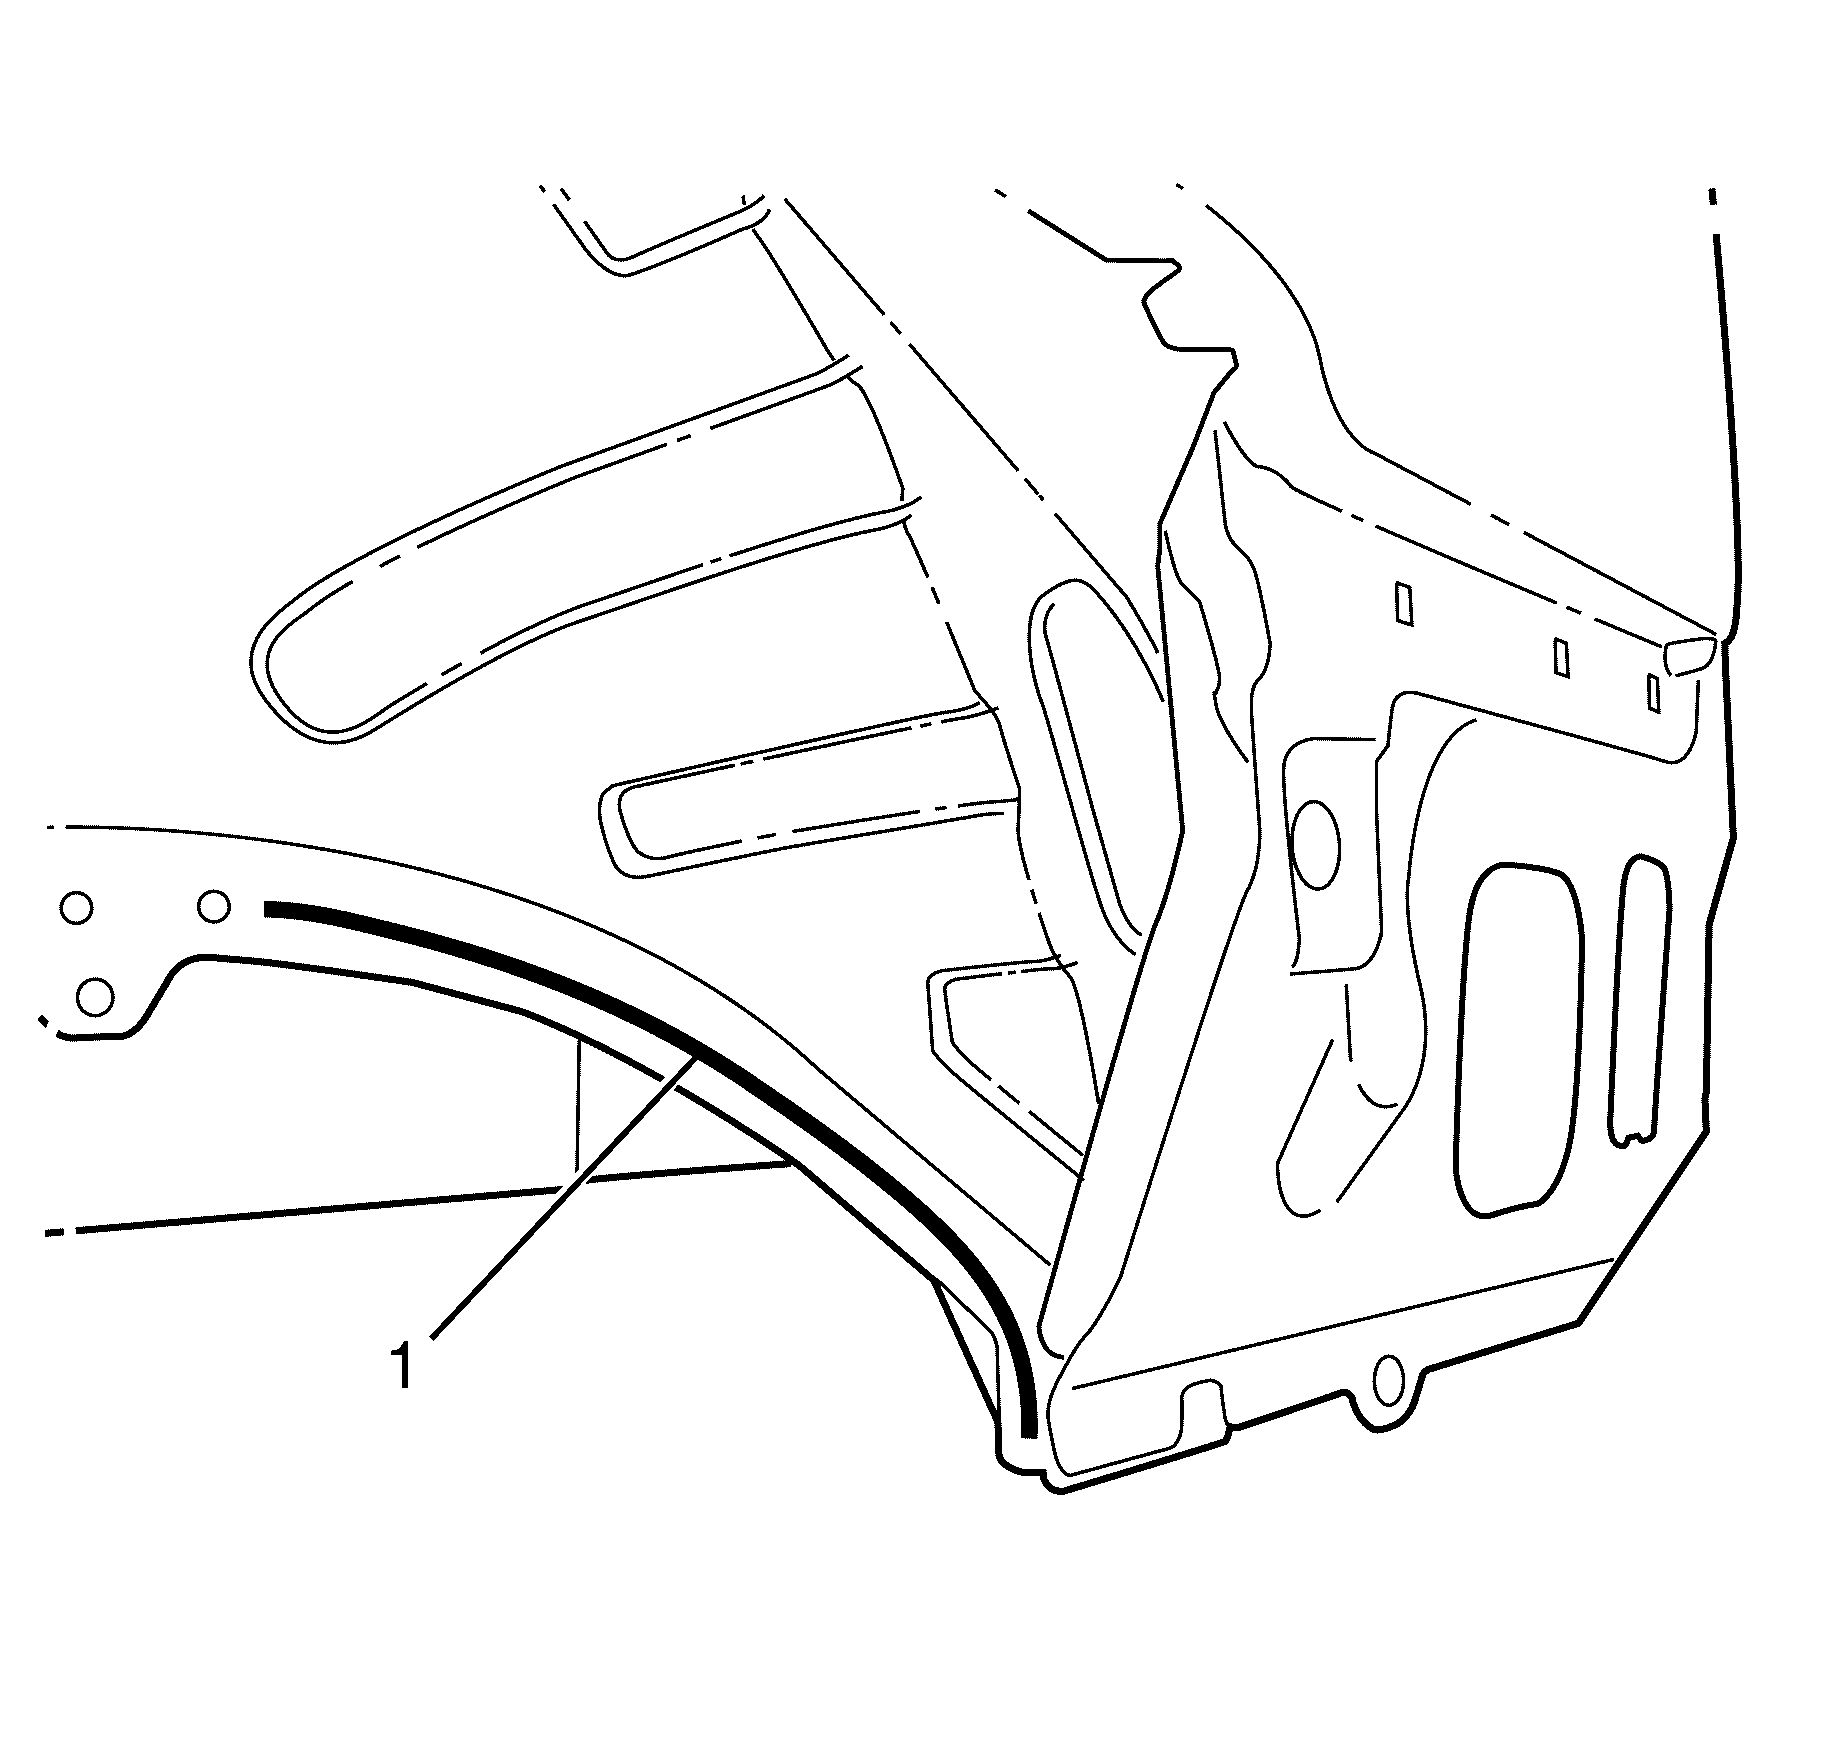
- Locate, mark and drill out the spot welds (1) in the side extension panel to the rear extension panel.
- Locate, mark and drill out the spot welds (1) in the side extension panel to the rear extension panel.
Caution: Refer to Approved Equipment for Collision Repair Caution in the Preface section.
Caution: Refer to Foam Sound Deadeners Caution in the Preface section.
Caution: Refer to Battery Disconnect Caution in the Preface section.


Installation Procedure
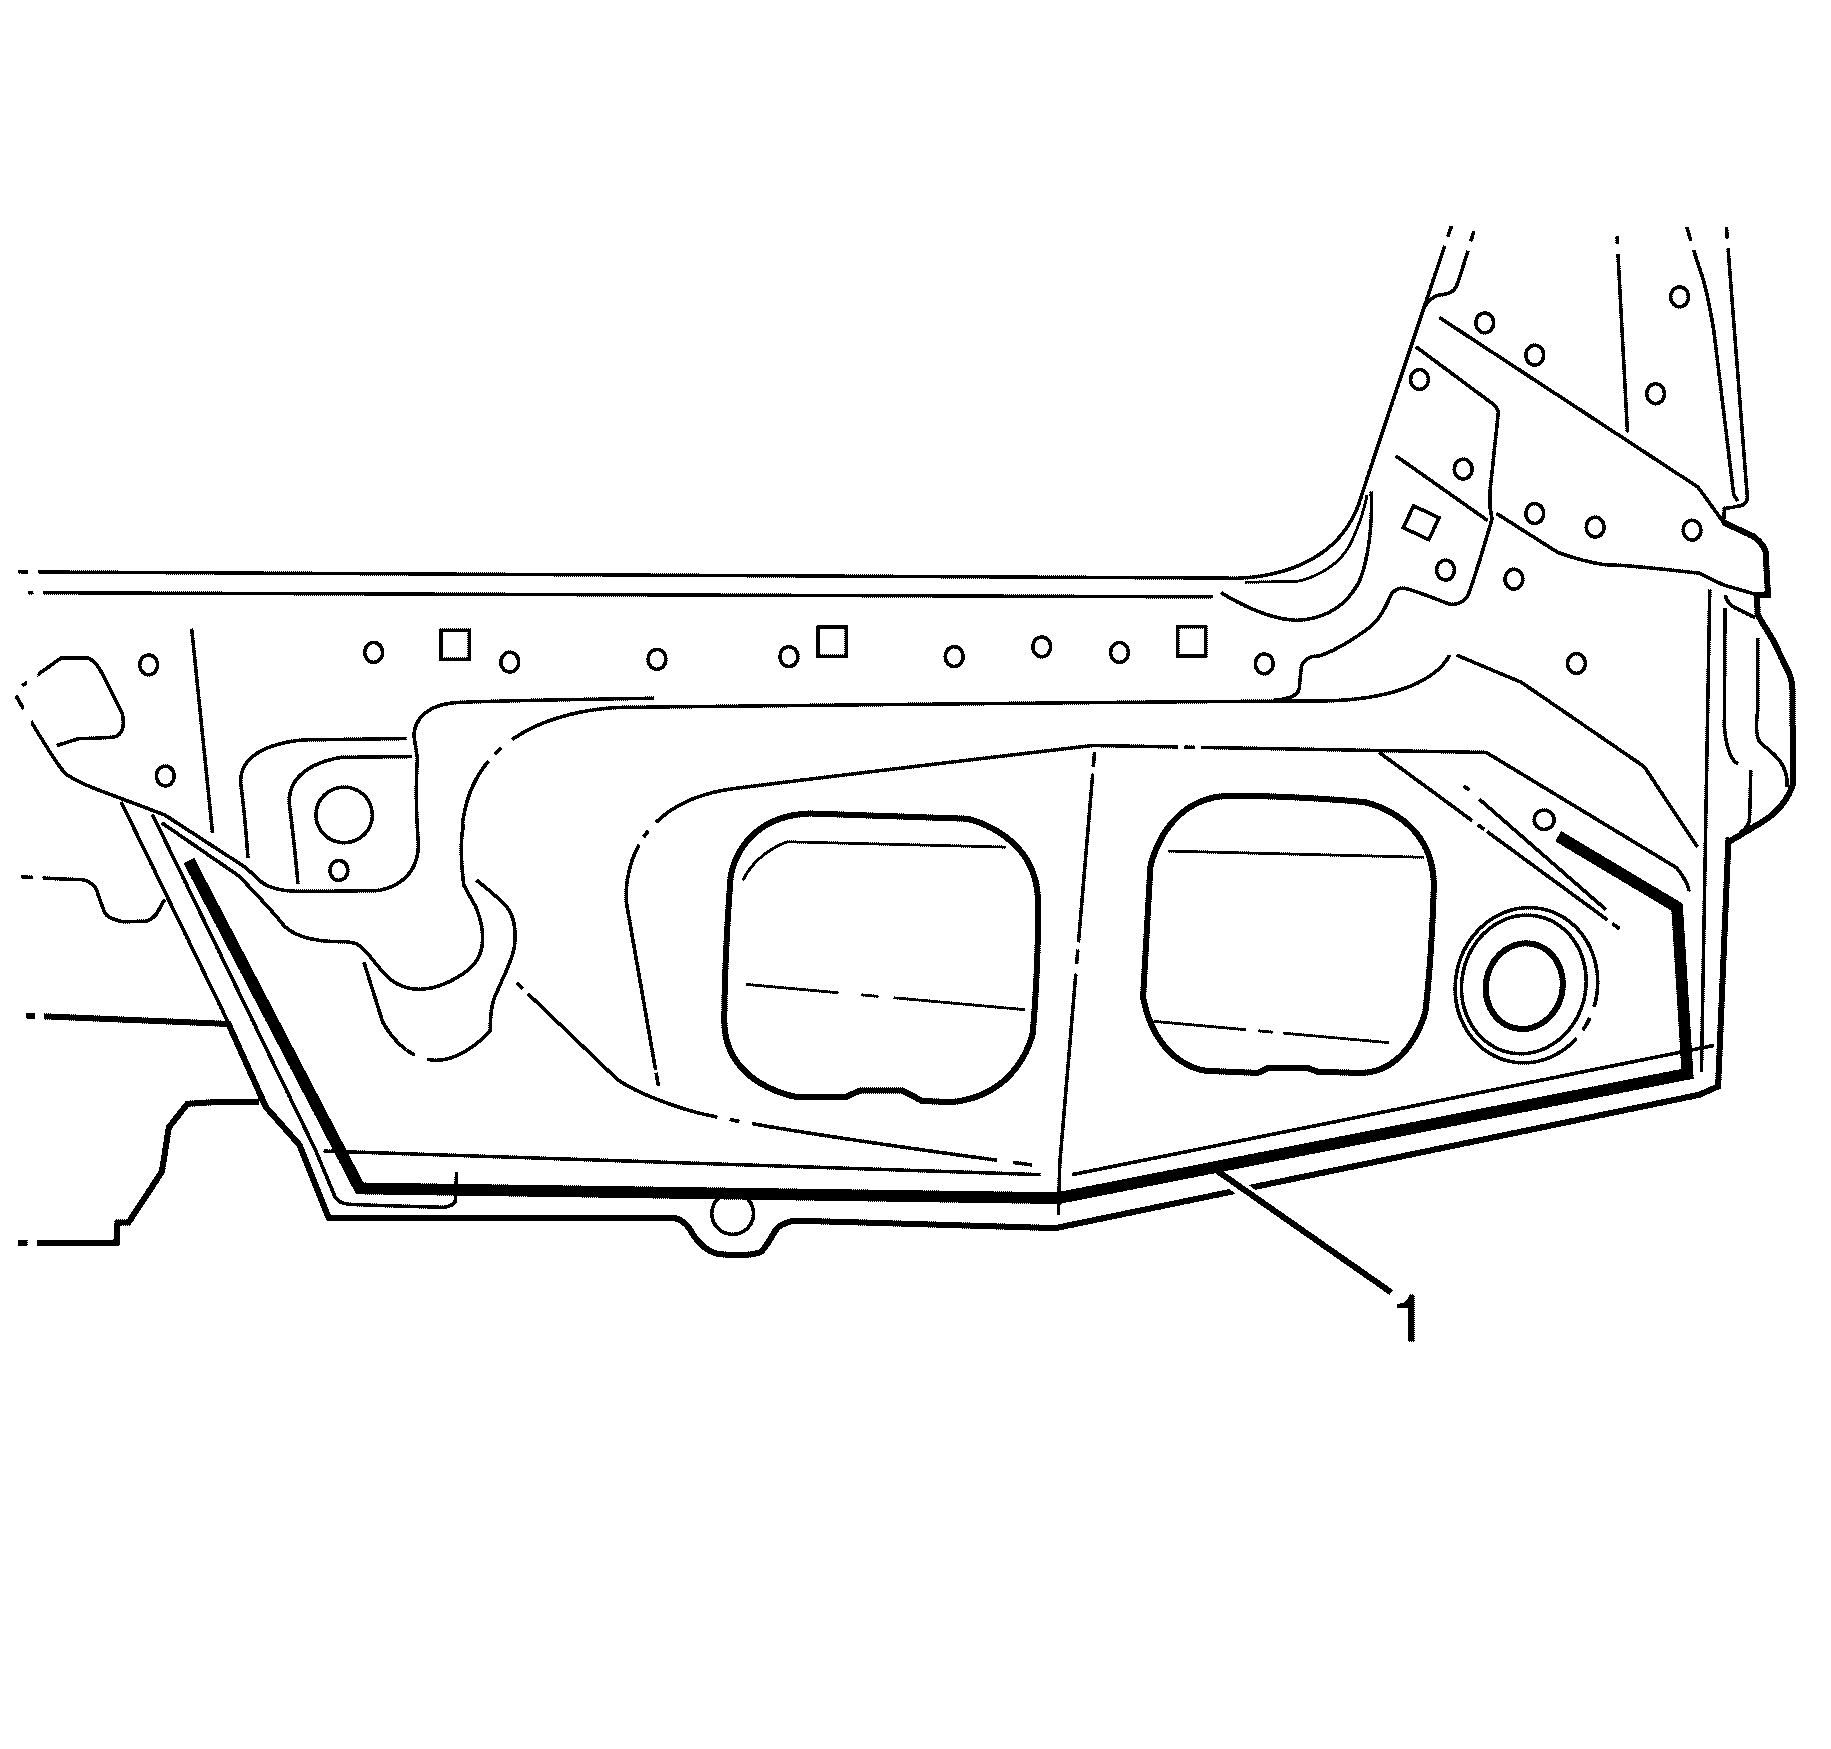
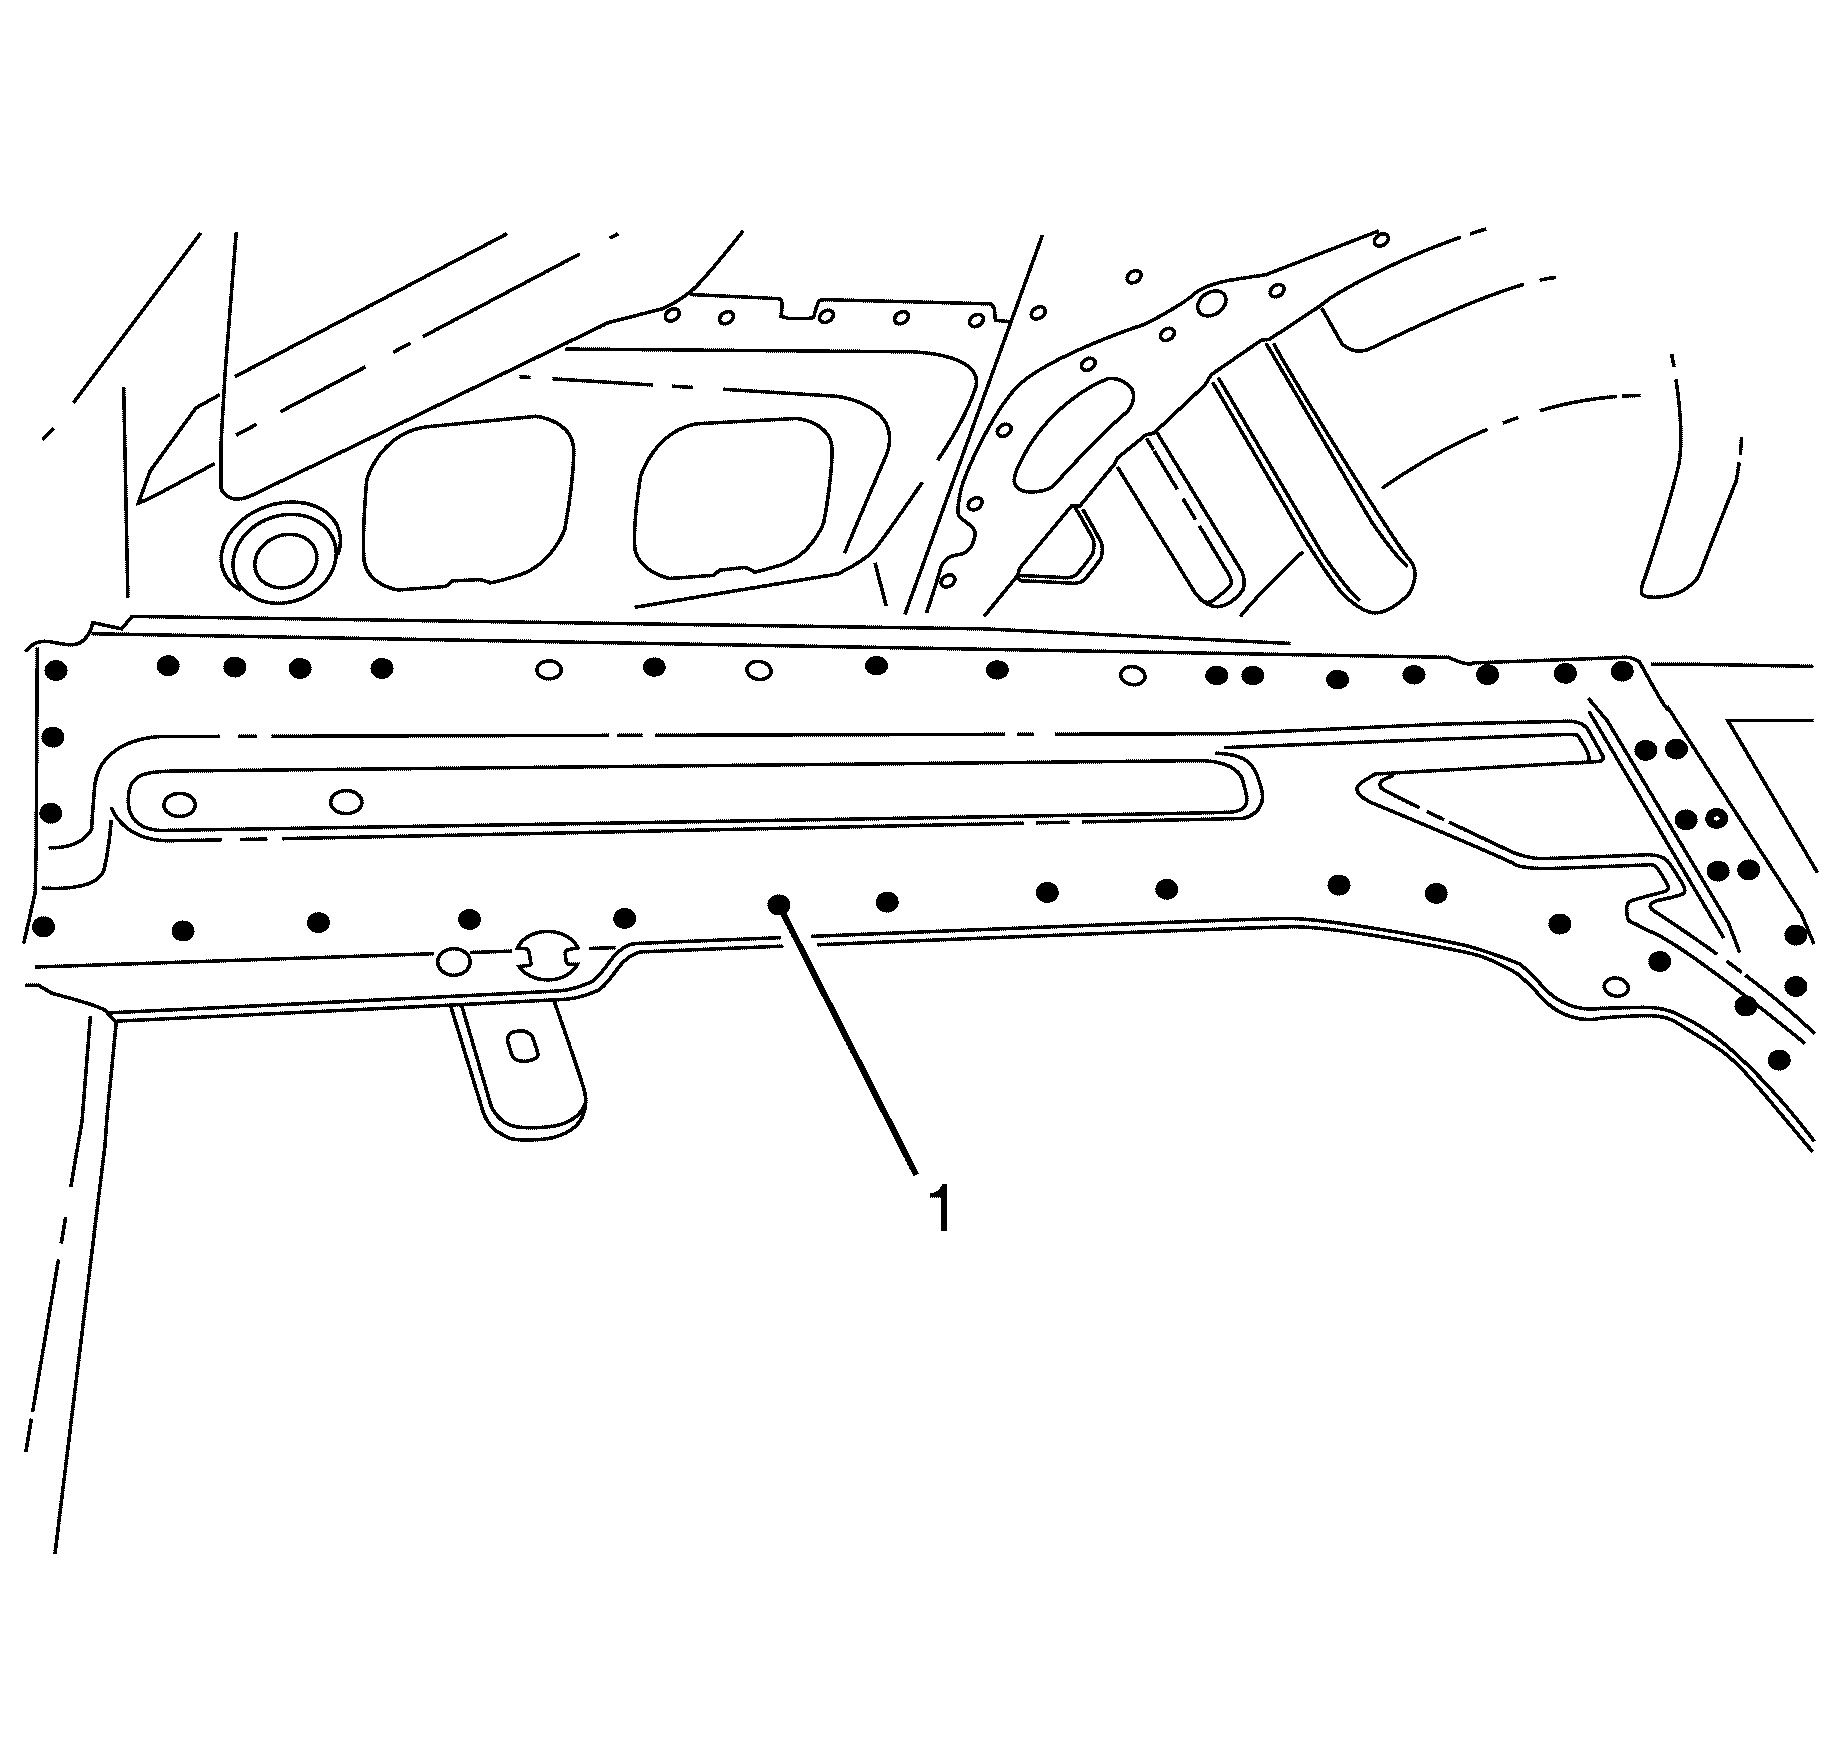
- Apply the primary sealer (1) GM6449G or equivalent along the tail lamp filler panel and rear extension panel to the rear quarter panel.
- Apply the primary sealer (1) GM6449G or equivalent along the inner side extension panel.
- Apply the primary sealer (1) GM6449G or equivalent along the outer side extension panel.
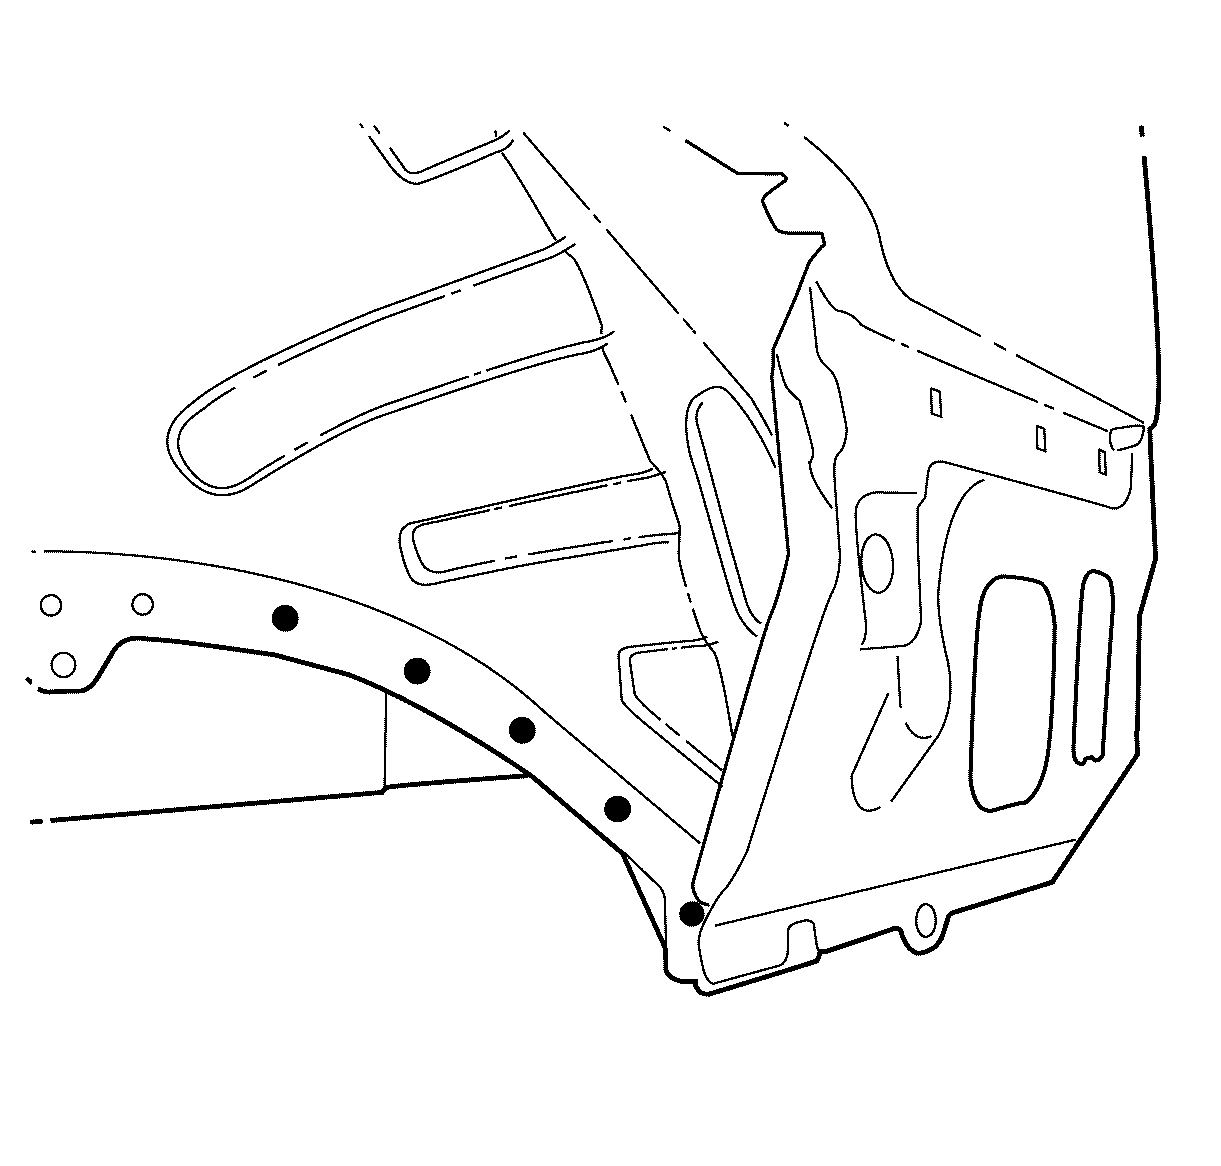
- Weld (1) the rear extension panel to the side extension panel.
- Weld (1) the rear extension panel to the side extension panel.
- Weld (1) the side extension panel to the rear chassis rail.
- Apply the sealers and anti-corrosion materials to the repair area, as necessary. Refer to Anti-Corrosion Treatment and Repair .
- Paint the repaired area. Refer to Basecoat/Clearcoat Paint Systems .
- Install the spare wheel and tyre carrier. Refer to Spare Wheel Carrier Replacement .
- Install the tail lights. Refer to Parking and Turn Signal Lamp Replacement .
- Install the rear impact bar. Refer to Rear Bumper Fascia Insert Replacement .
- Install the rear bumper fascia. Refer to Rear Bumper Fascia Replacement .
- Install the spare wheel and emergency kit from the rear compartment.
- Connect the negative battery cable. Refer to Battery Negative Cable Disconnection and Connection .
- Enable the SIR system. Refer to SIR Disabling and Enabling .
- If re-programming is required. Refer to Control Module References .
Important: If the location of the original spot weld holes can not be determined, or if structural weld-thru adhesive is present, space the puddle weld holes every 32 mm (1¼ in).
Important: Spot welding is the preferred method for attaching panels and should be used wherever possible. A puddle weld should be performed where your spot welder is unable to reach.
Caution: Refer to Battery Disconnect Caution in the Preface section.
