Tools Required
| • | J-36020 Stationary Glass Removal Tool |
| • | Glass Sealant Remover (Cold Knife) |
| • | Urethane Adhesive Kit or Equivalent |
| • | Isopropyl Alcohol, Prepsol or Equivalent |
| • | Cartridge-type Caulking Gun |
| • | Commercial-type Utility Knife |
| • | Razor Blade Scraper |
| • | Suction Cups |
Removal Procedure
- Cover the seats and carpeting to protect them from broken glass.
- Remove rear window upper garnish mould. Refer to Quarter Upper Trim Panel Replacement .
- Remove the high level stop light. Refer to High Mount Stop Lamp Replacement .
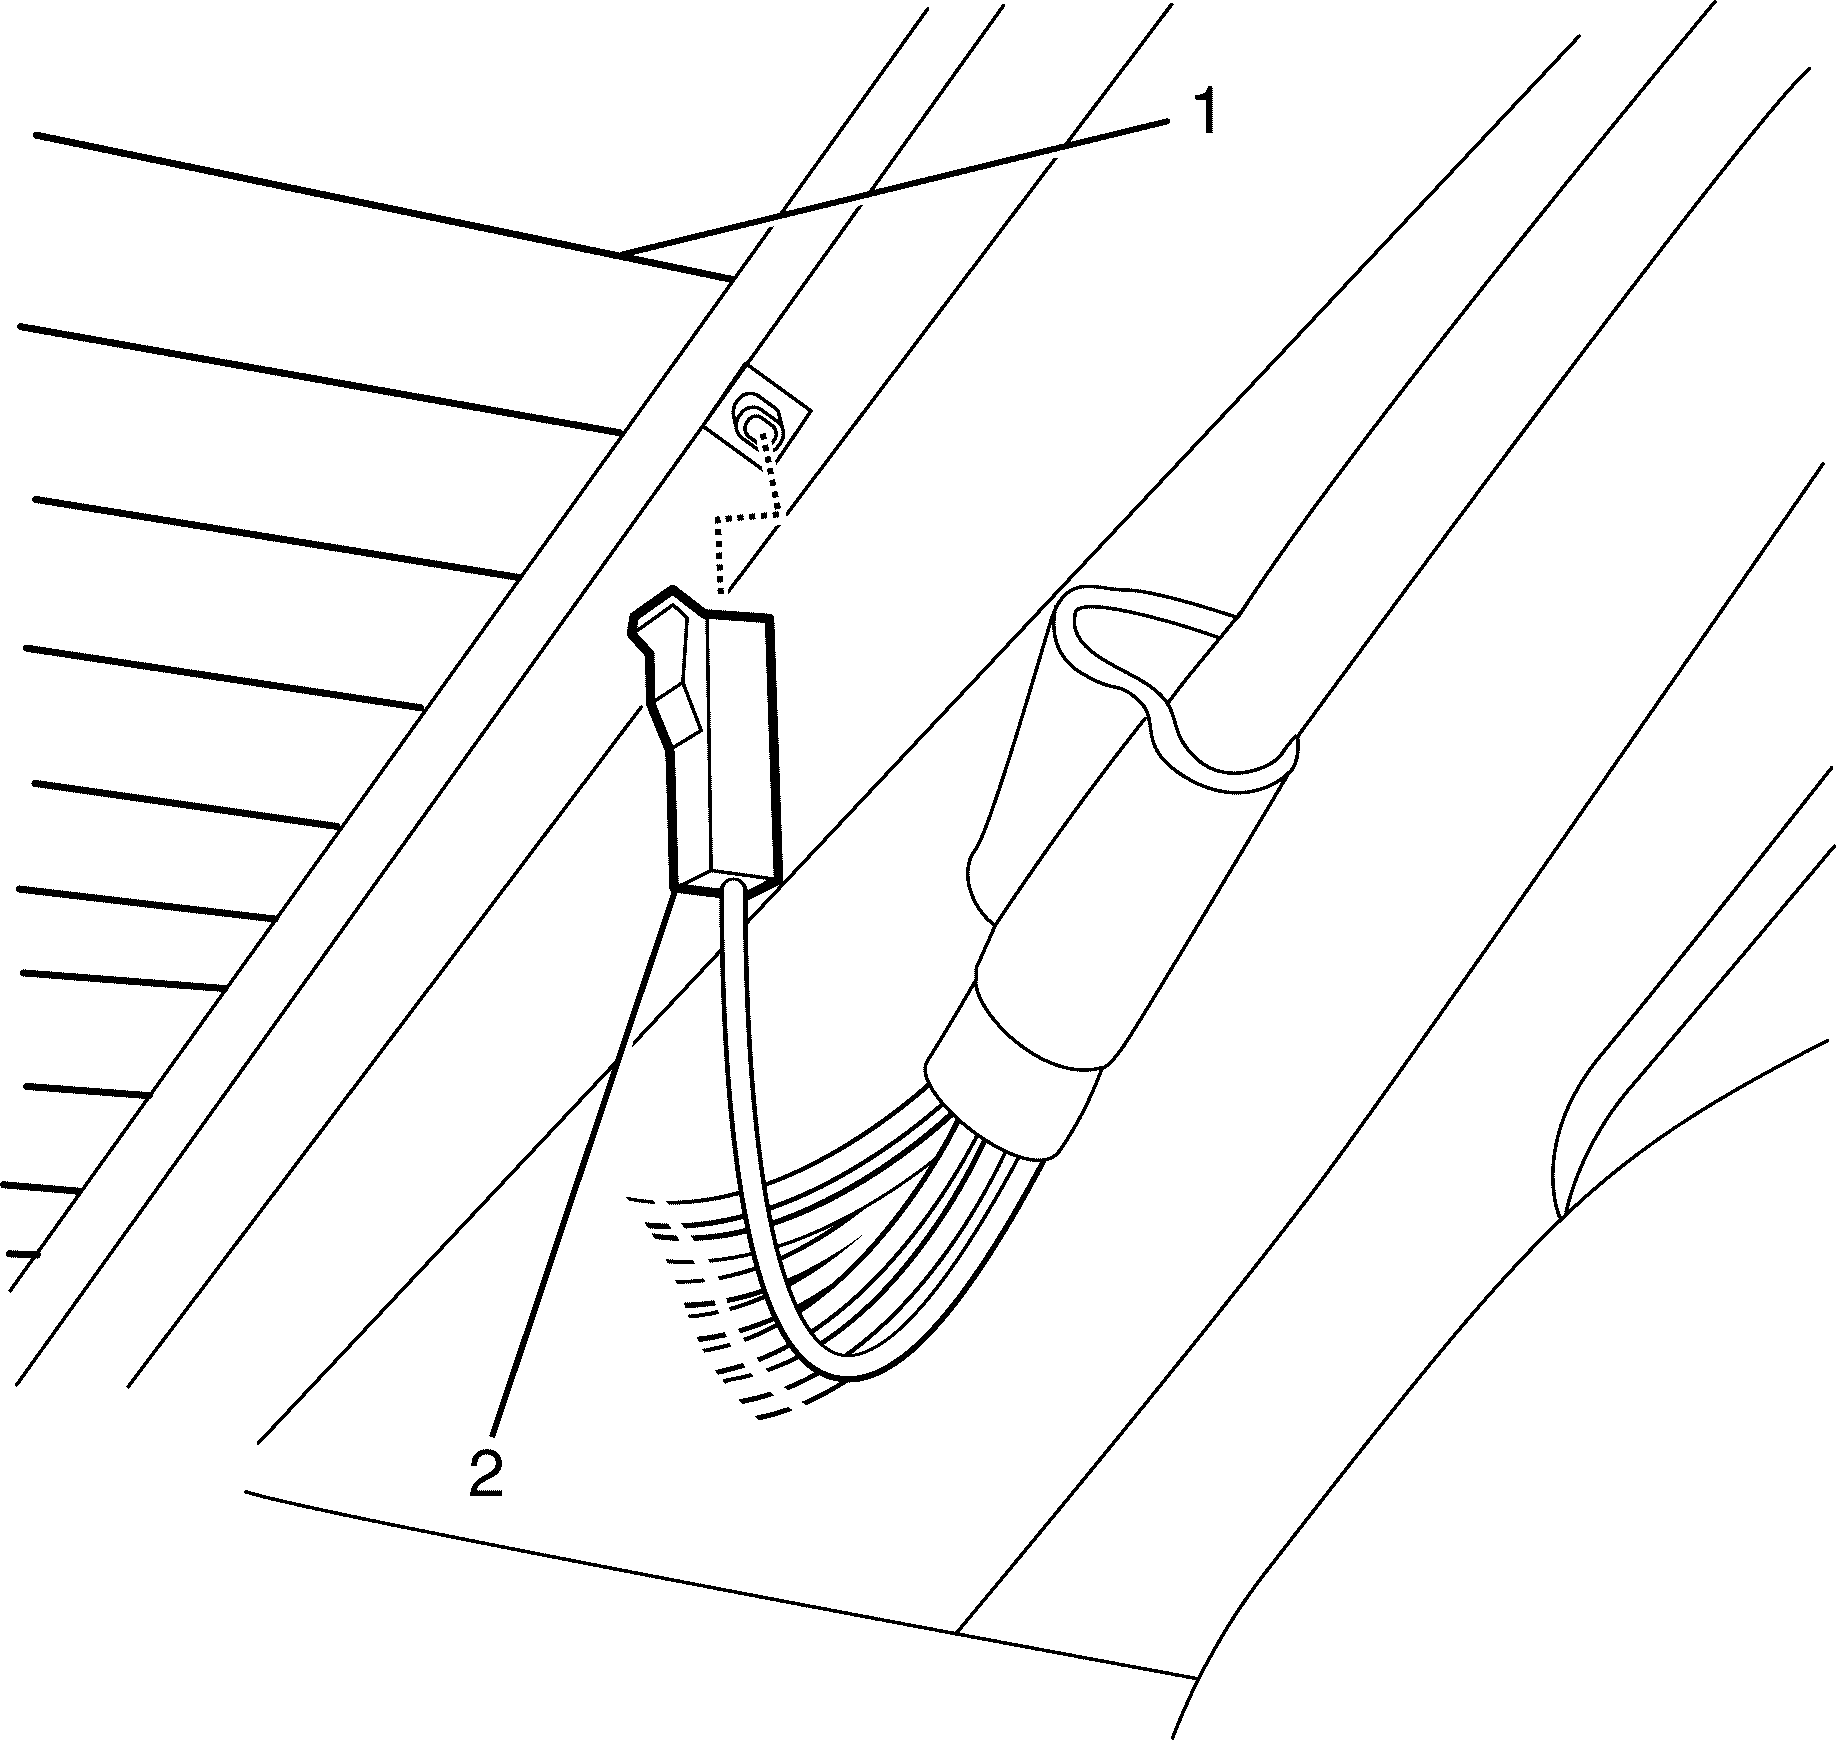
- Disconnect the rear window electrical connectors (2) from the rear window (1).
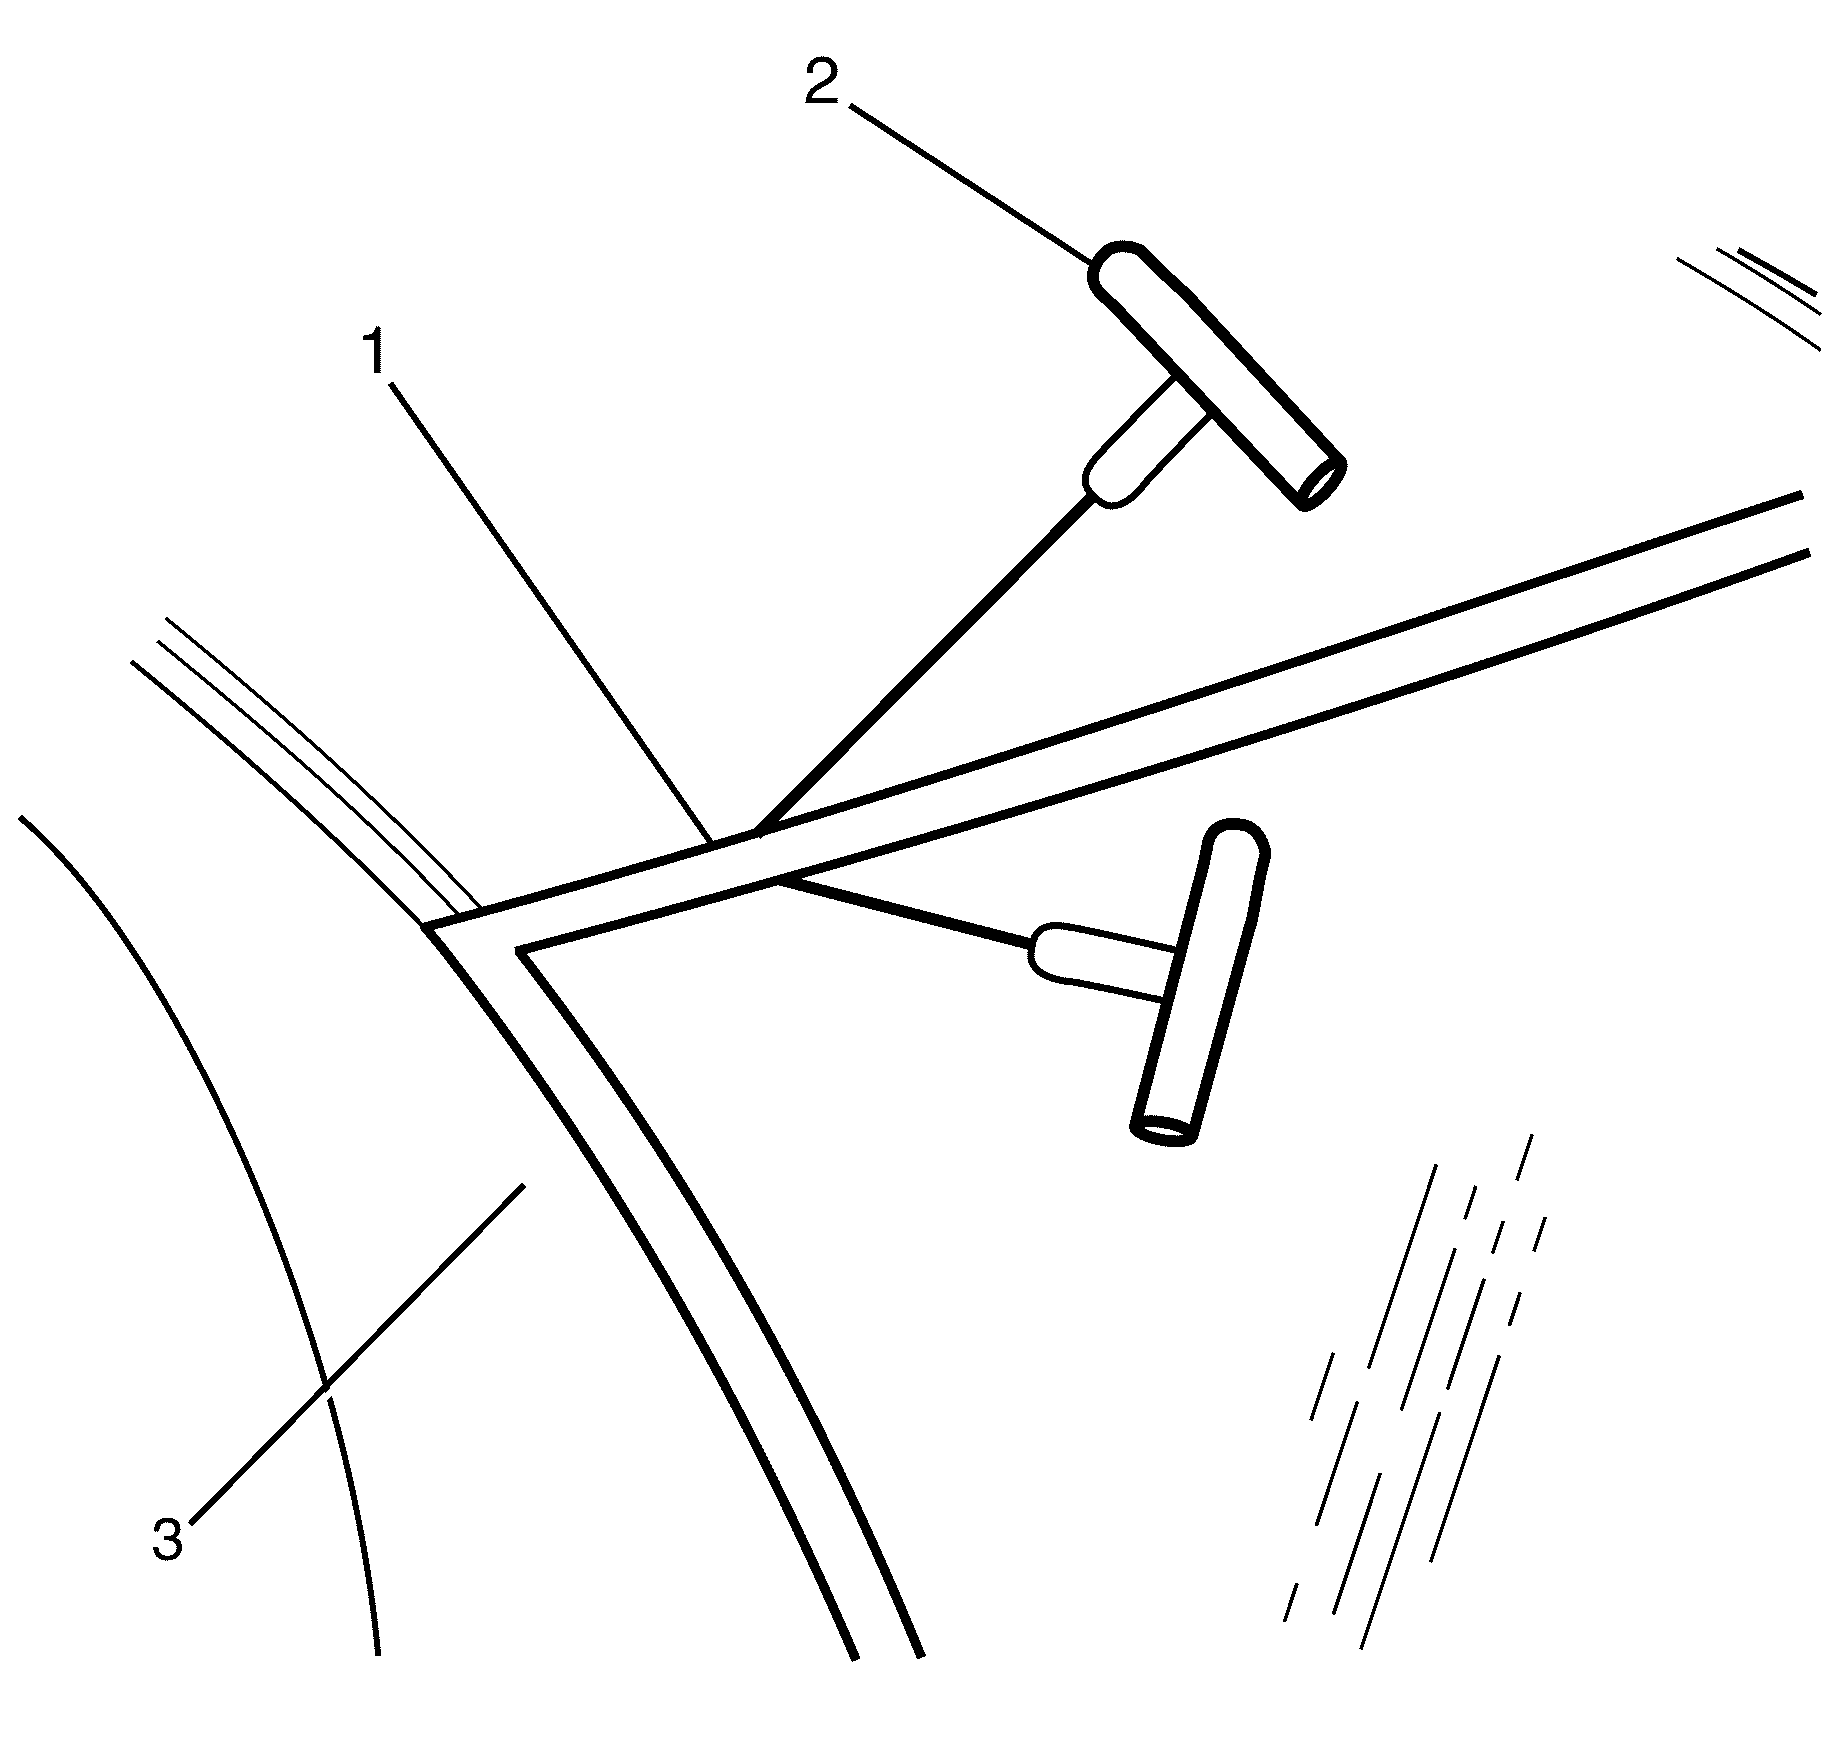
- Install J-36020 (2) to the vehicle (3).
- Connect the end of the piano wire to the other handle of J-36020 (2).
- With the aid of an assistant cut through the urethane bead around the rear window (2) to the vehicle (3).
- With the aid of an assistant remove the rear window (1) from the vehicle (2).
Caution: When working with any type of glass or sheet metal with exposed or rough edges, wear approved safety glasses and gloves in order to reduce the chance of personal injury.
Caution: If a window is cracked but still intact, crisscross the window with masking tape in order to reduce the risk of damage or personal injury.
Important: Before cutting out a stationary window, apply a double layer of masking tape around the perimeter of the painted surfaces and the interior trim.
Important: Use a suitable tool to install the piano wire from J-36020 (2) through the urethane at a upper corner of the rear window (1).
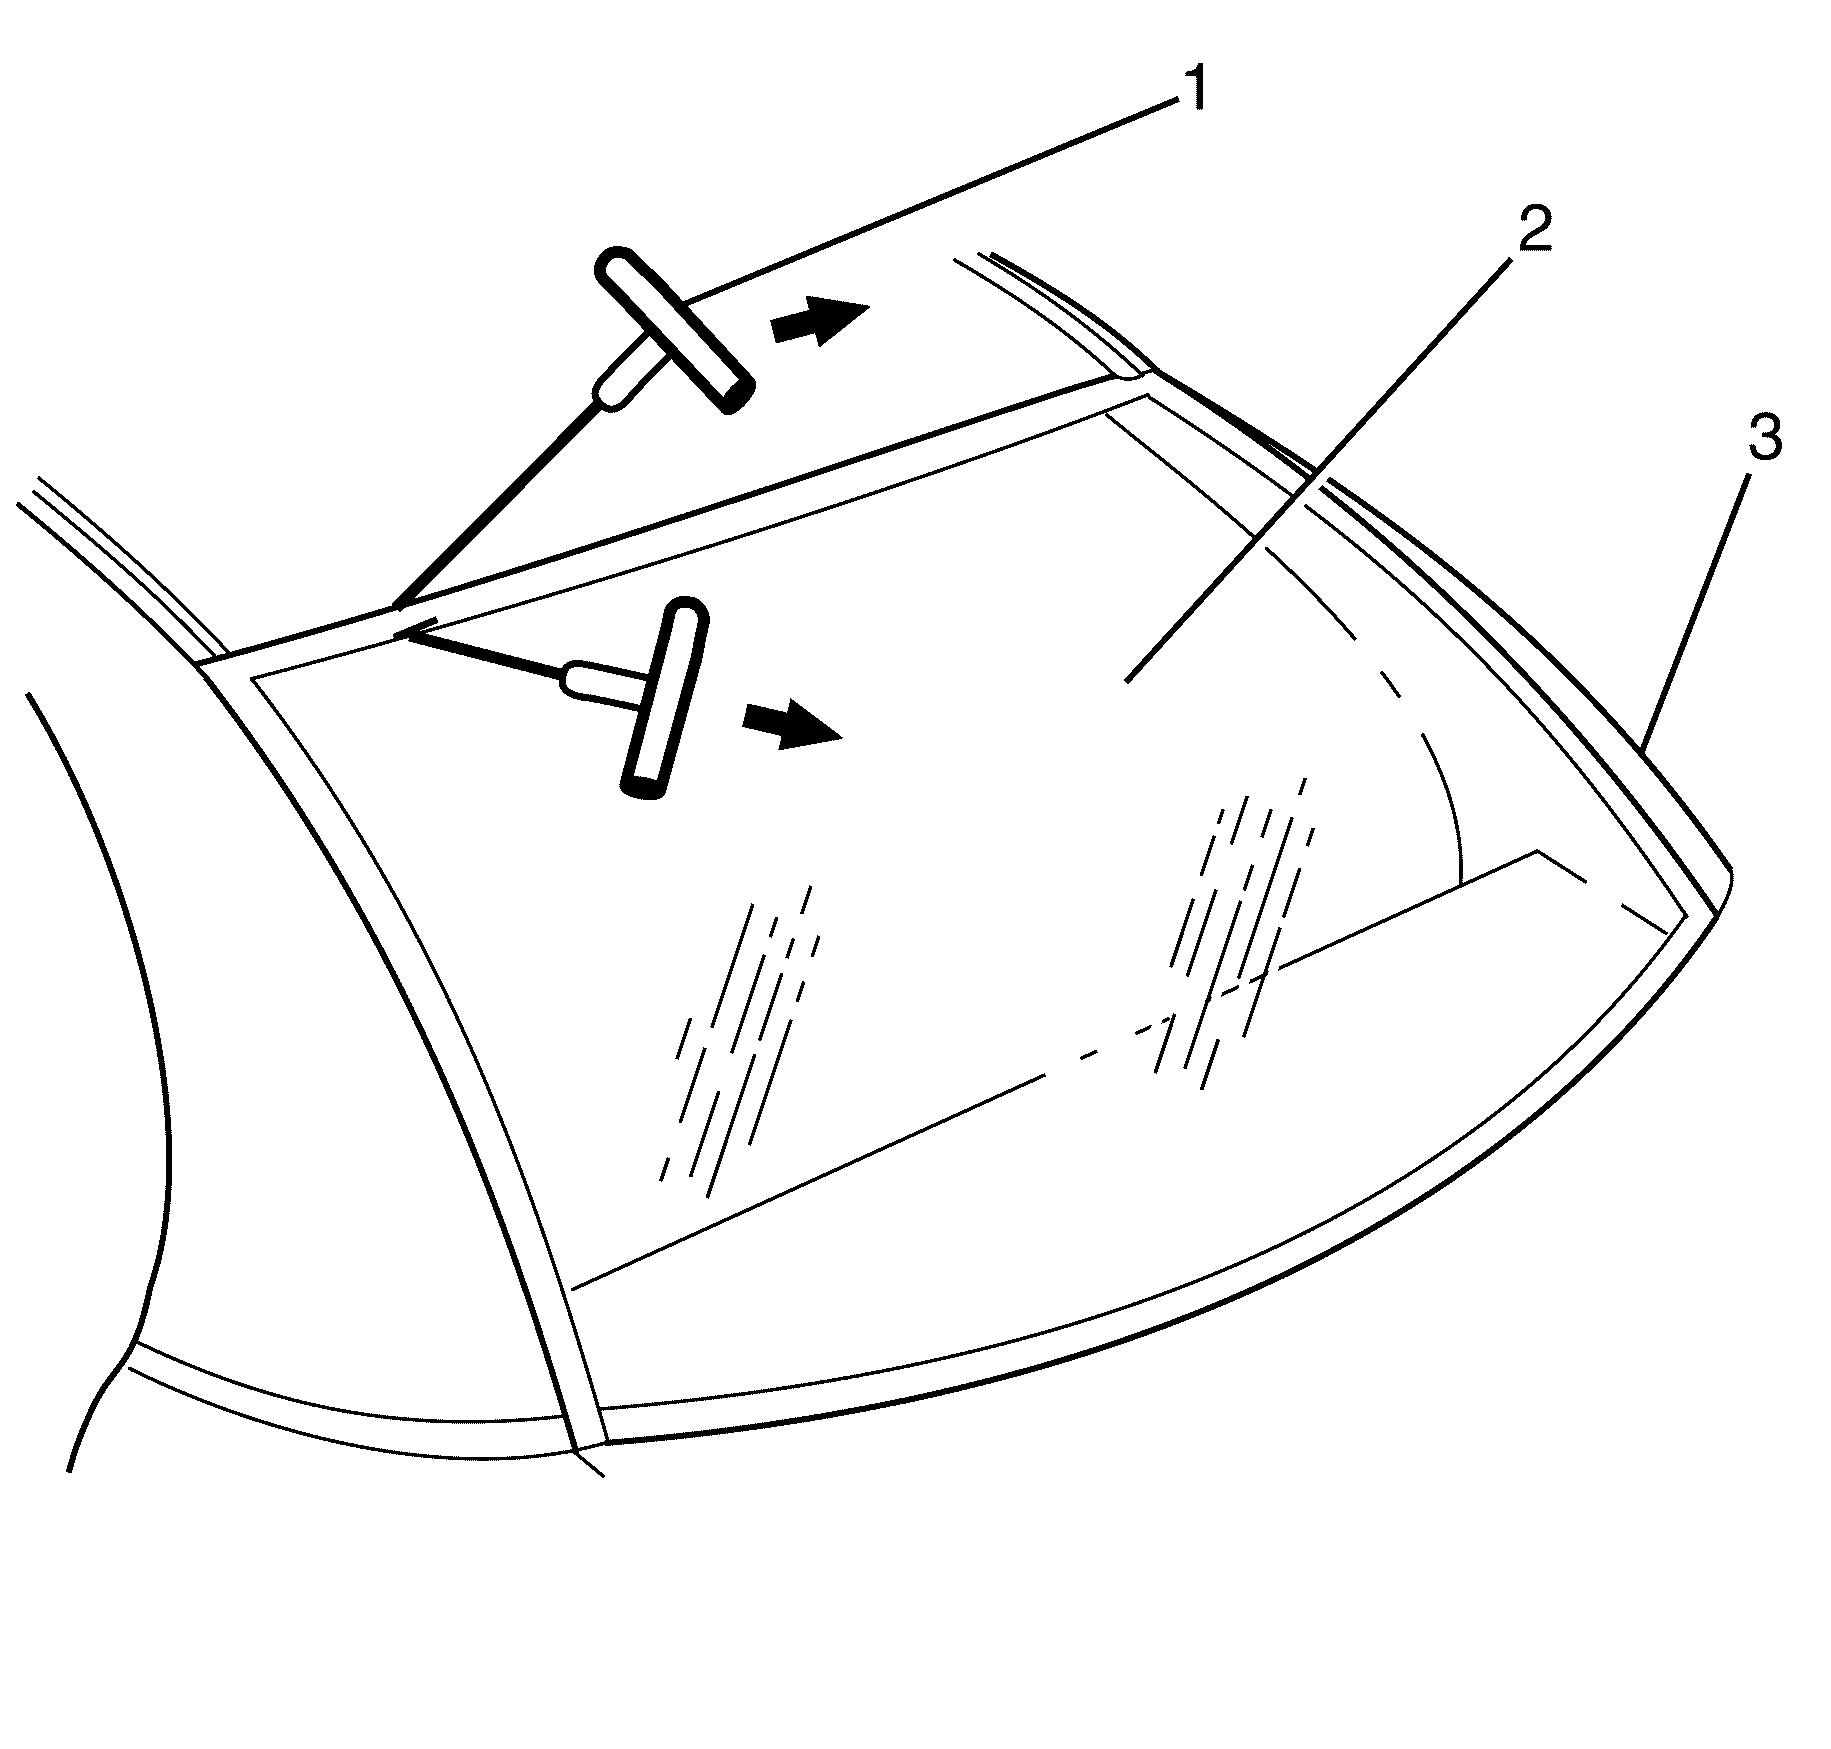
Important: Keep the inside handle of J-36020 (1) against the rear window (2) and cycle the full length of the piano wire to prevent heat build up.
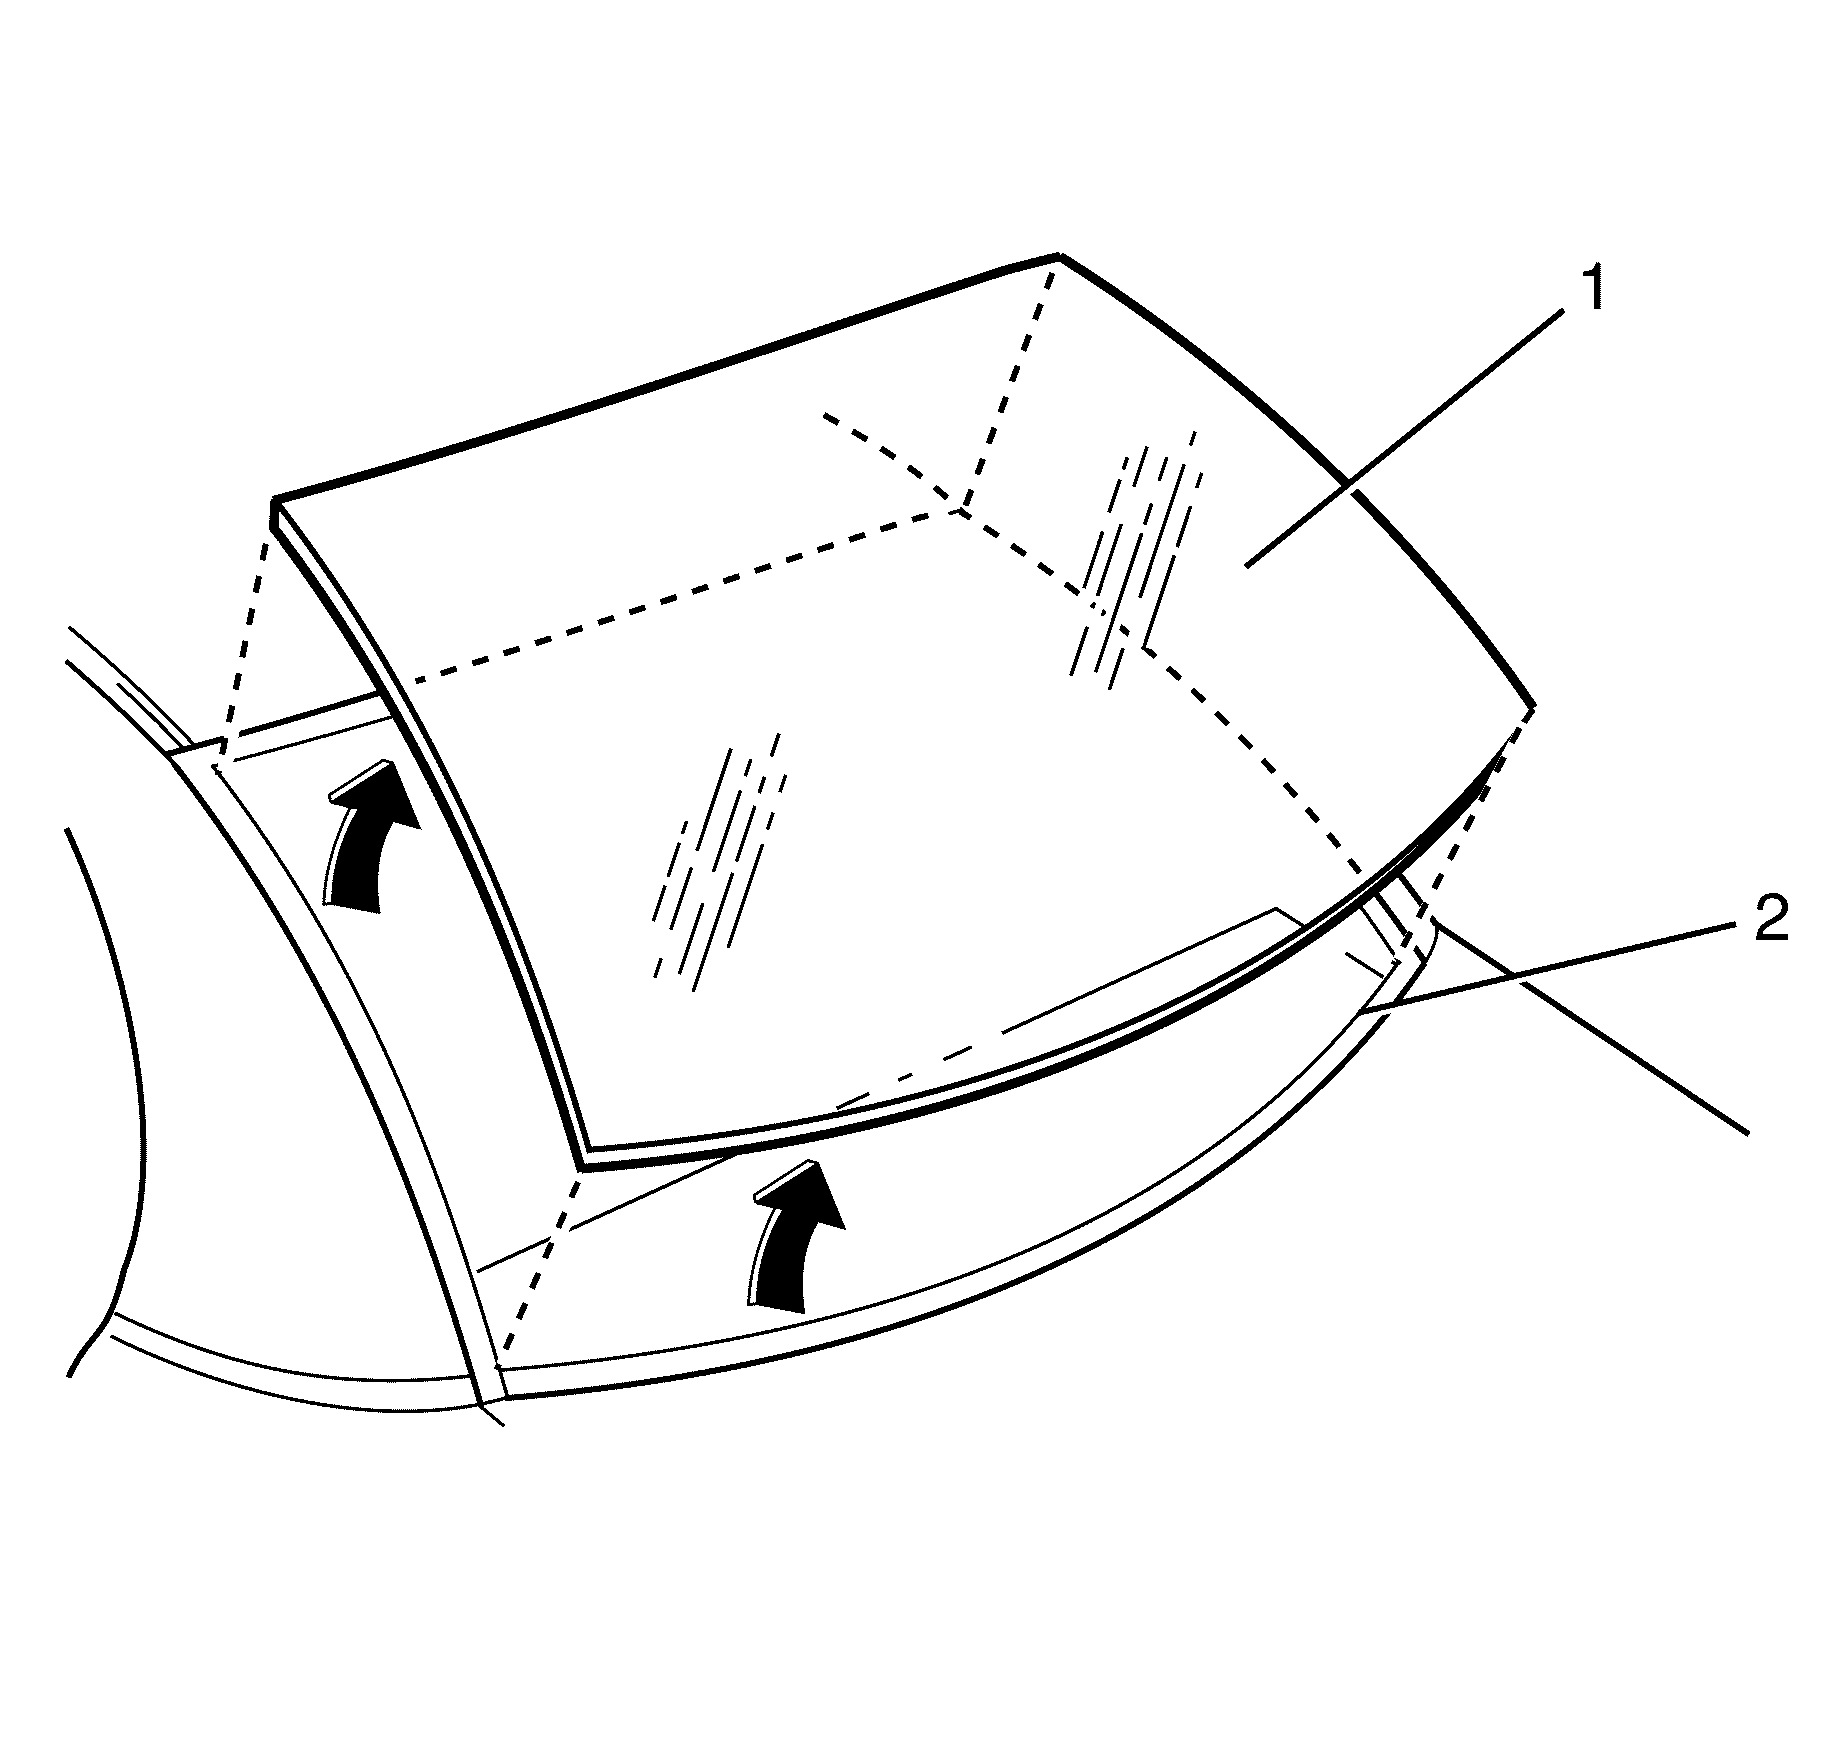
Important: The use of suction cups will aid in the rear window (1) removal.
Installation Procedure
- Clean surface and edges of rear window where urethane is to be applied.
- Apply a 50mm wide layer of clear glass primer to the inner surface of the rear window perimeter.
- Apply the black glass primer to the rear window (1).
- Apply the urethane GMW3041 or equivalent to the rear window (1).
- With the aid of an assistant install the rear window (1) to the vehicle (2).
- Press the rear window (1) firmly into position.
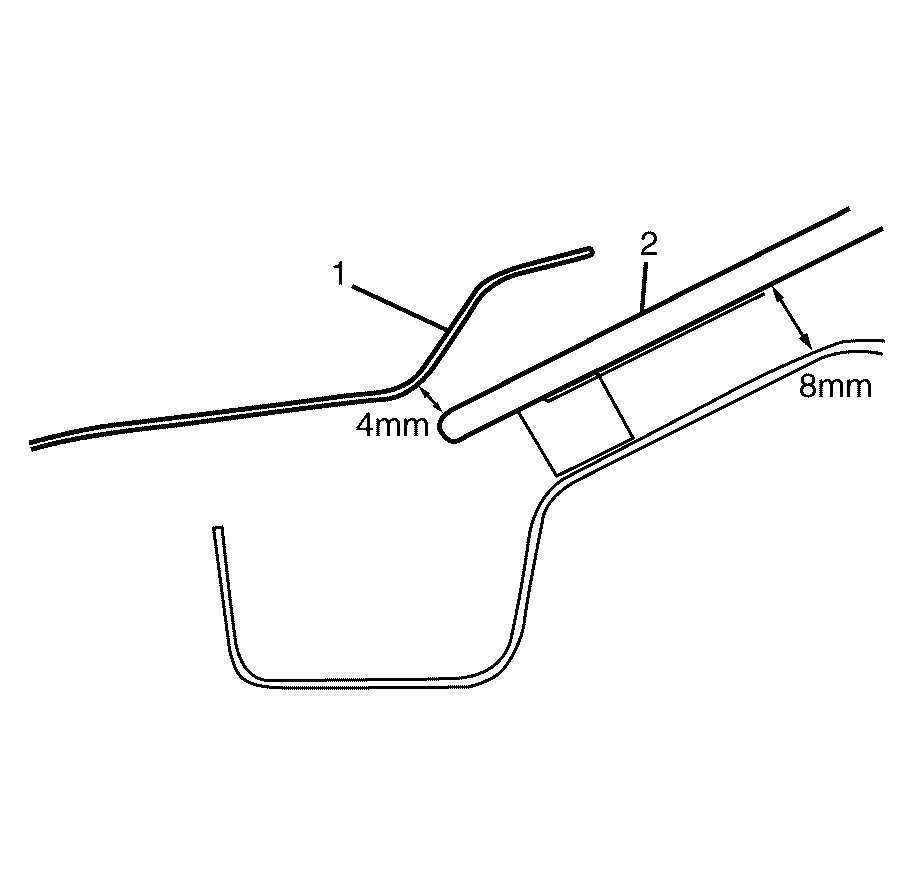
- Check the clearance between the rear window (2) and the deck lid (1).
- Connect the rear window electrical connectors (2) to the rear window (1).
- Remove the double layer of masking tape from around the perimeter of the painted surfaces and the interior trim.
- Install the rear window upper garnish mould. Refer to Quarter Upper Trim Panel Replacement .
- Install the high level stop light. Refer to High Mount Stop Lamp Replacement .
Caution: Failure to prep the area prior to the application of primer may cause insufficient bonding of urethane adhesive. Insufficient bonding of urethane adhesive may allow unrestrained occupants to be ejected from the vehicle resulting in personal injury.
Important: Use a lint free cloth and suitable oil free cleaning agent to make sure adhesion of the urethane.
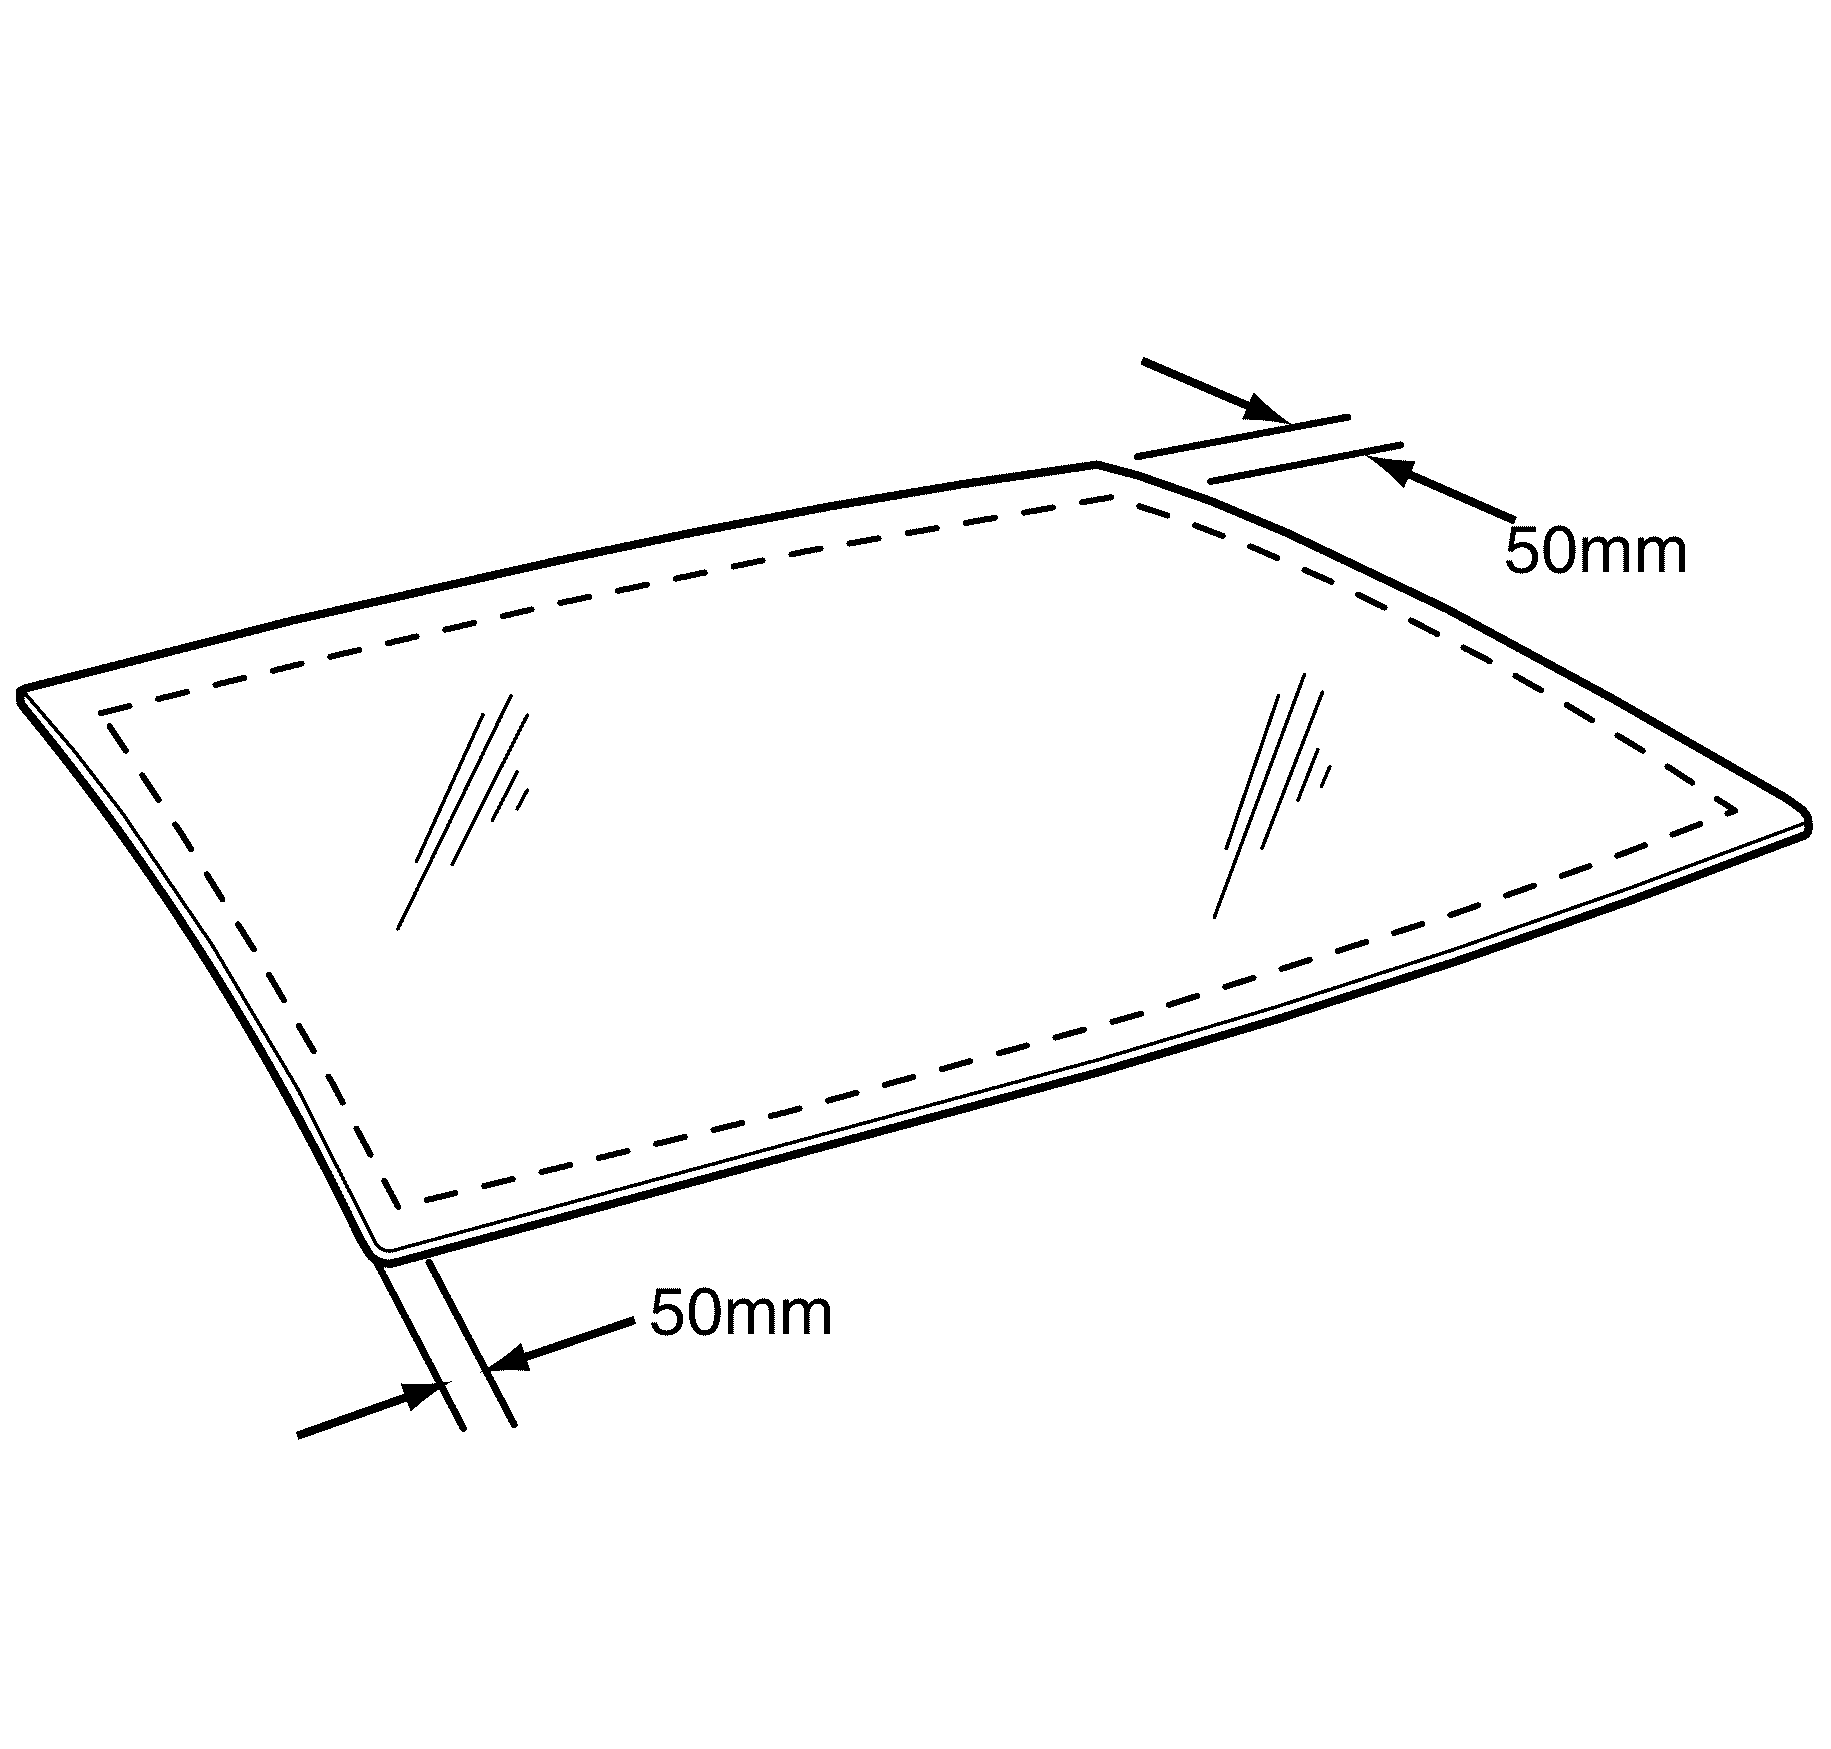
Important: The clear glass primer dries almost instantly and may stain the viewing area of the rear window if not applied evenly. Wipe off the clear glass primer with a lint free cloth immediately after application.
Important: Apply the clear glass primer with a suitable applicator.
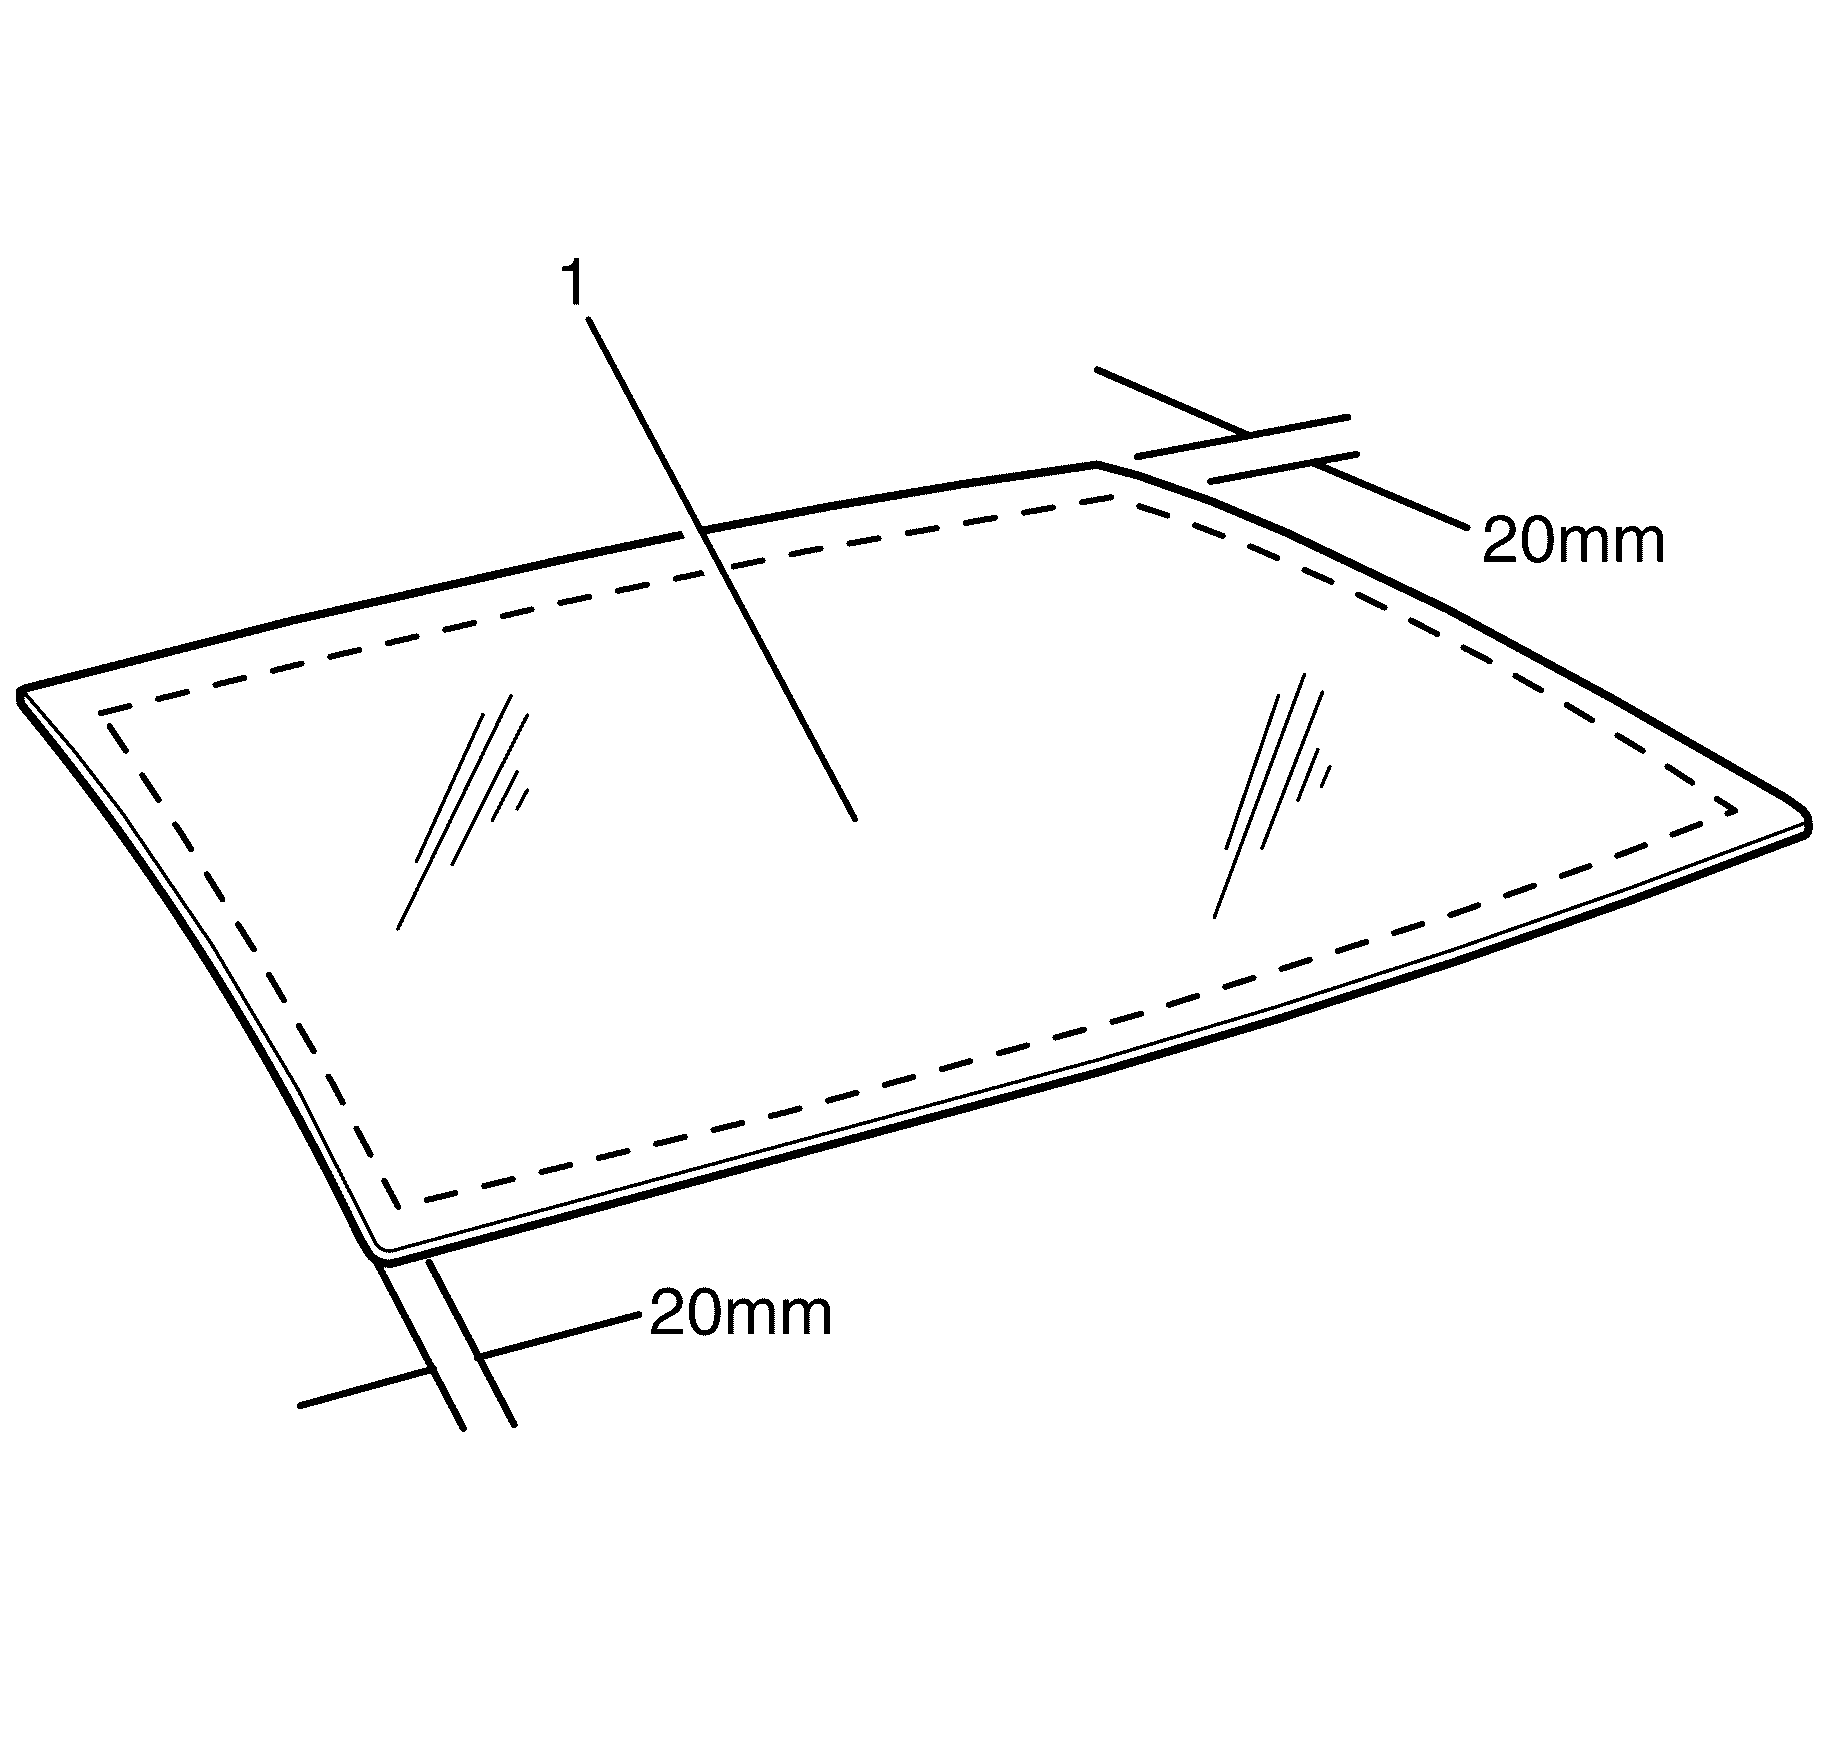
Important: Agitate the black glass primer for 1 minute to mix thoroughly.
Important: Apply a 20mm wide layer of black glass primer with the applicator to the rear window (1) perimeter.
Caution: Refer to Window Retention Caution in the Preface section.

Important: Apply a 7mm wide and 14mm deep layer of urethane GMW3041 or equivalent 20mm inside the perimeter of the rear window (1).
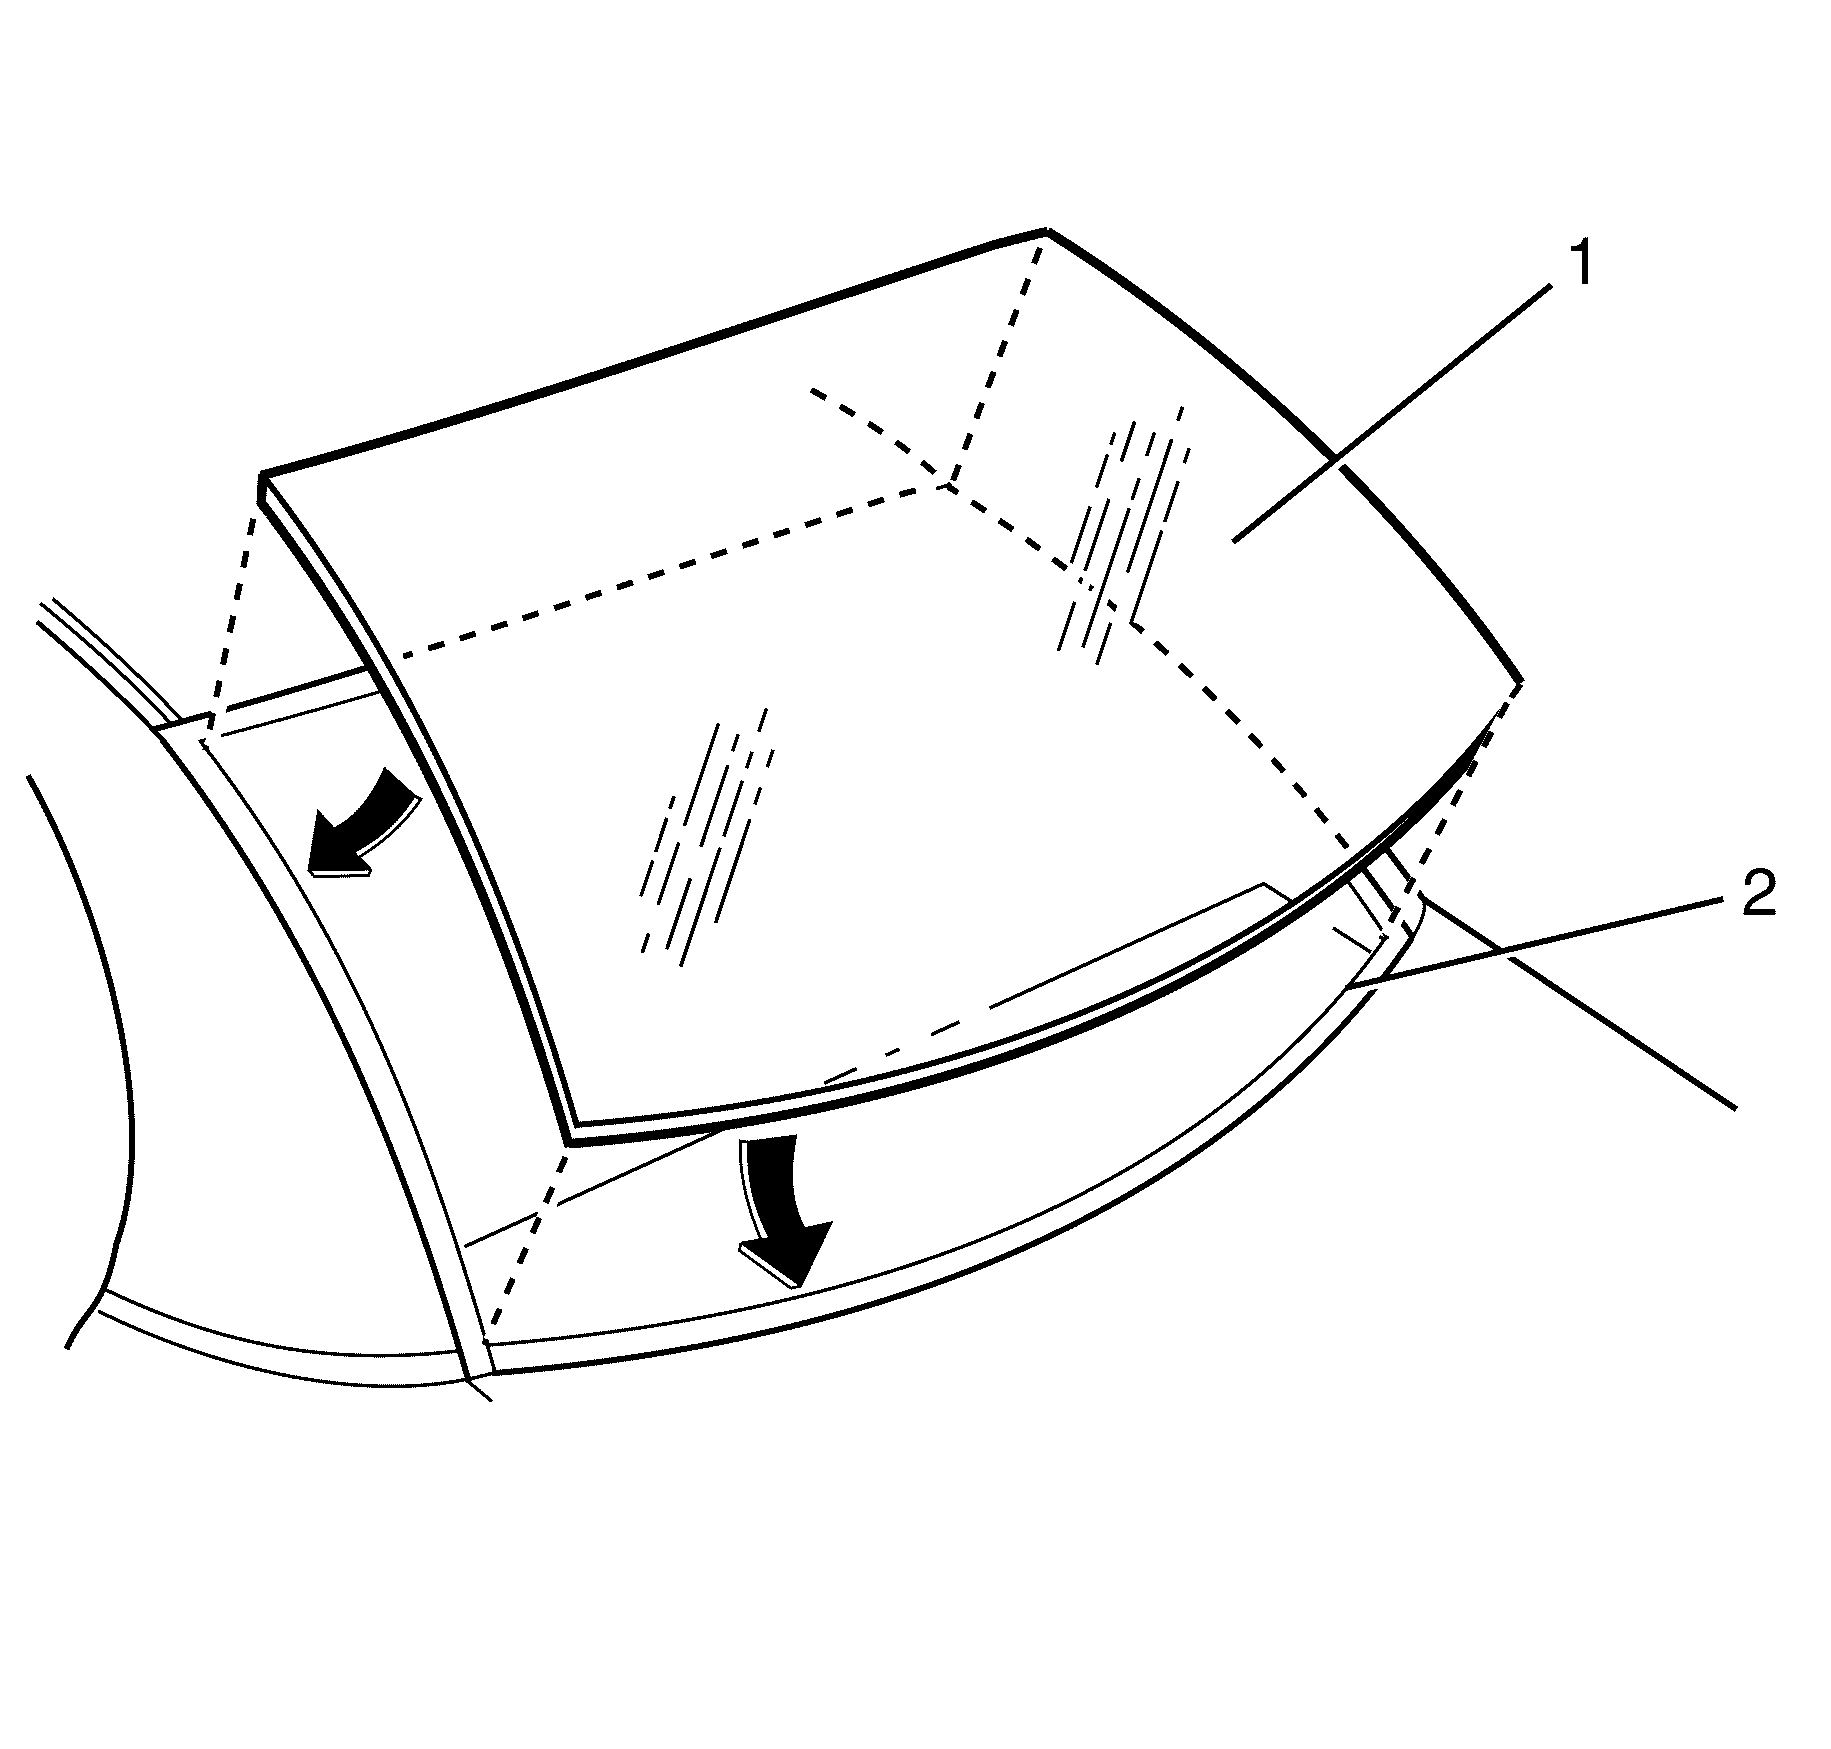
Important: The rear window (1) is aligned by two datum pins located at the top of the rear window and 8mm foam spacers one at the top and two at the bottom of the rear window (1).
