Removal Procedure
- Remove the rear compartment floor carpet. Refer to Rear Compartment Floor Panel Carpet Replacement.
- Remove the spare wheel and emergency kit from the rear compartment.
- Remove the rear bumper fascia. Refer to Rear Bumper Fascia Replacement.
- Cut along the spare wheel panel component as shown with a suitable air saw.
- Remove the cut section of the spare wheel well panel component (1) from the vehicle.
- Install J-36020 (2) to the vehicle.
- Connect the end of the piano wire to the other handle of the J-36020 (2).
- Cut through the urethane bead around the spare wheel well compartment (4) to the rear compartment extension floor panel (3) with the aid of an assistant.
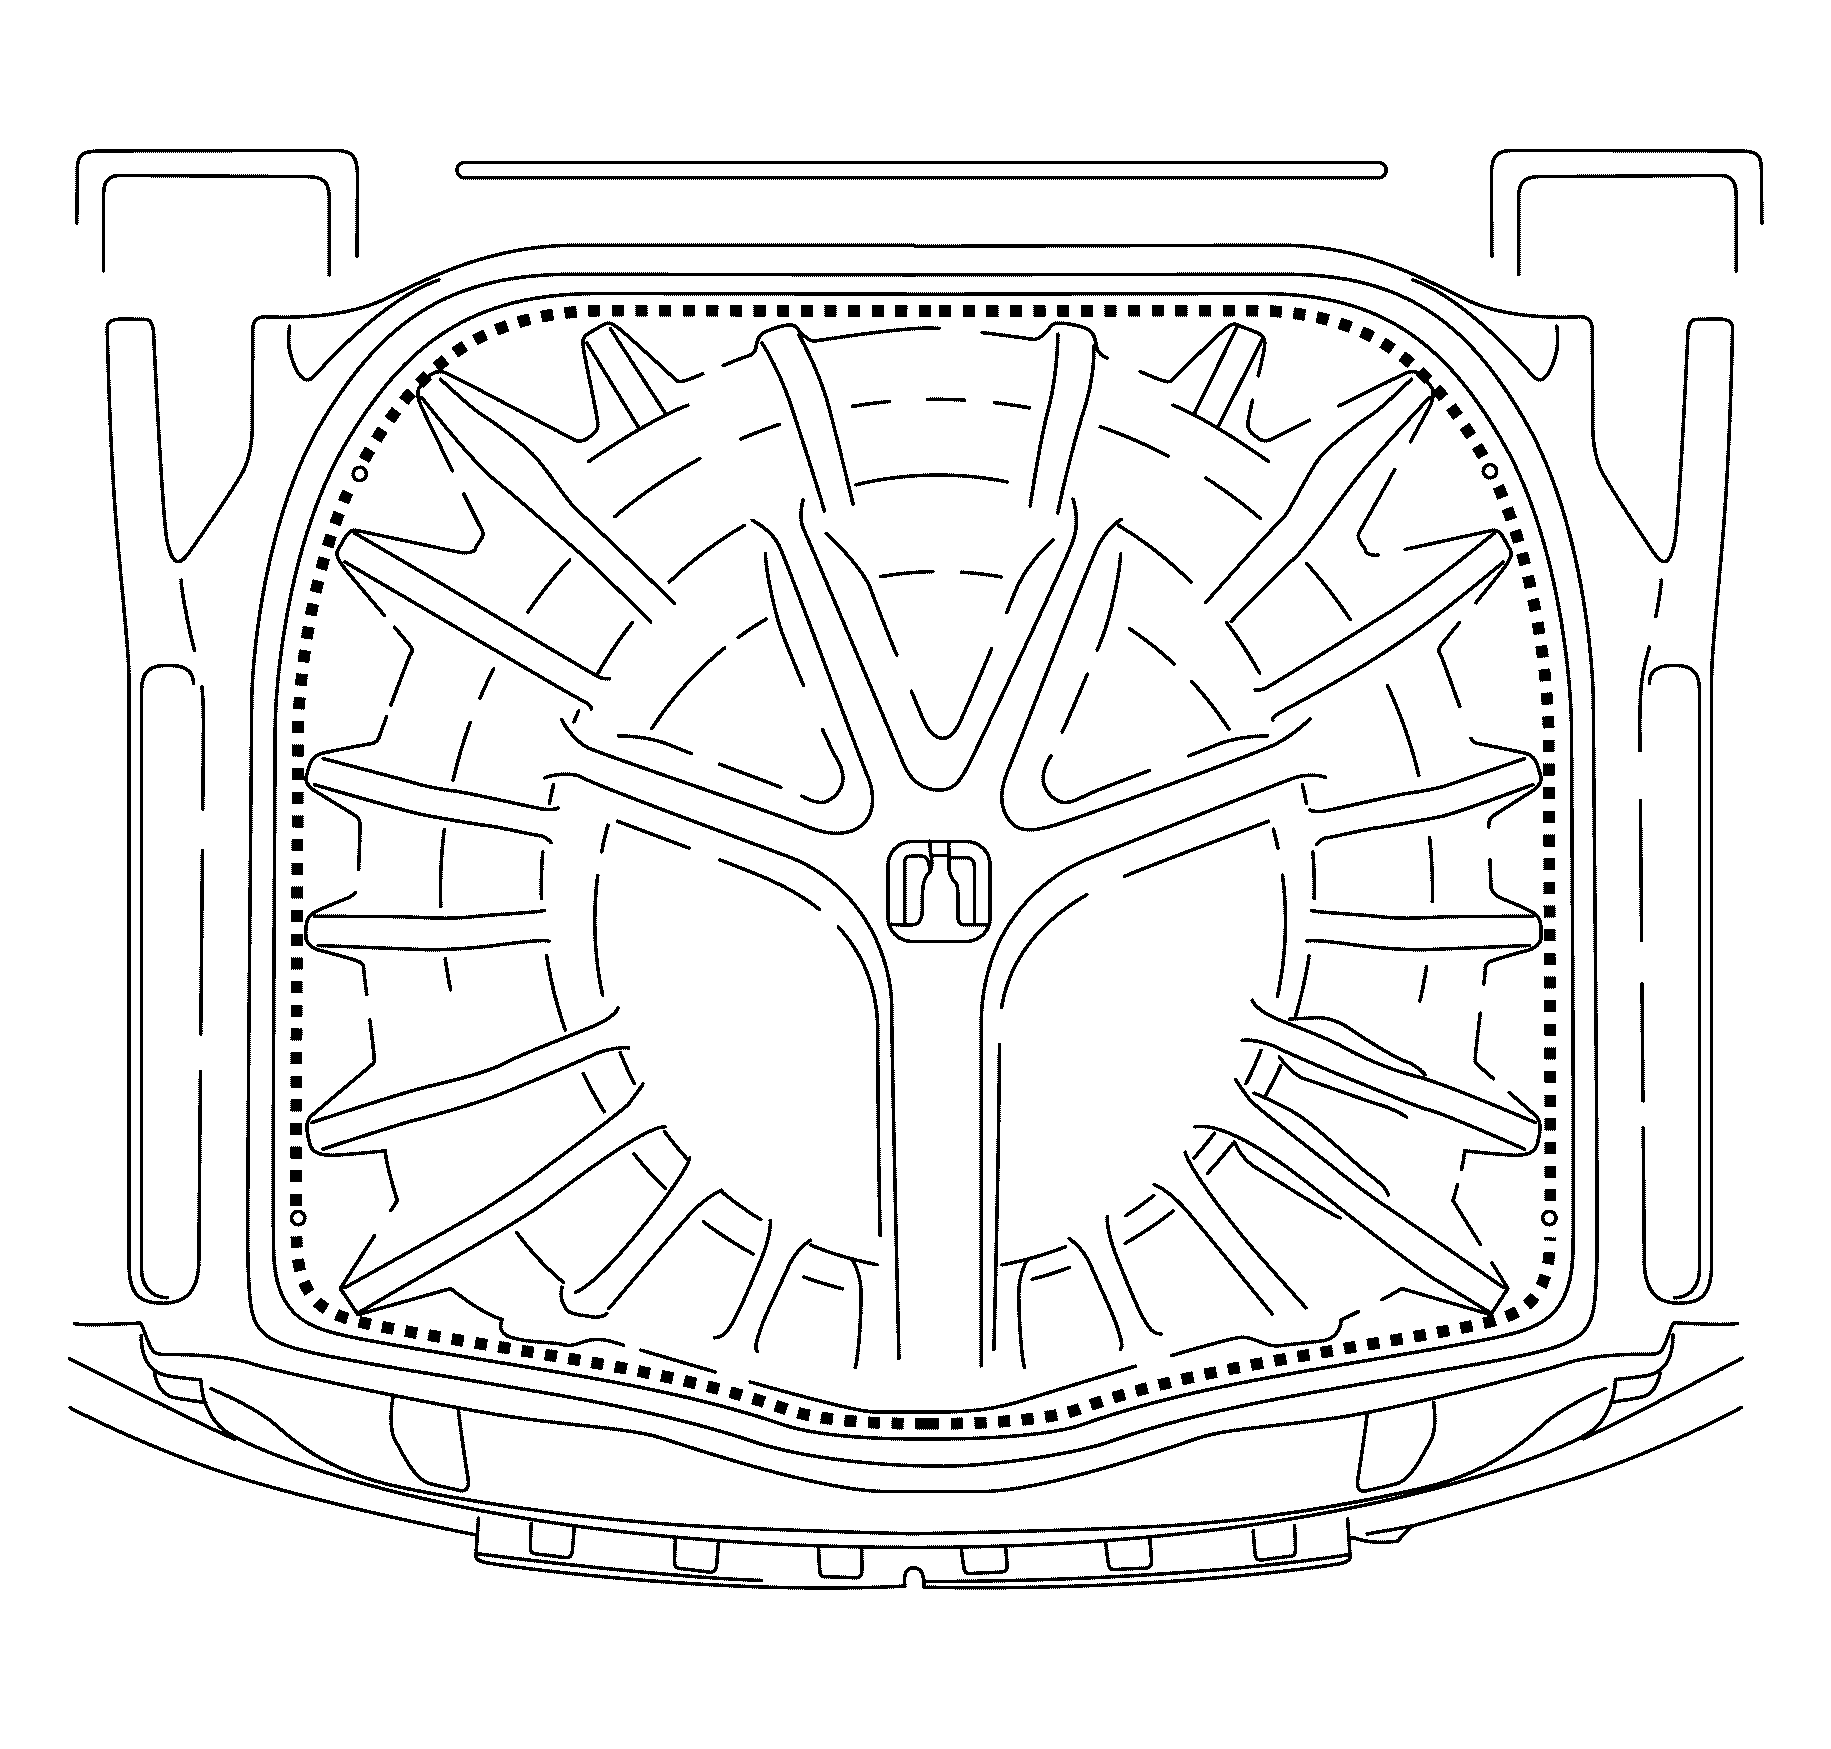
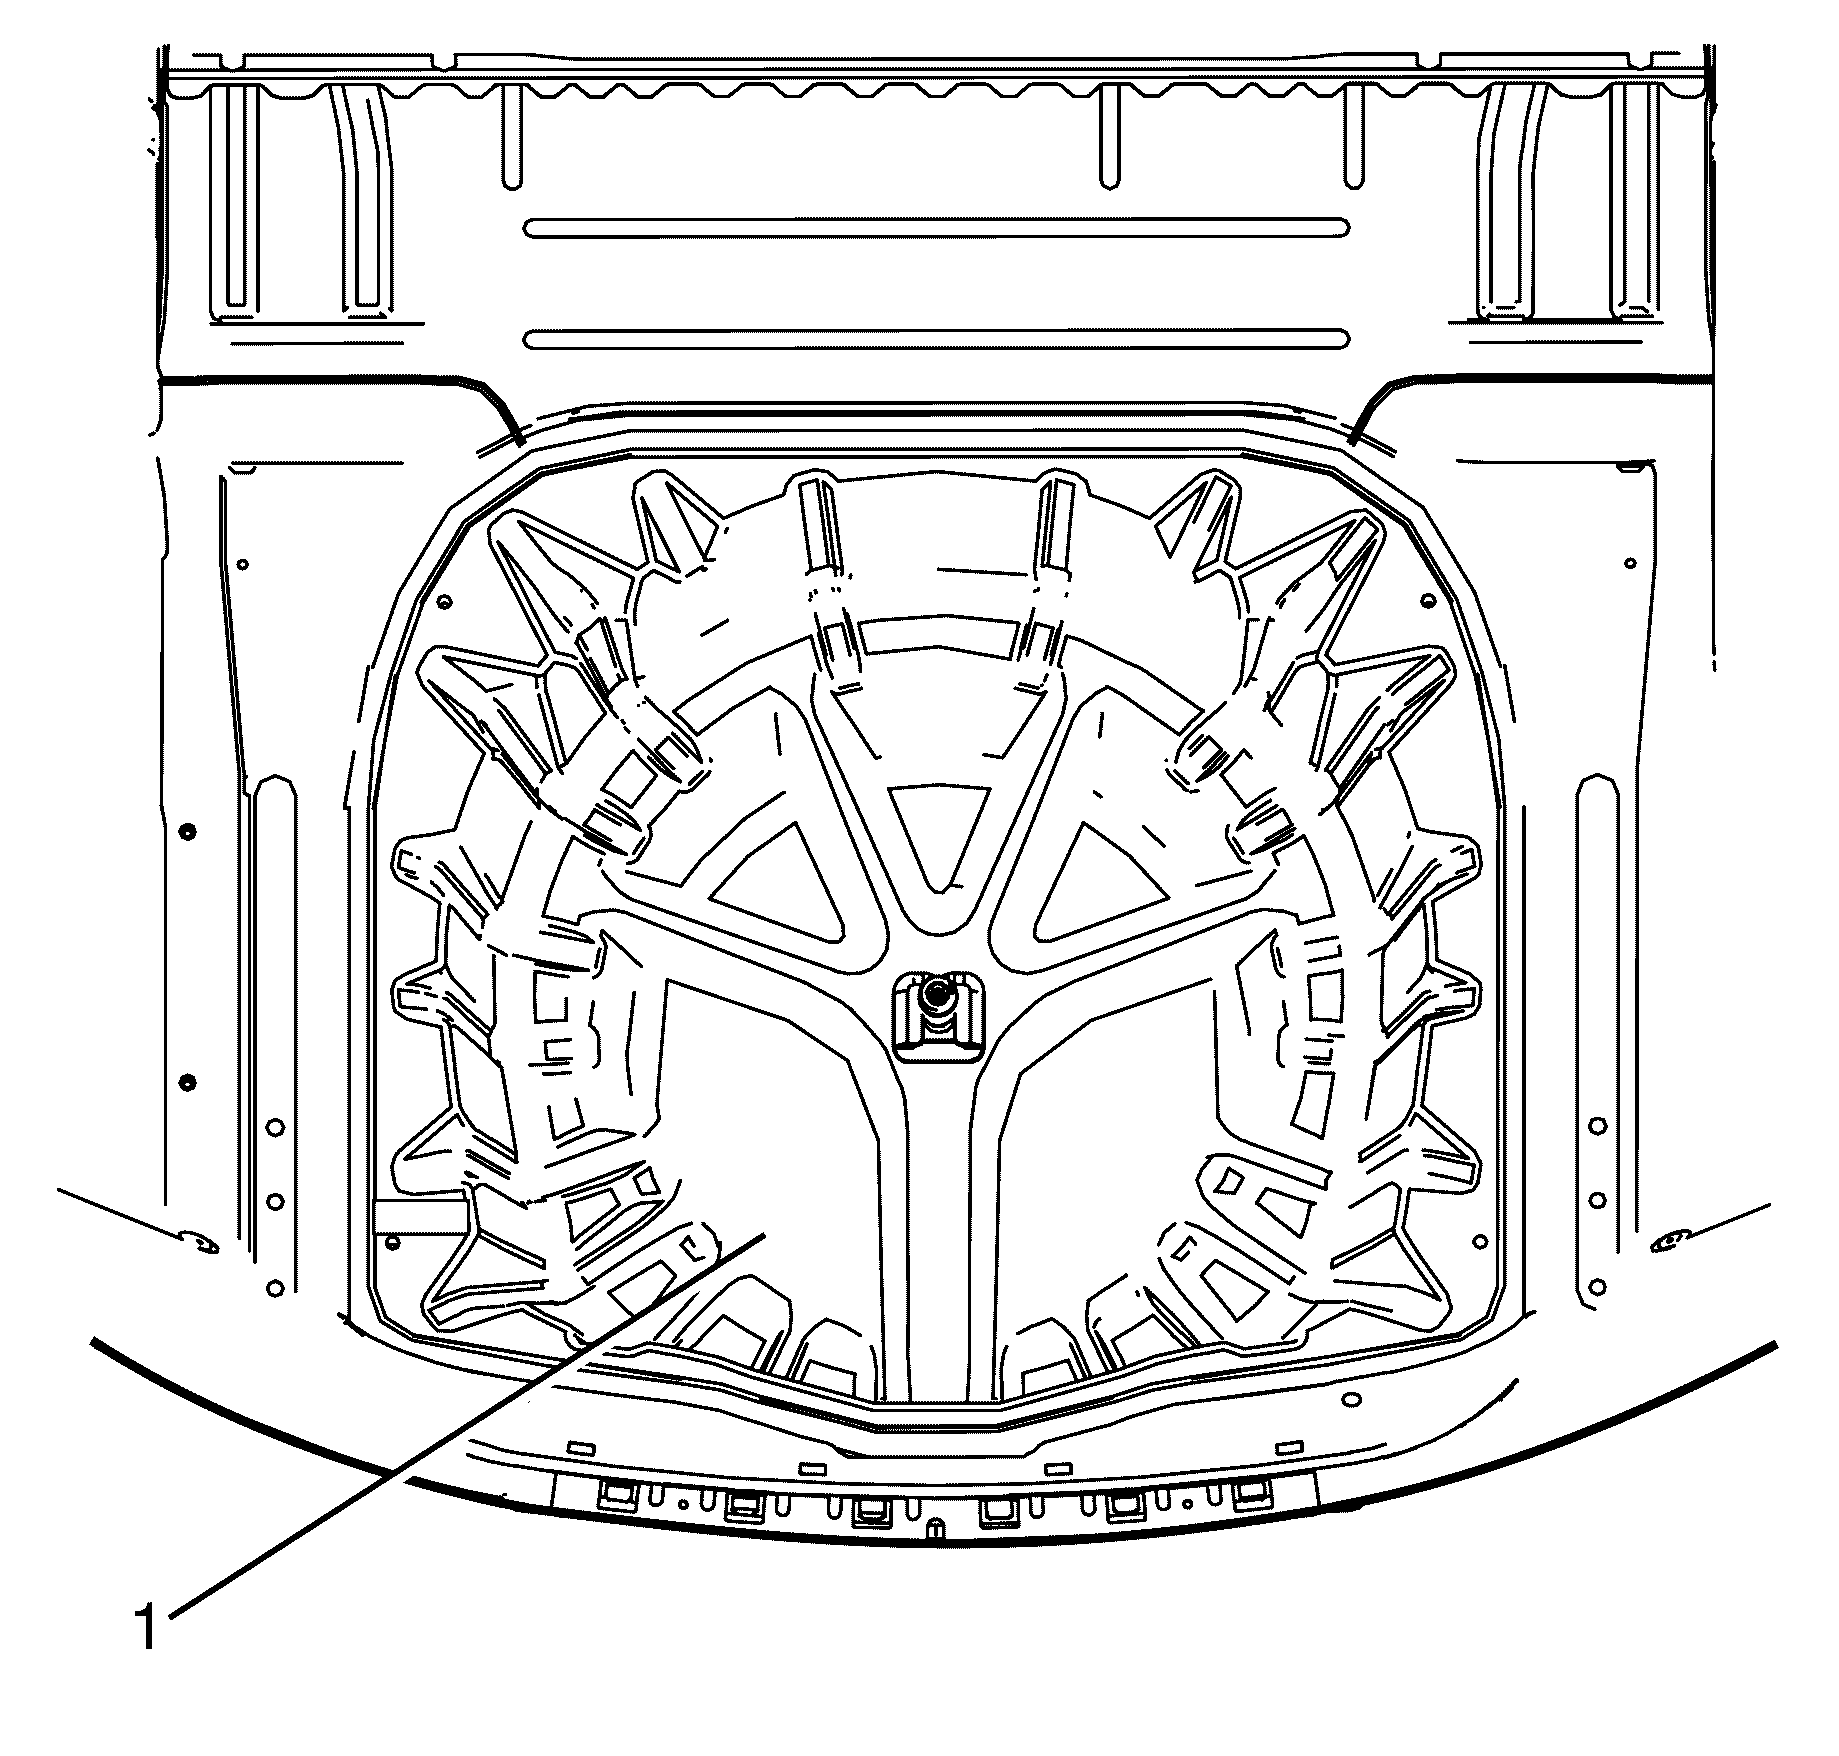
Important: The spare wheel well panel is a single use item. The spare wheel well panel must be discarded after use.
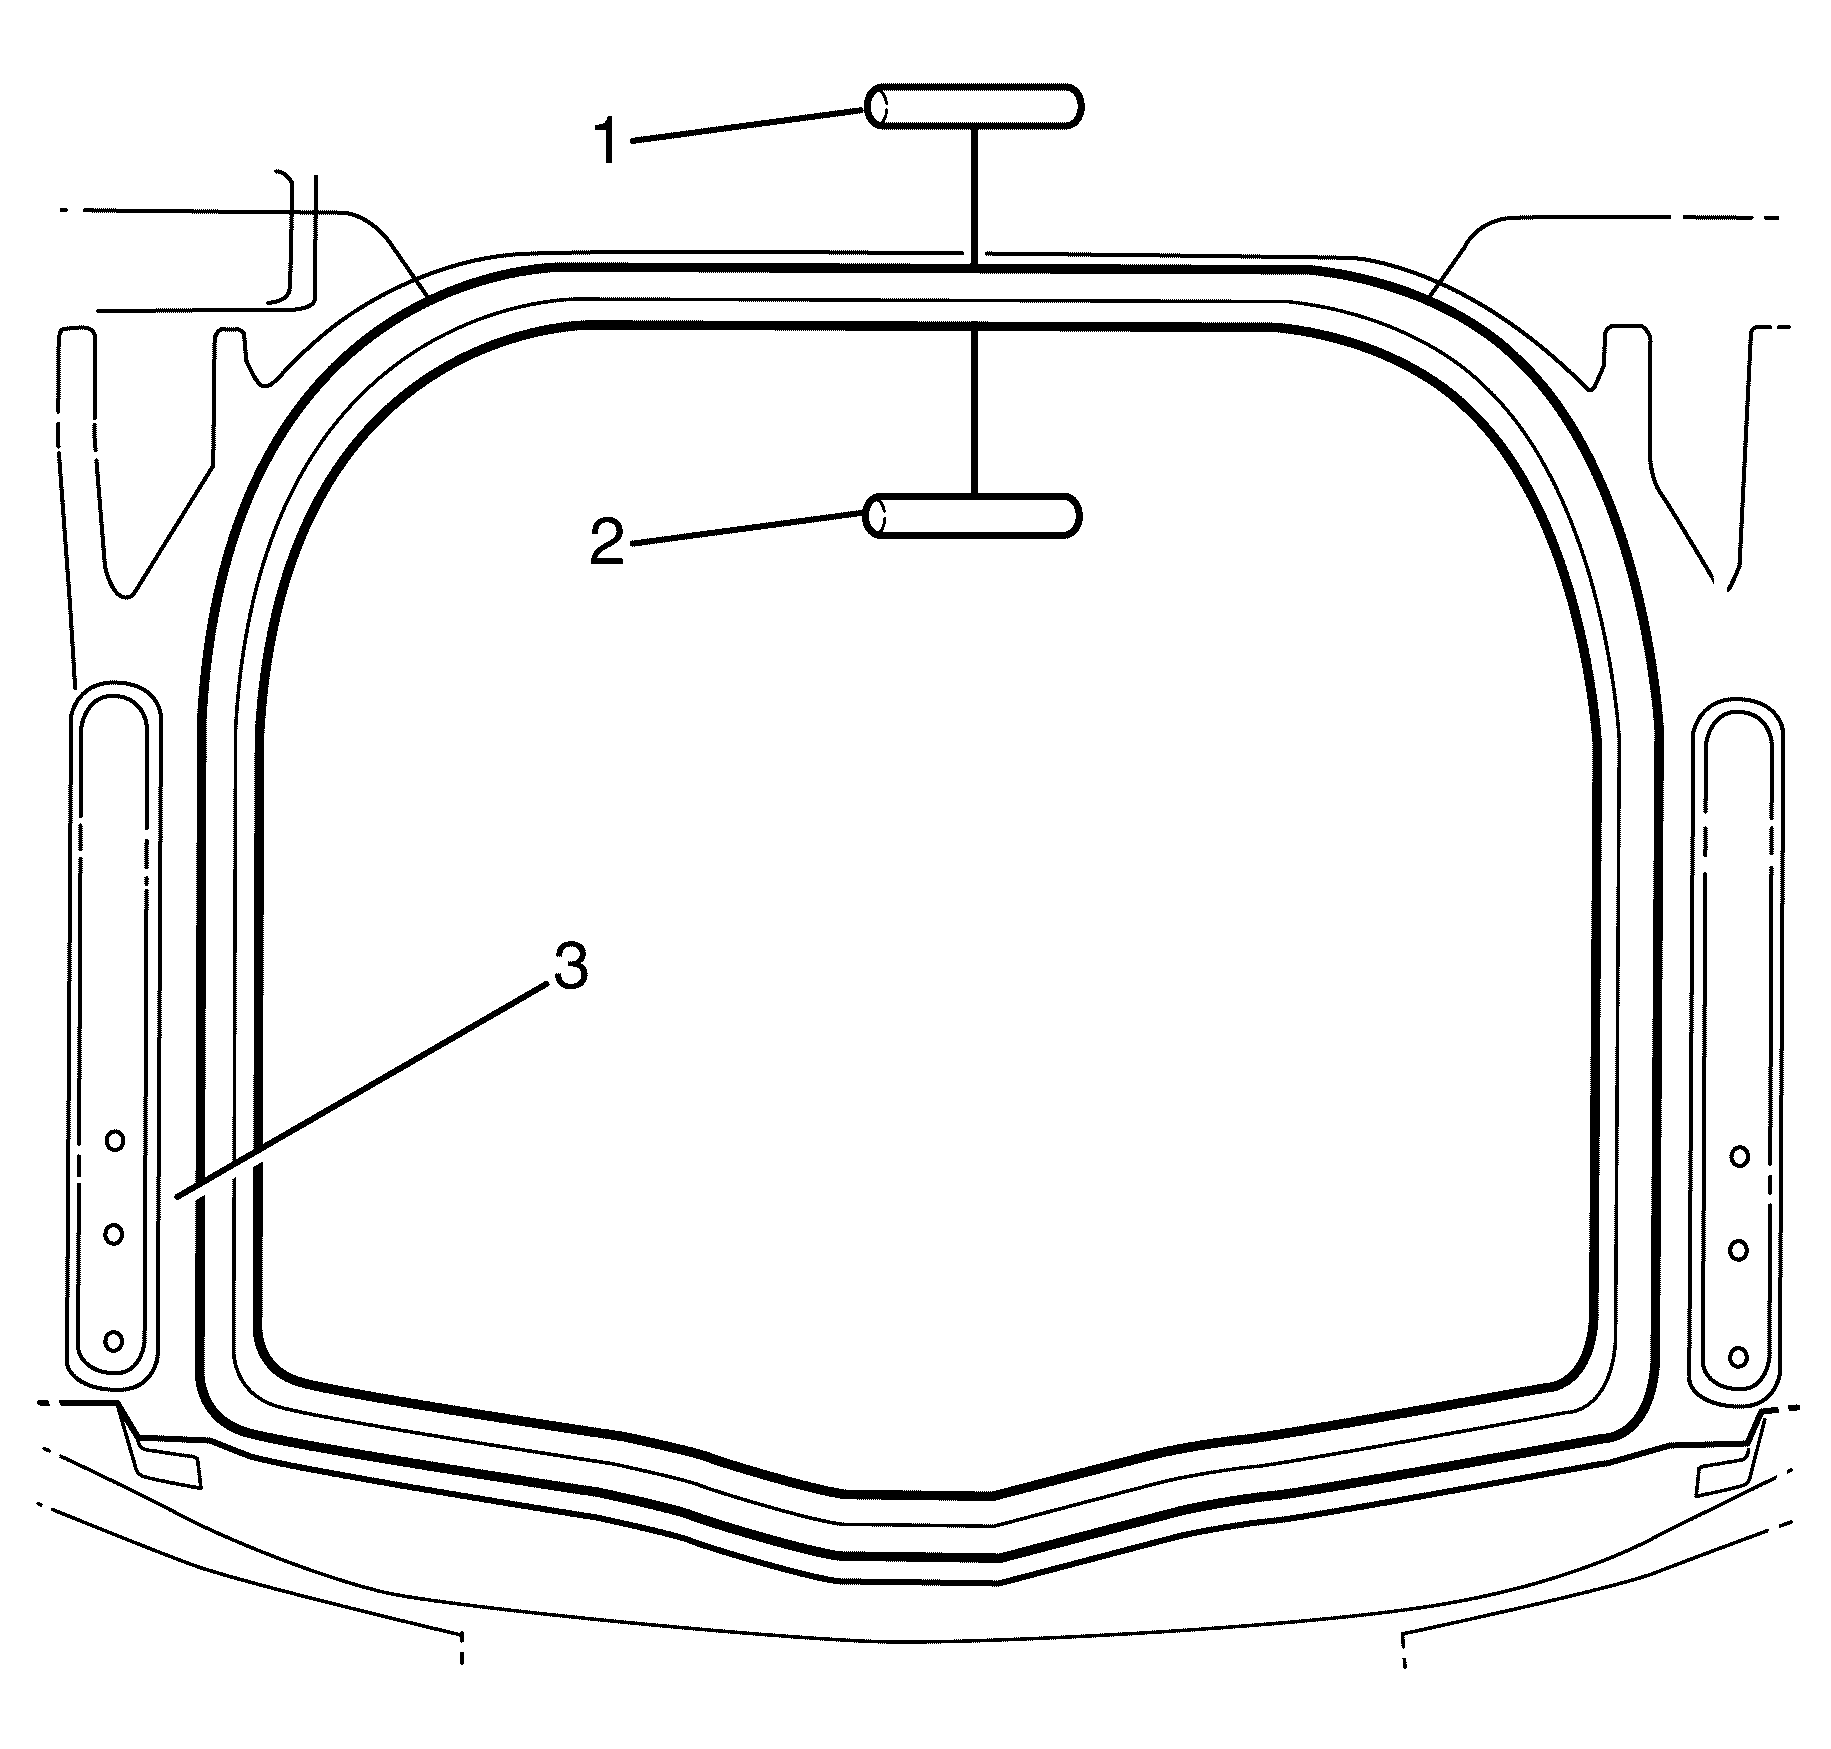
Important: Use a suitable tool to install the piano wire from J-36020 (2) through the urethane at the corner of the spare wheel well compartment (1).
Important: Keep the outside handle of J-36020 (1) against the rear compartment extension floor panel (3) and cycle the full length of the piano wire to prevent heat build up.
Discard the remaining section of the spare wheel well panel.
Installation Procedure
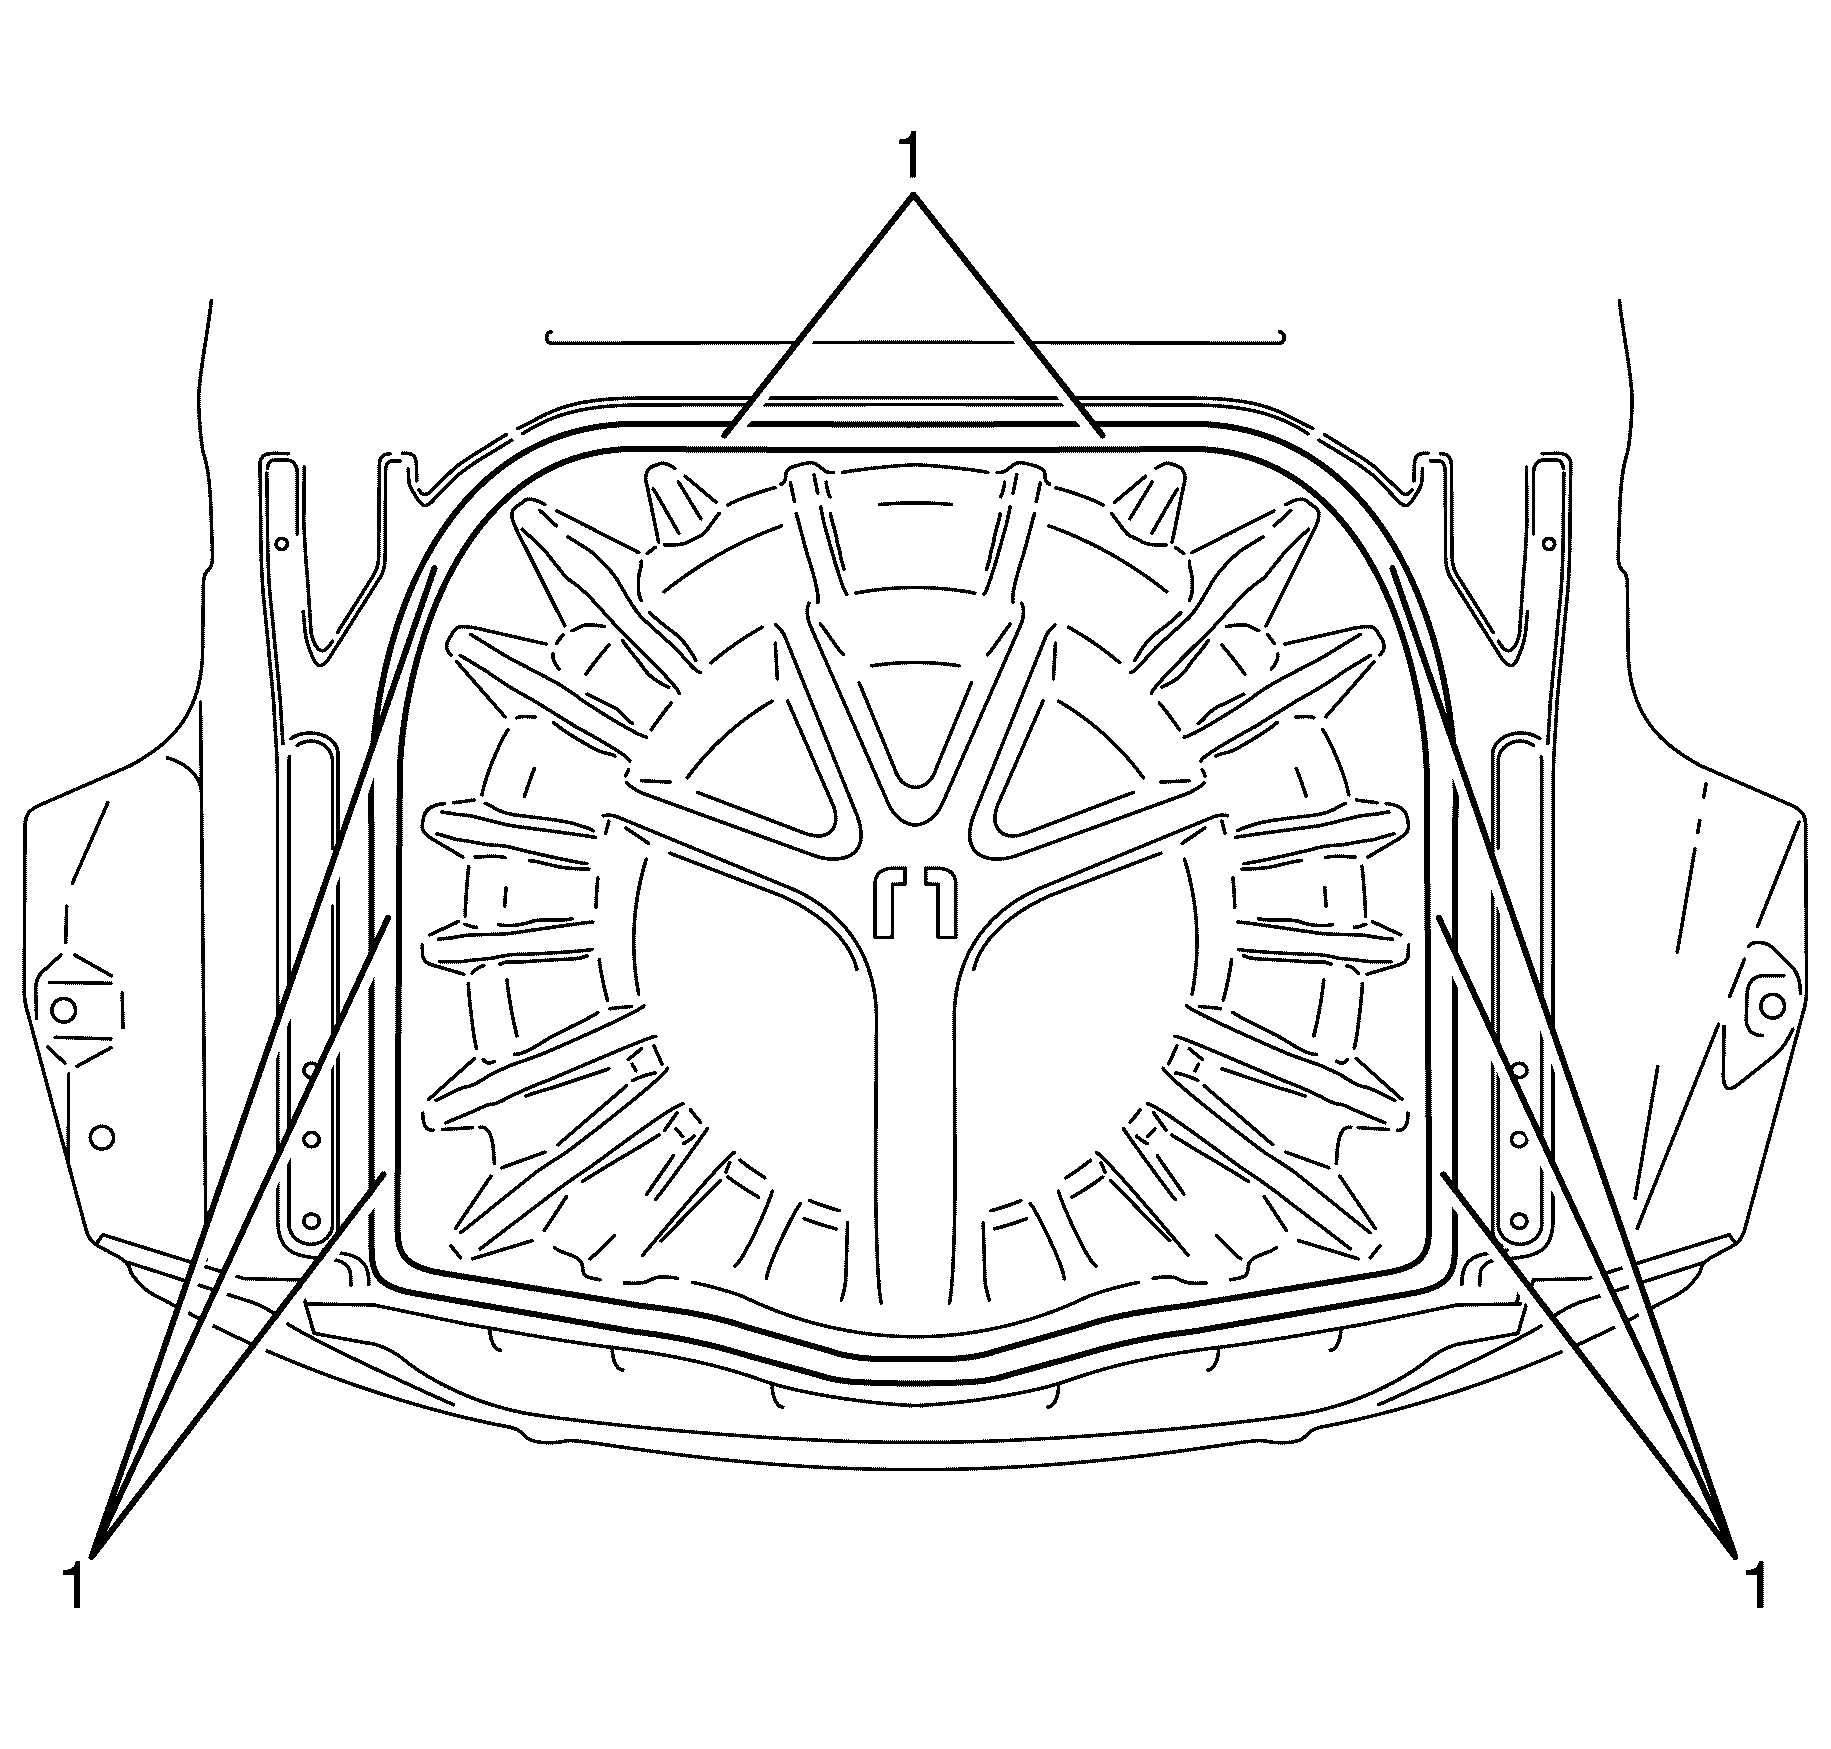
- Clean the rear compartment panels of all adhesive (1) using a suitable cleaning solution.
- Test fit the spare wheel well panel to the rear compartment panels to identify any gaps around the rear compartment panels.
- Apply a bead of urethane GMW3041 or equivalent approximately 10 millimetres in diameter to the rear compartment panels (1).
- If any gaps were identified in the test fitment, apply extra adhesive to the area.
- Carefully install the NEW spare wheel well panel (1) to the vehicle to avoid smearing of the urethane.
- Apply one kilogram weights (1) to the edges of the spare wheel well panel to aid in adhesion to the rear compartment panels
- Install the rear bumper fascia. Refer to Rear Bumper Fascia Replacement.
- Install the spare wheel and emergency kit to the rear compartment.
- Install the rear compartment floor carpet. Refer to Rear Compartment Floor Panel Carpet Replacement.
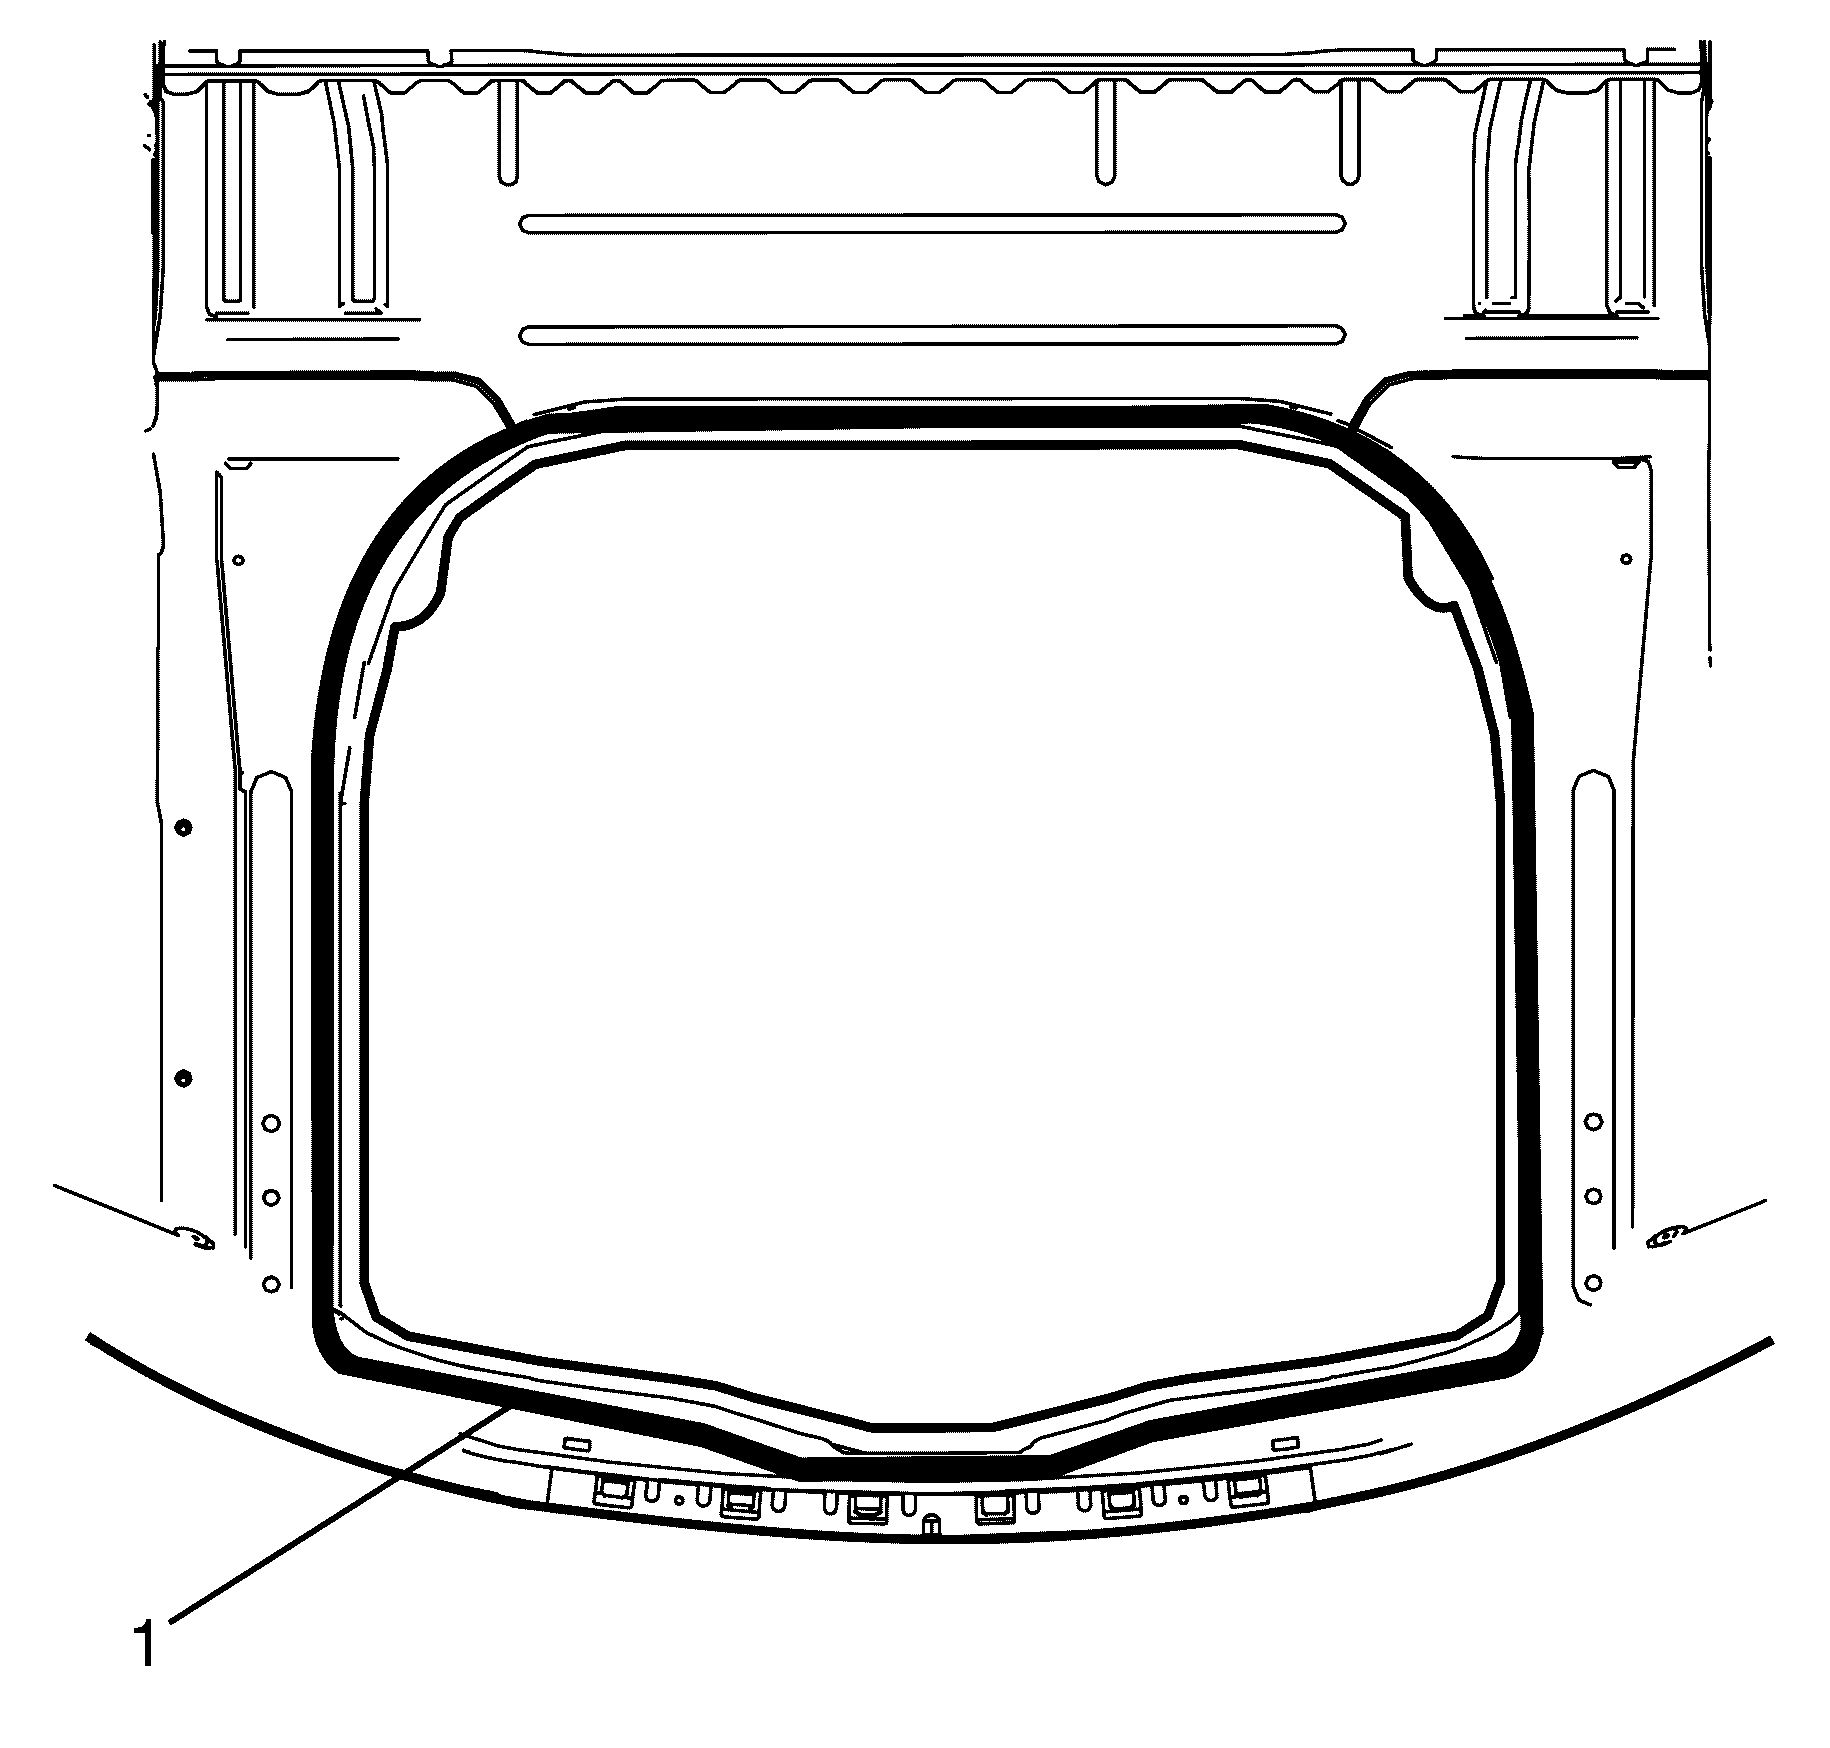
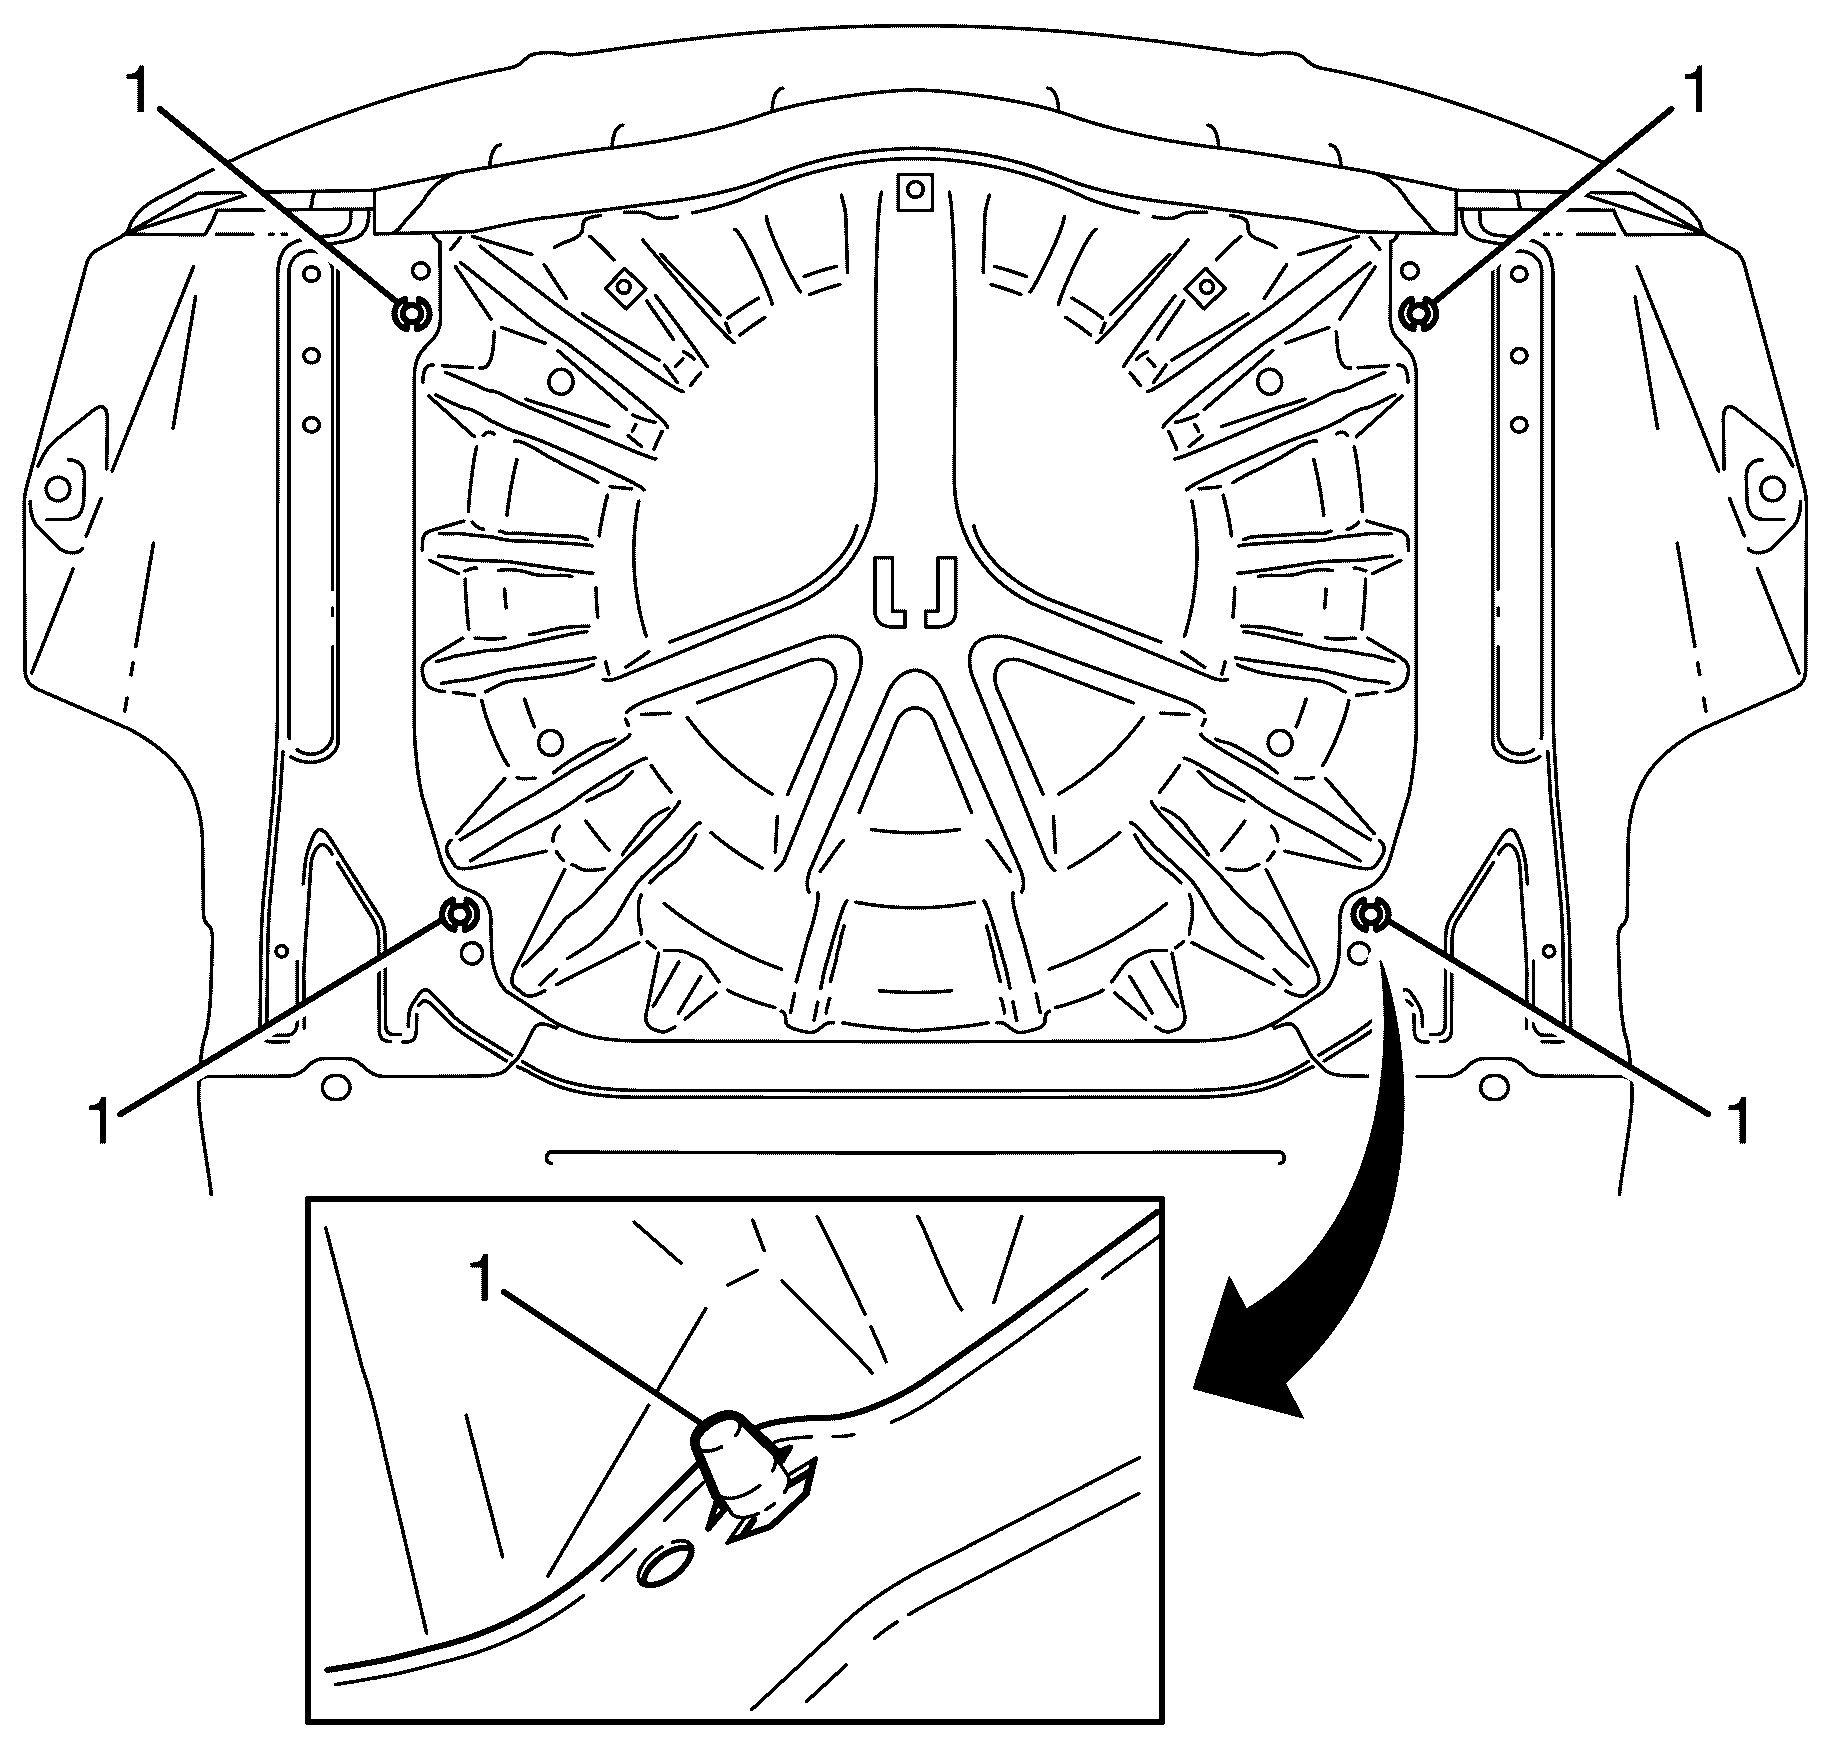
Important: The Adhesive flange on the spare wheel well panel must not be handled with bare hands. This could lead to contamination of the primer on the spare wheel well panel flange.
Important: Make sure that the spare wheel well panel datum pins (1) are properly located in the rear compartment panels.

Important: Make sure that the rear compartment panels and the spare wheel well panel are free of any contaminants
Important: The adhesive begins to bond after 30 minutes, during this time fitment of the spare wheel well panel must be fitted to the rear compartment panels

Important: Allow adhesive to cure for 8 hours before fitting any other components to the spare wheel well panel.
Important: Do NOT drive the vehicle for 24 hours after fitting the spare wheel well panel to allow the adhesive to fully cure.
