For 1990-2009 cars only
Removal Procedure
- Relieve the fuel system pressure. Refer to Fuel Pressure Relief .
- Disconnect the negative battery cable.
- Remove the rear seat. Refer to Rear Seat Cushion Replacement .
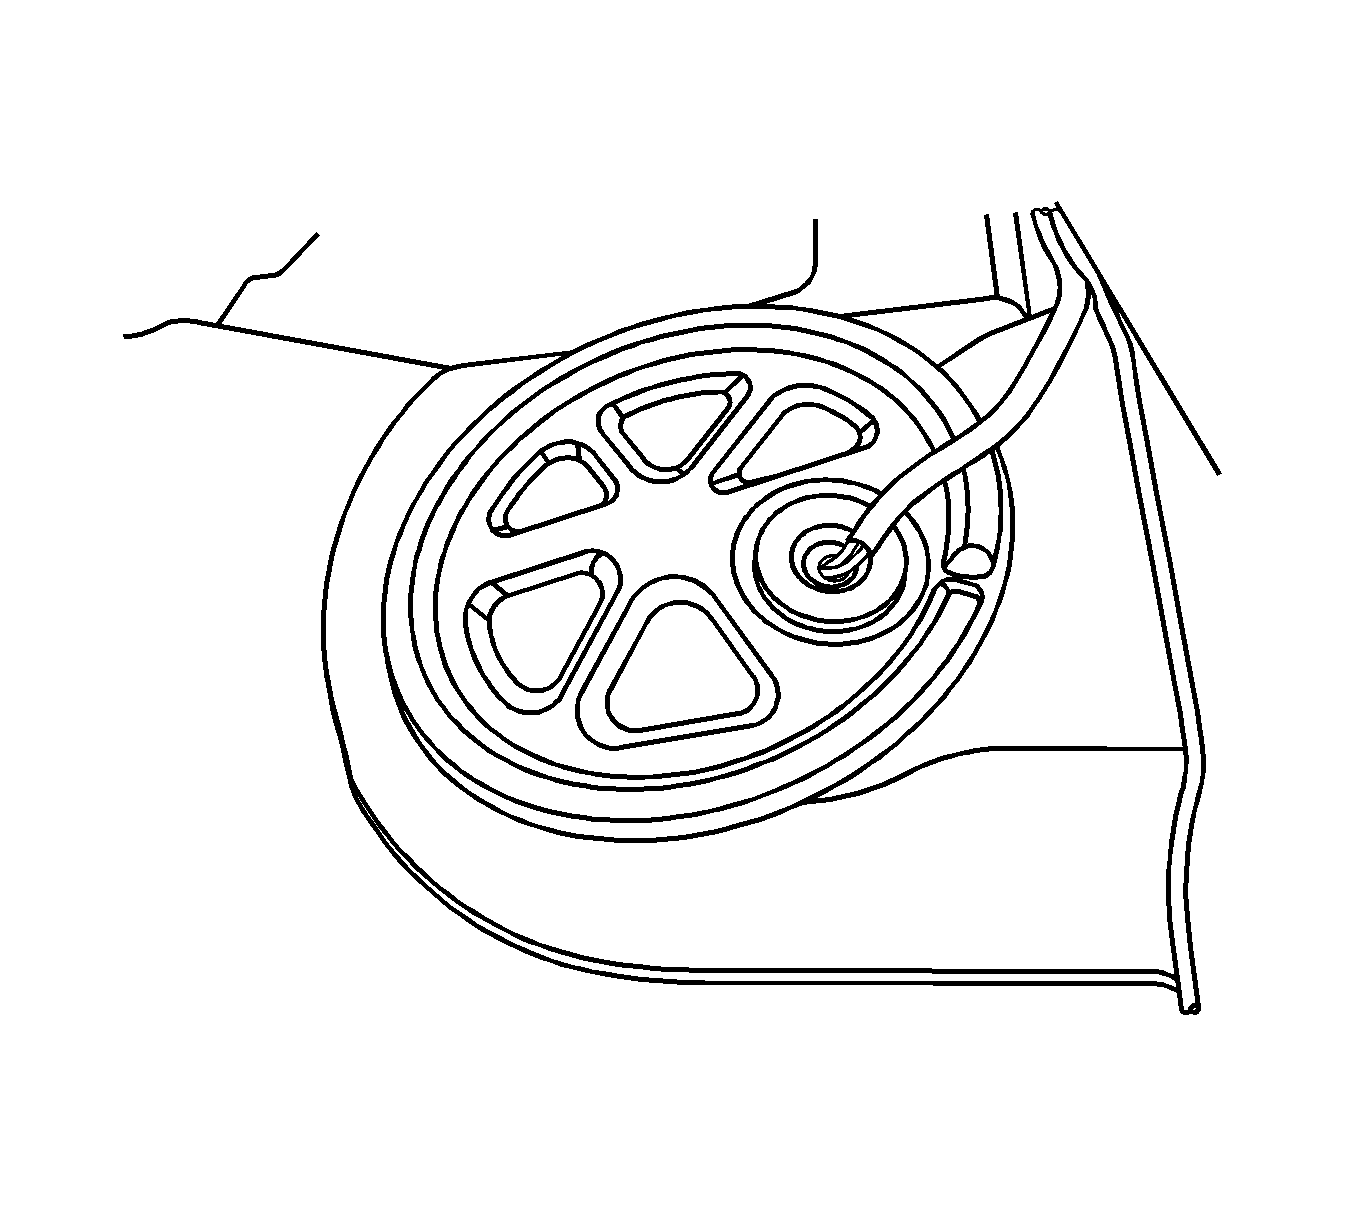
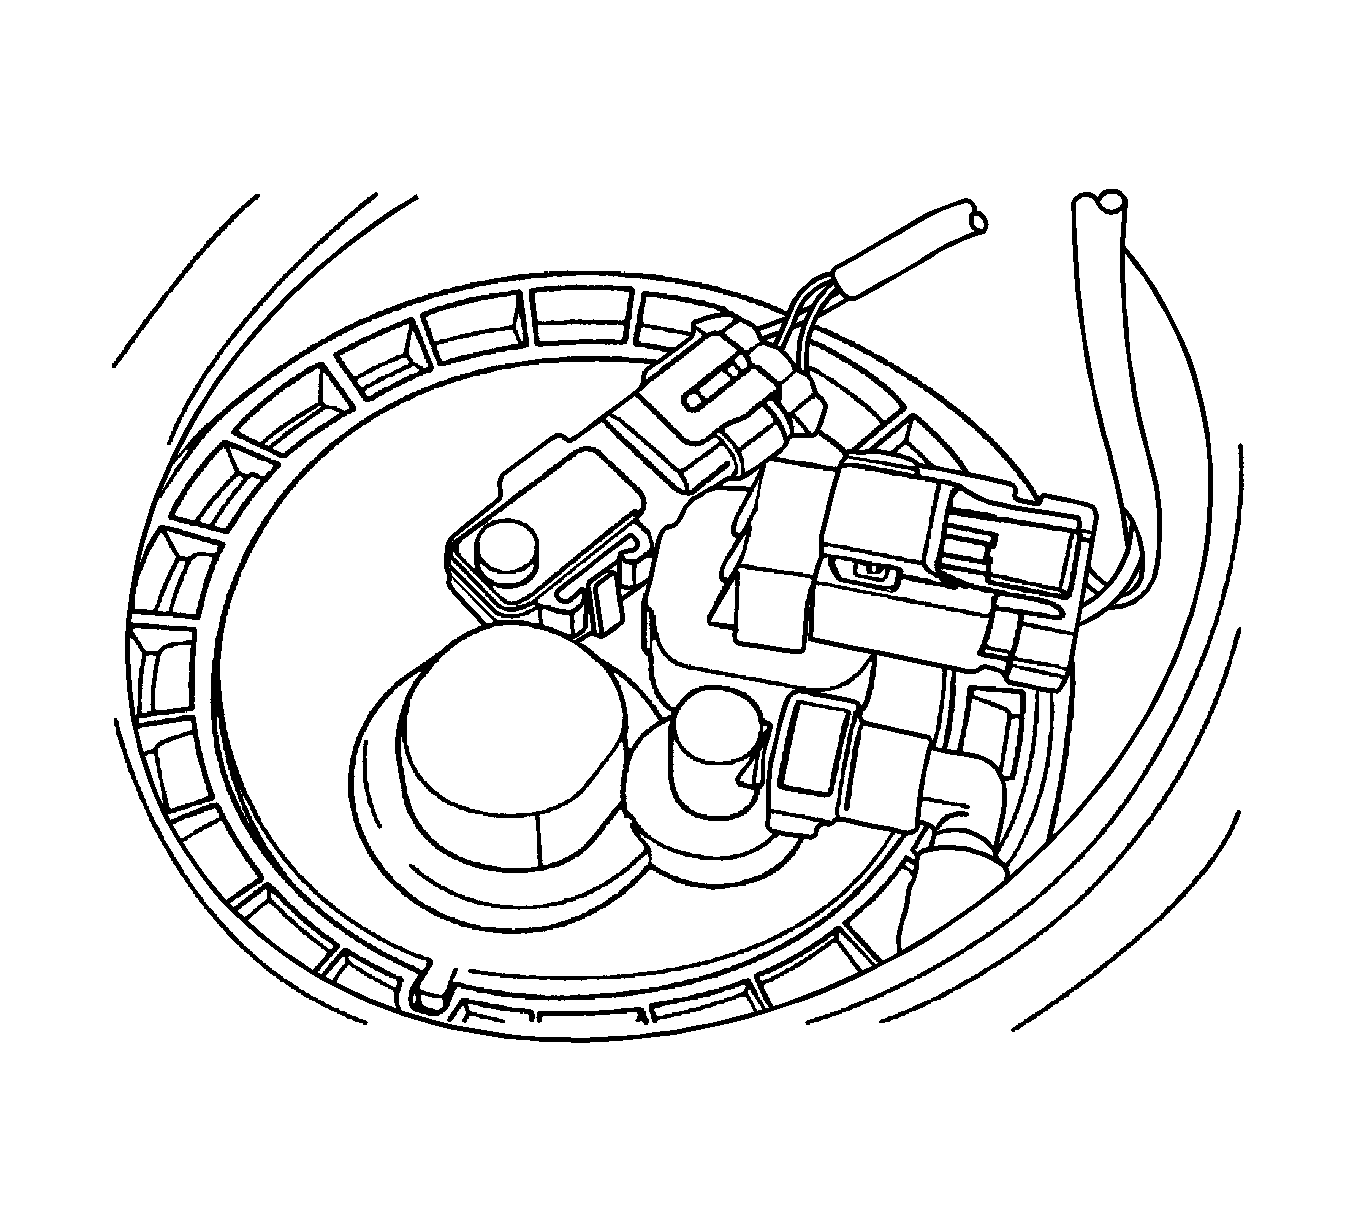
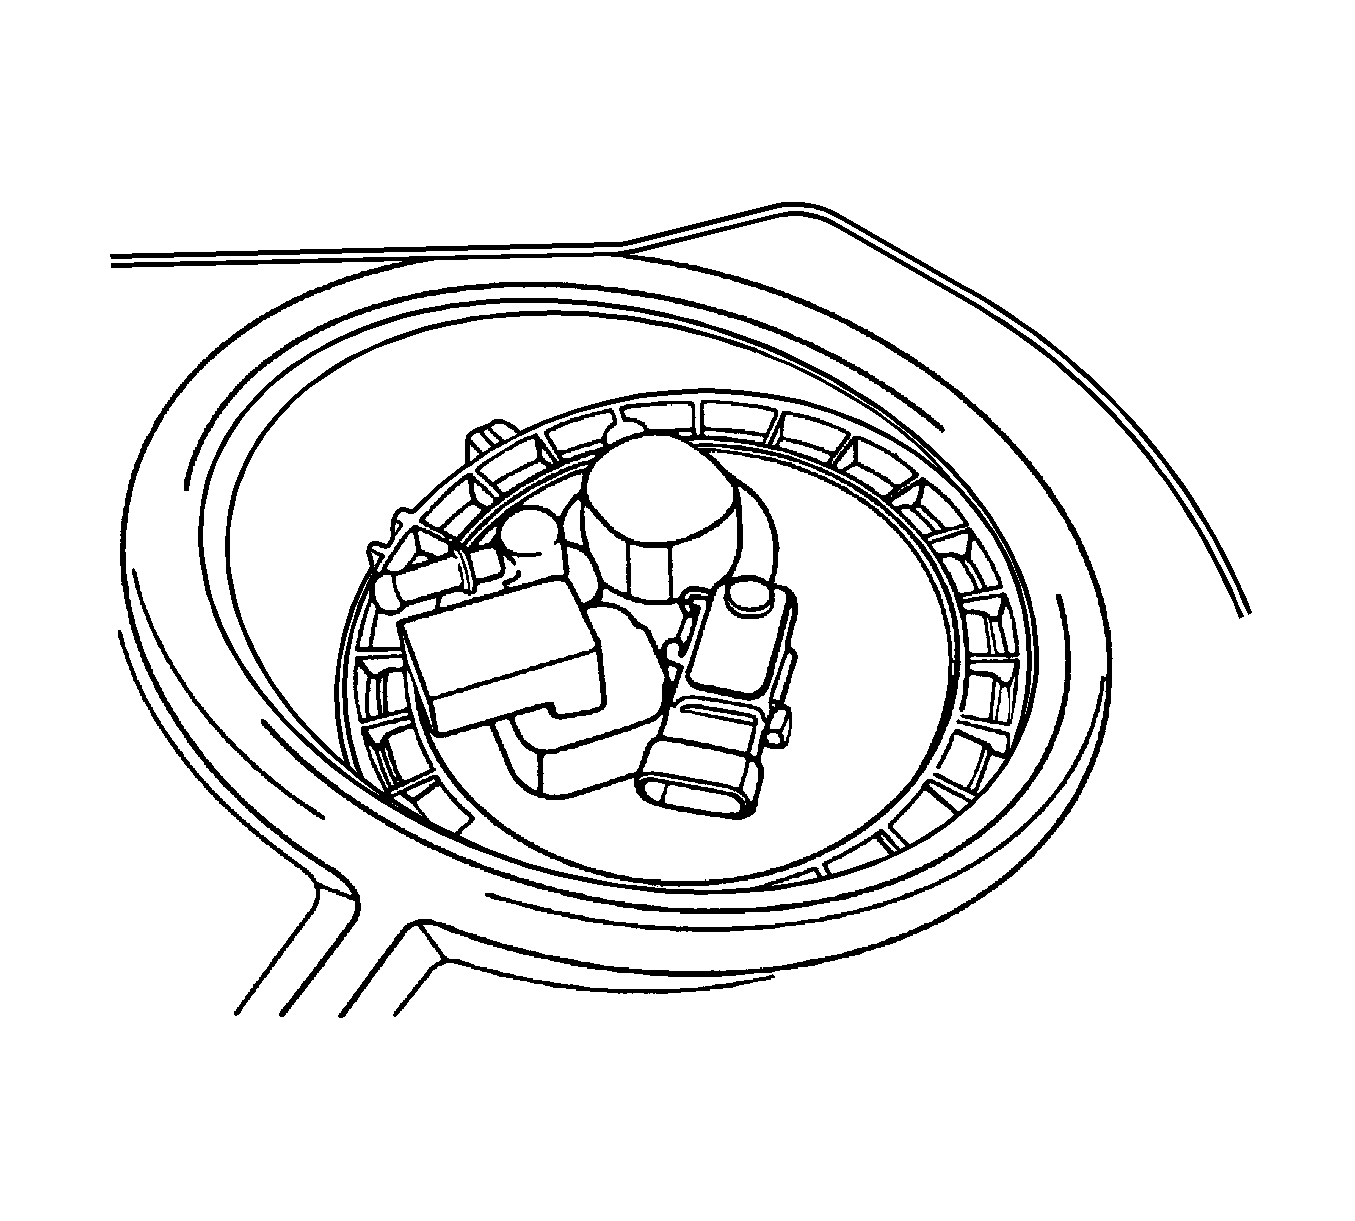
- Remove the fuel pump access cover.
- Disconnect the electrical connector at the fuel pump assembly.
- Disconnect the fuel line.
- Remove the fuel pump assembly clip.
- Remove the fuel pump assembly from the tank.
Caution: Remove the fuel tank cap and relieve the fuel system pressure before servicing the fuel system in order to reduce the risk of personal injury. After you relieve the fuel system pressure, a small amount of fuel may be released when servicing the fuel lines, the fuel injection pump, or the connections. In order to reduce the risk of personal injury, cover the fuel system components with a shop towel before disconnection. This will catch any fuel that may leak out. Place the towel in an approved container when the disconnection is complete.
Caution: Refer to Battery Disconnect Caution in the Preface section.
Installation Procedure
- Clean the gasket mating surface on the fuel tank.
- Position the new gasket in place.
- Install the fuel pump into the fuel tank in the same location as removed for ease of line and connector installation.
- Install the fuel pump assembly clip.
- Connect the fuel pump assembly connector.
- Install the fuel pump line.
- Install the fuel pump access cover.
- Connect the negative battery cable.
- Perform an operational check of the fuel pump.
- Install the rear seat. Refer to Rear Seat Cushion Replacement .
