Removal Procedure
- Remove the valve rocker arm covers. Refer to Valve Rocker Arm Cover Replacement - Left Side or Valve Rocker Arm Cover Replacement - Right Side.
- Remove the valve rocker arm and push rods. Refer to Valve Rocker Arm and Push Rod Removal.
- Clean and inspect the valve rocker arms and pushrods. Refer to Valve Rocker Arm and Push Rod Cleaning and Inspection.
Installation Procedure
- Lubricate the pushrods (1) with clean engine oil.
- Install the pushrods (1).
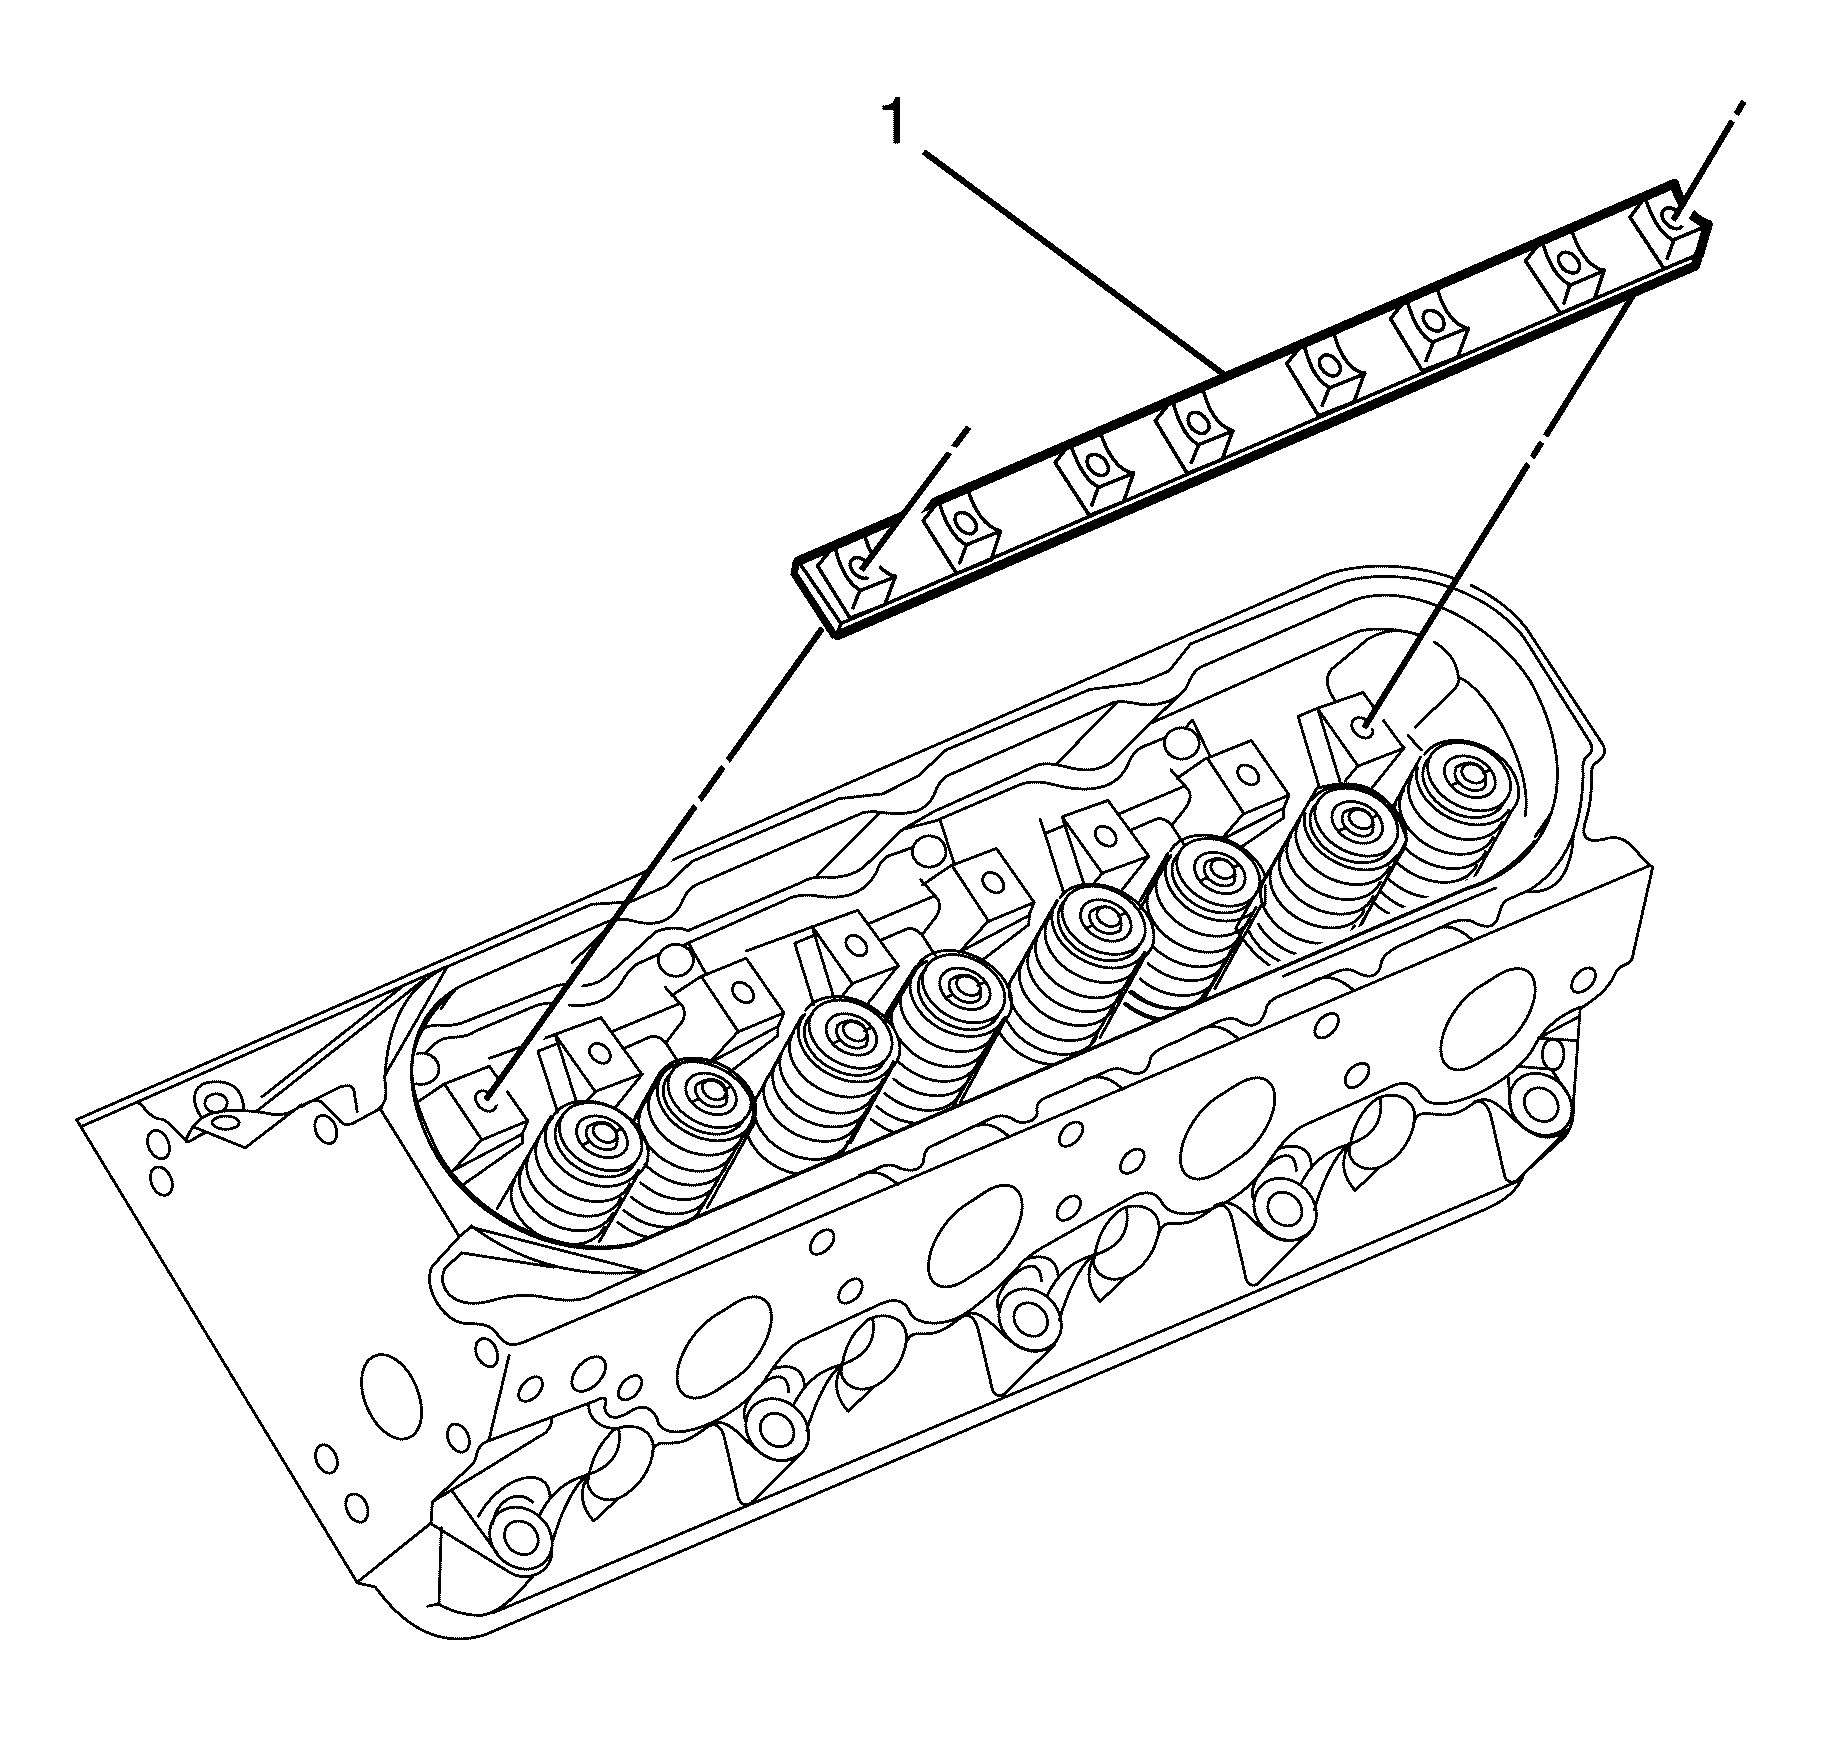
- Install the valve rocker arm pivot support (1).
- Lubricate the valve rocker arms (2) and pushrods with clean engine oil.
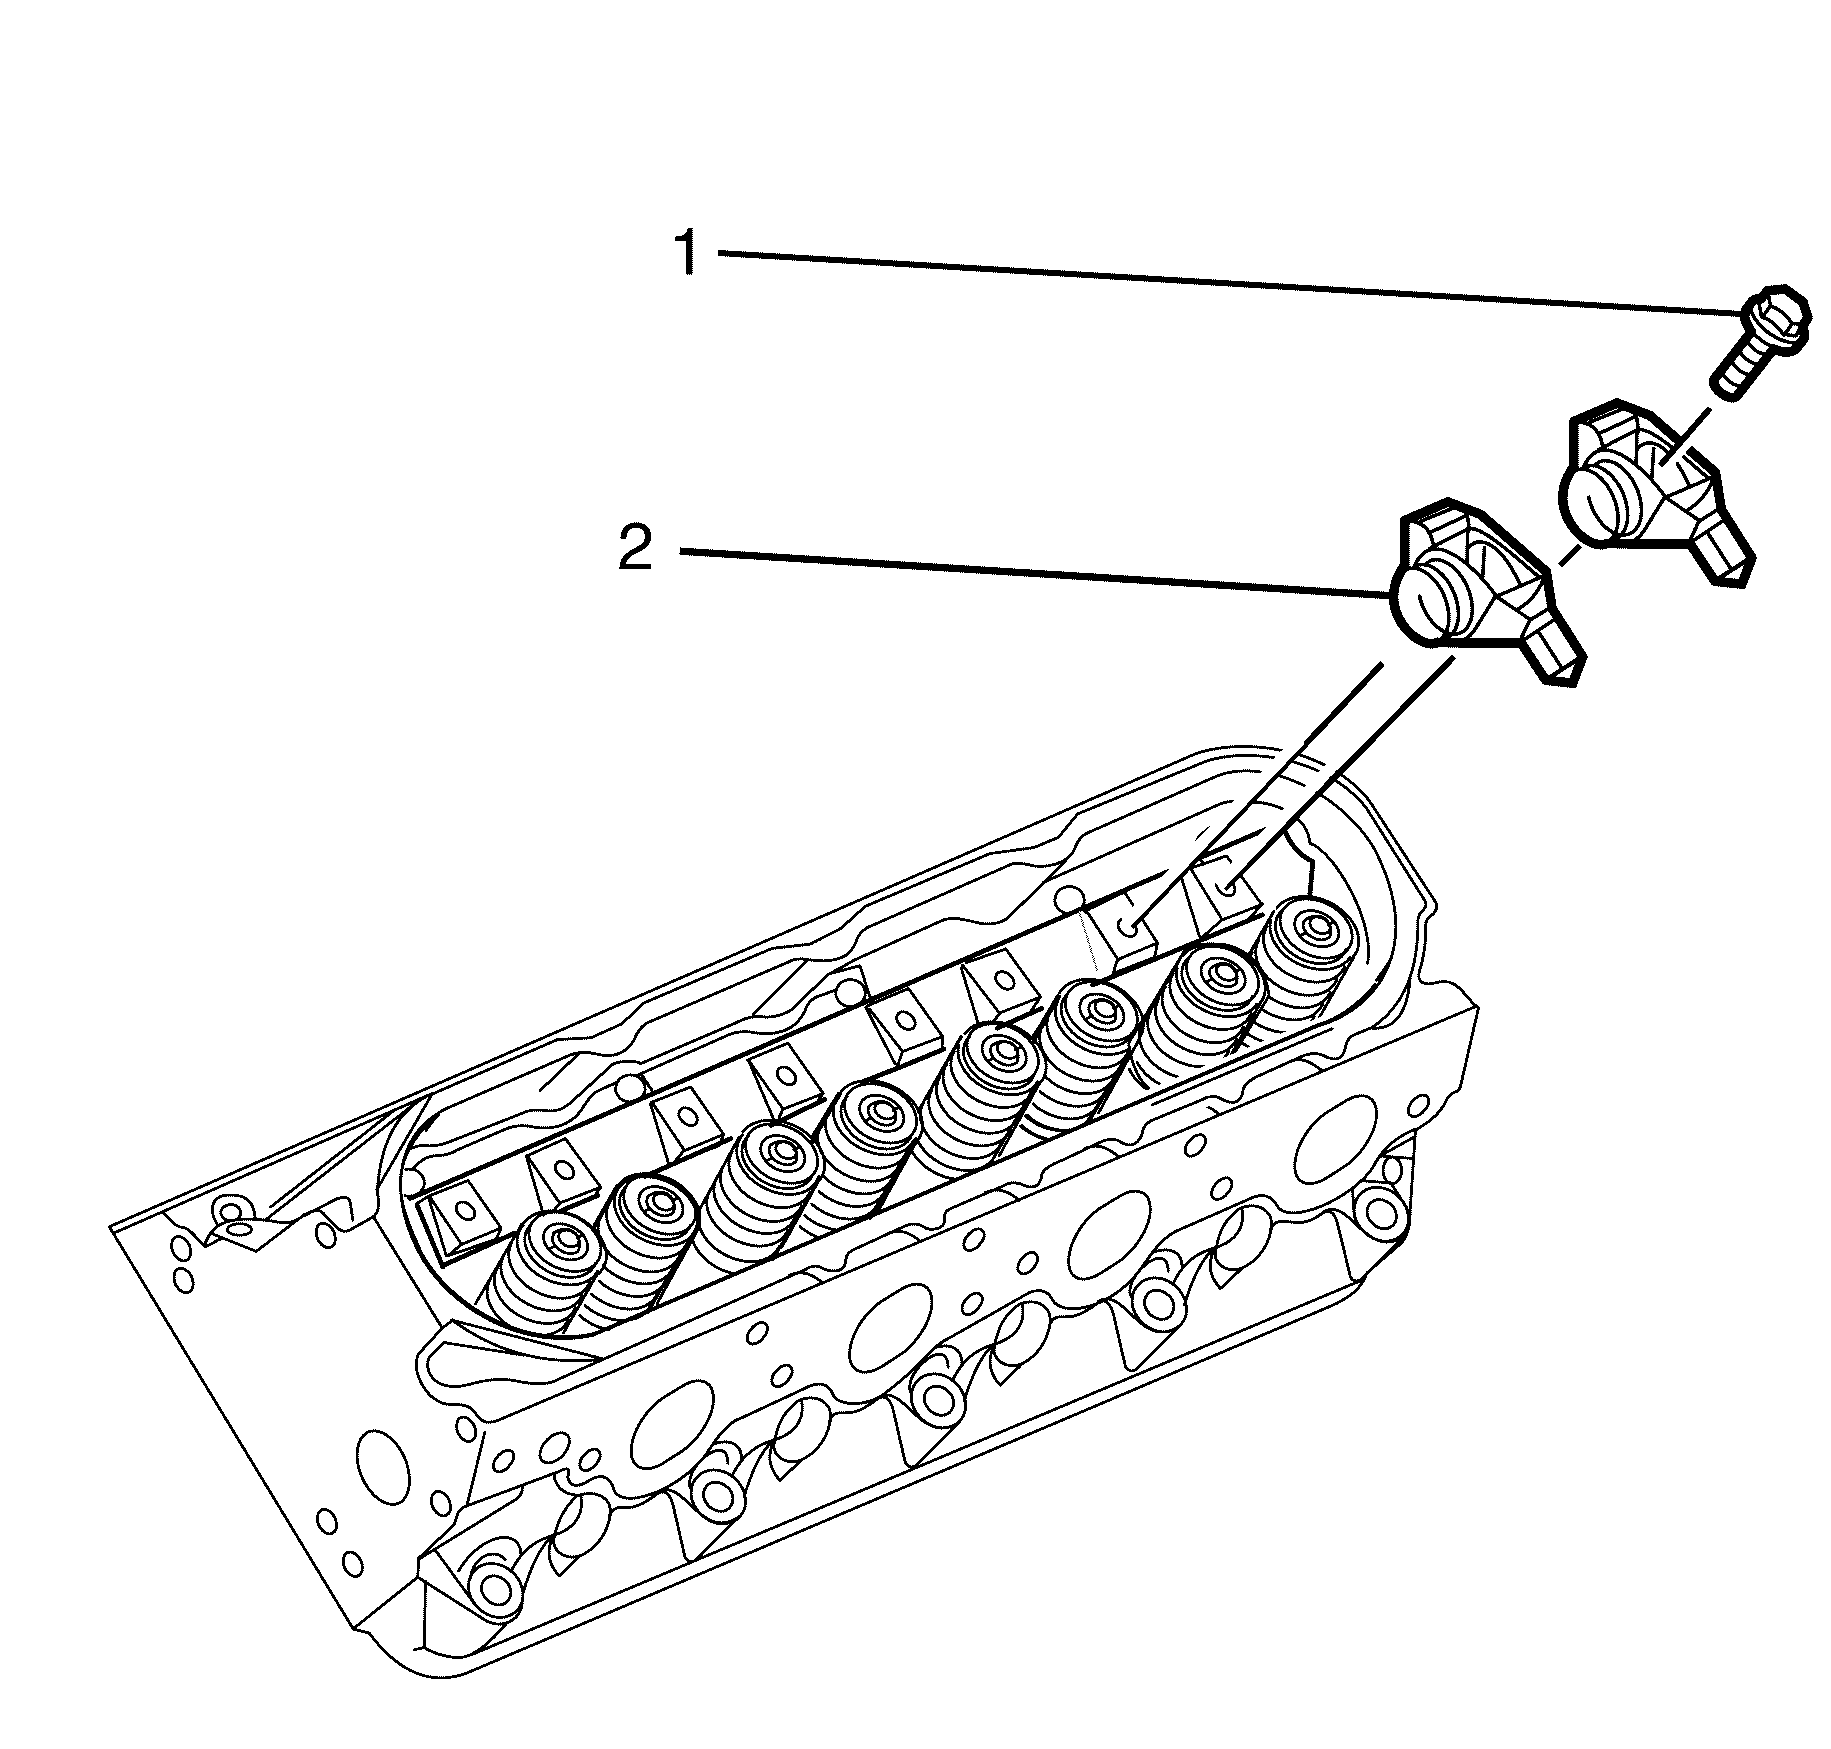
- Lubricate the flange of the valve rocker arm bolts (1) with clean engine oil.
- Install the rocker arms and rocker arm retaining bolts.
- Rotate the crankshaft until number one piston is at top dead centre of compression stroke.
- With the engine in the number one firing position, tighten the following valve rocker arm retaining bolts:
- Rotate the crankshaft 360 degrees.
- Tighten the following valve rocker arm retaining bolts:
- Install the valve rocker arm covers. Refer to Valve Rocker Arm Cover Replacement - Left Side or Valve Rocker Arm Cover Replacement - Right Side..
Important:
• When using the valve train components again, always install the components
to the original location and position. • Valve lash is net build, no valve adjustment is required.
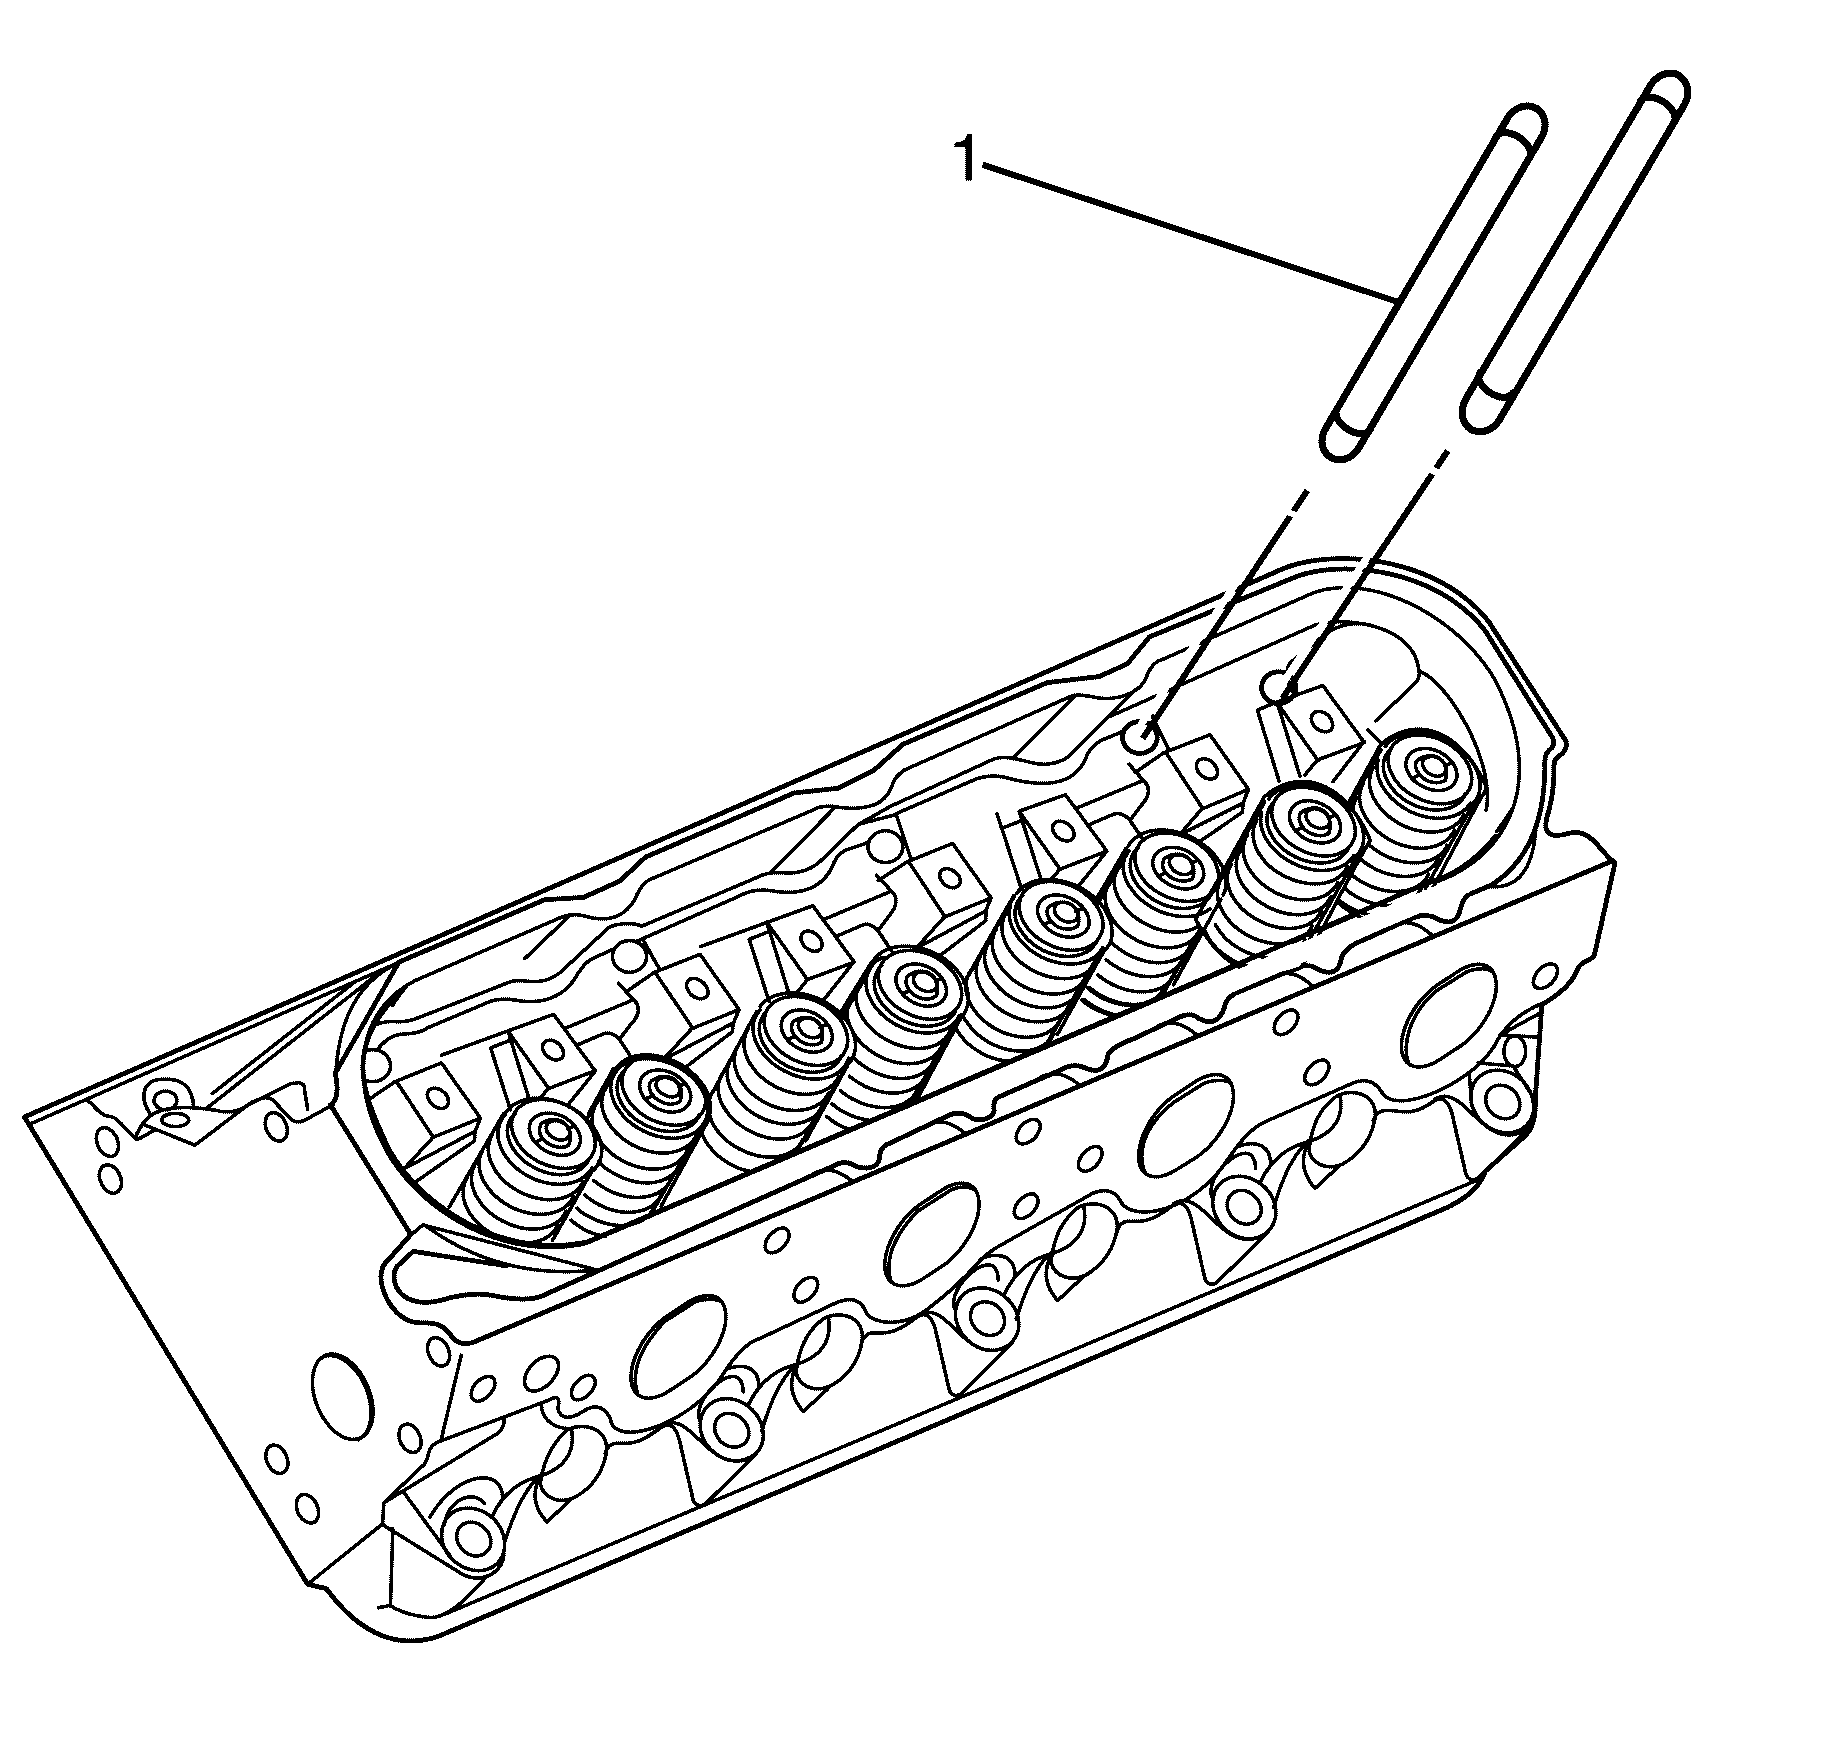
Important: Make sure the pushrods (1) seat correctly to the valve lifter sockets.
Important:
• Make sure the pushrods seat correctly to the ends of the rocker arms. • DO NOT tighten the rocker arm bolts at this time.
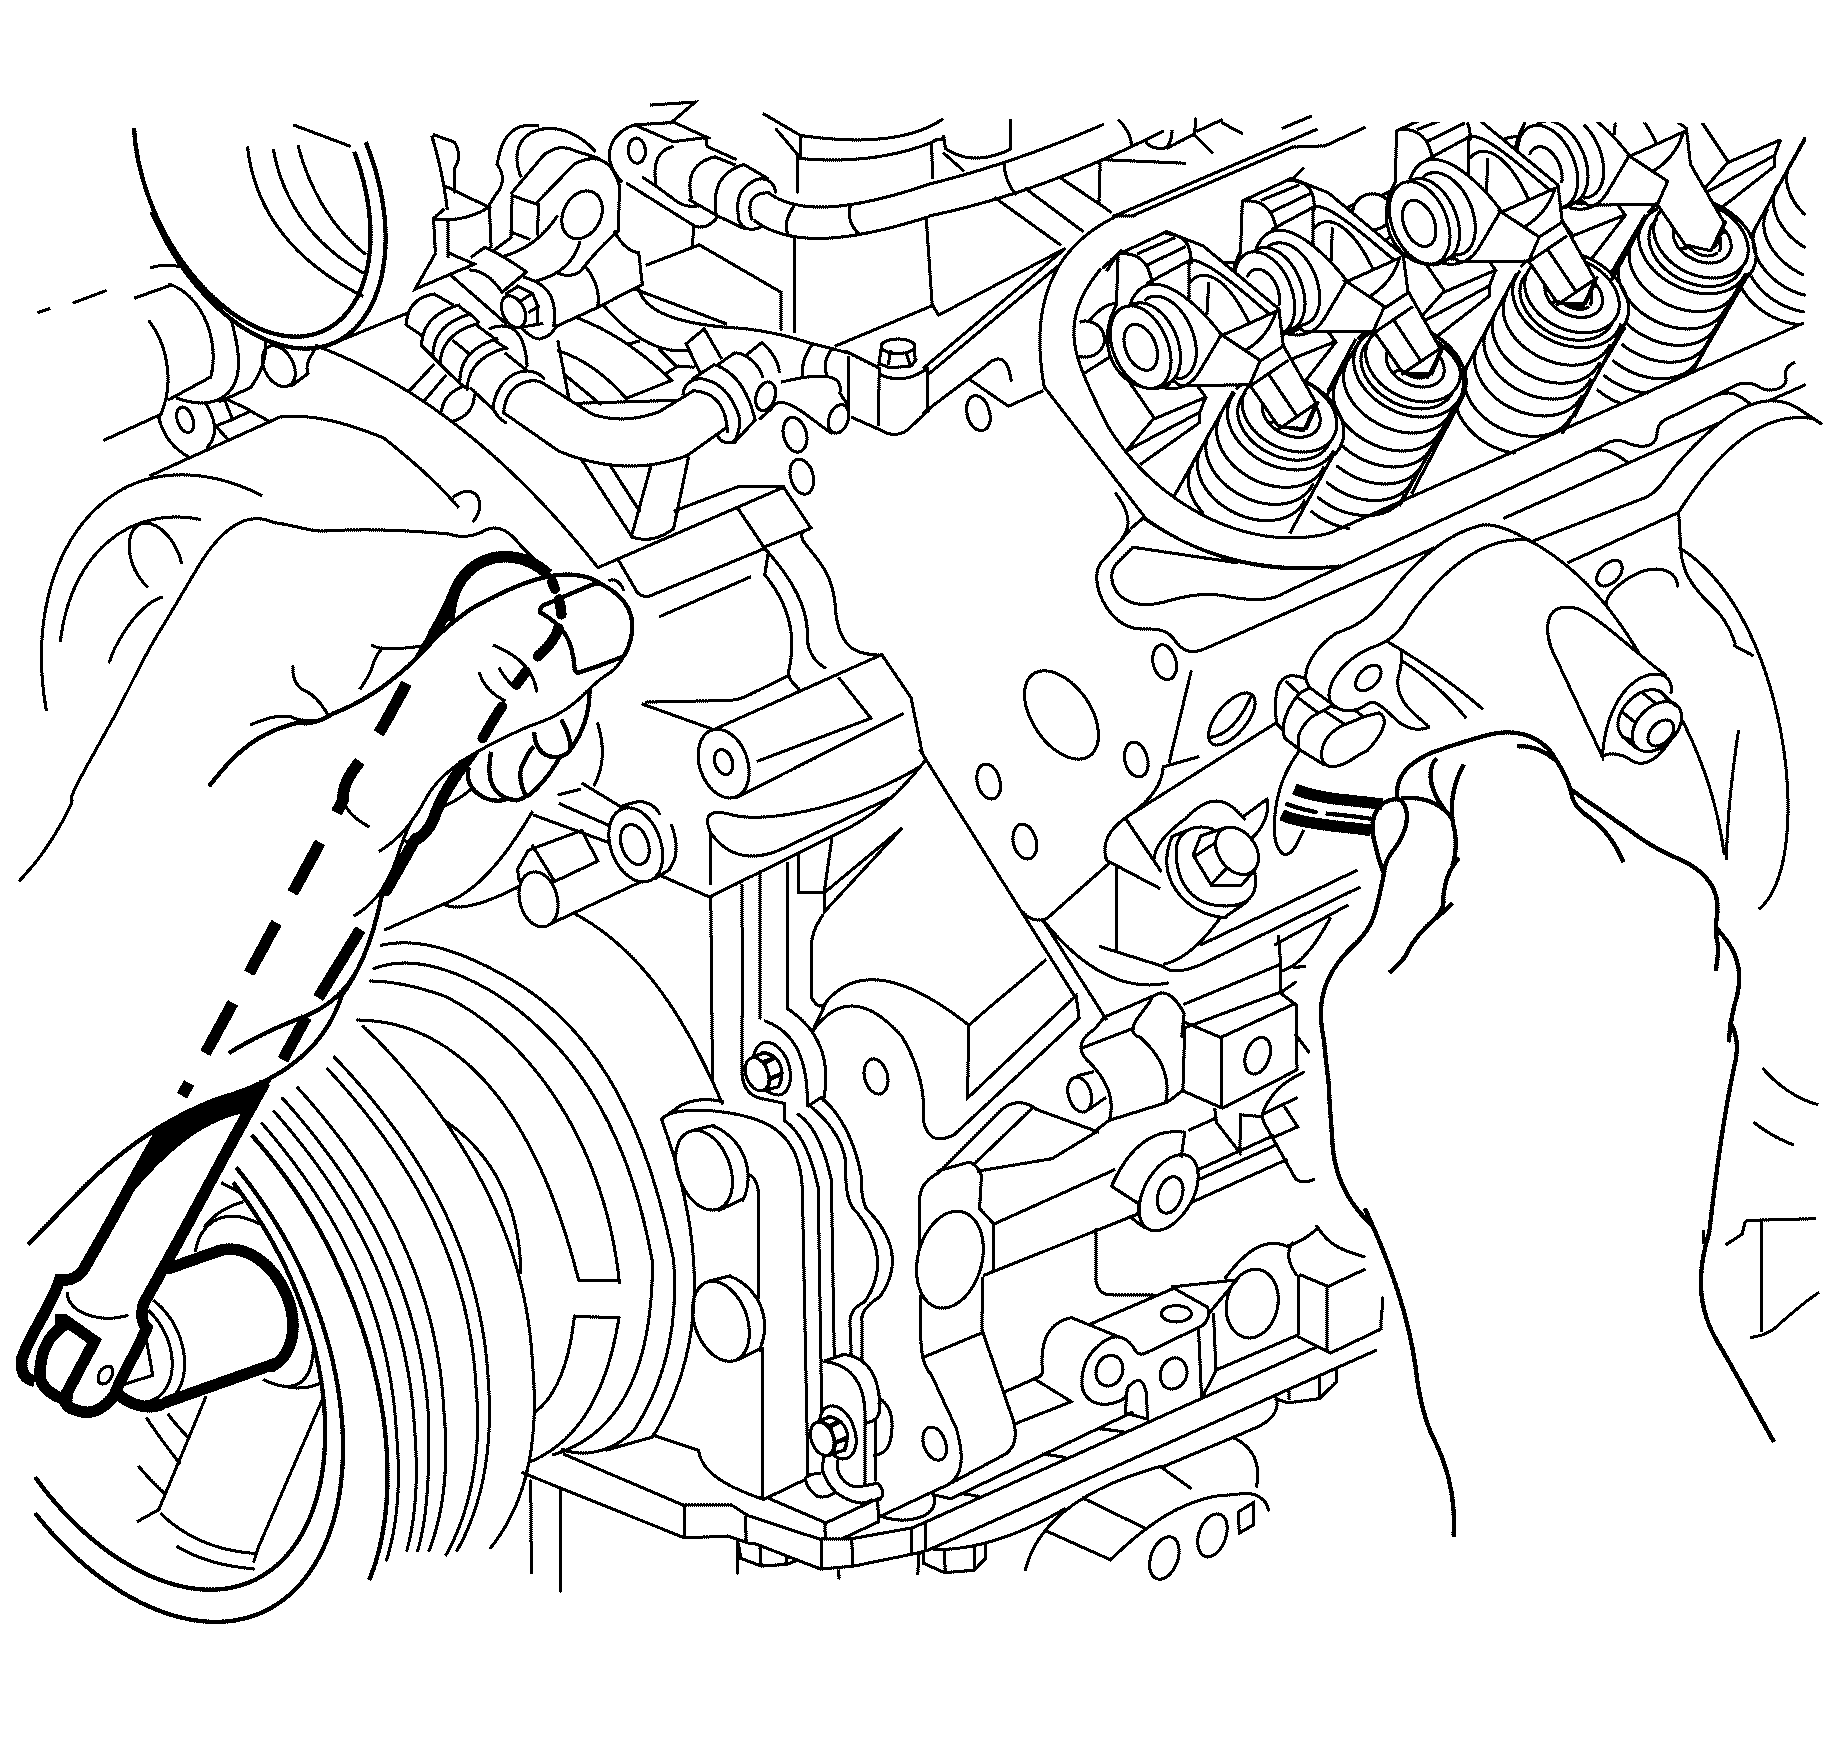
Important: The Number 1 piston is at the compression stroke when the Number 6 cylinder inlet and exhaust valves are rocking, that is when the exhaust valve is at the end of its upward travel while the intake valve starts its downward movement.
Important: The engine firing order is 1-8-7-2-6-5-4-3. Cylinder numbers are 1-3-5-7 are on the left bank and 2-4-6-8 are on the right bank.
Notice: Refer to Fastener Notice in the Preface section.
Tighten
| • | Tighten exhaust valve rocker arm retaining bolts 1, 2, 7, and 8 to 30 N·m (22 lb ft). |
| • | Tighten intake valve rocker arm retaining bolts 1, 3, 4, and 5 to 30 N·m (22 lb ft). |
Tighten
| • | Tighten exhaust valve rocker arm retaining bolts 3, 4, 5, and 6 to 30 N·m (22 lb ft). |
| • | Tighten intake valve rocker arm retaining bolts 2, 6, 7, and 8 to 30 N·m (22 lb ft). |
