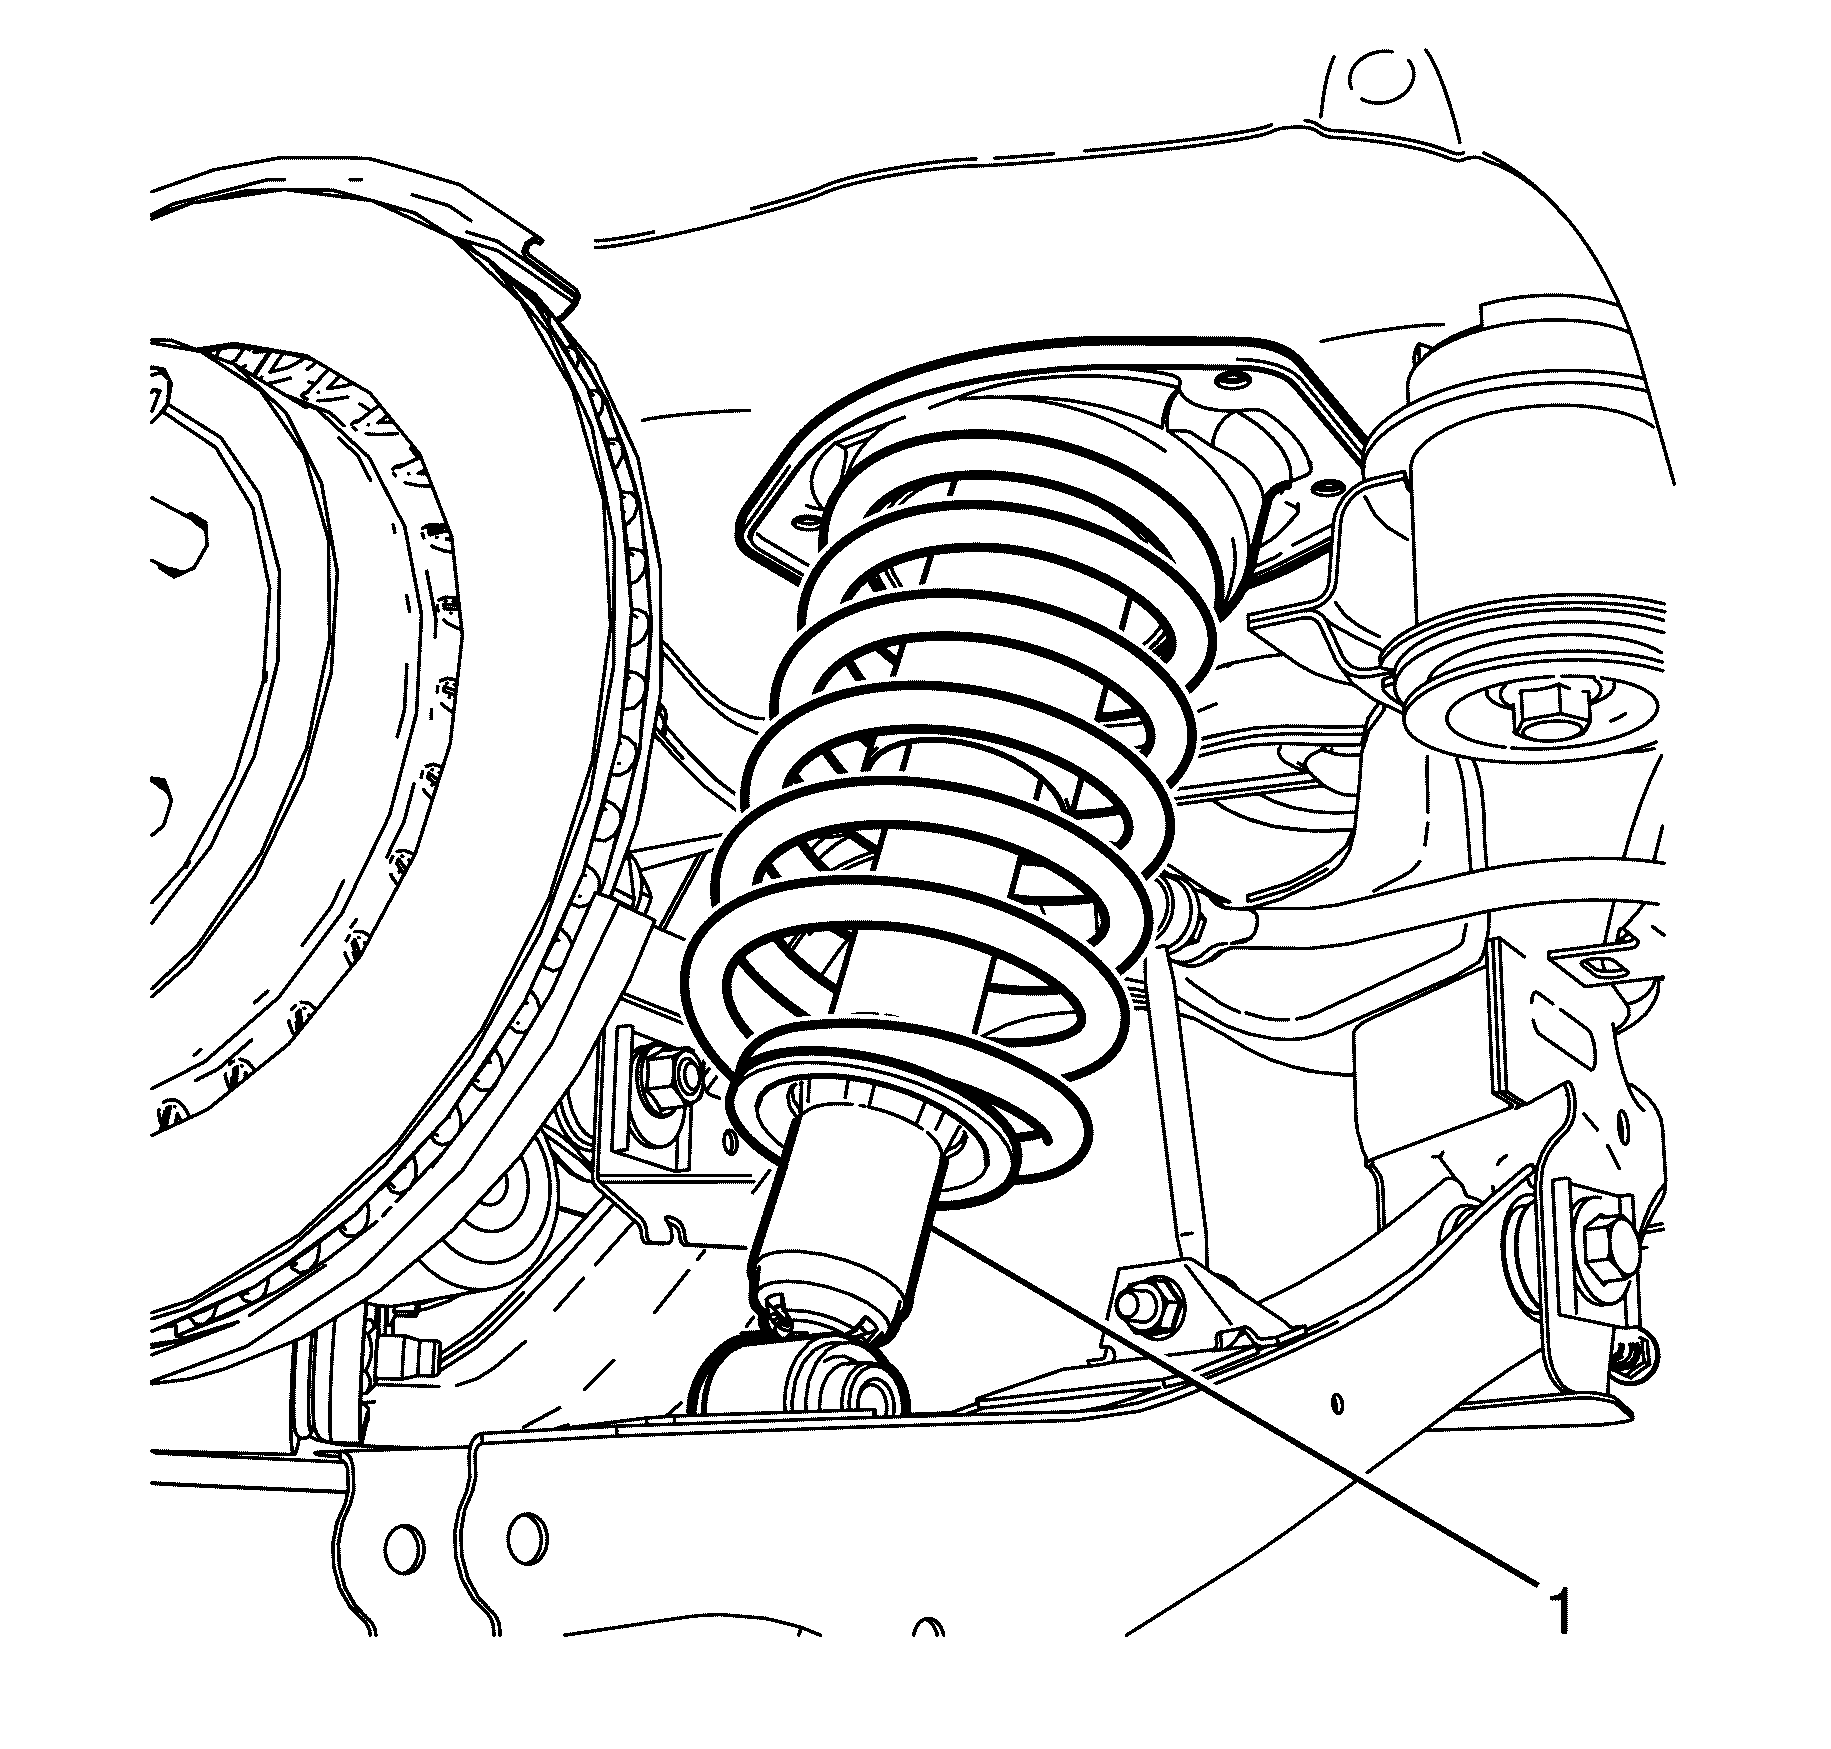
Removal Procedure
- Raise and support the vehicle. Refer to Lifting and Jacking the Vehicle .
- Remove the rear wheel. Refer to Tire and Wheel Removal and Installation .
- Support the lower control arm with a suitable jack.
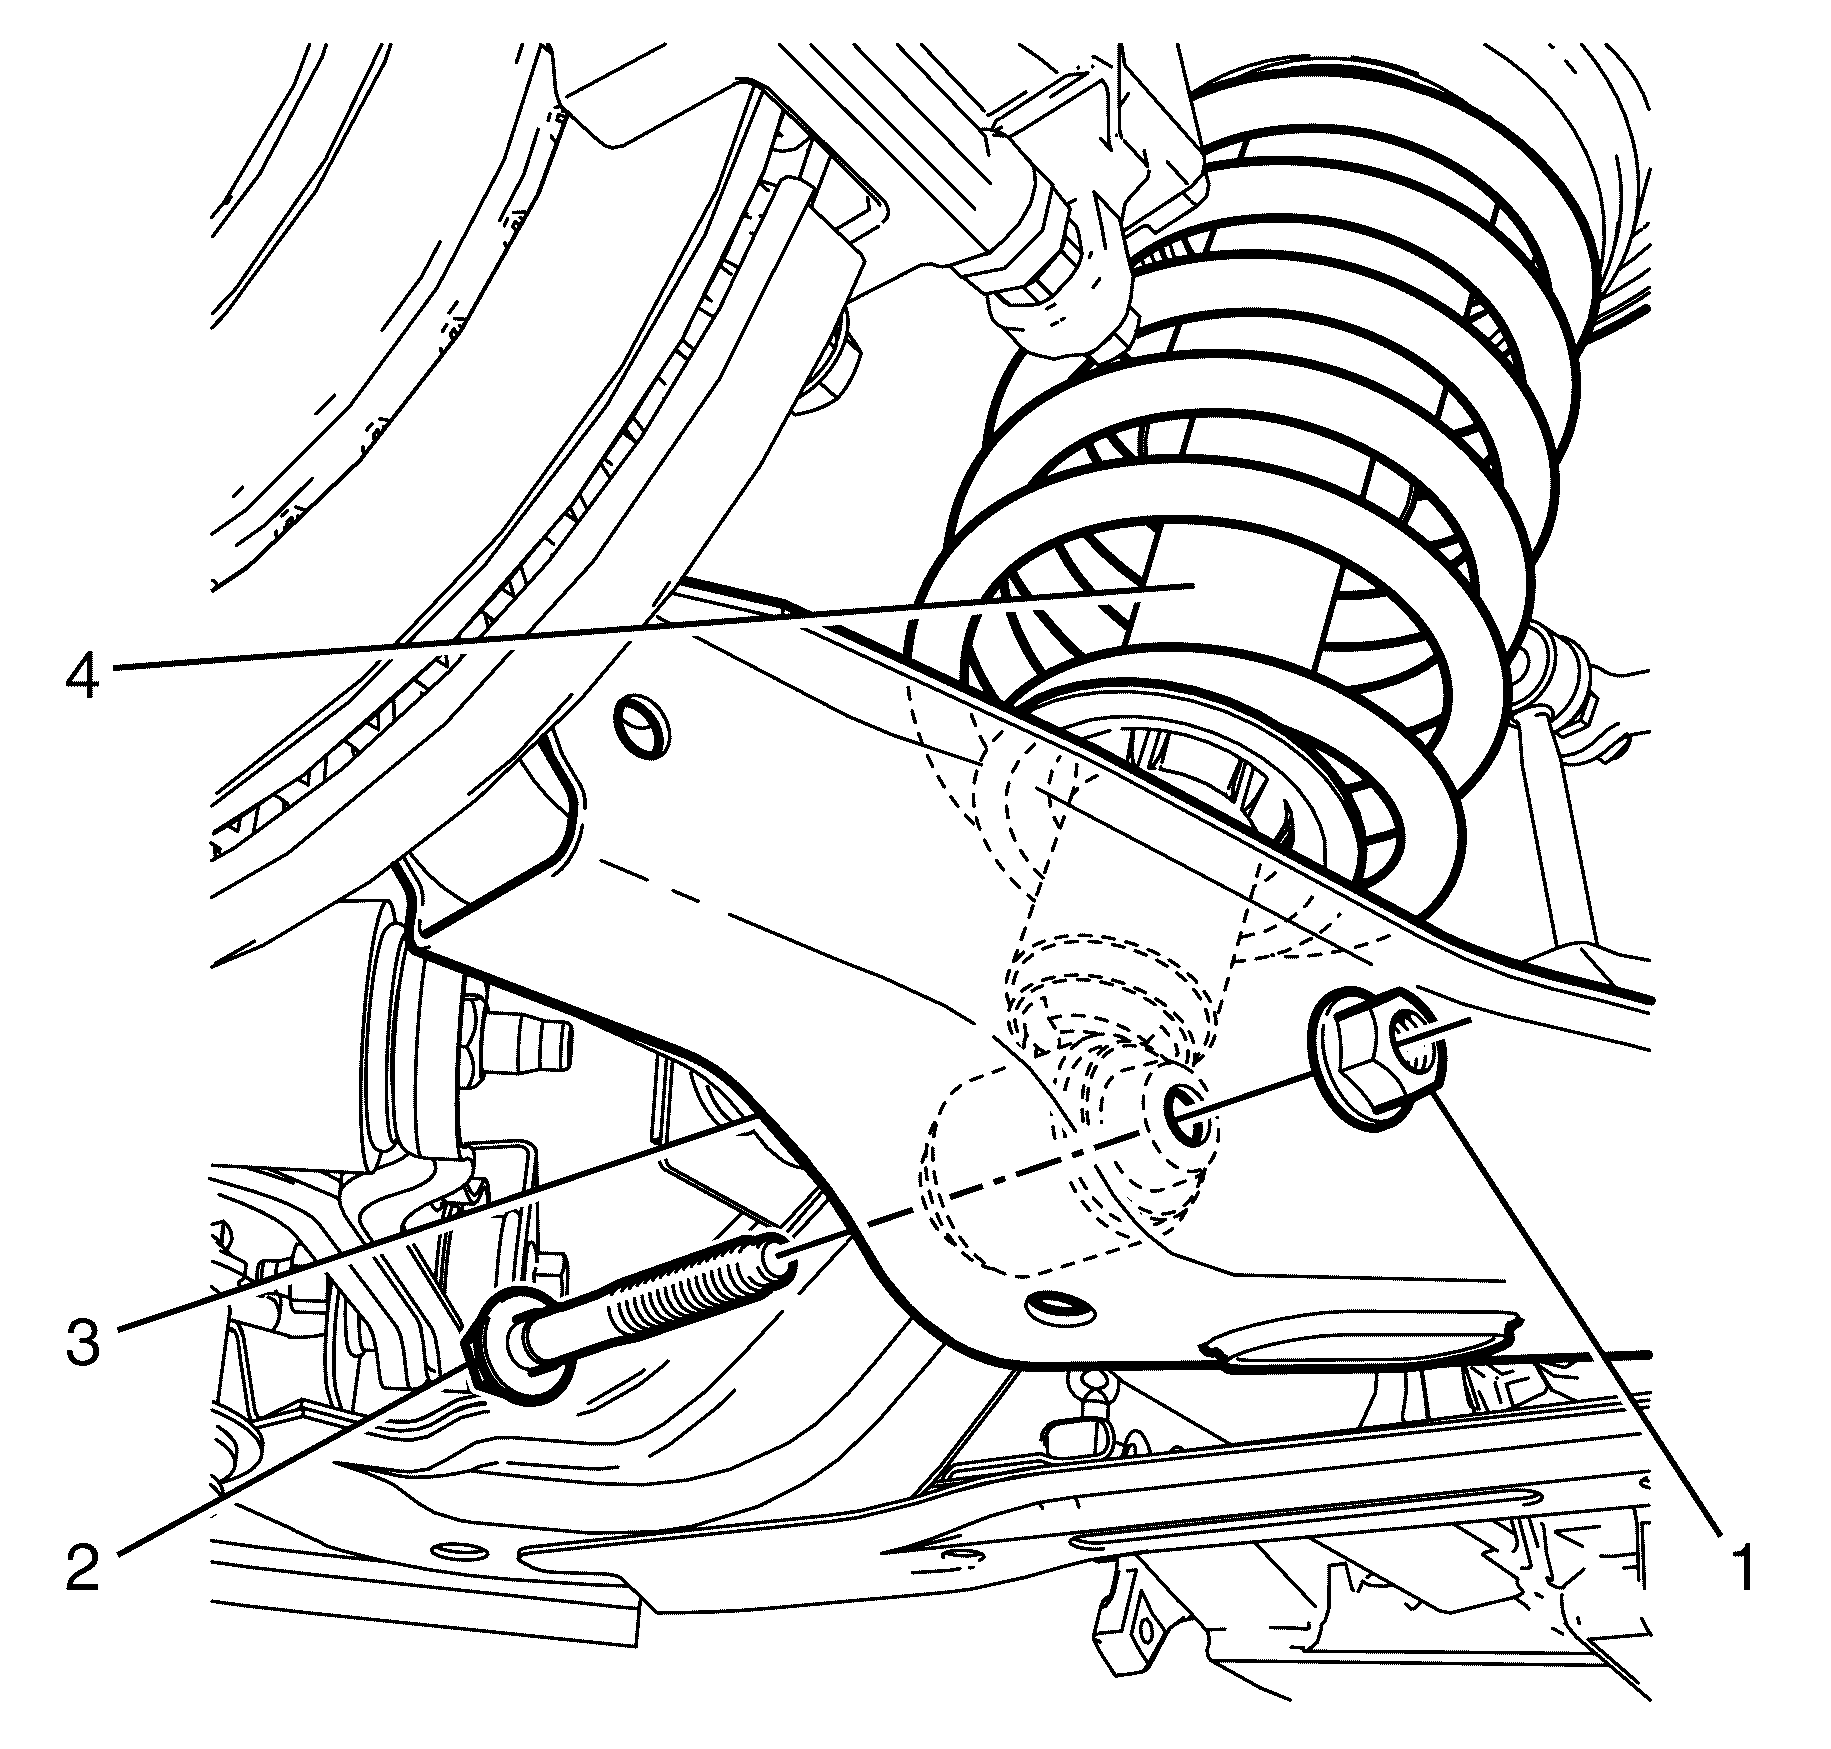
- Remove the lower control arm to knuckle retaining bolt (2) and nut (1).
- Remove the lower control arm to rear strut assembly retaining bolt (2) and nut (1).
- Detach the lower control arm (1) using a suitable pry bar.
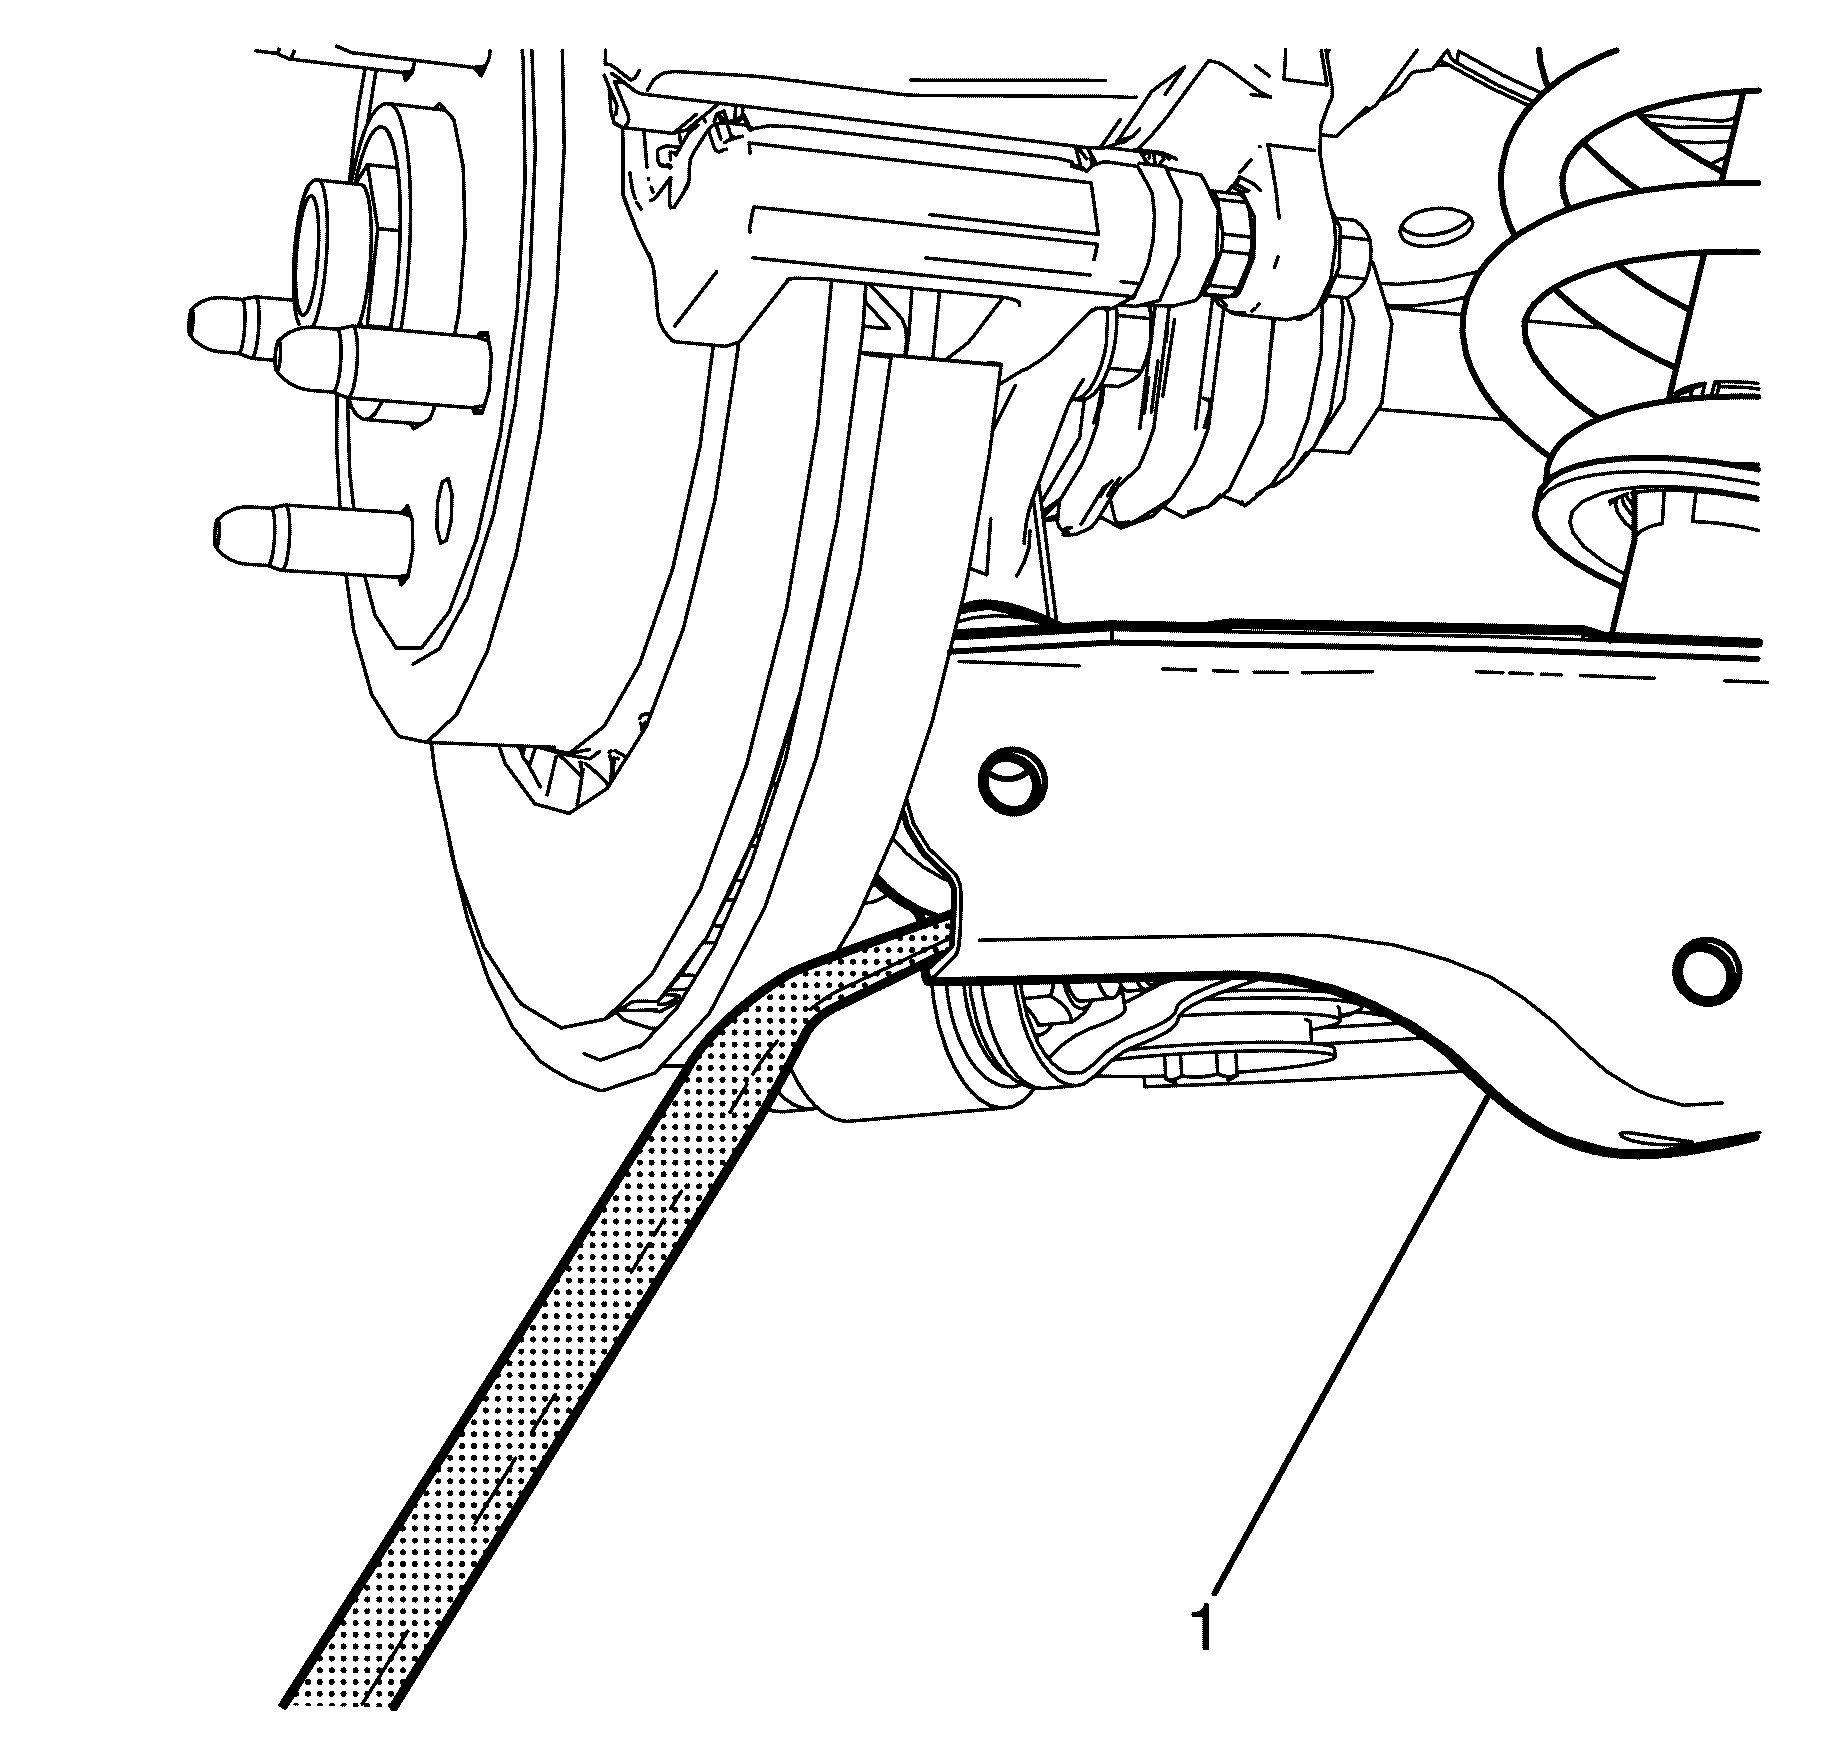
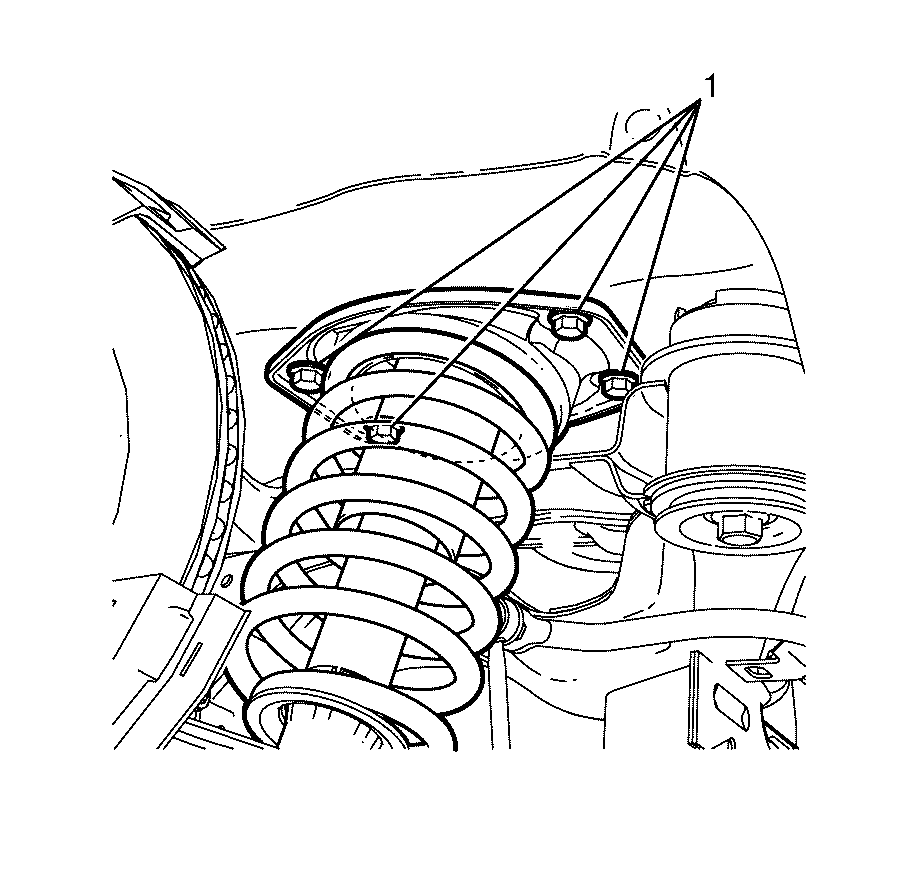
- Remove the rear strut assembly to body retaining bolts (1).
- Remove the rear strut assembly (1) from the vehicle.
- Inspect all parts for wear and damage.
Caution: Refer to Safety Glasses Caution in the Preface section.
Caution: Refer to Vehicle Lifting Caution in the Preface section.
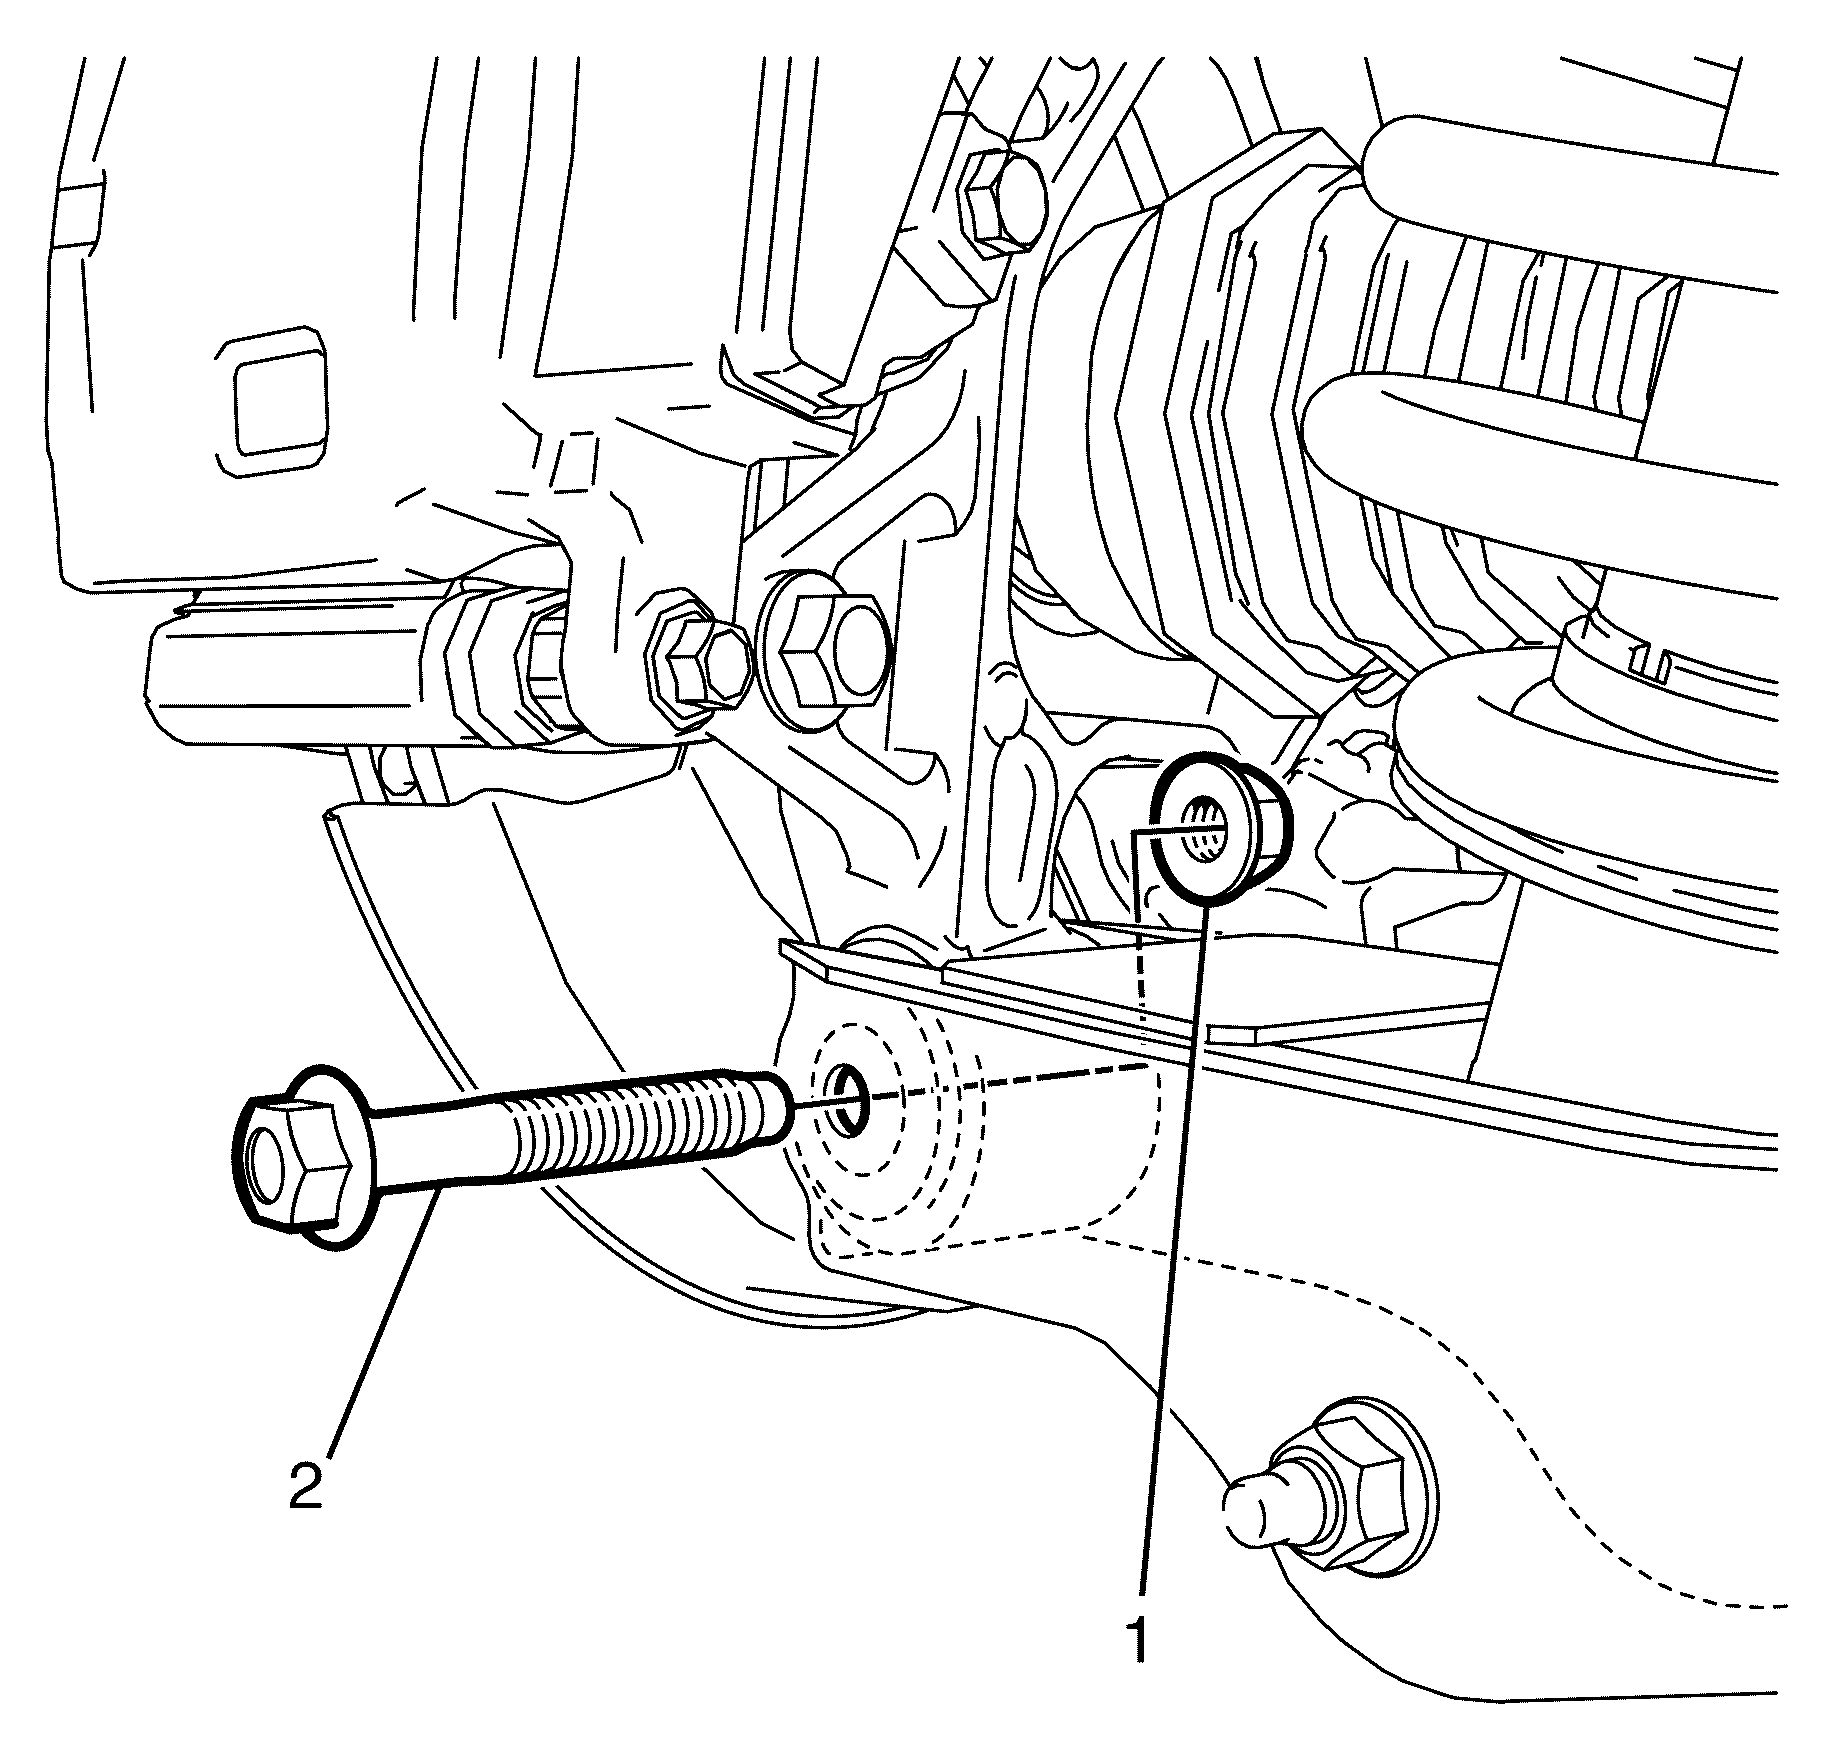
Important: Prevailing torque nuts must be discarded after removal.
Discard the nut.
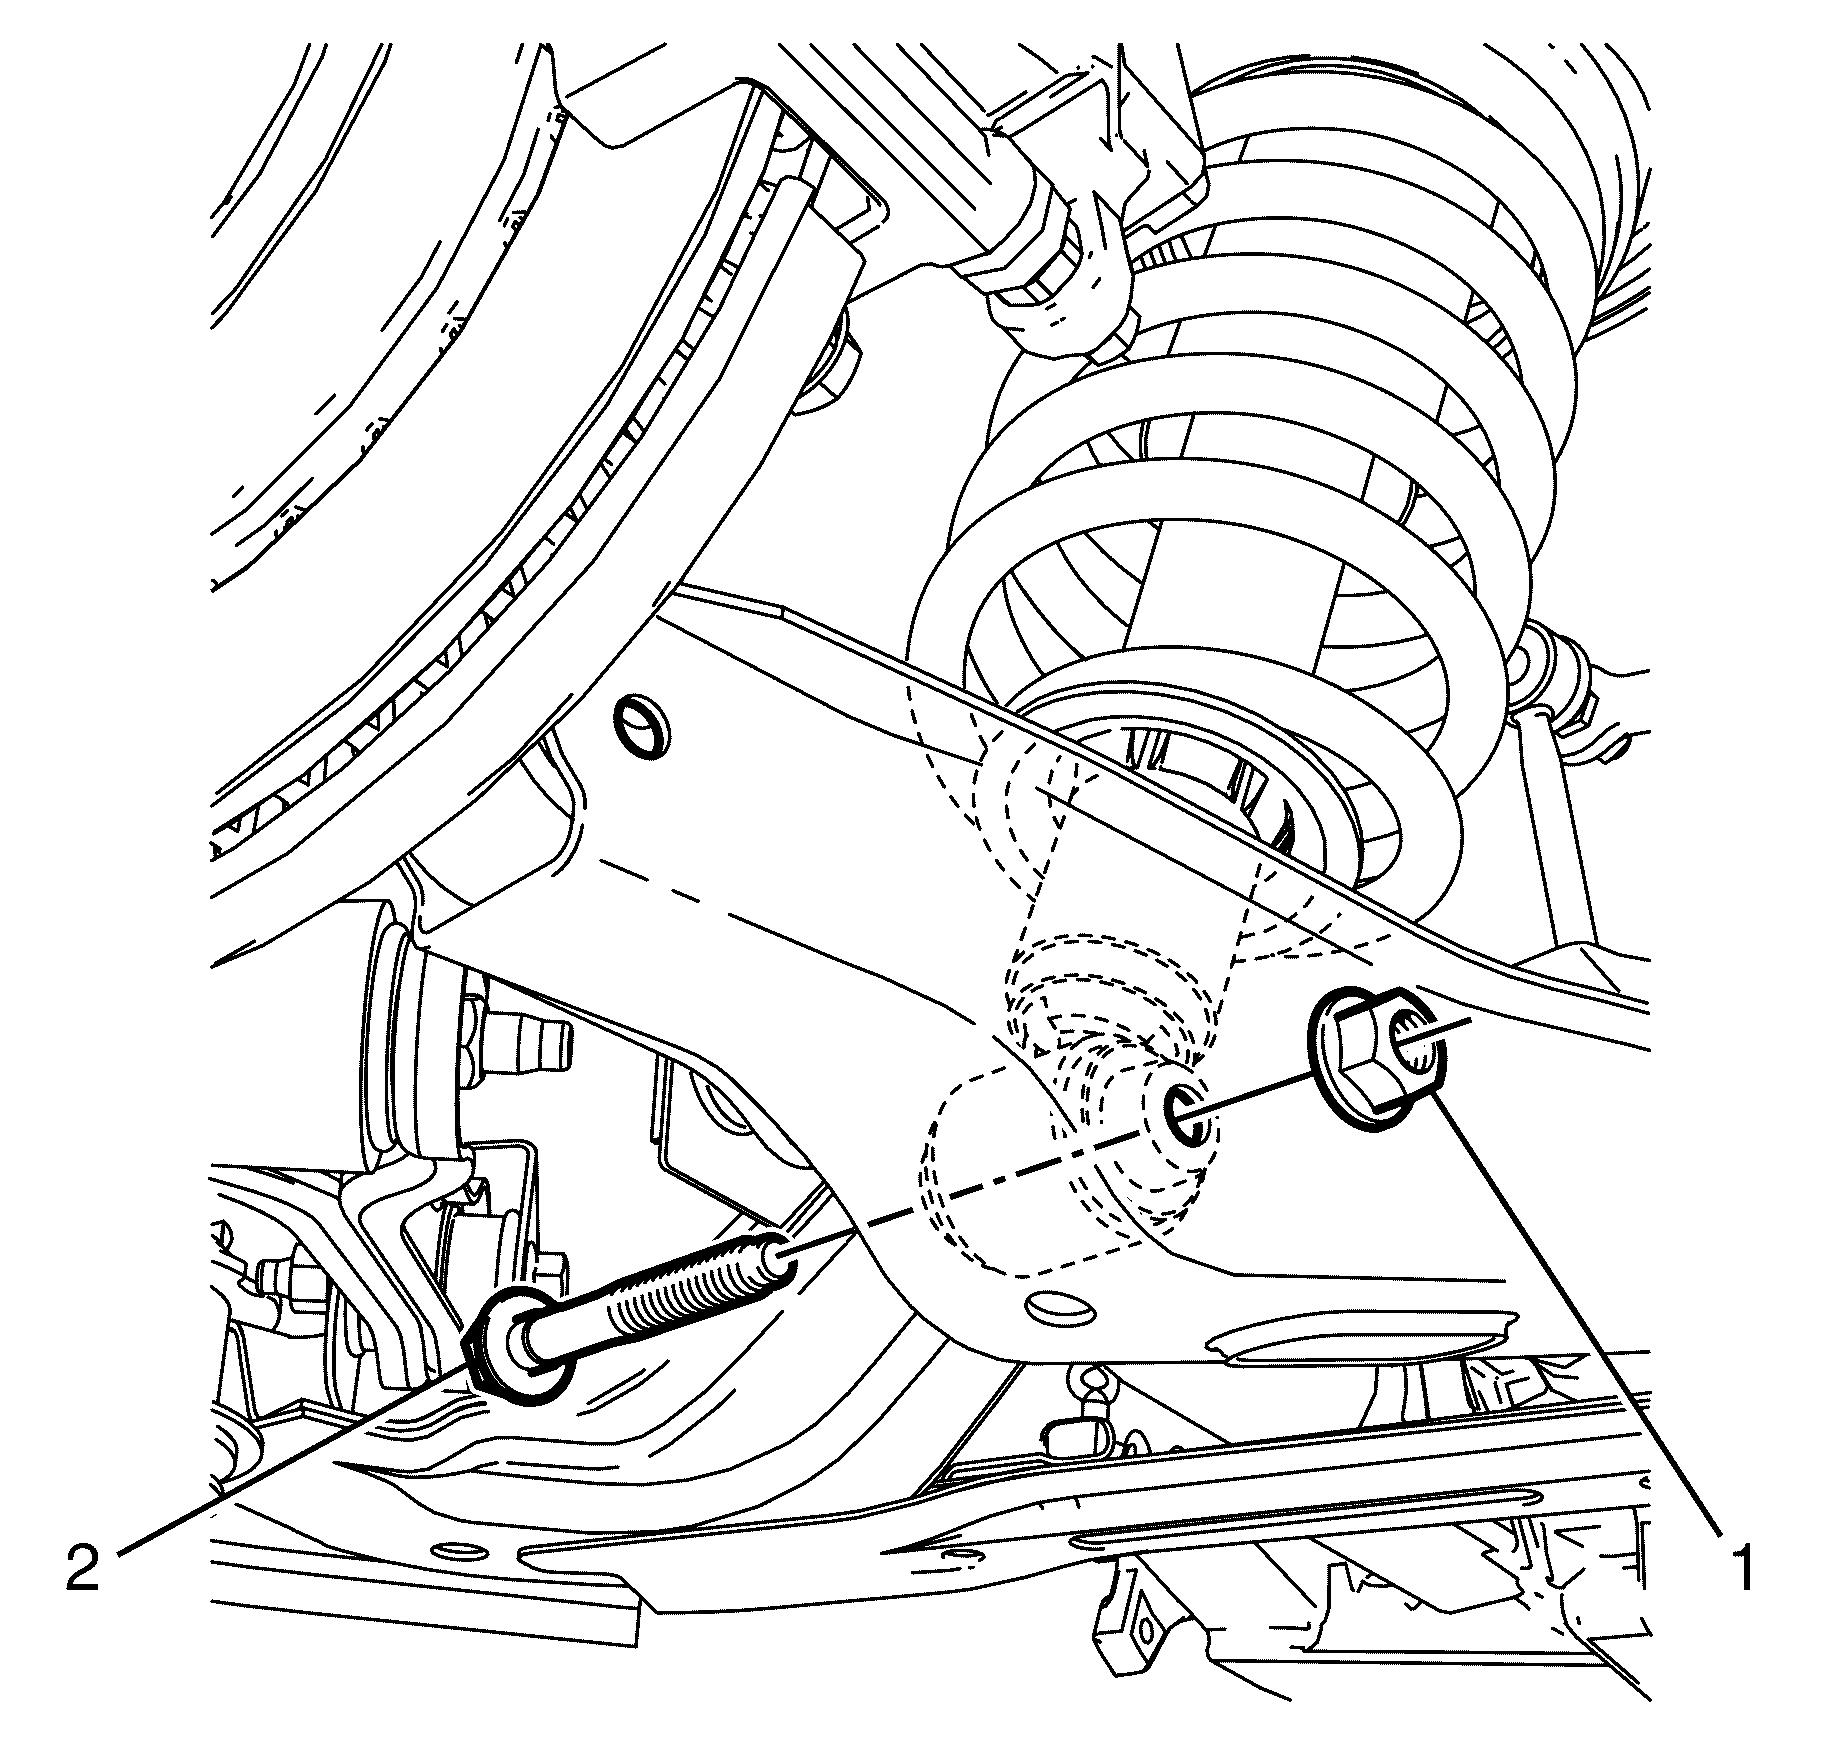
Important: Prevailing torque nuts must be discarded after removal.
Discard the nut.
Important: Do not apply pressure to the rear brake disc backing plate while levering.
Reposition the jack as necessary.
Caution: Refer to General Repair Instructions in the Preface section.
Installation Procedure
- Install the rear strut assembly (1) into the vehicle.
- Install the rear strut assembly to body retaining bolts (1).
- Connect the rear strut assembly (4) to the lower control arm (3).
- Install the lower control arm to strut assembly retaining bolt (2) and NEW nut (1).
- Connect the lower control arm (3) to the knuckle (4) using a suitable jack.
- Install the lower control arm to the knuckle retaining bolt (2) and NEW nut (1).
- Install the rear wheel. Refer to Tire and Wheel Removal and Installation .
- Remove the safety stands.
- Lower the vehicle to the ground.
- Bounce the vehicle several times to settle the suspension.
- Tighten the lower control arm to strut assembly retaining bolt (2) and NEW nut (1).
- Tighten the lower control arm to knuckle retaining bolt (2) and NEW nut (1).
- Check the wheel alignment of the vehicle. Refer to Wheel Alignment Measurement .
- Correct the wheel alignment of the vehicle, if necessary. Refer to Rear Camber Adjustment and Rear Toe Adjustment .
Notice: Refer to Fastener Notice in the Preface section.
Tighten
Tighten the bolts to 58 N·m (43 lb ft).
Important: Do not fully tighten the lower control arm to strut assembly retaining bolt (2) and nut (1) at this stage.
Do not fully tighten at this stage.
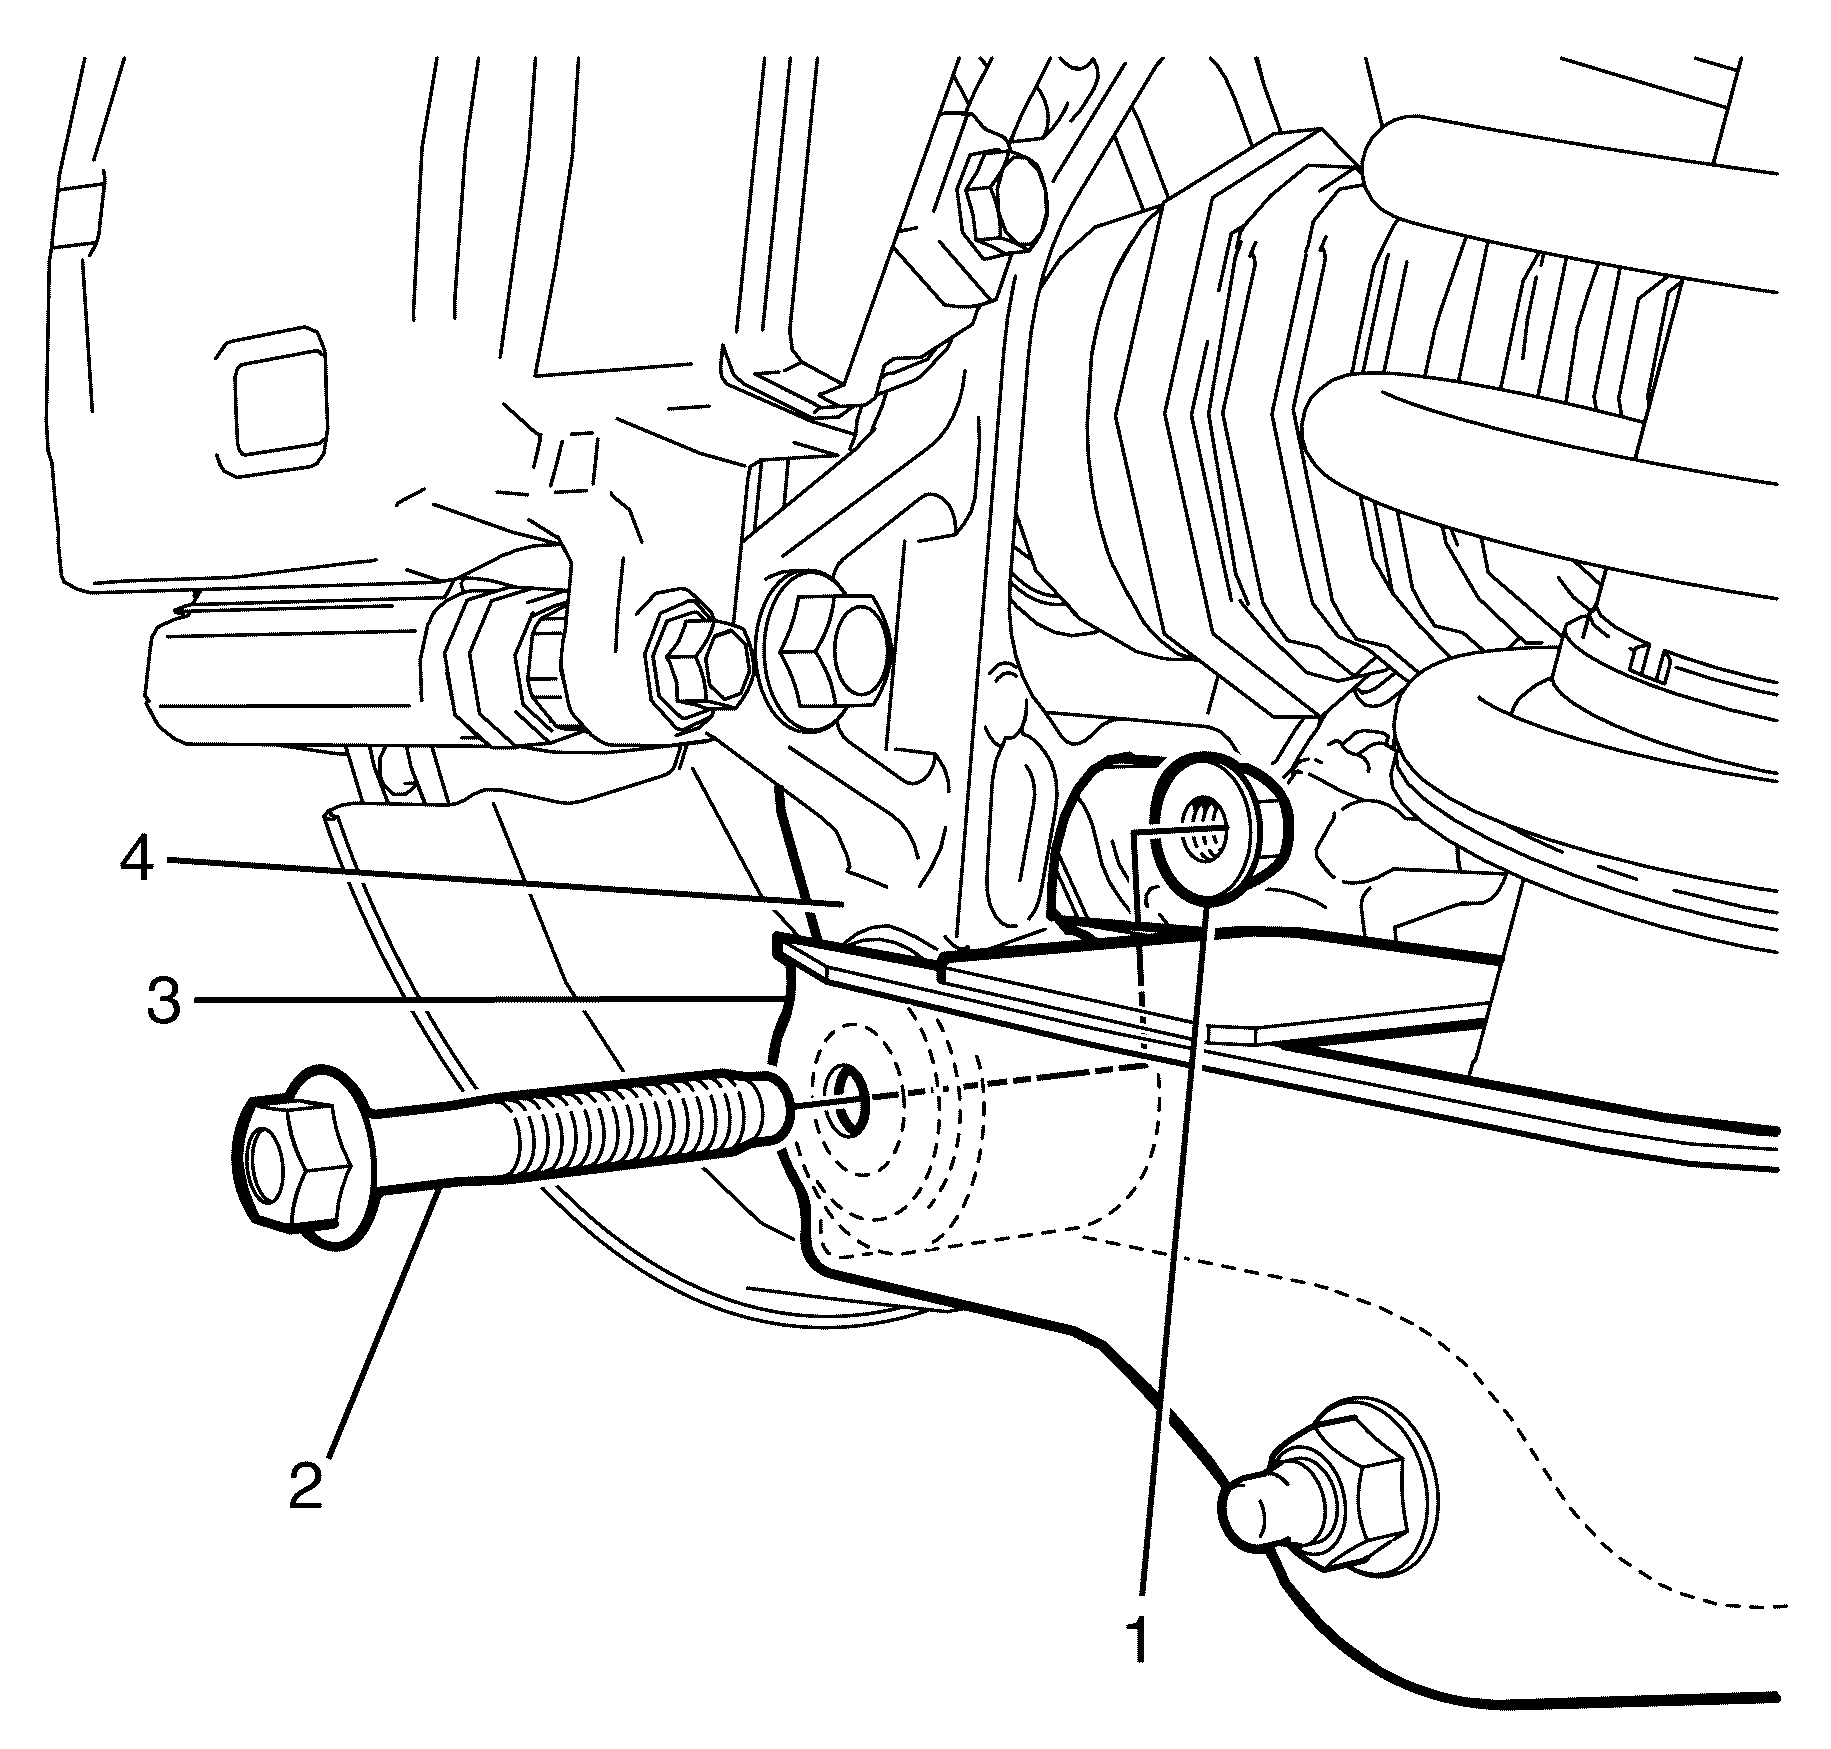
Important: Do not fully tighten the lower control arm to knuckle retaining bolt (2) and nut (1) at this stage.
Do not fully tighten at this stage.

Important: The weight of the vehicle must be on a level surface and on all four wheels before fully tightening the nuts and bolts.
Tighten
Tighten the bolt and nut a first pass to 40 N·m
(30 lb ft).
Tighten the bolt and nut a final pass 120 Degrees.
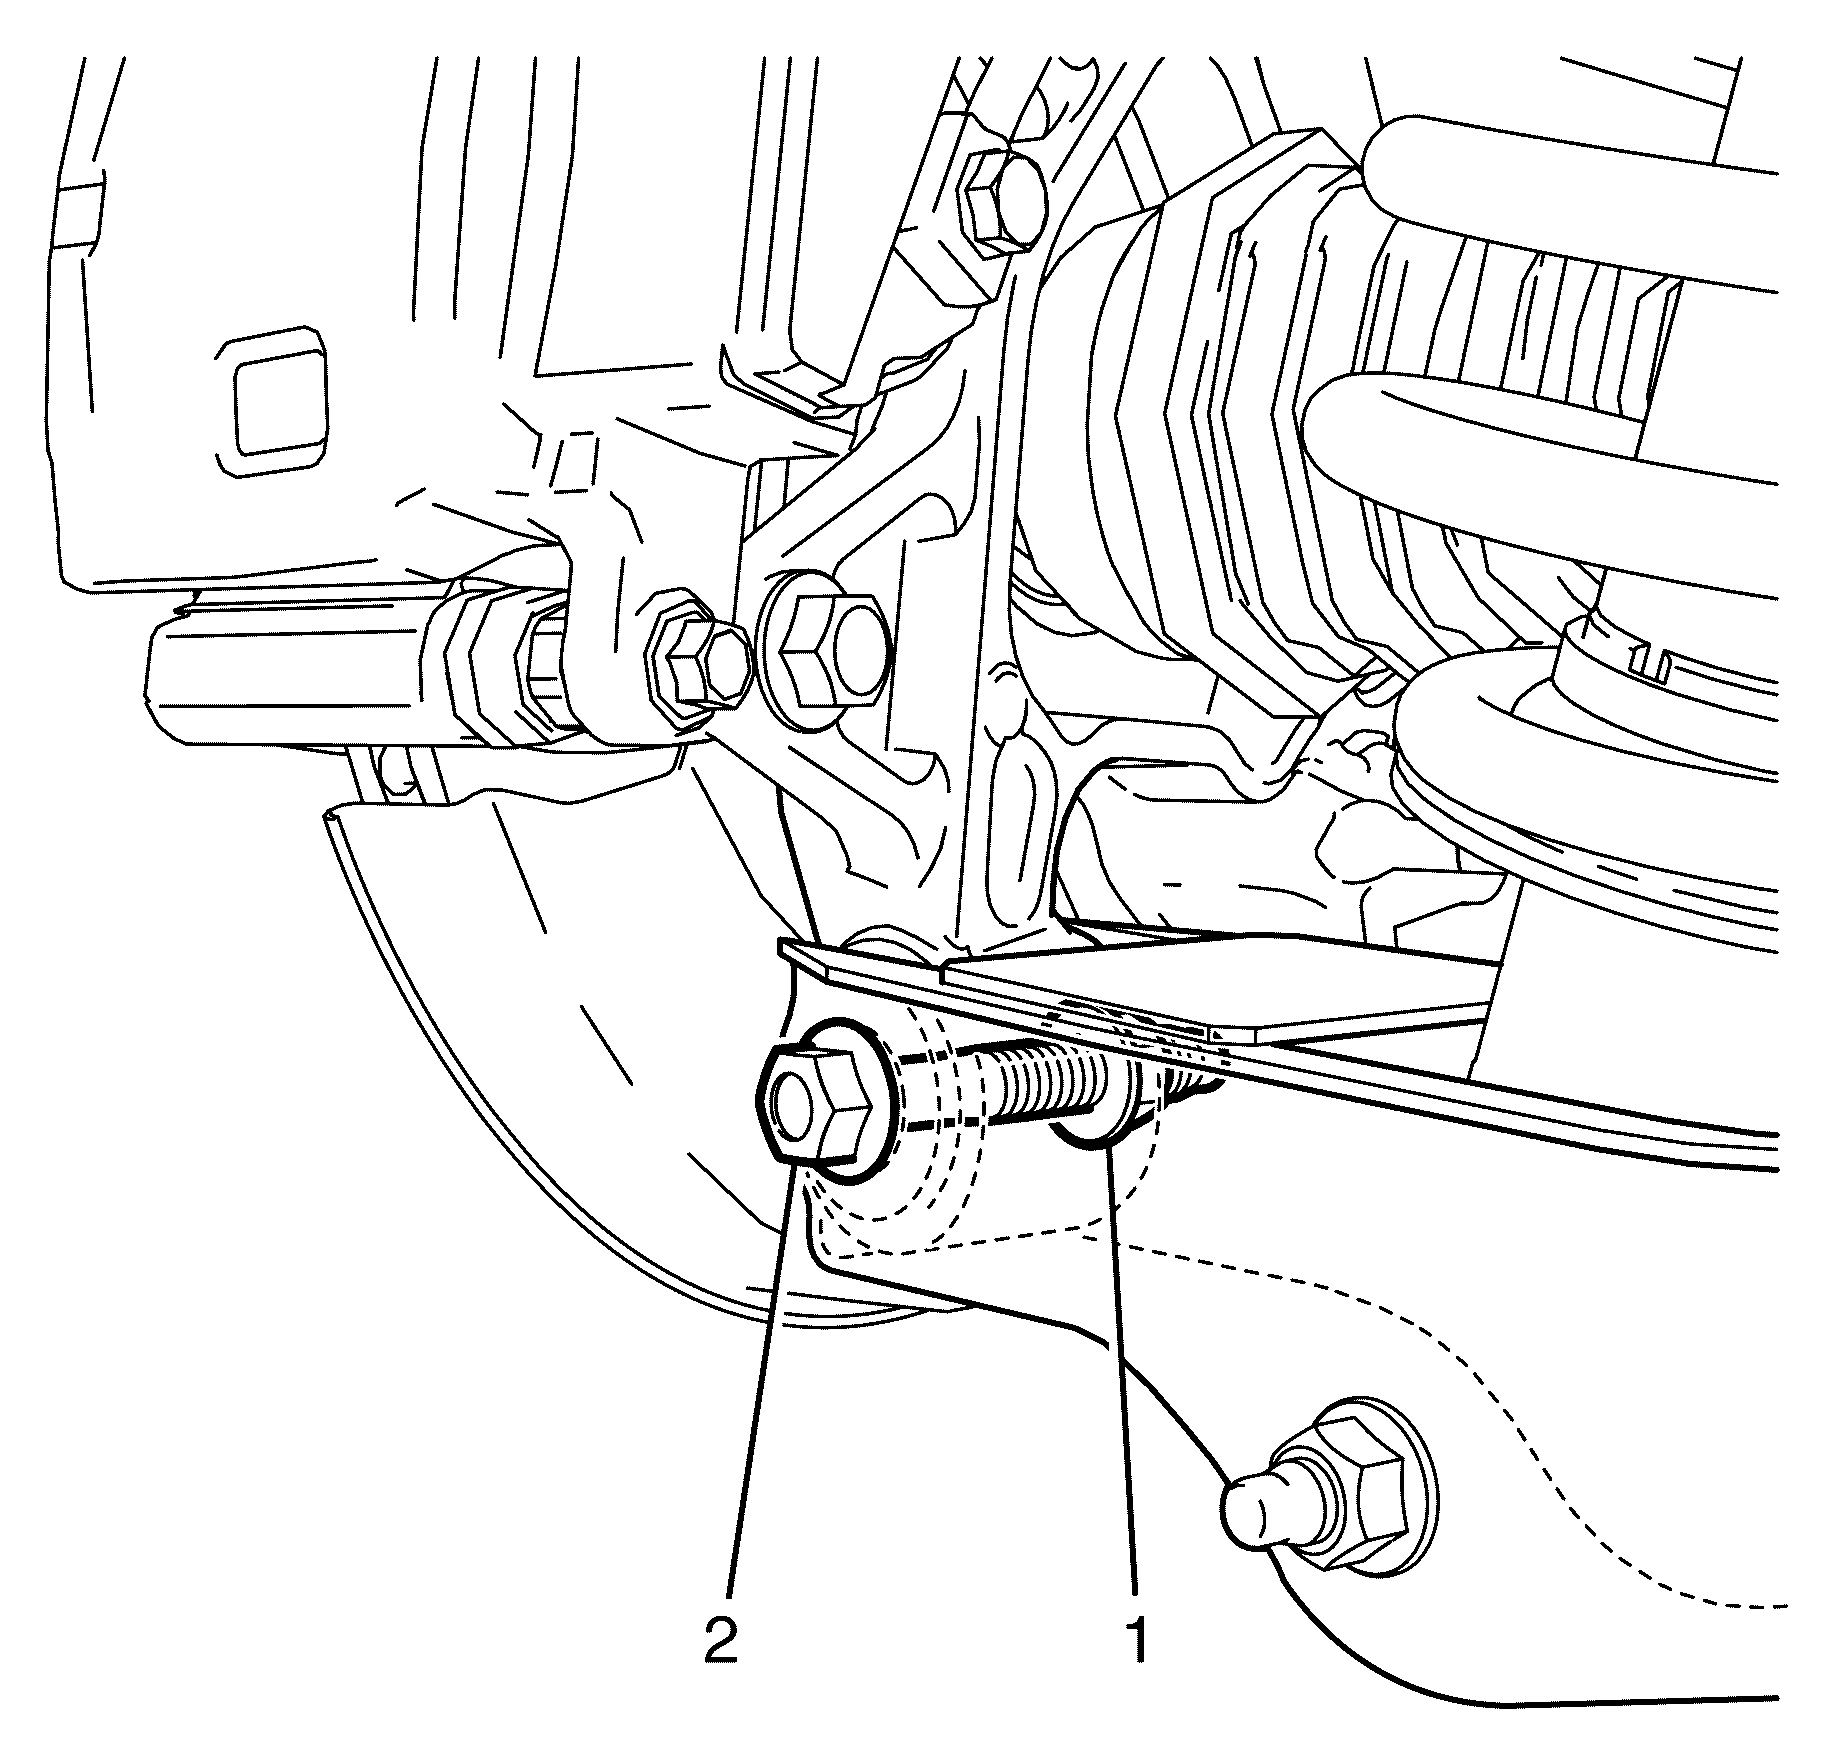
Tighten
Tighten the bolt and nut a first pass to 40 N·m
(30 lb ft).
Tighten the bolt and nut a final pass 120 Degrees.
