For 1990-2009 cars only
Removal Procedure
If the hinge bolts are damaged, but the front hinge pillar reinforcement panel is not damaged, use the following procedure for replacement. Begin by removing all related components and panels.
- Drill a 30 mm (1 1/8 in) access hole on the rearward surface of the inboard hinge pillar at the same datum height as the damaged bolt(s), when removing the front hinge bolts. This hole must not overlap the corners of the hinge pillar and the cut piece must be saved and rewelded in place later.
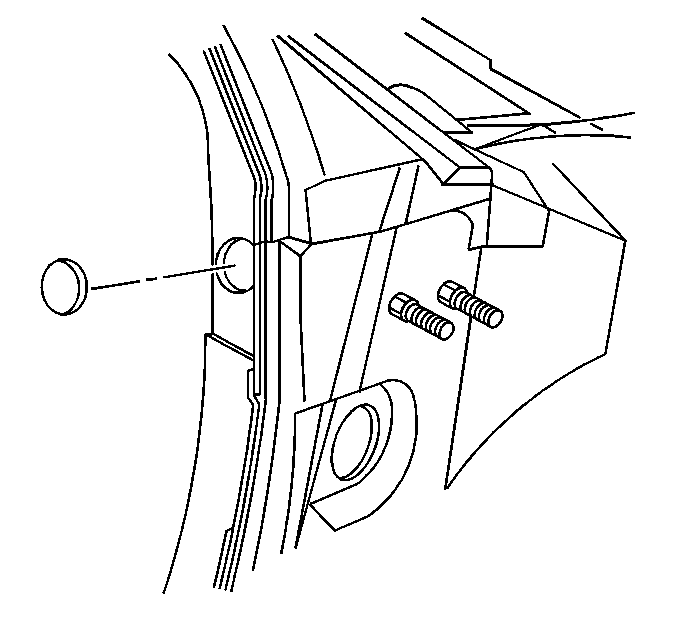
Depress the damaged bolt(s) through the mounting hole.
Remove the damaged bolt(s) through the access hole using an extended magnet or other suitable tool.
Installation Procedure
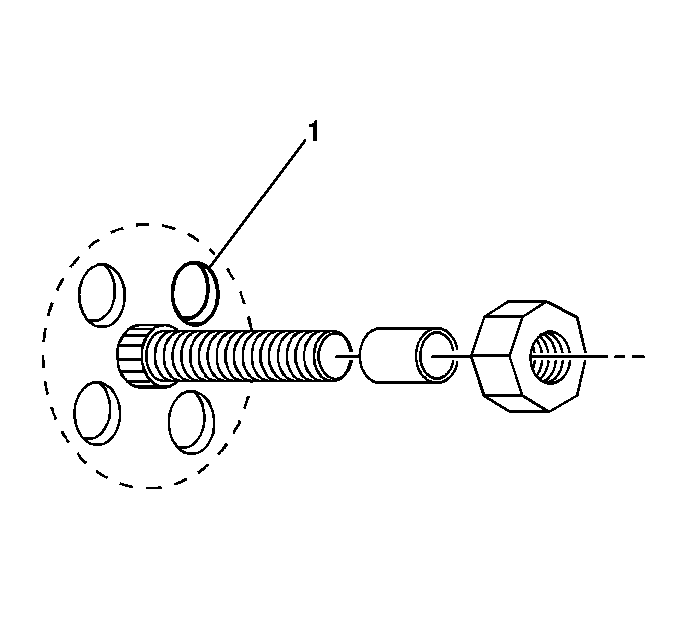
- Drill four 7 mm (¼ in) weld holes around the edge of the bolt mounting hole.
- Feed a heavy wire (mechanics wire) in through the bolt mounting hole and out through the access hole.
- Secure a new hinge bolt to the wire and draw the bolt through the access hole and into the mounting hole. Use a suitable spacer and nut to pull the hinge bolt completely through the hole so it is flush with the back surface (1).
- Once the stud is in position, plug weld the hinge bolt in place.
- Seal the access hole by completely welding the piece from Removal Step #1 into the inboard hinge pillar.
- Clean and prepare welded surfaces.
- Apply sealers and anti-corrosion materials as necessary.
- Prime with two-part catalyzed primer.
- Install all related components.
Important: Prior to refinishing, refer to GM 4901MD-98 Refinish Manual for recommended products. Do not combine paint systems. Refer to paint manufacturer's recommendations. For further information or to order manual, call 1-800-269-5100.
