Adjustment Procedure
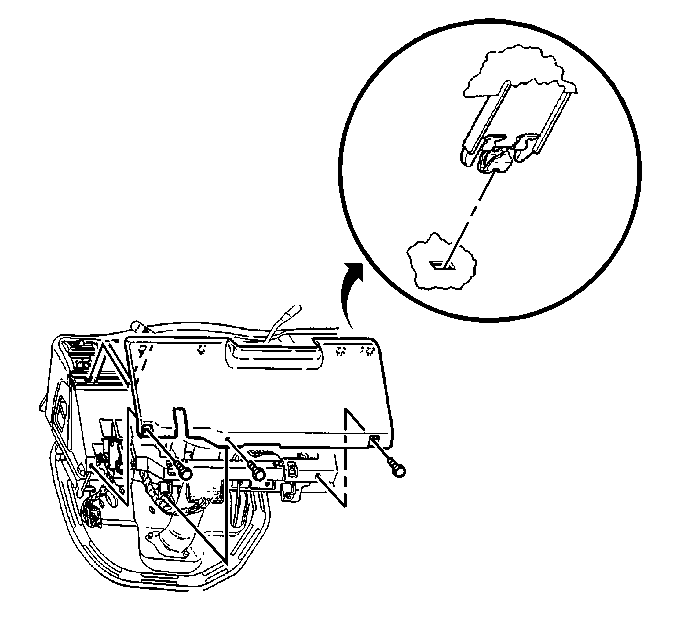
- Remove the left insulator panel. Refer to Instrument Panel Insulator Panel Replacement - Left Side in Instrument Panel, Gages and Console.
- Remove the knee bolster screws.
- Pull on the knee bolster to release the upper retainers.
- Remove the knee bolster.
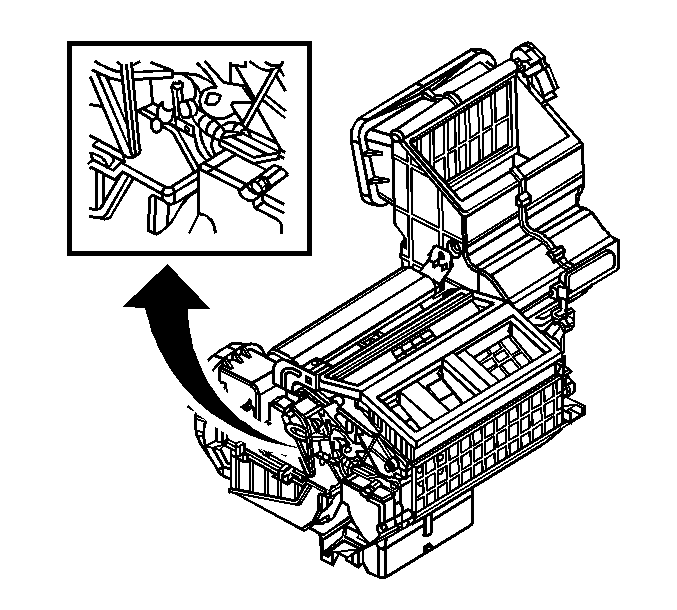
- Locate to mode door linkage.
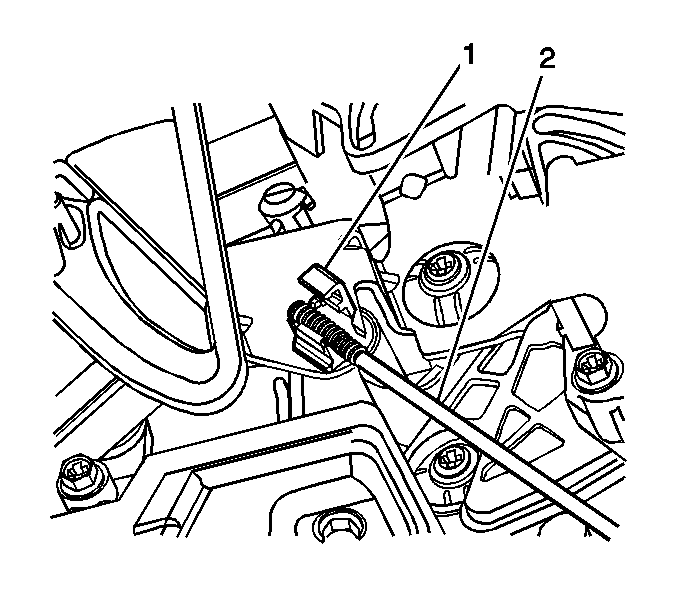
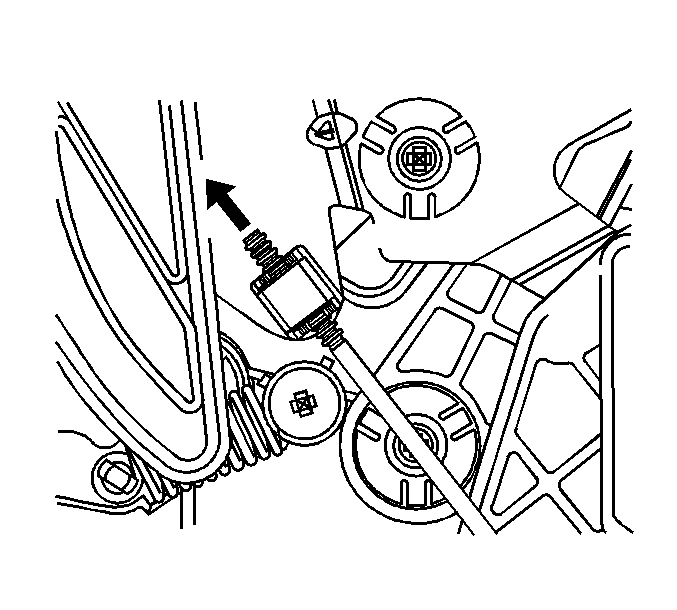
- Open the push rod retainer clip (1) with a small flat bladed screwdriver.
- Disconnect the push rod (2) from the retainer clip (1).
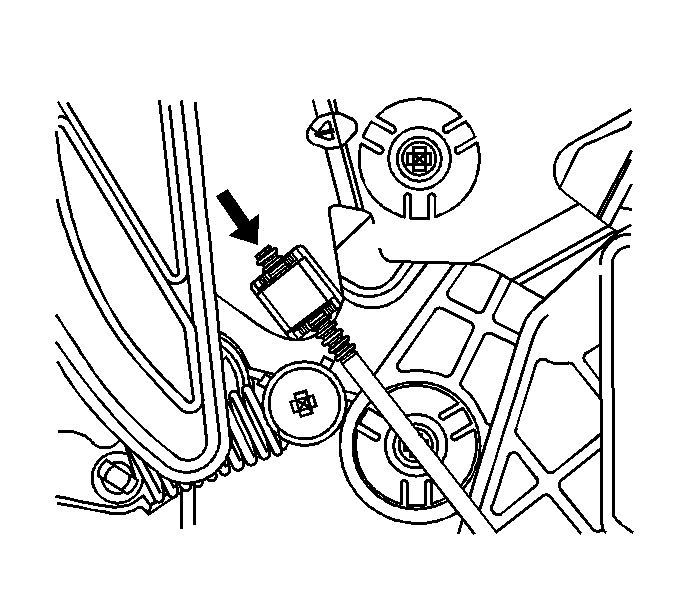
- Align the third thread (1) on the push rod with the end of the retainer clip.
- Close the push rod retainer clip.
- Inspect the air flow during the following conditions to verify proper operation:
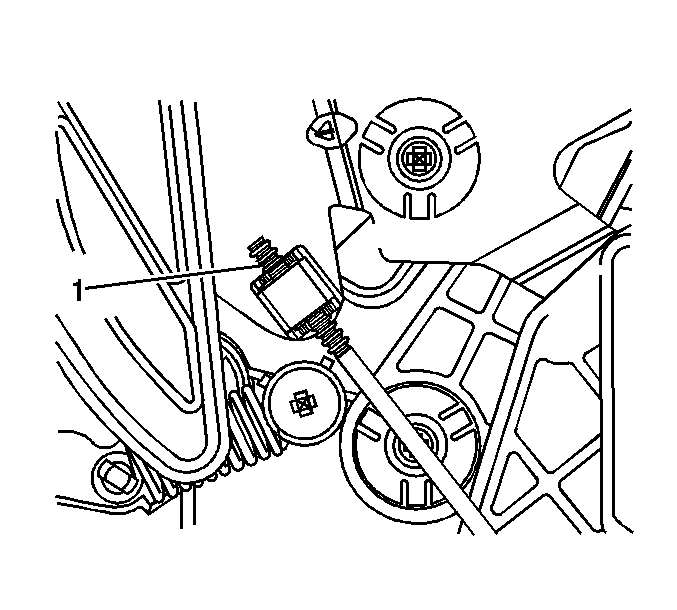
- Open the push rod retainer clip with a small flat bladed screwdriver.
- Disconnect the push rod from the retainer.
- Position the push rod so that the tip of the push rod will appear longer by one thread.
- Close the retainer clip and test again for air bleed.
- Repeat adjustment procedure if necessary.
- Open the push rod retainer clip with a small flat bladed screwdriver.
- Disconnect the push rod from the retainer.
- Position the push rod so that the tip of the push rod will appear shorter by one thread.
- Close the retainer clip and test again for suitable air flow.
- Repeat adjustment procedure if necessary.
- Align the clips on the knee bolster with the corresponding slots on the I/P.
- Push in to secure the knee bolster to the I/P.
- Install the knee bolster screws.
- Install the left insulator panel. Refer to Instrument Panel Insulator Panel Replacement - Left Side in Instrument Panel, Gages and Console.
| • | No significant air bleed from the vent outlet during Heater mode. |
| • | Suitable air flow from the vent outlet during Bi-level mode. |
Important: Perform the following if air bleed is felt from the vent outlet during Heater mode.
Important: Perform the following if there is no air flow from the vent outlet during Bi-level mode.
Notice: Use the correct fastener in the correct location. Replacement fasteners must be the correct part number for that application. Fasteners requiring replacement or fasteners requiring the use of thread locking compound or sealant are identified in the service procedure. Do not use paints, lubricants, or corrosion inhibitors on fasteners or fastener joint surfaces unless specified. These coatings affect fastener torque and joint clamping force and may damage the fastener. Use the correct tightening sequence and specifications when installing fasteners in order to avoid damage to parts and systems.
Tighten
Tighten the screws to 2.5 N·m (22 lb in).
