For 1990-2009 cars only
Removal Procedure
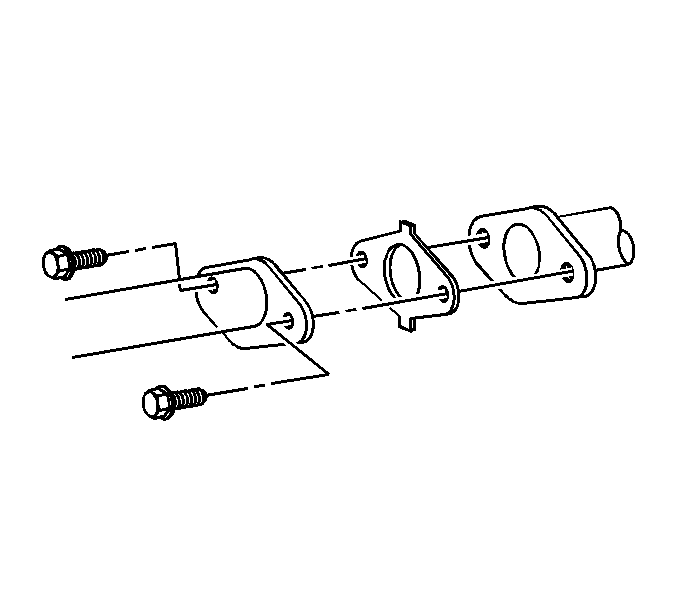
Notice: To prevent internal damage to the flexible coupling of the catalytic converter assembly, the converter must be supported. The vertical movement at the rear of the catalytic converter assembly must not exceed 6 degrees up or down.
- Raise and support the vehicle. Refer to Lifting and Jacking the Vehicle in General Information.
- Use a utility stand in order to support the catalytic converter.
- Remove the catalytic converter bolts.
- Remove the catalytic converter gasket.
- Remove the exhaust hanger insulators from the muffler.
- If the vehicle is equipped with All-Wheel-Drive (AWD), use a utility stand in order to support and lower the crossmember. Refer to Crossmember Replacement in Frame and Underbody.
- Remove the muffler towards the front of the vehicle.
- Clean the catalytic converter flange and the muffler flange.

Installation Procedure
- Install the muffler over the rear axle and towards the rear of the vehicle.
- Install the exhaust hanger insulators to the muffler.
- If the vehicle is equipped with AWD, use the utility stand to raise and install the crossmember. Refer to Crossmember Replacement in Frame and Underbody.
- Install a new catalytic converter gasket.
- Install the catalytic converter bolts.
- Lower the vehicle.
Notice: Refer to Fastener Notice in the Preface section.
Tighten
Tighten the catalytic converter bolts to 45 N·m
(33 lb ft).
