For 1990-2009 cars only
Removal Procedure
- Apply the parking brake.
- Position the transaxle shift lever to the LOW position.
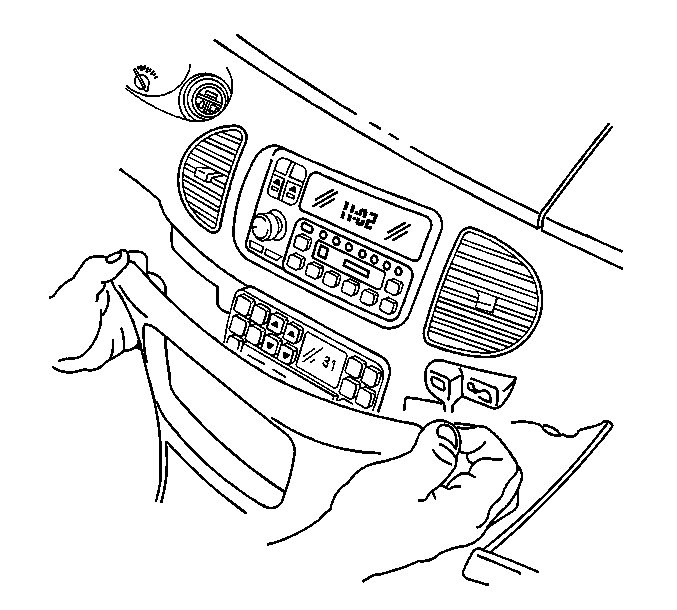
- Remove the floor console trim plate. Refer to Console Front Trim Plate Replacement .
- Remove the rear compartment mat.
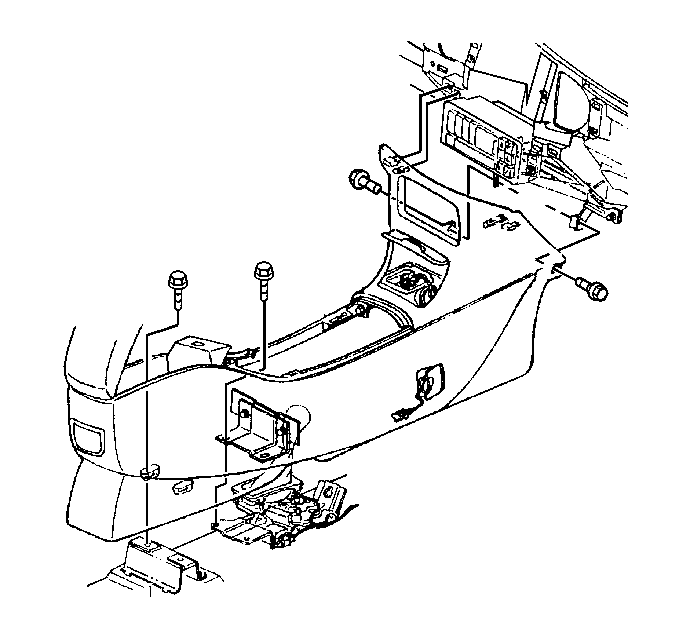
- Remove the rear compartment bolts.
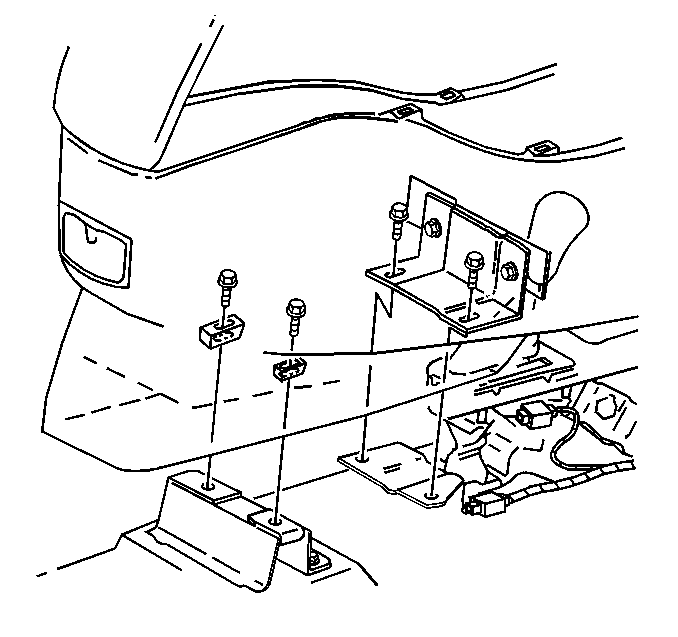
- Remove the bracket bolts rearward of the transaxle shift lever.
- Remove the horizontal bolts near the instrument panel (I/P).
- Remove the power accessory port. Refer to Floor Console Accessory Power Receptacle Replacement in Power Outlets.
- Remove the floor console lighter. Refer to Cigarette Lighter Housing Replacement - Floor Console in Power Outlets.
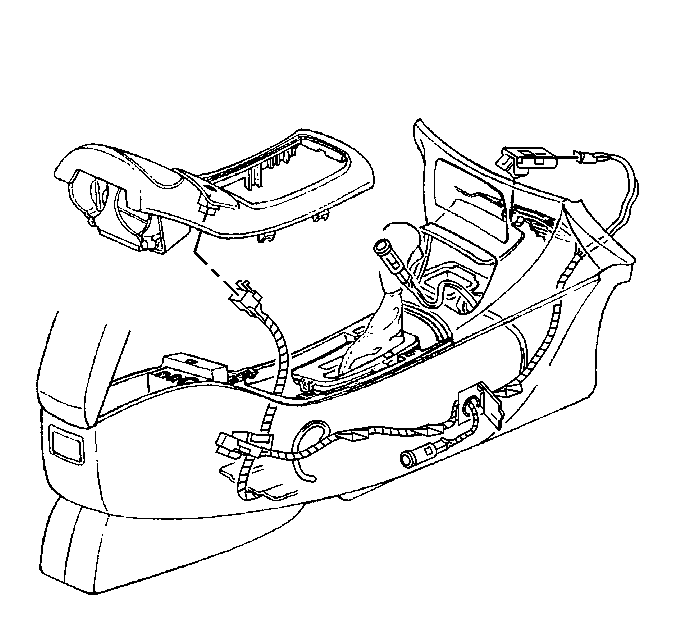
- Disconnect the wiring harness from the floor console.
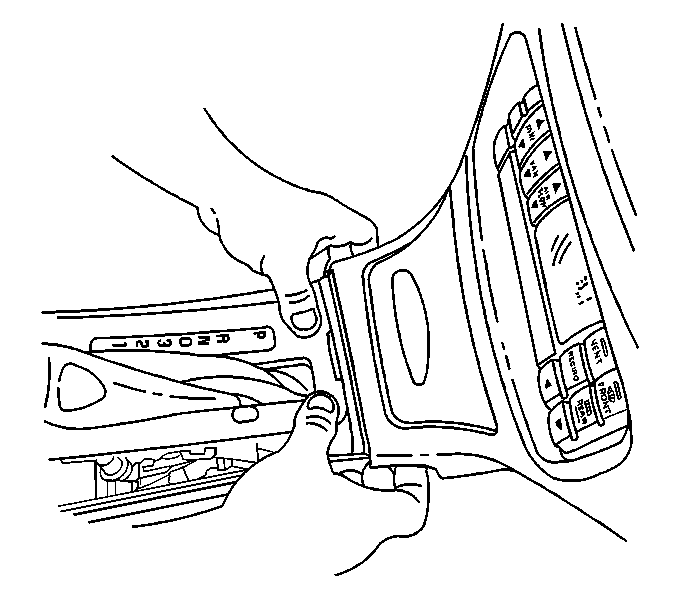
- Pull the floor console rearward in order to release the retainers from the I/P.
- Depress the front edge of the shifter trim plate in order to pull back the floor console for removal.
- Remove the floor console from the vehicle.

Installation Procedure
- Position the floor console to the vehicle.
- Connect the electrical connectors to the floor console.
- Align the floor console over the transaxle shifter and position the floor console retainers to the I/P.
- Push the floor console forward into the retainers in the I/P until fully seated.
- Install the horizontal bolts near the I/P.
- Install the bracket bolts at the rear of the transaxle shifter lever.
- Install the rear compartment bolts.
- Install the rear compartment mat.
- Install the floor console trim plate. Refer to Console Front Trim Plate Replacement .
- Install the power accessory port. Refer to Floor Console Accessory Power Receptacle Replacement in Power Outlets.
- Install the floor console lighter. Refer to Cigarette Lighter Housing Replacement - Floor Console in Power Outlets.
- Reposition the transaxle shift lever to the PARK position.
- Release the parking brake.
Notice: Refer to Fastener Notice in the Preface section.
Tighten
Tighten the bolts to 5 N·m (44 lb in).
Tighten
Tighten the bolts to 5 N·m (44 lb in).
Tighten
Tighten the bolts to 5 N·m (44 lb in).
