Compressor Leak Testing V5 - Conventional Mount
Tools Required
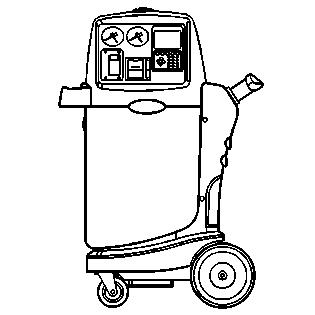
| • | J 43600 ACR
2000 Air Conditioning Service Center |
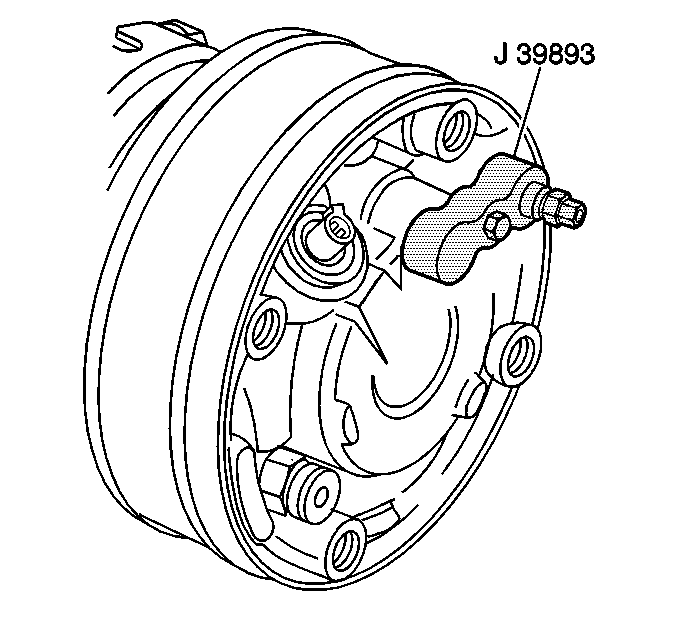
- With the sealing washers in place, install the J 39893
on the rear head of the compressor.
- Connect the gage charging lines and the J 43600
.
- Pressurize the suction and the high-side of the compressor using
R-134a refrigerant.
- With the compressor in a horizontal position, rotate the compressor
shaft several turns by hand in the operating direction.
- Using the J 39400-A
, inspect for leaks at the following locations:
| • | The pressure relief valve |
| • | The through bolt head gaskets |
| • | The compressor shaft seal |
- Perform the measures necessary to correct any external leaks found.
- Inspect for leaks again following any repair.
- Recover the refrigerant.
- Disconnect the hoses from the J 39893
.
- Remove the J 39893
.
Compressor Leak Testing V5
Tools Required
| • |
J 43600
ACR 2000
Air Conditioning Service Center |
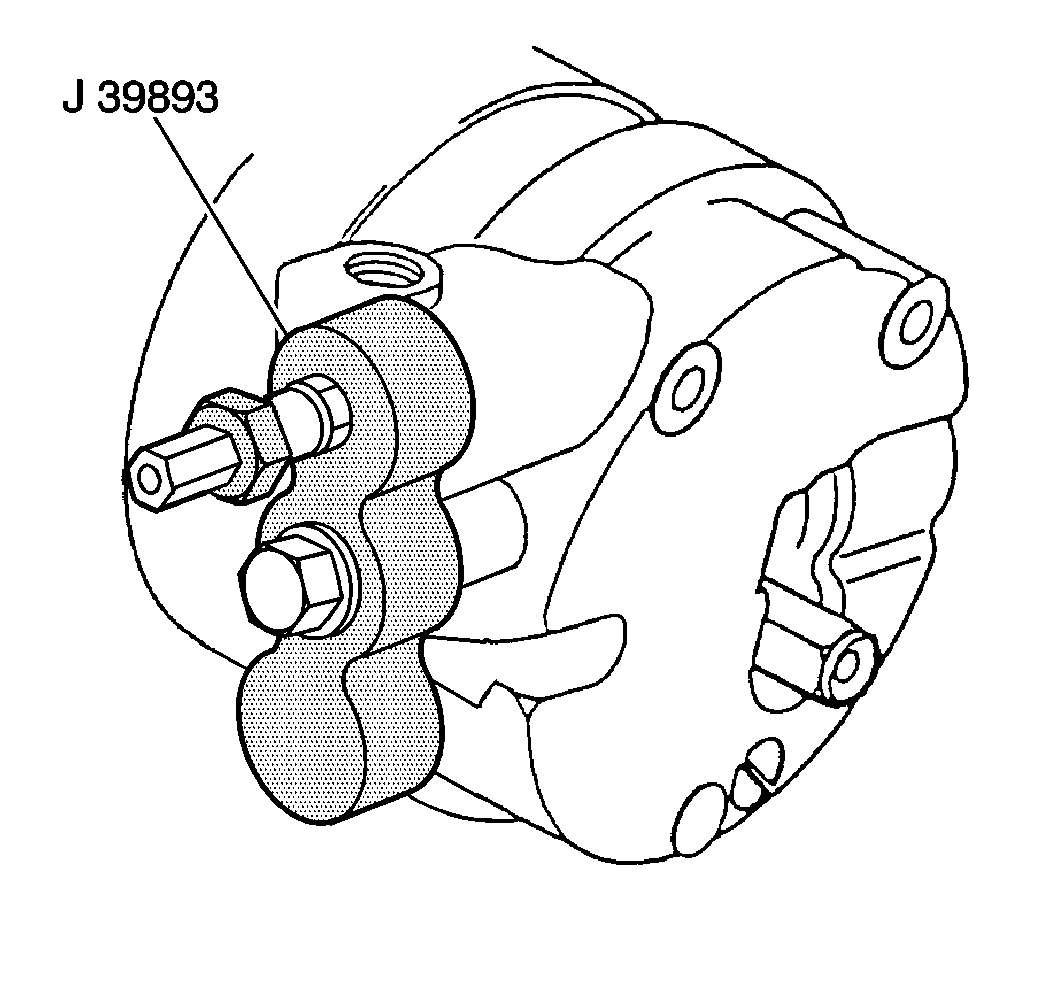
- With the sealing washers in place, install
the
J 39893
on the rear head of
the compressor.
- Connect the gage charging lines and the
J 43600
.
- Pressurize the suction and the high-side of the compressor with R-134a
refrigerant.
- With the compressor in a horizontal position, rotate by hand the compressor
shaft in the operating direction.
- Rotate the shaft several times.
- Using the
J 39400-A
,
check for leaks at the following locations:
| • | Through bolt head gaskets |
- Perform the measures necessary to correct any external leaks found.
- Recheck for leaks following any repair.
- Recover the refrigerant.
- Disconnect the hoses from the
J 39893
.
- Remove the
J 39893
.
