GM Service Manual Online
For 1990-2009 cars only

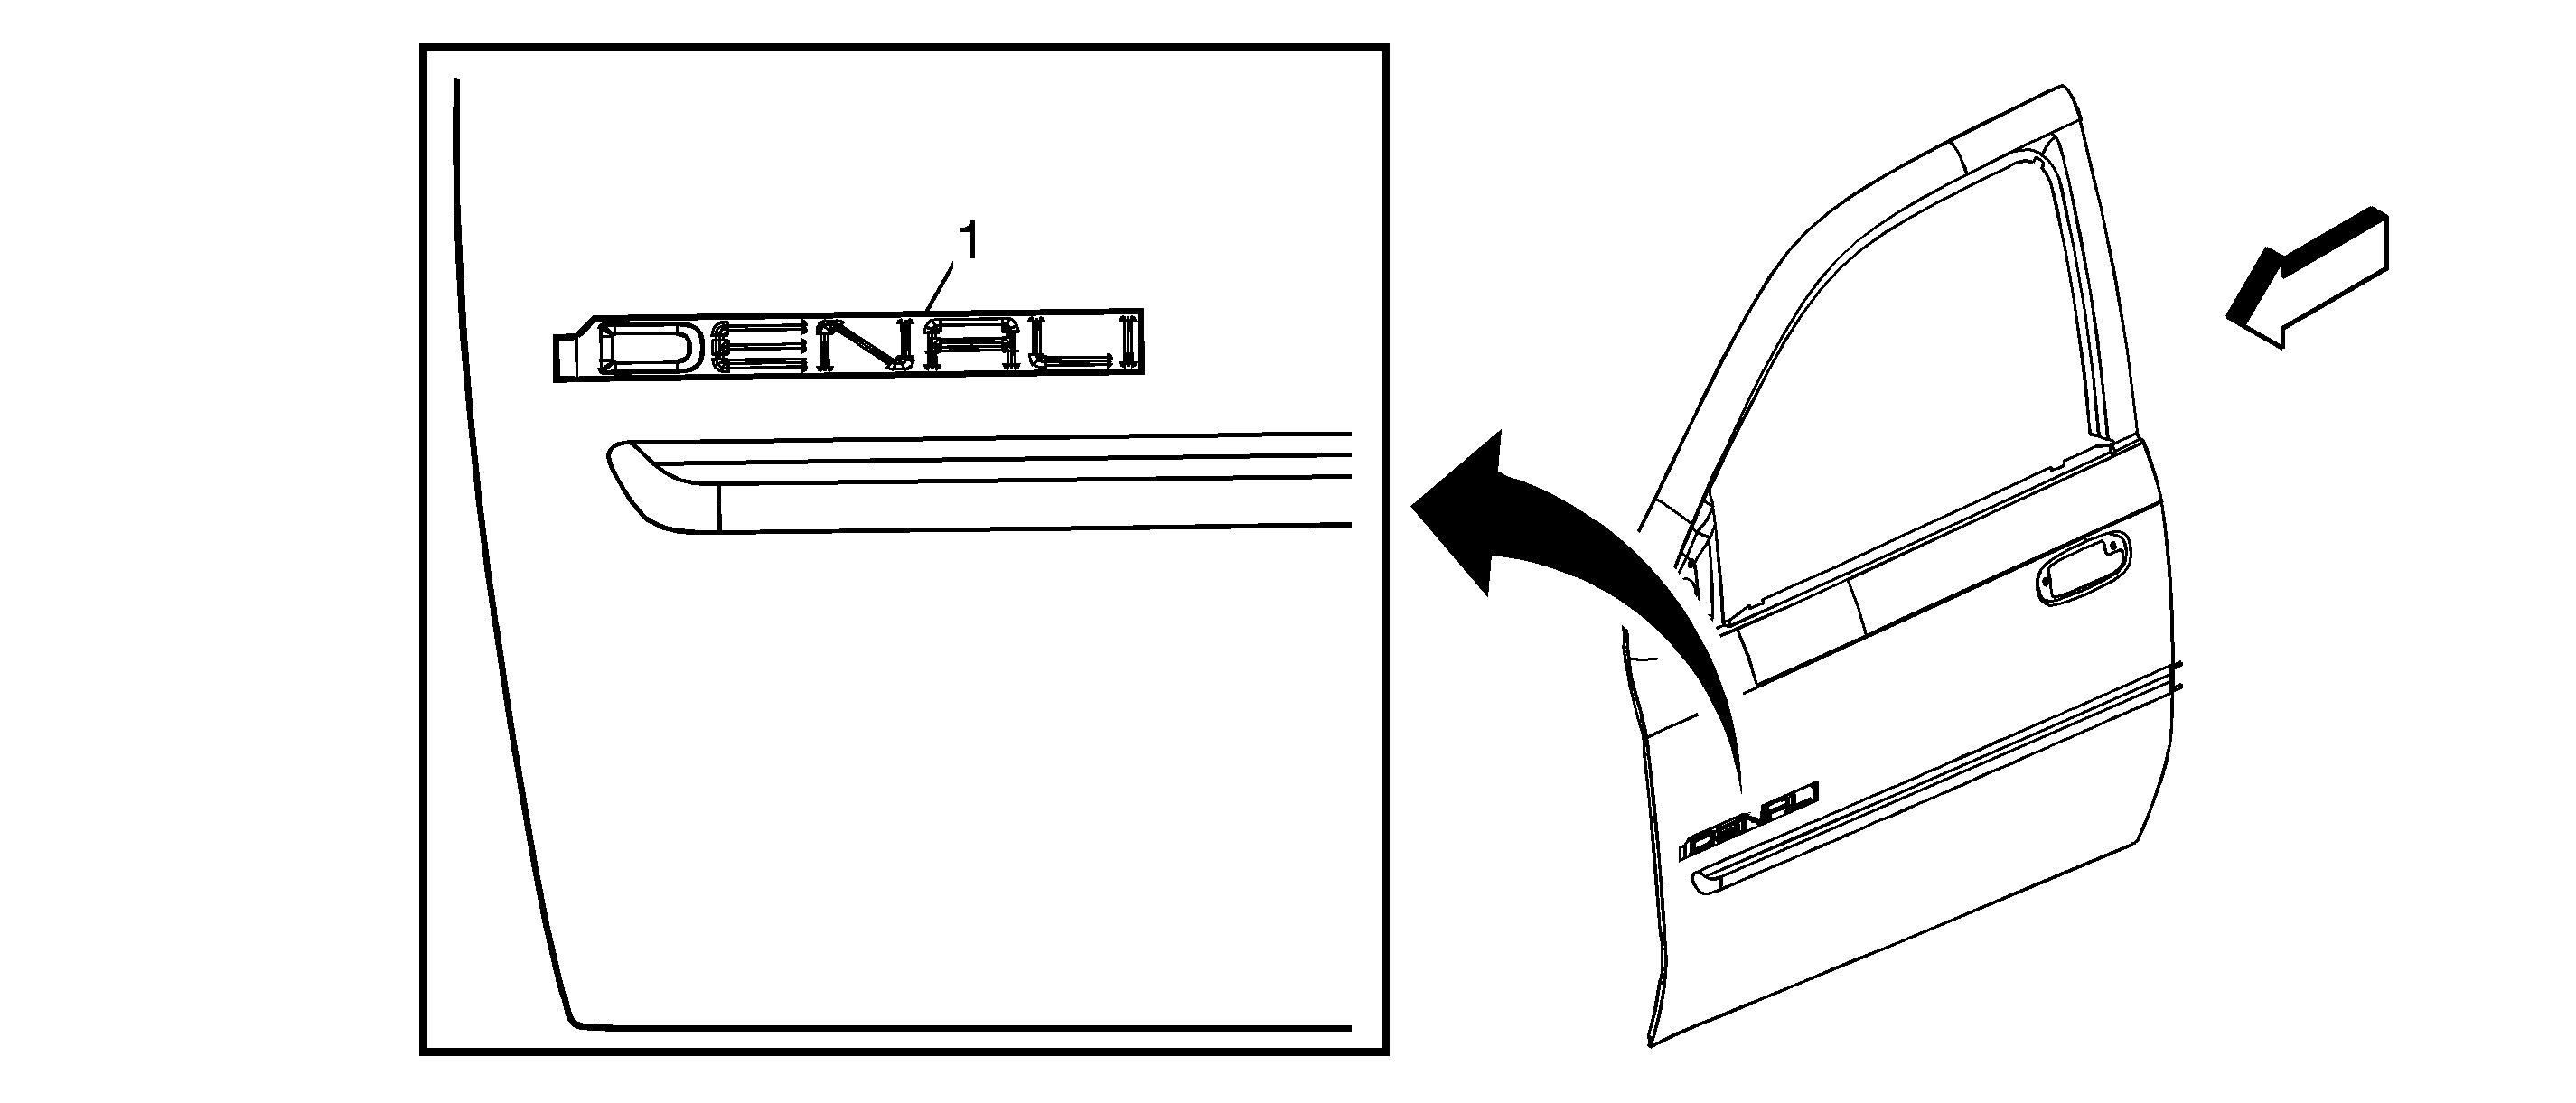
Front Side Door Emblem/Nameplate Replacement Denali


Object Number: 1649352  Size: SF

Callout

Component Name

Fastener Tightening Specifications: Refer to Fastener Tightening Specifications .

1

Front Side Door Nameplate (Denali)

Tip

  1. Use a J 25070 Heat Gun-500-750F or equivalent to remove the old nameplate. Clean all adhesive from front door, wipe the surface dry with a clean lint-free towel prior to installing new nameplate.
  2. When removing protective liners from adhesive tape, be careful not to touch tape with hands and do not allow tape to come in contact with dirt or any foreign matter prior to adhesion.
  3. Ensure full adhesion is made after installing the new nameplate to the front door.

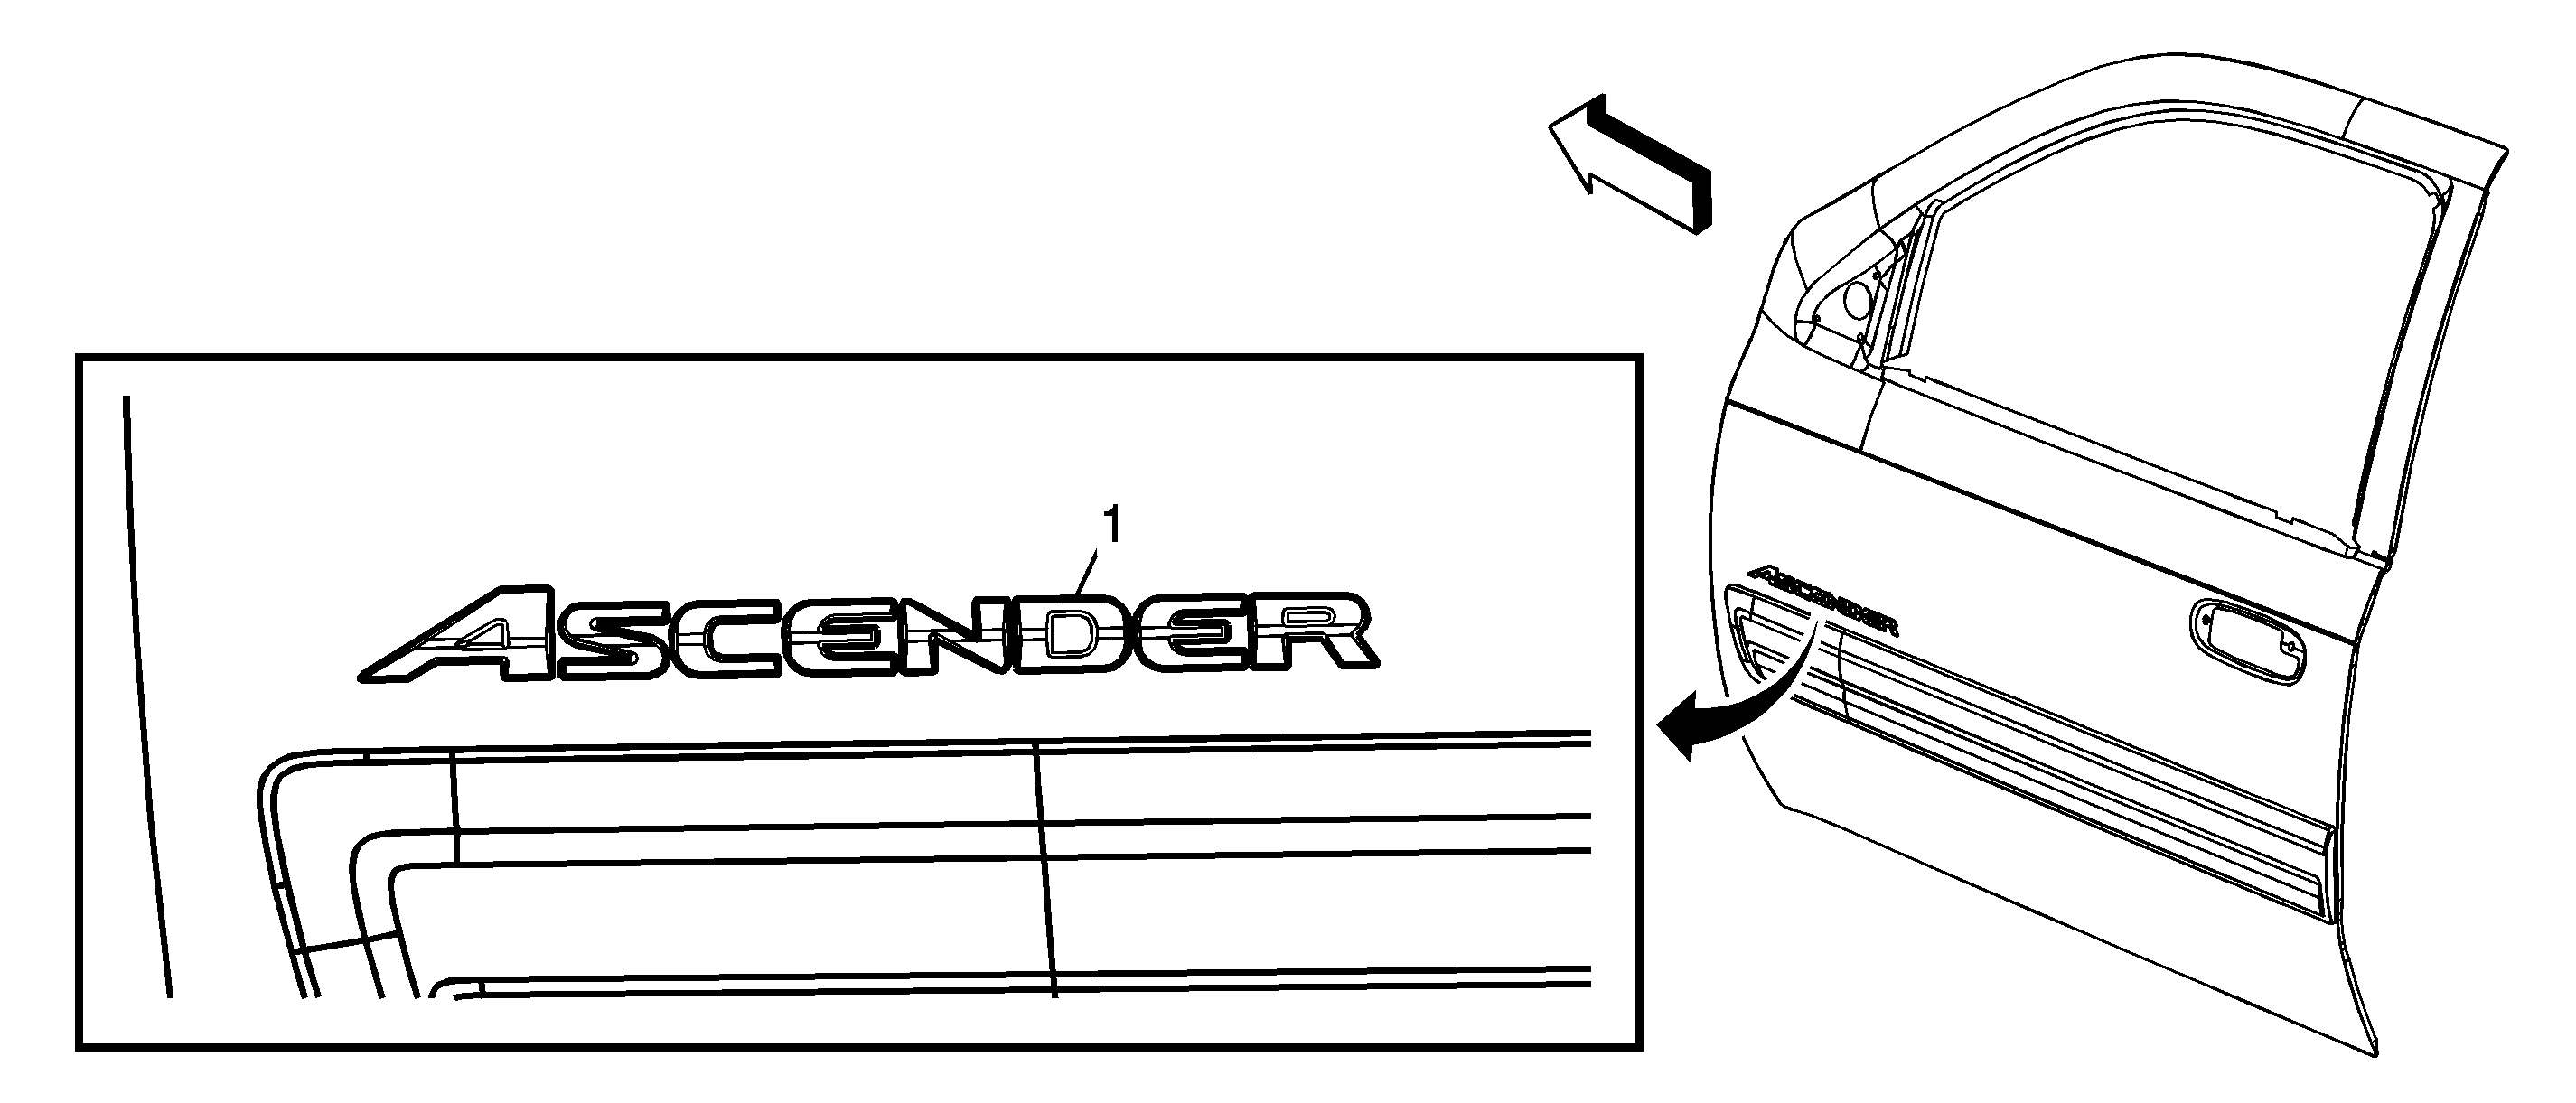
Front Side Door Emblem/Nameplate Replacement Ascender


Object Number: 1649350  Size: SF

Callout

Component Name

Fastener Tightening Specifications: Refer to Fastener Tightening Specifications .

1

Front Side Door Nameplate (ASCENDER)

Tip

  1. Use a J 25070 Heat Gun-500-750F or equivalent to remove the old nameplate. Clean all adhesive from front door, wipe the surface dry with a clean lint-free towel prior to installing new nameplate.
  2. When removing protective liners from adhesive tape, be careful not to touch tape with hands and do not allow tape to come in contact with dirt or any foreign matter prior to adhesion.
  3. Ensure full adhesion is made after installing the new nameplate to the front door.

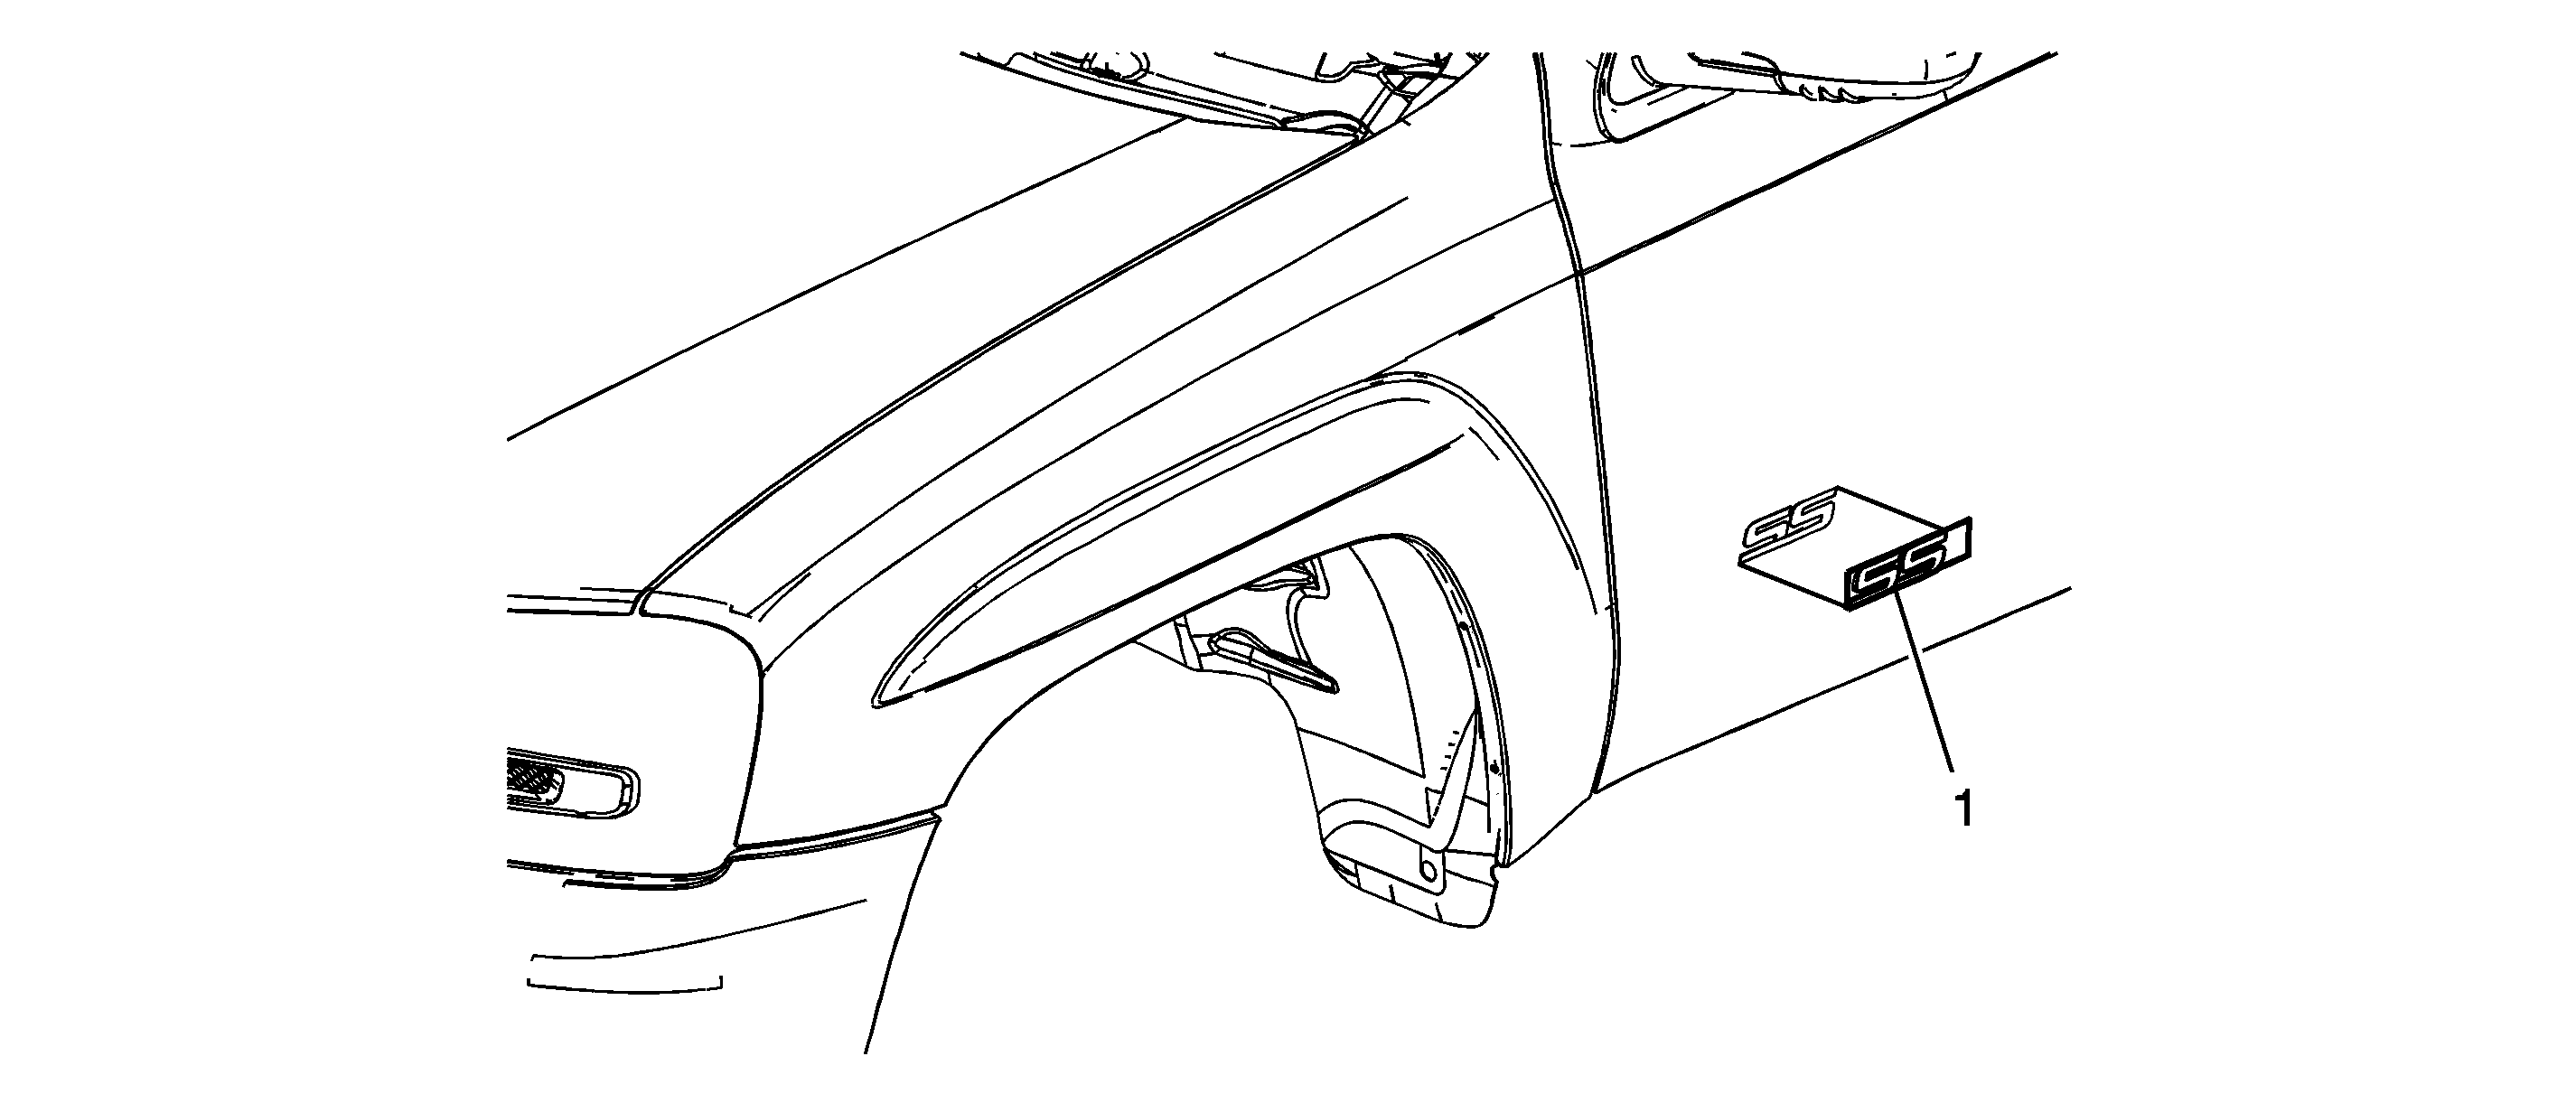
Front Side Door Emblem/Nameplate Replacement TrailBlazer SS


Object Number: 1649063  Size: SF

Callout

Component Name

Fastener Tightening Specifications: Refer to Fastener Tightening Specifications .

1

Front Door Nameplate/Emblem

Tip

  1. When removing protective liners from adhesive backed nameplates, be careful not to touch the tape with hands and do not allow the tape to come in contact with dirt or any foreign matter prior to adhesion.
  2. Use a J 25070 Heat Gun-500-750F or equivalent to remove the old nameplate. Clean all the adhesive residue from the fender, wipe the surface dry with a clean lint-free towel prior to installing new nameplate.
  3. Close the door prior to installing the new nameplate/emblem to the door.
  4. Remove the protective liner from the back side of the adhesive tape.
  5. Align the nameplate/emblem to the door and press to ensure full adhesion to the door.