For 1990-2009 cars only
Windshield Washer Solvent Container Replacement Envoy, TrailBlazer
Removal Procedure
- Remove the air cleaner element. Refer to Air Cleaner Element Replacement .
- Remove the air cleaner/washer container assembly. Refer to Air Cleaner Assembly Replacement .
- Remove the washer pumps from the container assembly. Refer to Headlamp Washer Pump Replacement , Windshield Washer Pump Replacement , and Rear Window Washer Pump Replacement .

Installation Procedure
- Install the washer pumps to the container assembly. Refer to Headlamp Washer Pump Replacement , Windshield Washer Pump Replacement and Rear Window Washer Pump Replacement .
- Install the air cleaner/washer container assembly. Refer to Air Cleaner Assembly Replacement .
- Install the air cleaner element. Refer to Air Cleaner Element Replacement .
Windshield Washer Solvent Container Replacement Rainier
Removal Procedure
- Remove the air cleaner cover (1) . Refer to Air Cleaner Element Replacement .
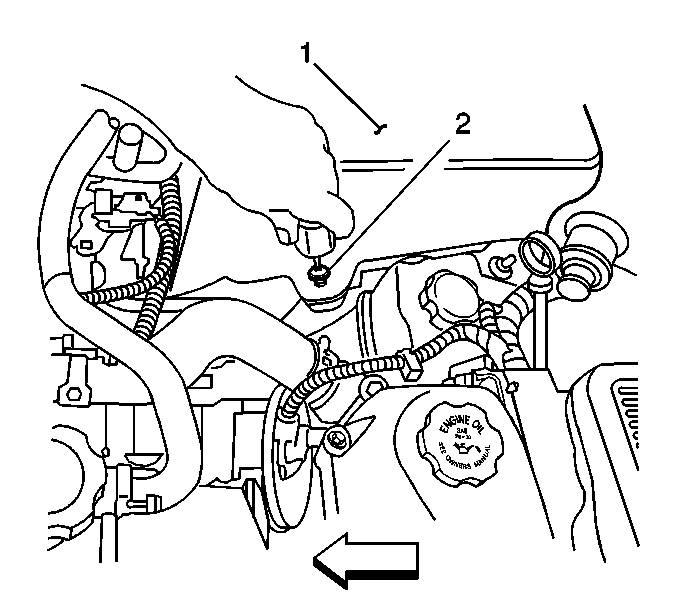
- Remove the nuts securing the washer container to the wheelhouse.
- Disconnect the electrical connectors from both washer pumps.
- Disengage the electrical harness clips (1) for the level sensor switch harness.
- Disconnect the electrical connector from the level sensor switch.
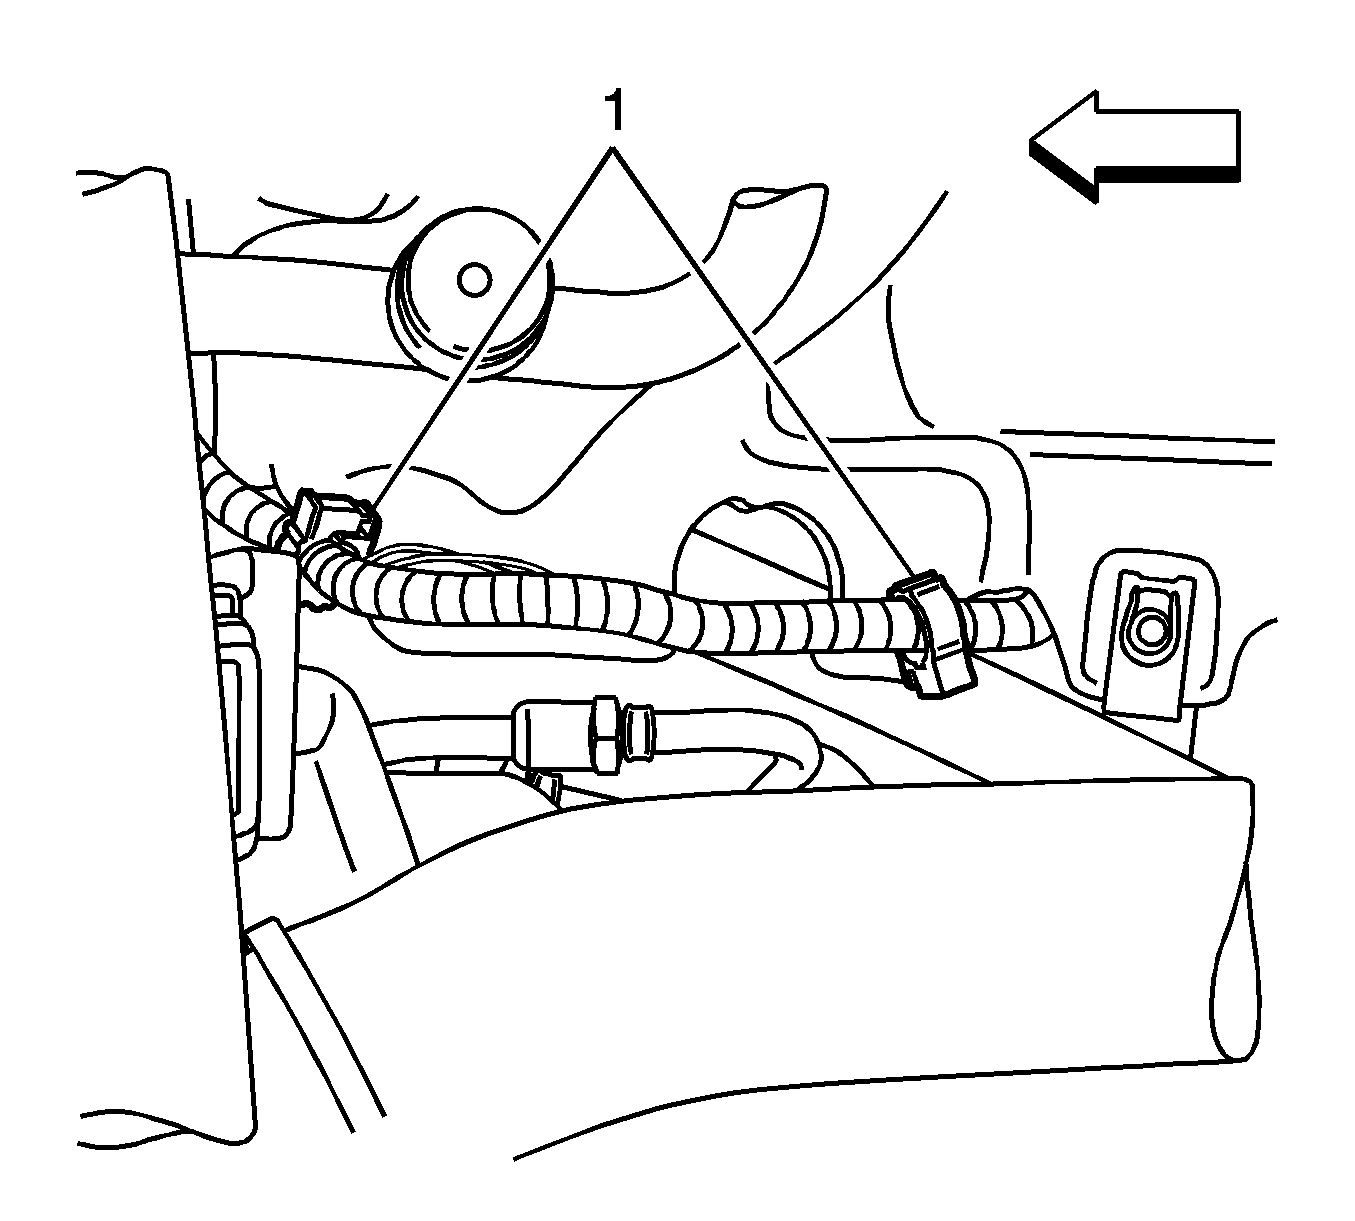
- Disconnect the 2 washer hose connections (1, 4) above the coolant reservoir.
- Partially lift the washer container from the engine compartment and disengage the clip for the rear washer pump electrical harness.
- Remove the washer solvent container from the engine compartment wheelhouse studs.
- Drain the washer solvent into a suitable container.
- Transfer the following parts as needed:


| • | Round grommet (1) |
| • | Washer cap (2) |
| • | Upper air box clips (3) |
| • | Level sensor switch harness clips (4) |
| • | Lower oval mounting grommet (5) |
| • | Front windshield washer pump (6) |
| • | Rear washer pump (7) |
| • | Washer pump hoses (8) |
| • | Rear washer pump harness connector (9) |
| • | Level sensor switch |
Installation Procedure
- Install the new washer pump grommets.
- Install a new level sensor switch grommet.
- Remove the steel spacer grommets from the wheelhouse studs.
- Install the spacers into the oval and round rubber grommets onto the washer solvent container.
- Position the electrical connectors away from the wheelhouse area.
- Lower the container into the wheelhouse.
- Connect the front and rear washer pump electrical connectors.
- Connect the level sensor electrical connector.
- Connect the rear pump electrical harness clip.
- Lower the container onto the wheelhouse studs.
- Ensure the container is firmly seated onto the studs.
- Install the nuts.
- Secure the level sensor electrical harness to the harness clips (1).
- Connect the front washer pump hose (2) and the rear washer pump hose (3) to the washer pump hoses (1, 4).
- Install the air cleaner cover (1). Refer to Air Cleaner Element Replacement .
- Fill the washer solvent container with new washer solvent.
- Inspect for leaks.
Notice: Refer to Fastener Notice in the Preface section.
Tighten
Tighten the nuts to 15 N·m (11 lb ft).
