For 1990-2009 cars only
Removal Procedure
- Remove all related panels and components.
- Visually inspect and restore as much of the damage as possible to factory specifications.
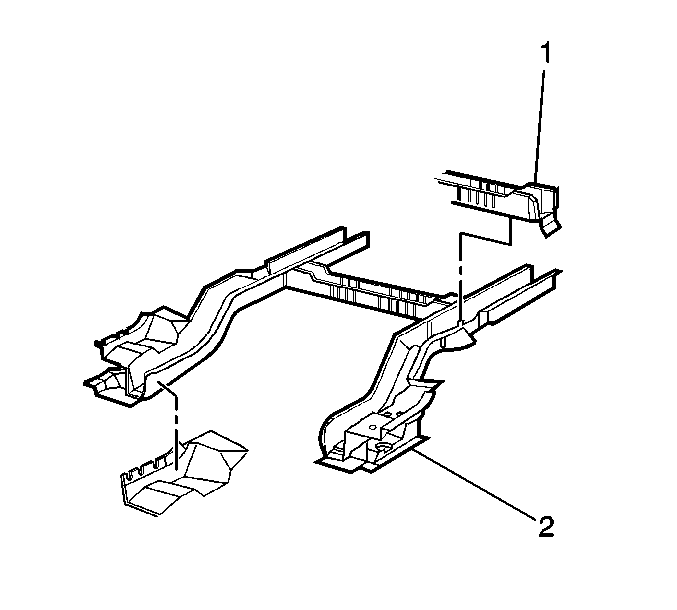
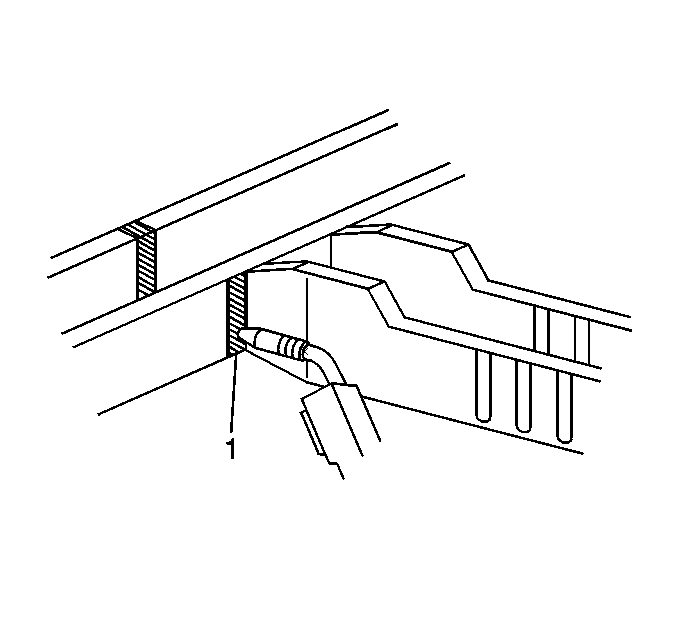
- Cut the rear rail along the rearward flange of the crossbar (1).
- Continue this cut around the rear rail.
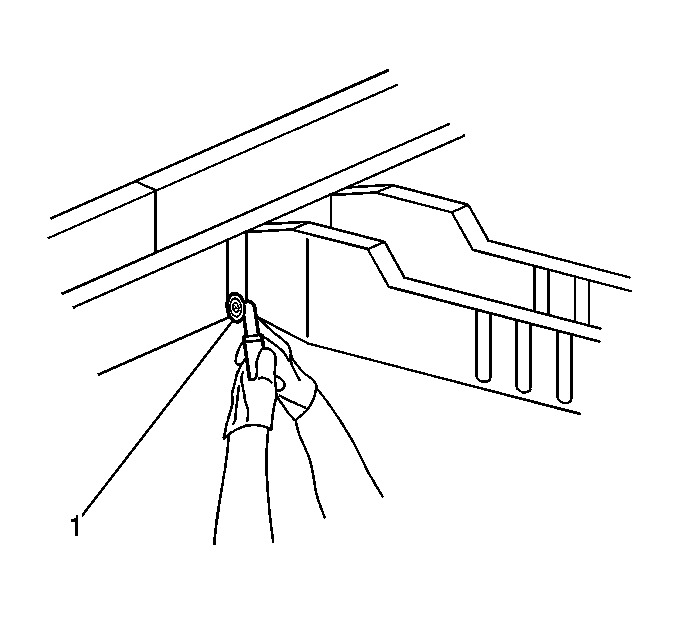
- Drill out the factory welds on the end of the rear rail inner reinforcement and extension.
- Move the end of the rear rail inner reinforcement forward, or cut this part and remove it from the rear rail.
- Cut and bend flange upward (2).
Installation Procedure
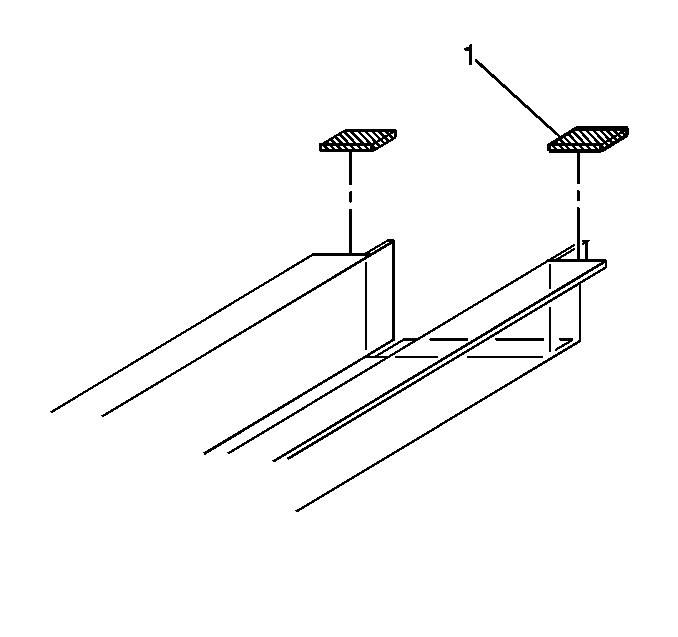
- Use the original part as a guide, mark a line on the service rail 35 mm (1 5/16 in) forward of the cut made to the original part approximately 535 mm (21 in) without the extension attached to the rail.
- Cut the service rail along the marked lines and discard the unused section (1).
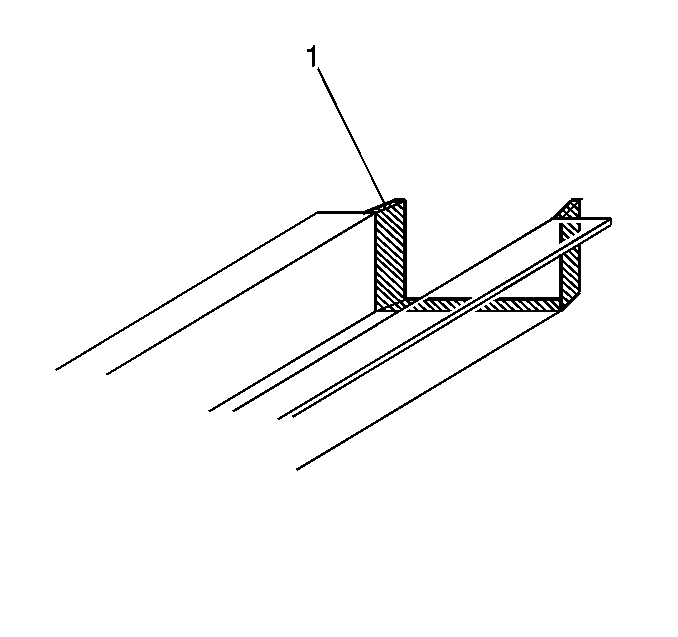
- Cut and remove approximately 35 mm (1 5/16 in) along the corners of the service rail to create tabs (1).
- Step the tabs inward to allow the service rail to fit inside the original rail (1).
- Position the modified service rail inside the original rail, allow 35 mm (1 5/16 in) of overlap.
- Check the position of the service rear rail section, use three-dimensional measuring equipment and tack weld in three locations along all three sides of the rail (1).
- Stitch weld along the entire seam and replace factory welds as necessary.
- Drill two 8 mm (5/16 in) holes for plug welding in each of the three sides of the rail approximately 30 mm (1 3/16 in) from the sectioning joint.
- Plug weld through the drilled holes into the service rail.
- Clean and prepare welded surfaces.
- Apply sealers and anti-corrosion materials as necessary.
- Prime with two-part catalyzed primer.
- Install all related components.
Important: Do not combine paint systems. Prior to refinishing, refer to GM P/N 4901MD-99 Refinish Manual for recommended products.
