For 1990-2009 cars only
Removal Procedure
Note:
• Replacement cables need to be the same type, diameter and length as the original cables • Always use the same cable routing as the original cable.
- Remove the surge tank. Refer to Radiator Surge Tank Replacement.
- Disconnect the negative battery cable. Refer to Battery Negative Cable Disconnection and Connection.
- Remove the carpet. Refer to Front Floor Panel Carpet Replacement and Rear Floor Panel Carpet Replacement.
- Loosen the positive battery cable nut (2).
- Separate the positive battery cable (1) from the battery.
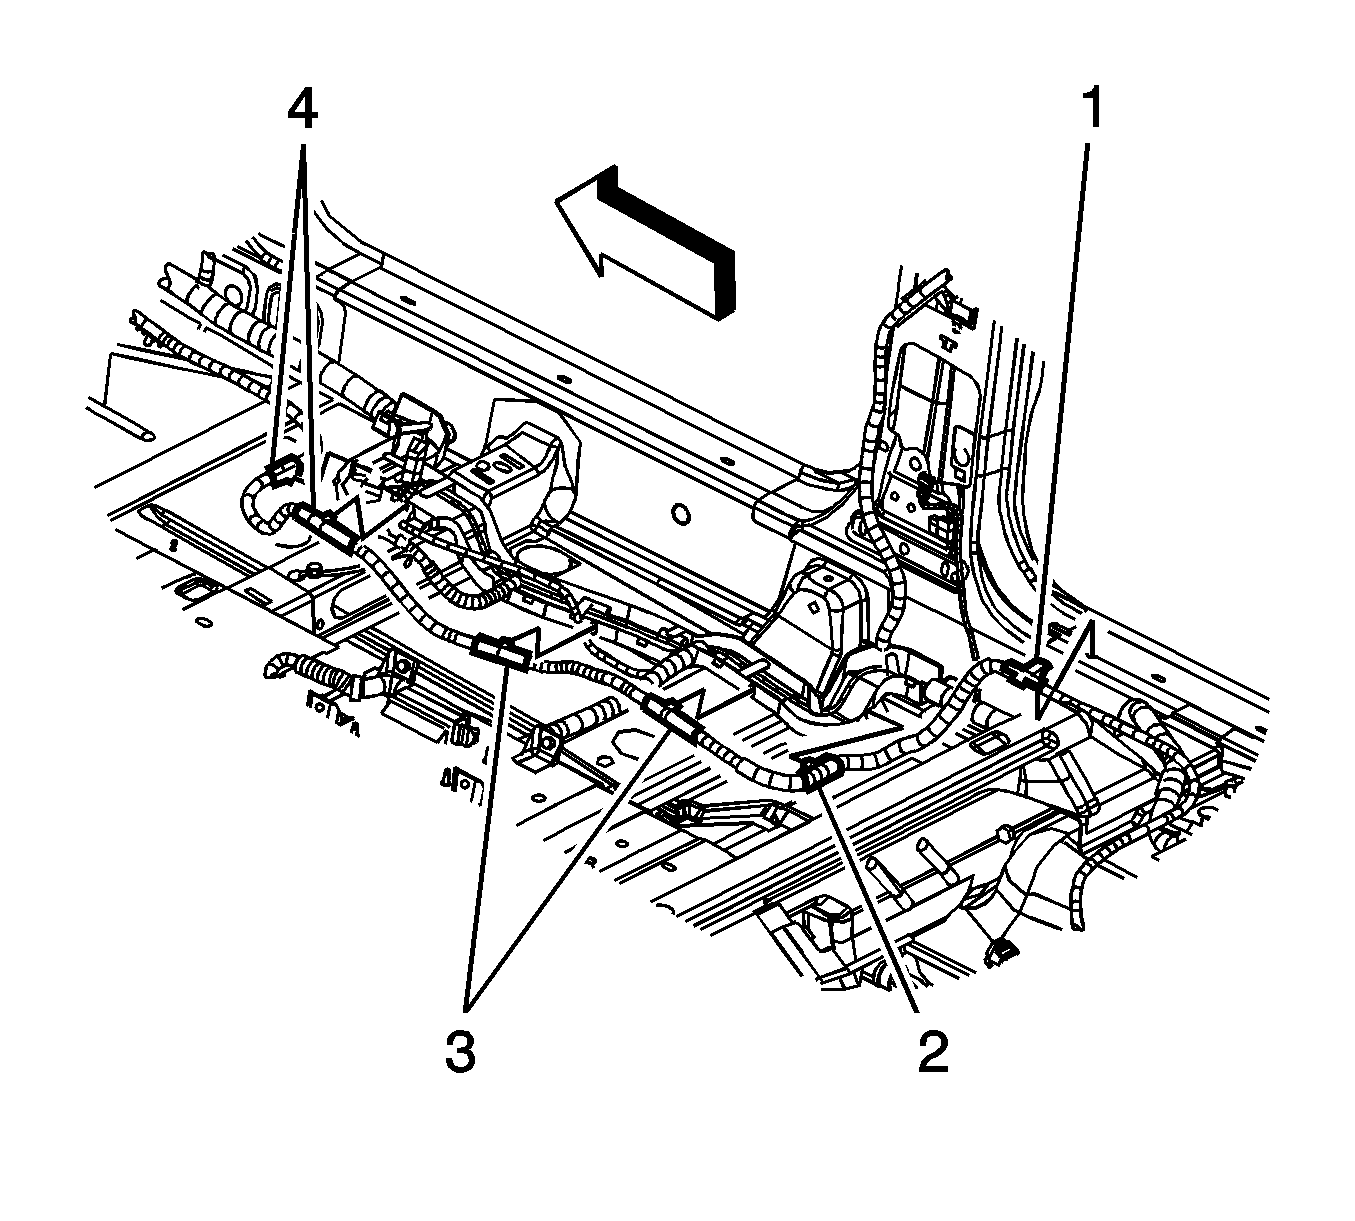
- Remove the positive battery cable retainer (3) from the floor pan stud (4).
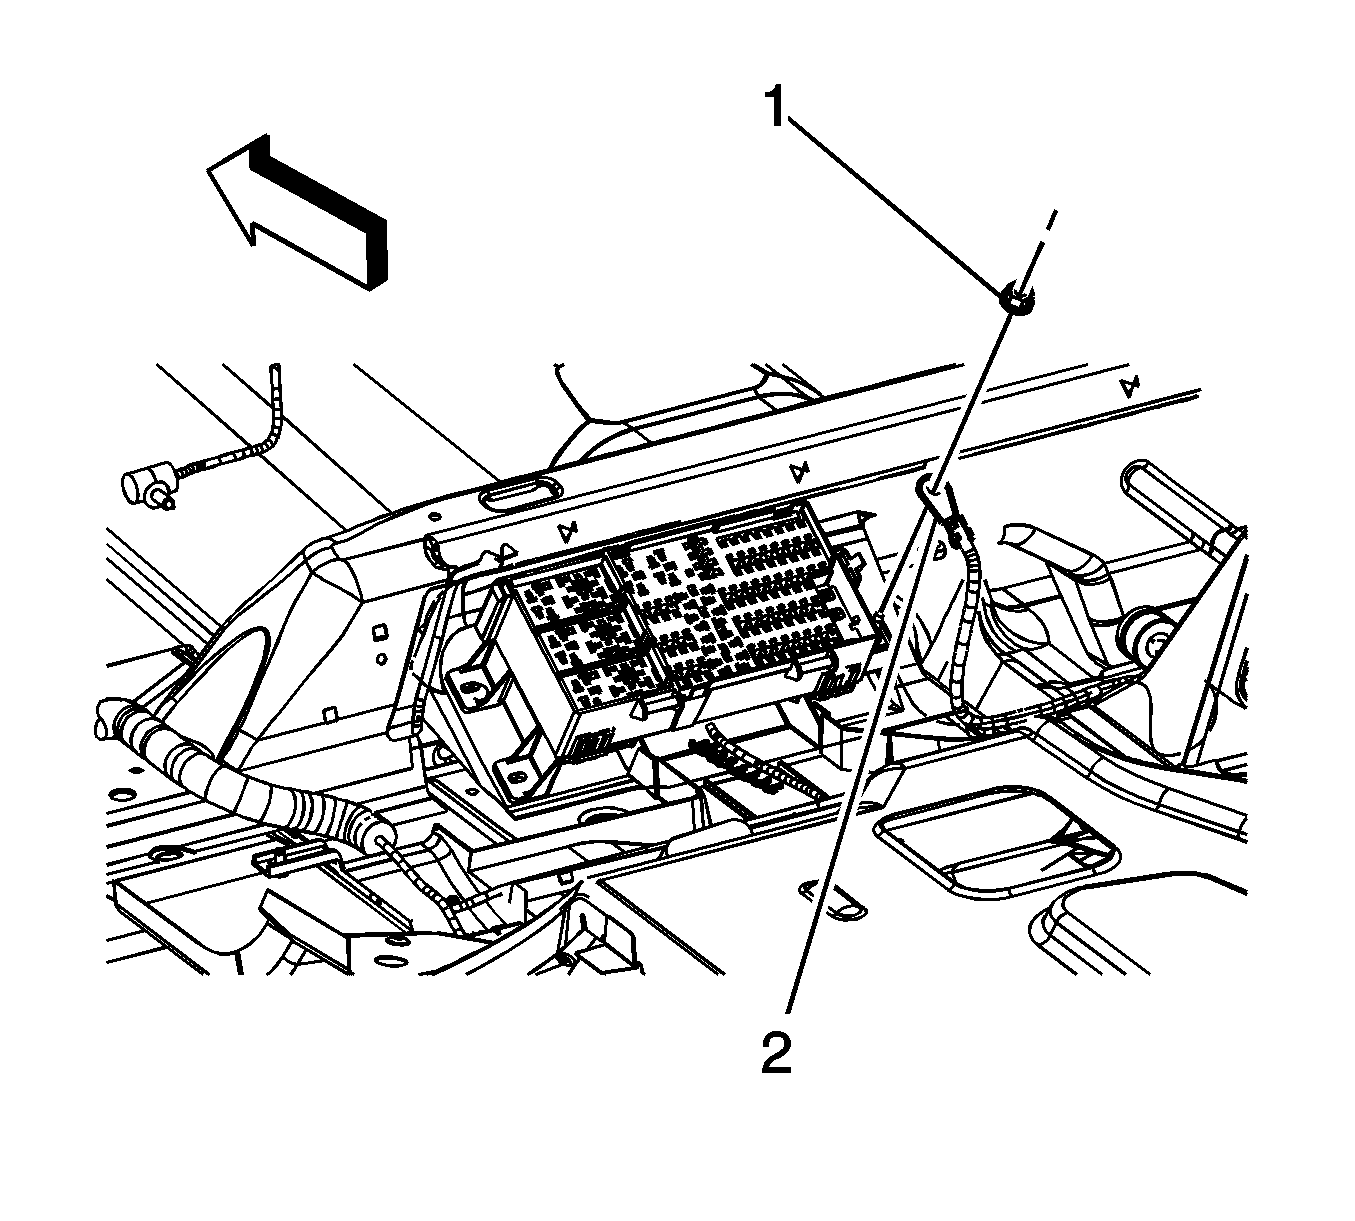
- Remove the positive battery cable nut (1) from the junction block stud.
- Remove the positive battery cable terminal (2) from the junction block stud.
- Remove the positive battery cable retainer (1) from the rocker panel.
- Remove the positive battery cable retainers (2, 3 and 4) from the body harness channel.
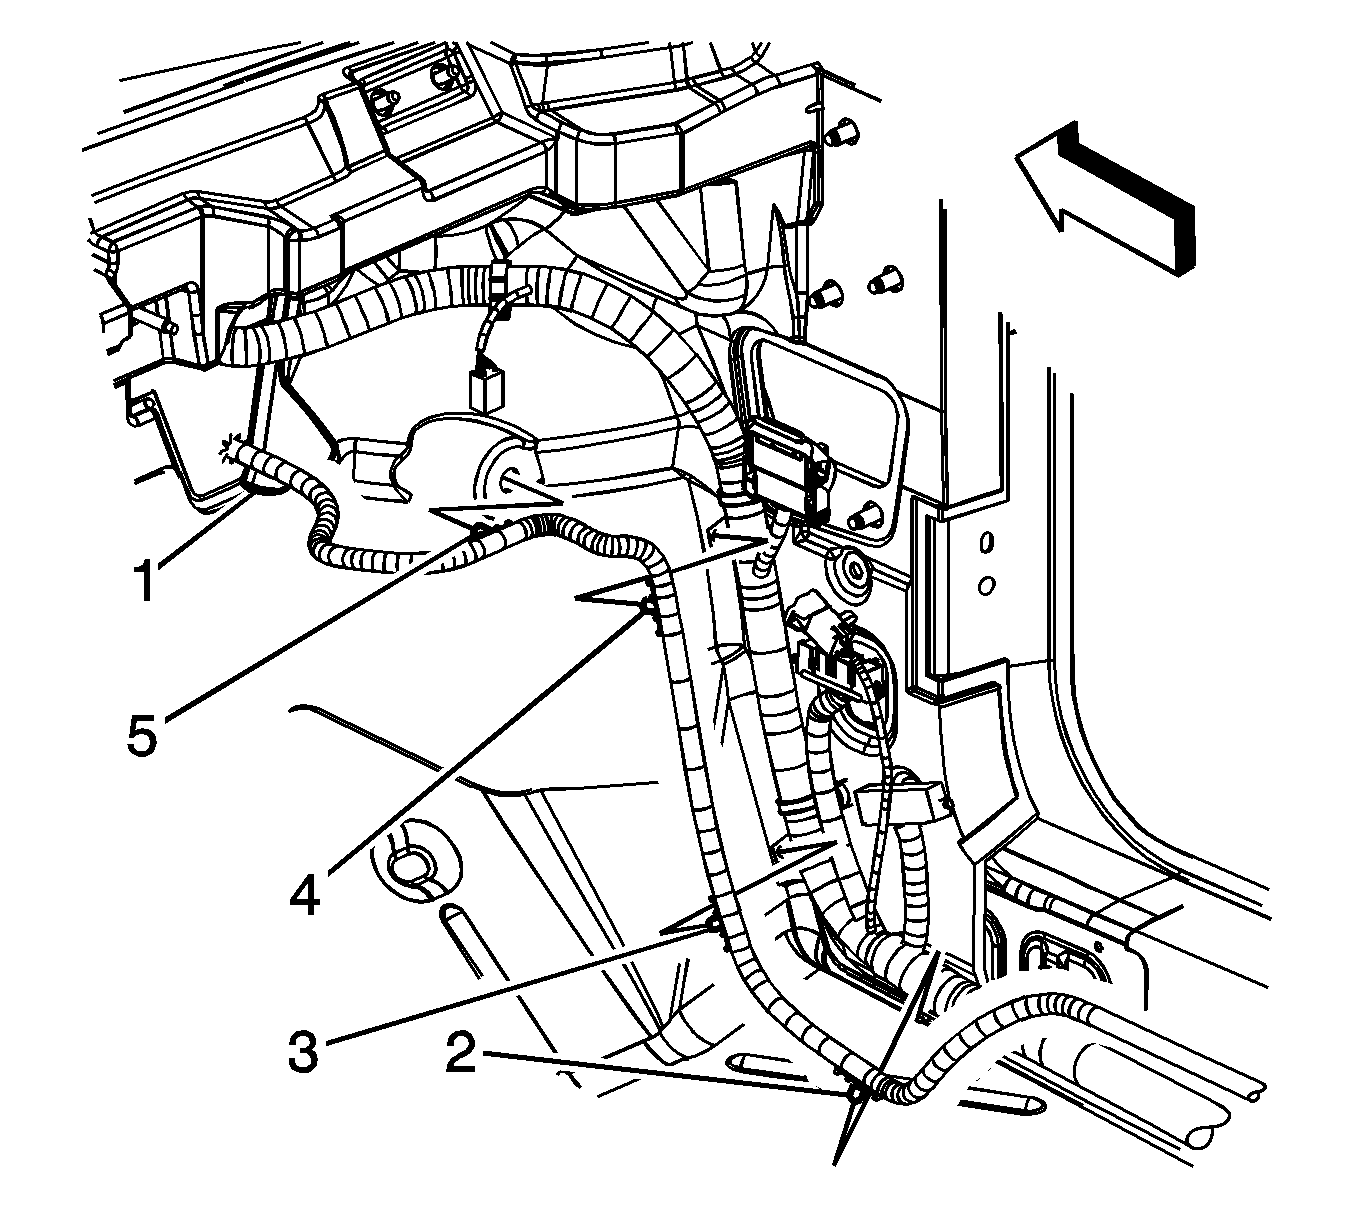
- Remove the positive battery cable clips (2, 3, and 4) from the body harness retainers.
- Remove the positive battery cable clip (5) from the dash mat.
- Reposition the dash mat flap (1).
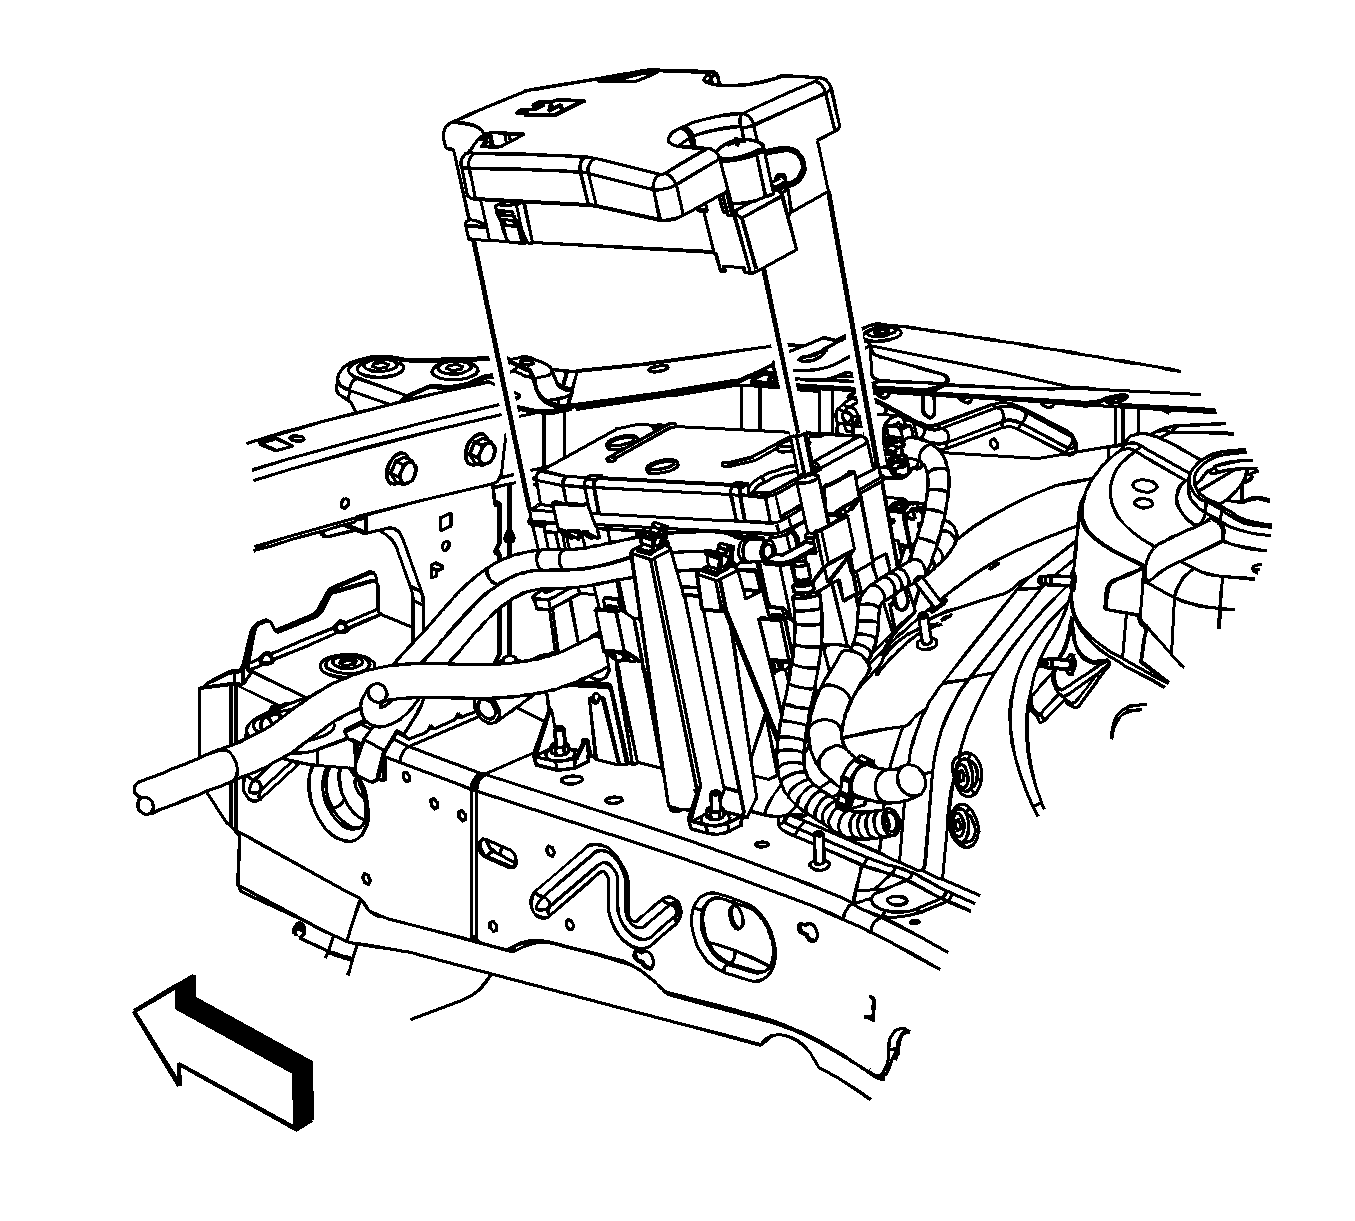
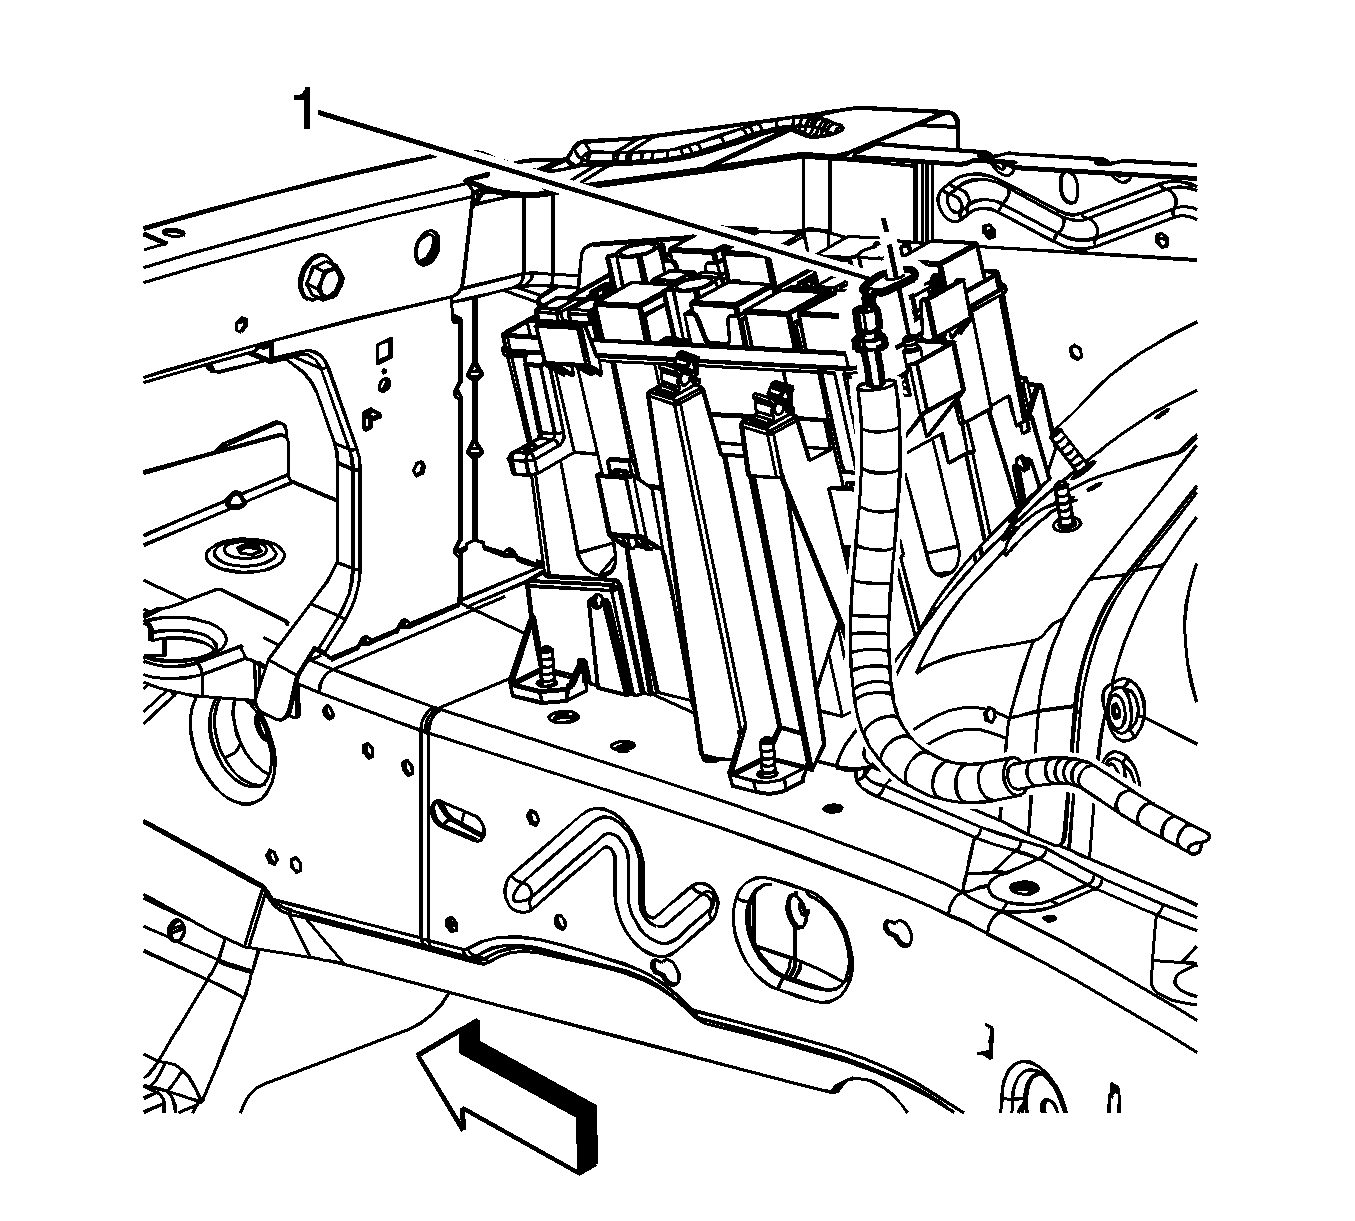
- From under the hood, disengage the junction block cover lock tabs.
- Remove the junction block cover.
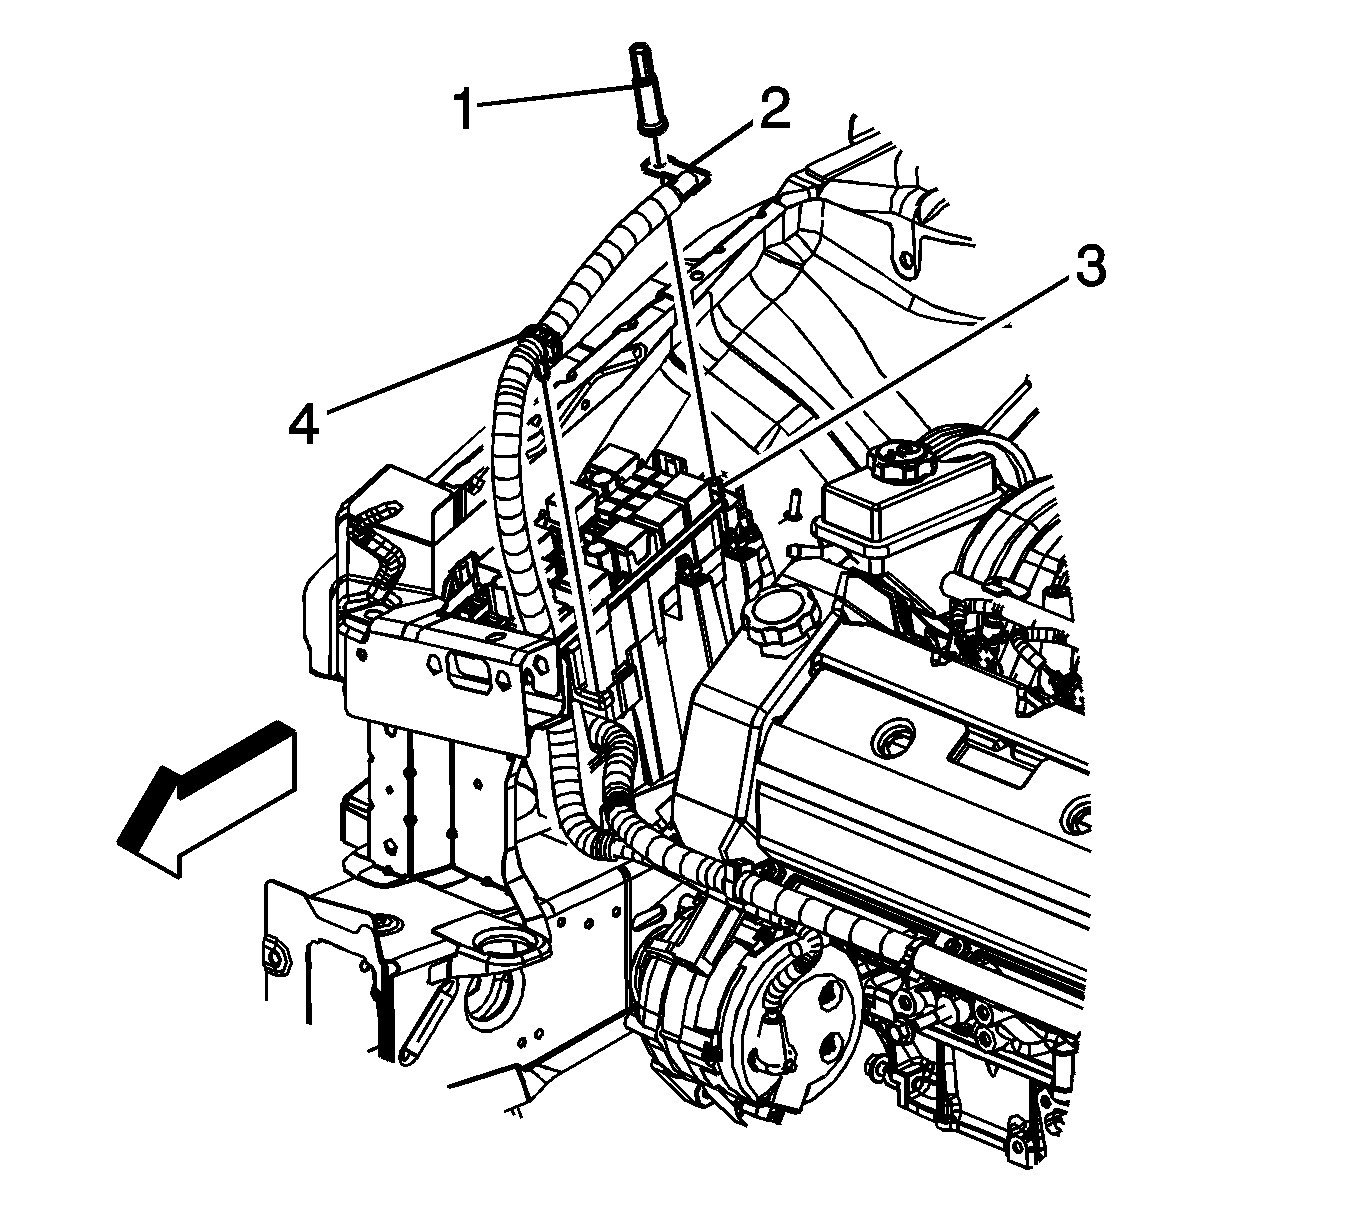
- Remove the nut (1) securing the starter solenoid cable to the bussed electrical center (BEC).
- Remove the starter solenoid cable from the BEC stud.
- Remove the positive battery cable (1) from the BEC stud.
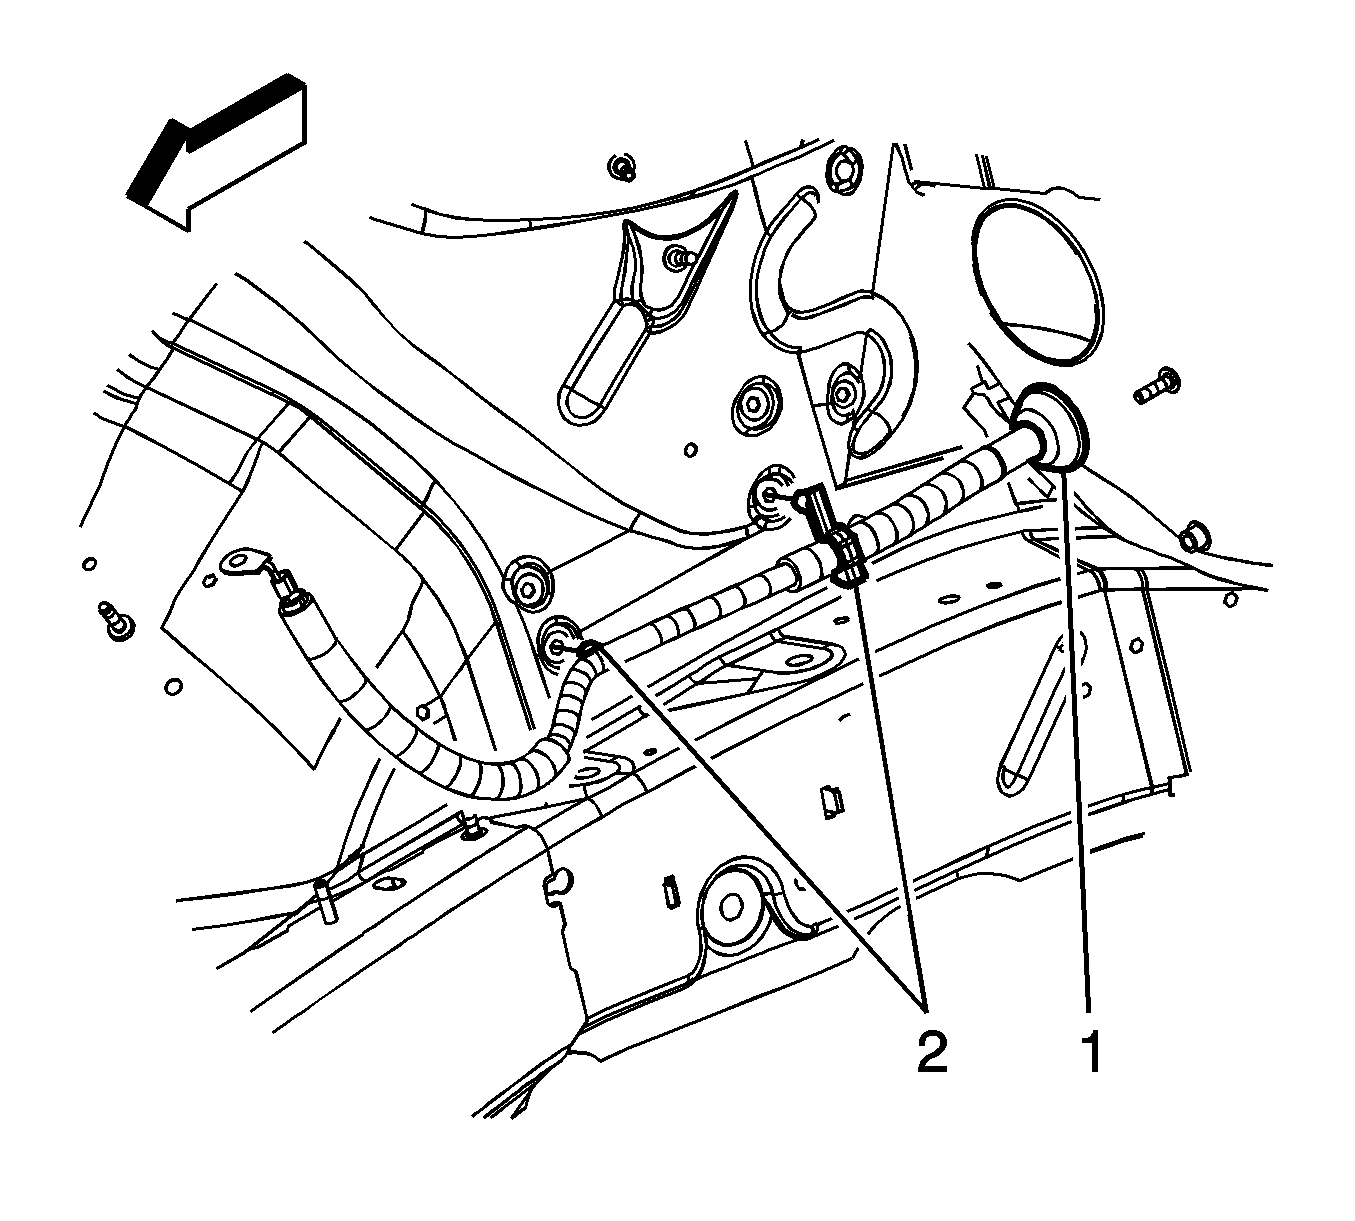
- Remove the positive battery clips (2) from the side engine compartment.
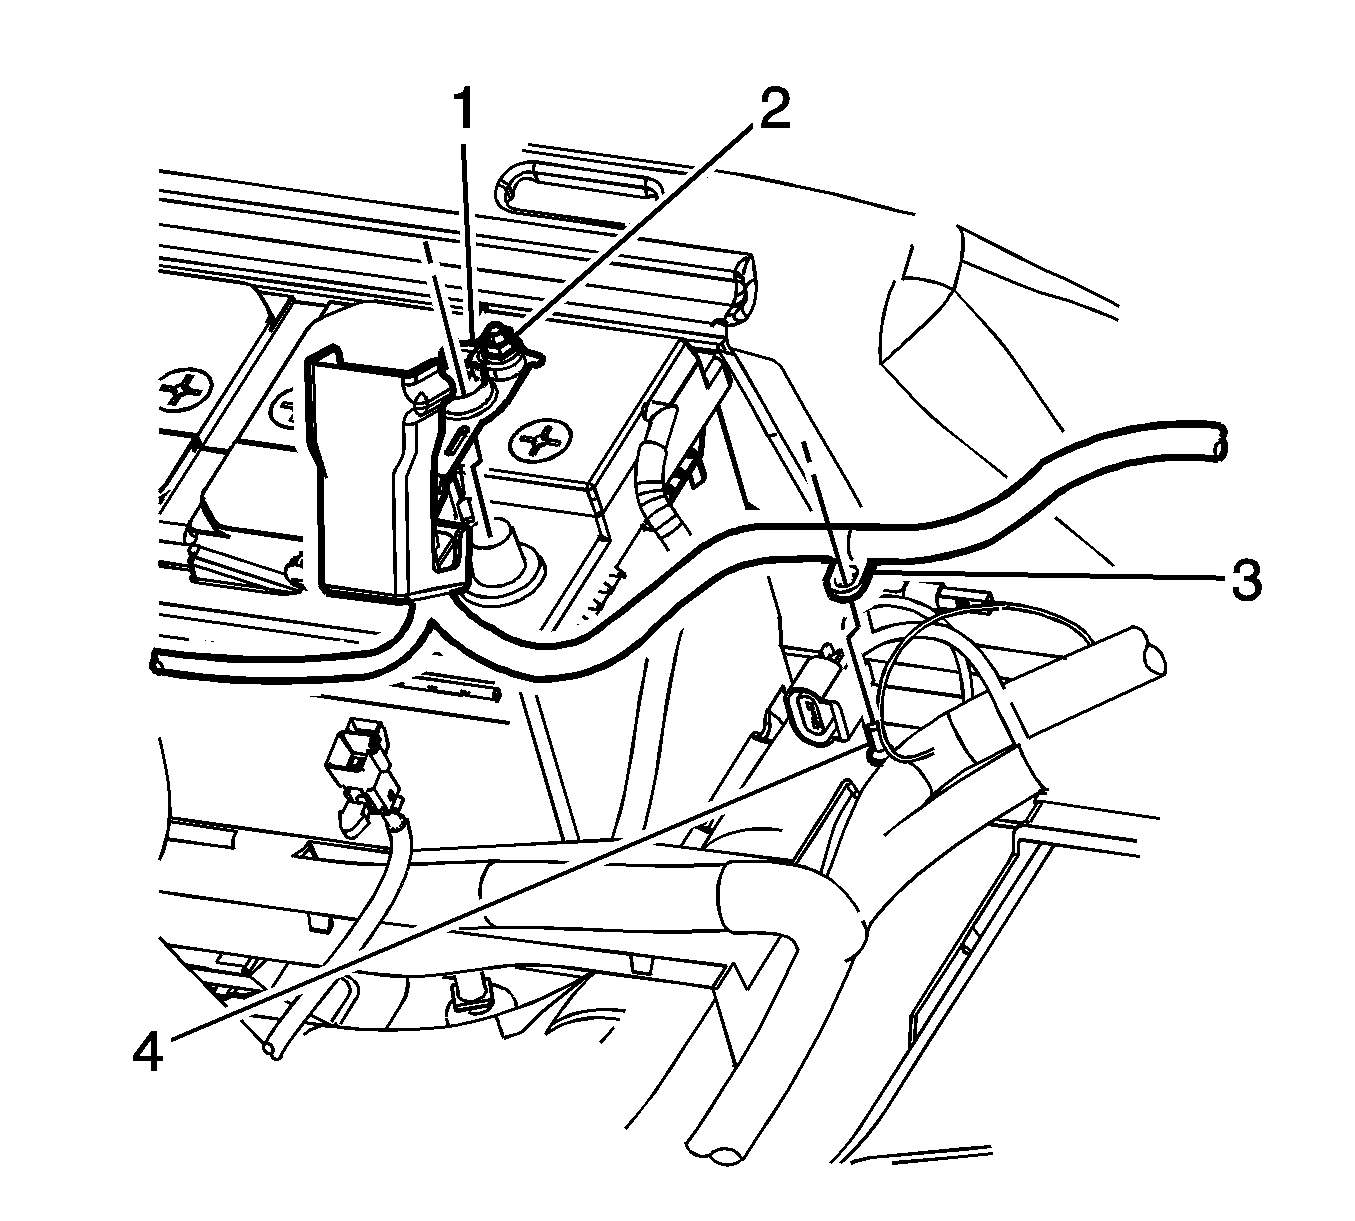
- Carefully unseat the positive battery cable grommet (1) from the front of dash.
- From inside the vehicle, carefully remove the positive battery cable by pulling the cable through the front of dash and out of the vehicle.
Installation Procedure
- From inside the vehicle, carefully lay out the positive battery cable and route the front portion through the front of dash.
- From under the hood, carefully seat the positive battery cable grommet (1) to the front of dash.
- Install the positive battery clips (2) to the side engine compartment.
- Install the positive battery cable (1) to the BEC stud.
- Install the starter solenoid cable to the BEC stud.
- Install the nut (1) securing the starter solenoid cable to the BEC and tighten to 15 N·m (11 lb ft).
- Install the junction block cover.
- From inside the vehicle, position the dash mat flap (1) into place.
- Install the positive battery cable clip (5) to the dash mat.
- Install the positive battery cable clips (2, 3, and 4) to the body harness retainers.
- Install the positive battery cable retainers (2, 3 and 4) to the body harness channel.
- Install the positive battery cable retainer (1) to the rocker panel.
- Install the positive battery cable terminal (2) to the junction block stud.
- Install the positive battery cable nut (1) to the junction block stud and tighten to 15 N·m (11 lb ft).
- Install the positive battery cable retainer (3) to the floor pan stud (4).
- Position the positive battery cable (1) to the battery.
- Tighten the positive battery cable nut (2) and tighten to 15 N·m (11 lb ft)
- Connect the negative battery cable. Refer to Battery Negative Cable Disconnection and Connection.
- Install the carpet. Front Floor Panel Carpet Replacement and Rear Floor Panel Carpet Replacement.
- Install the surge tank. Refer to Radiator Surge Tank Replacement.
Caution: Refer to Fastener Caution in the Preface section.
