For 1990-2009 cars only
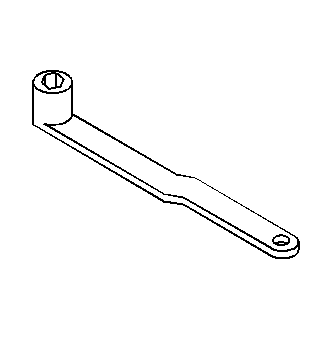
Special Tools
J 39505 Torque Wrench Adapter
Removal Procedure
- Disconnect the negative battery cable. Refer to Battery Negative Cable Disconnection and Connection.
- Remove the engine mount struts. Refer to Engine Mount Strut Replacement.
- Install the engine support fixture. Refer to Engine Support Fixture.
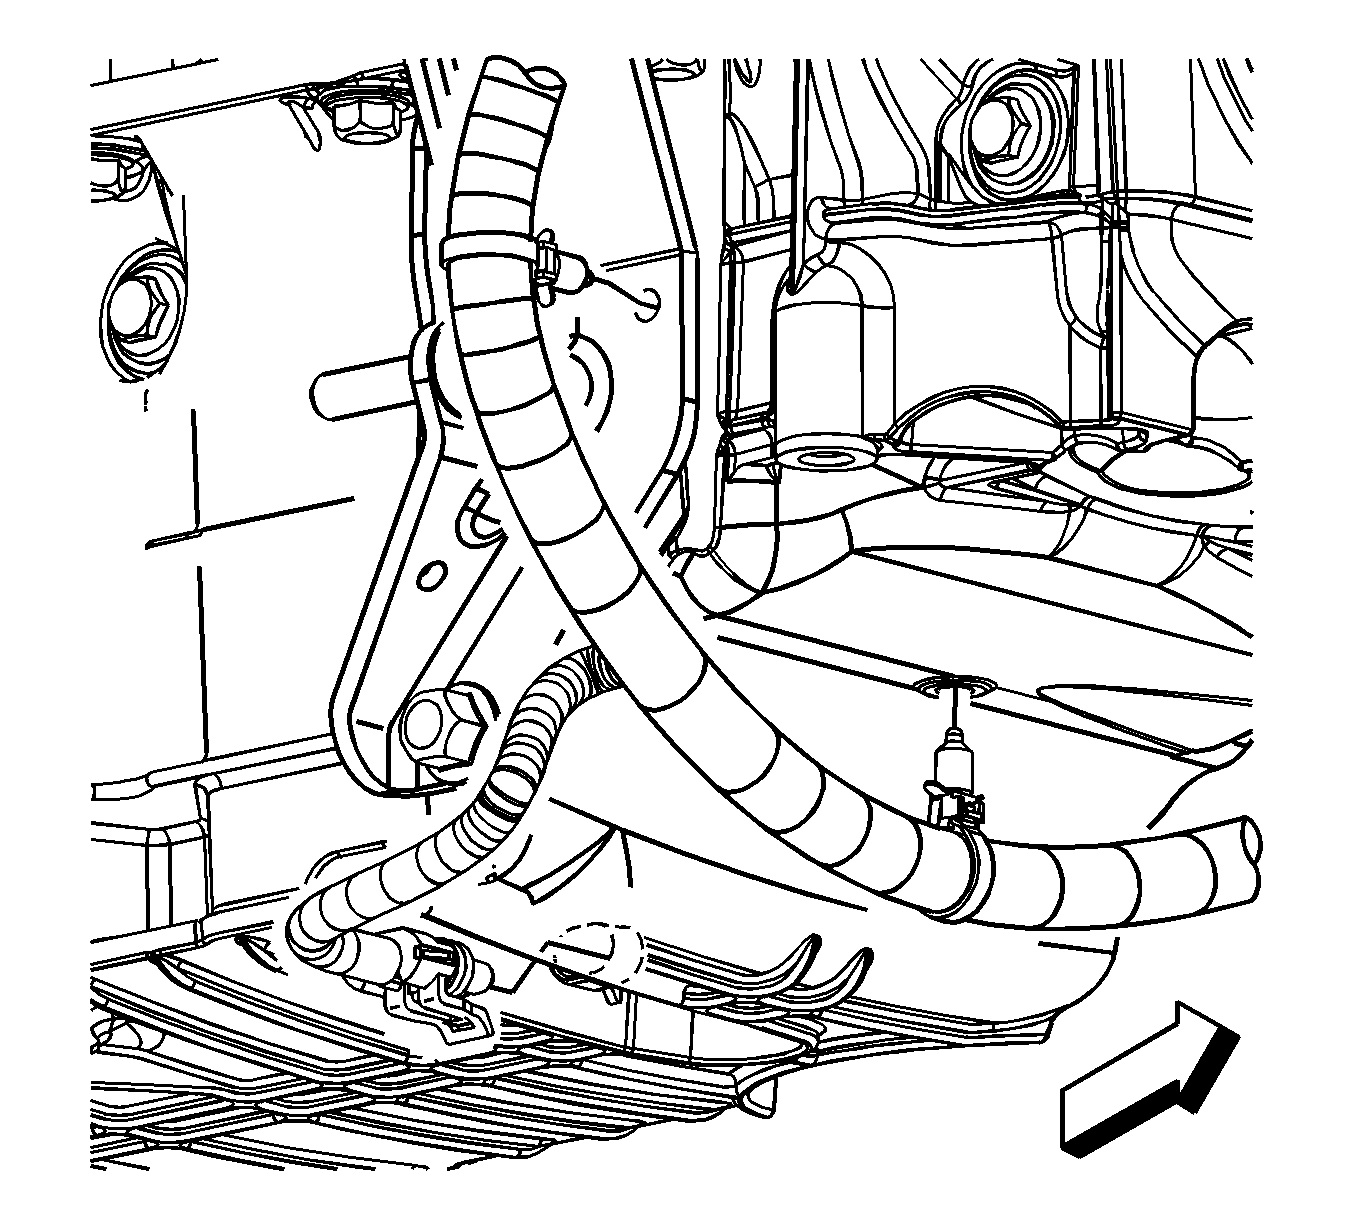
- Remove the catalytic converter. Refer to Catalytic Converter Replacement.
- Remove the oil pan drain plug.
- Drain the crankcase.
- Reinstall the oil pan drain plug.
- Remove the right front tire and wheel. Refer to Tire and Wheel Removal and Installation.
- Remove the front wheelhouse liner. Refer to Front Wheelhouse Liner Replacement.
- Remove the accessory drive belt. Refer to Drive Belt Replacement.
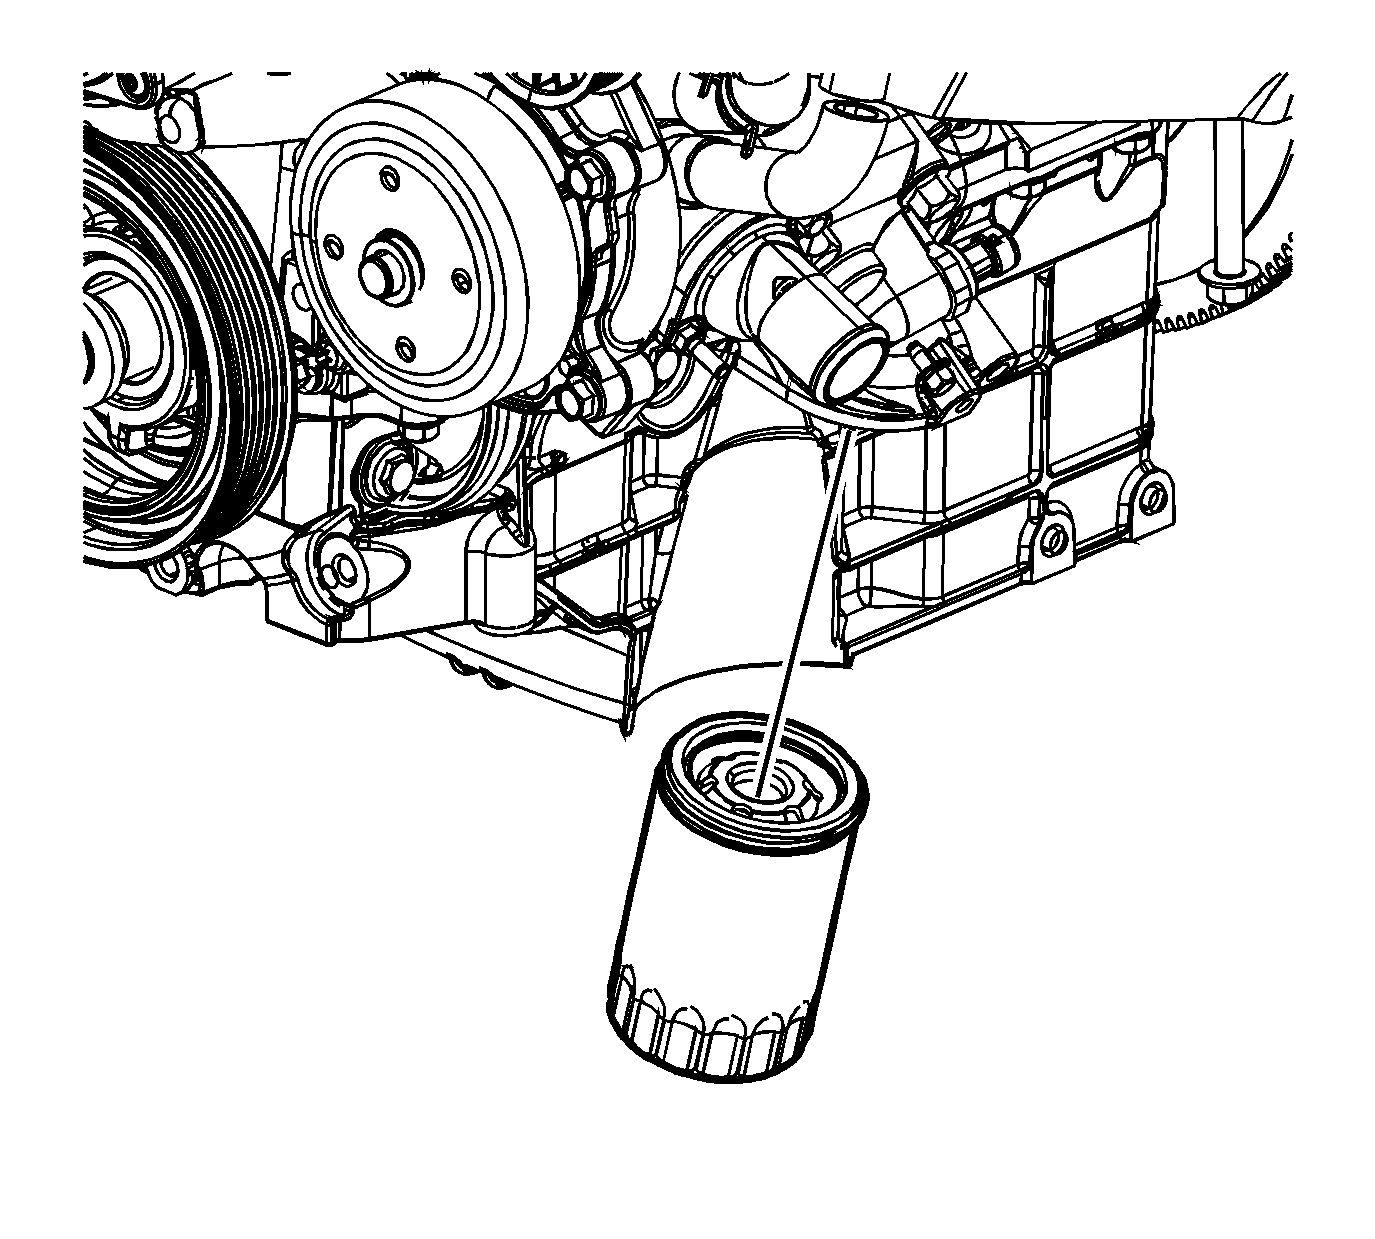
- Remove the oil filter adapter. Refer to Oil Filter Adapter and Bypass Valve Assembly Replacement.
- Remove the starter. Refer to Starter Replacement.
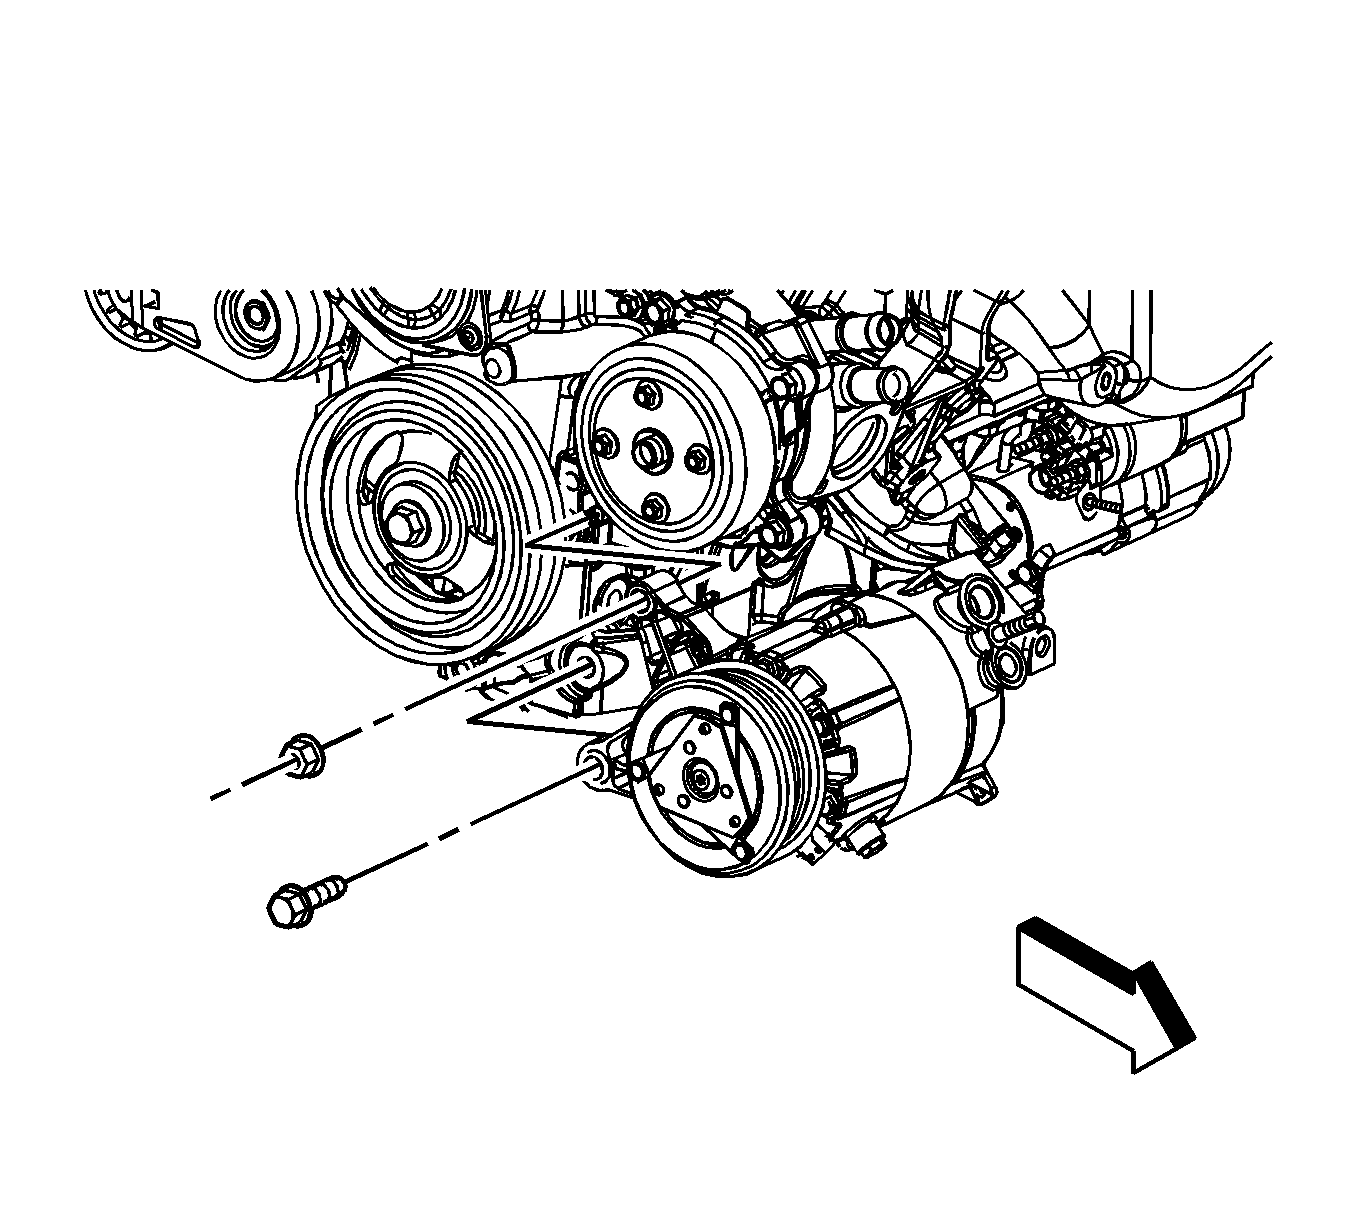
- Remove the air conditioning (A/C) compressor nut and bolt.
- Remove the A/C compressor rear bolt and position the compressor aside.
- Disconnect the oil level sensor electrical connector.
- Remove the engine harness clips from the oil pan and the transaxle brace.
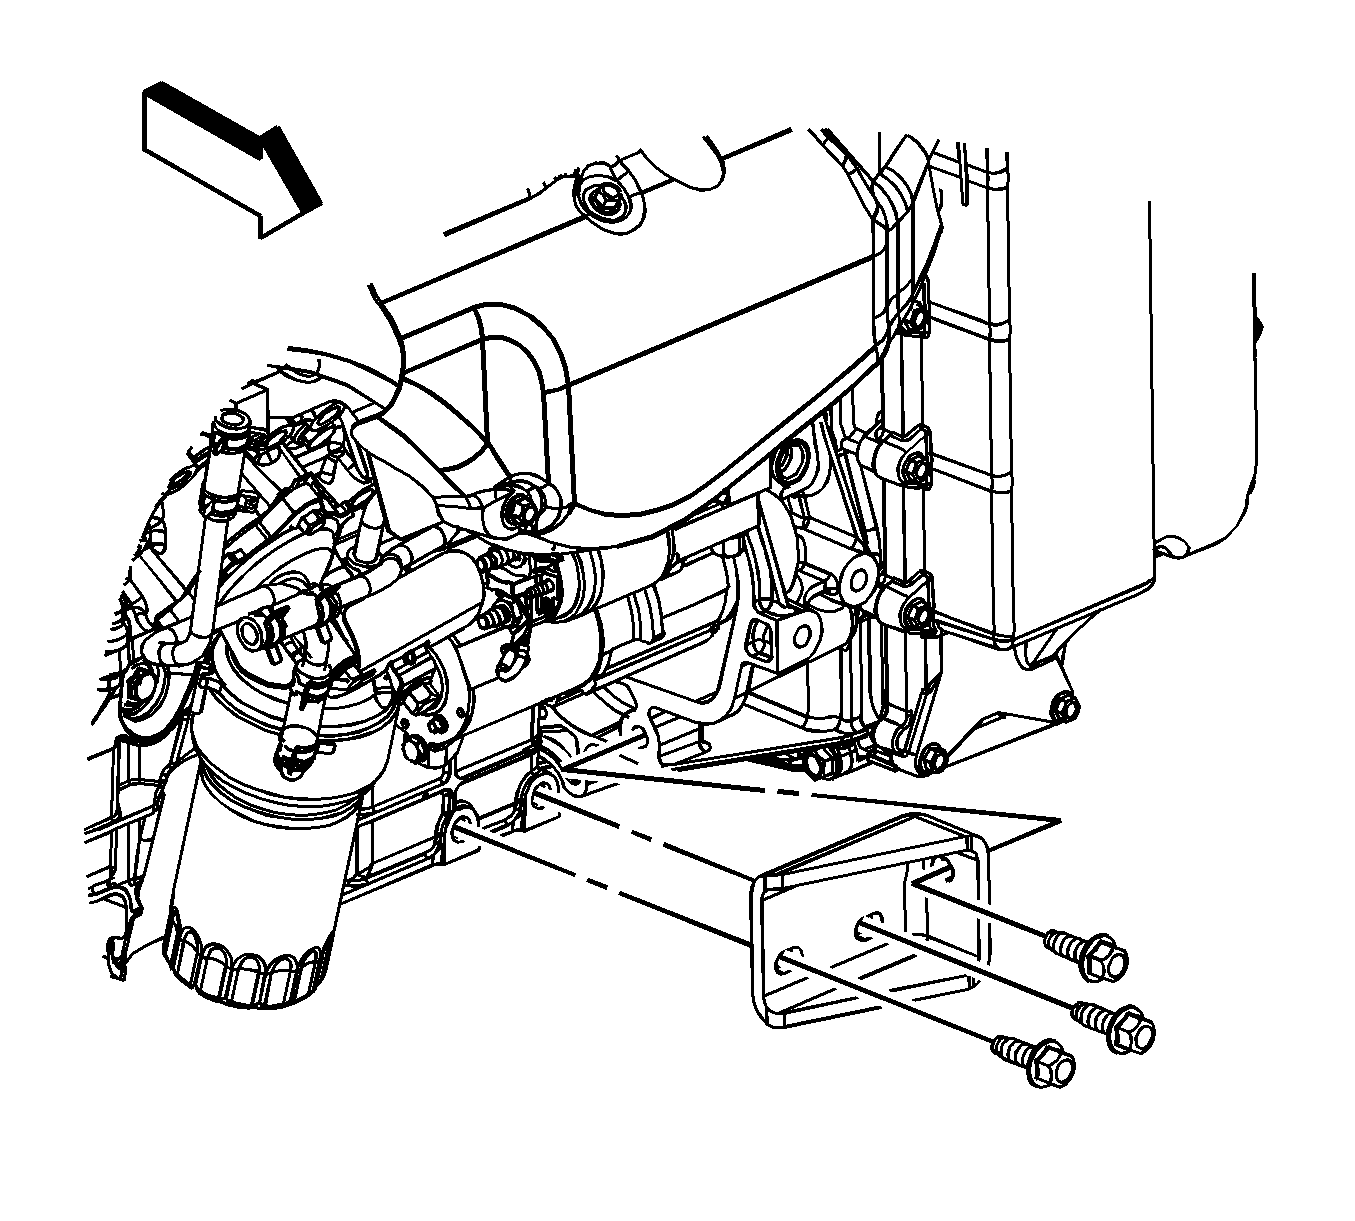
- Remove the front transaxle brace to engine bolts and the brace.
- Loosen the transaxle mount lower nuts. Refer to Transmission Mount Replacement - Left Side.
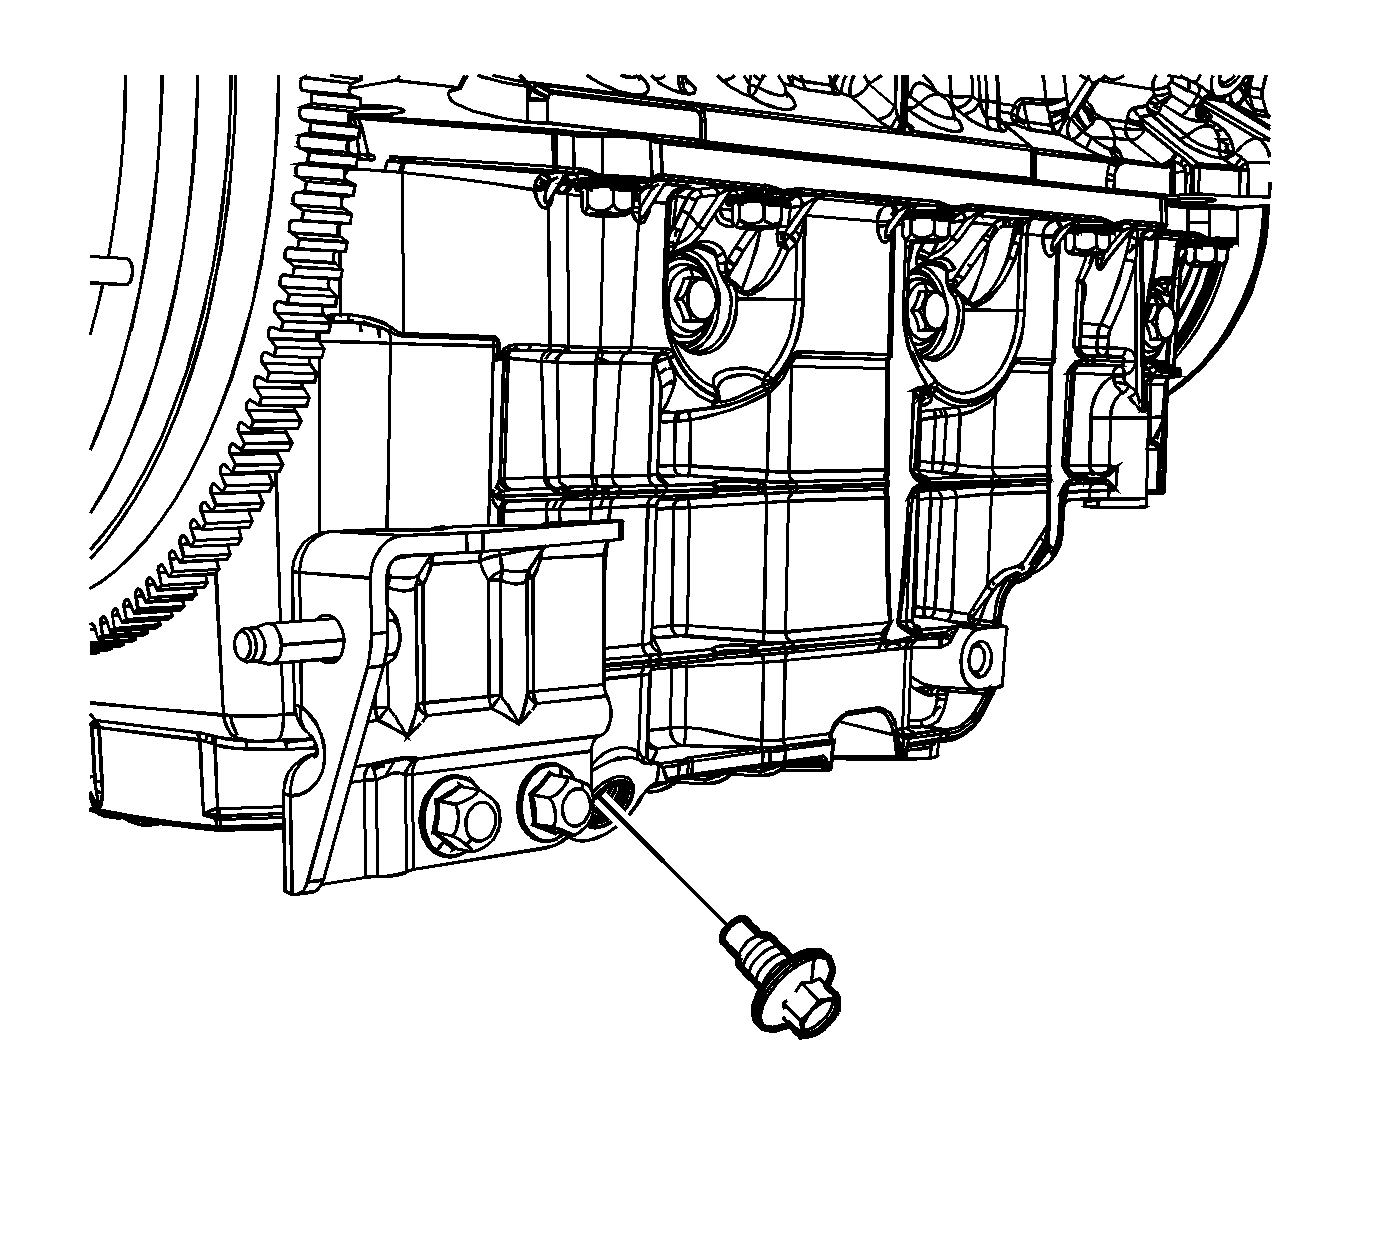
- Remove the rear transaxle brace to engine/oil pan bolts.
- Lower the vehicle.
- Using the engine support fixture, raise the engine.
- Raise the engine.
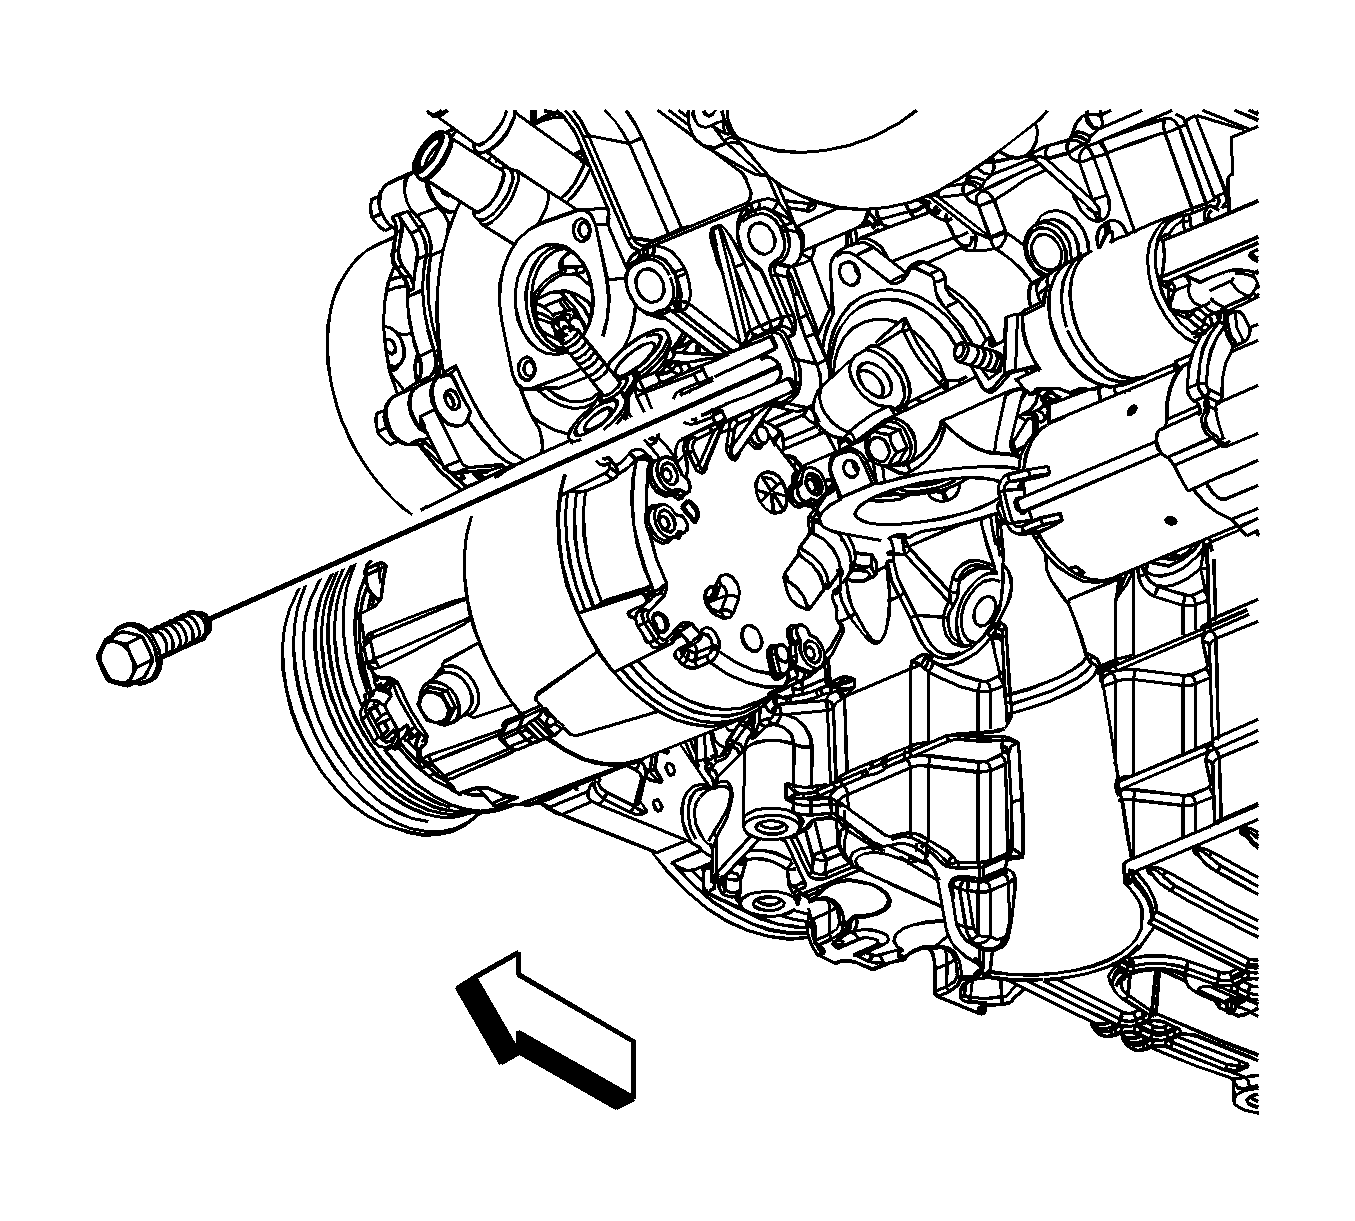
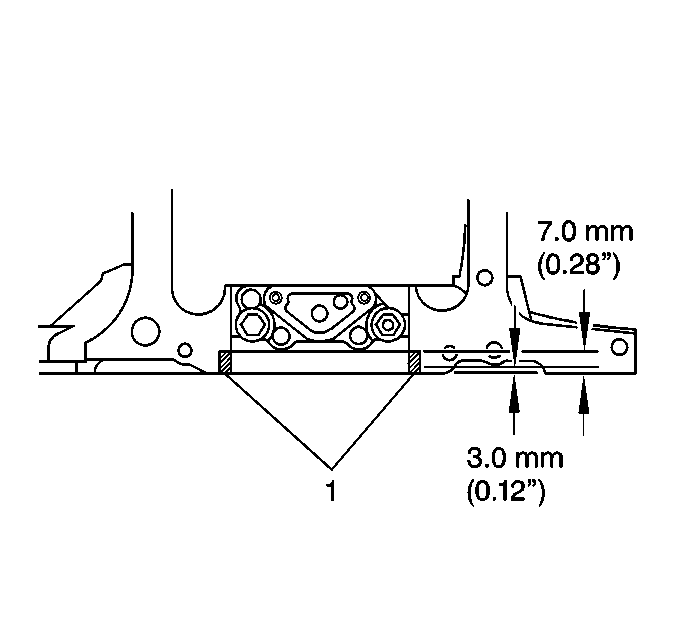
- Using the J 39505 , remove the right side oil pan side bolts.
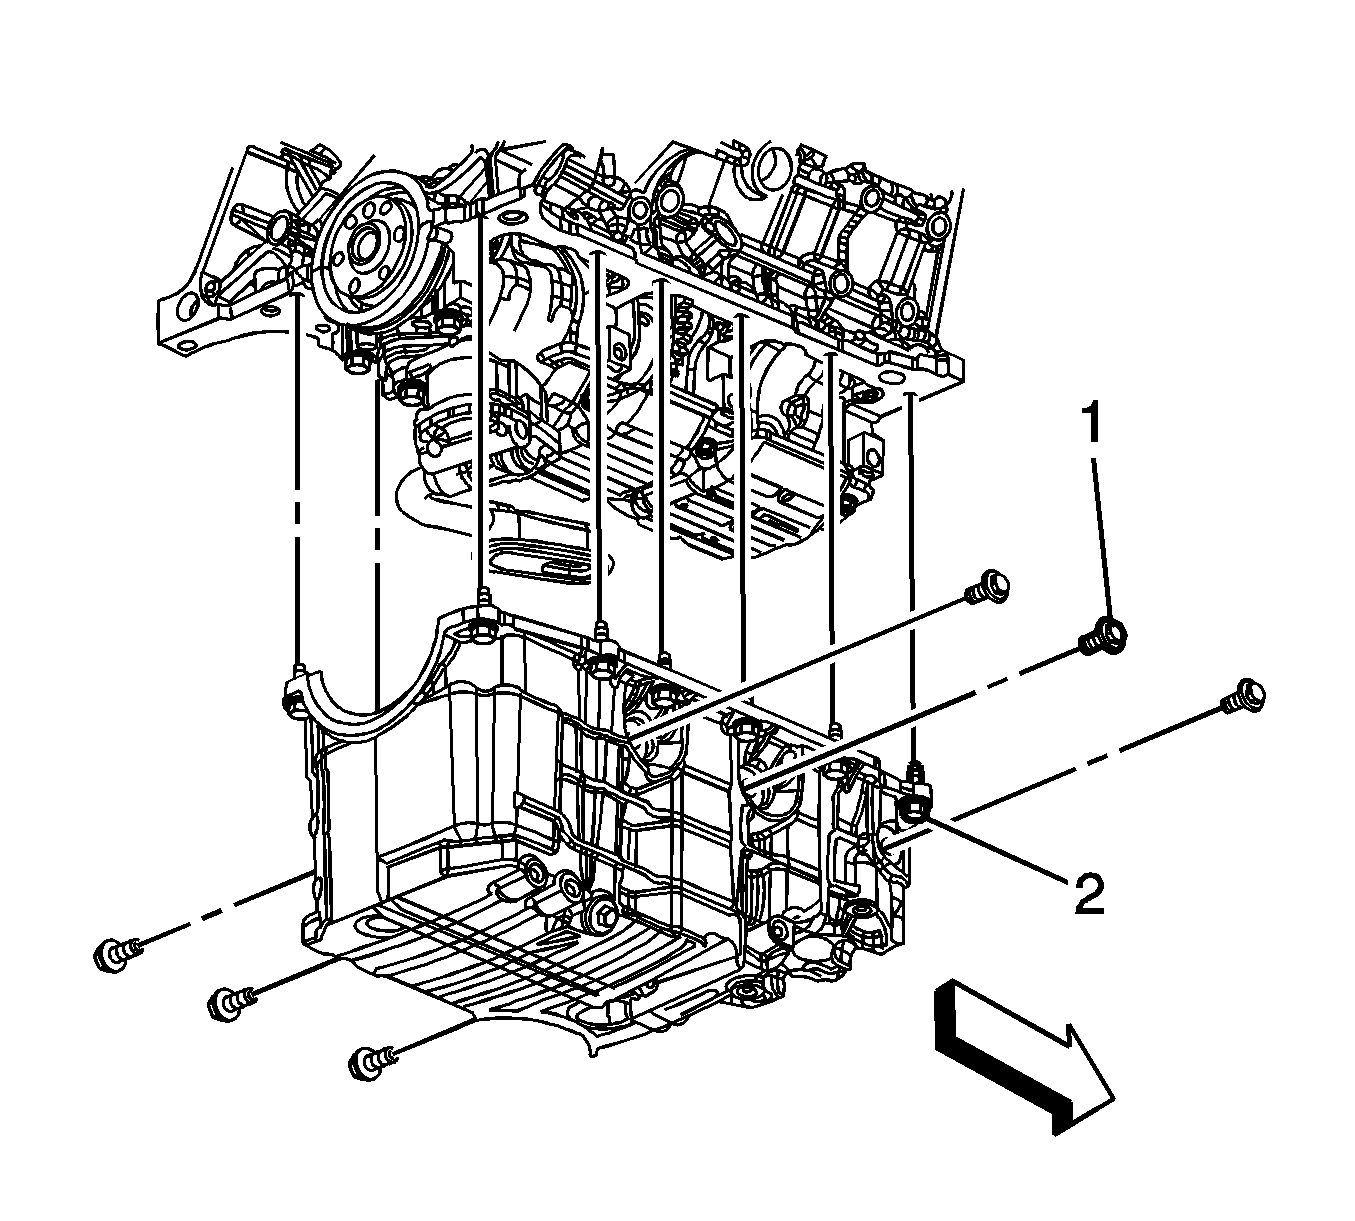
- Remove the left side oil pan side bolts (1).
- Remove the oil pan bolts (2).
- Remove the oil pan.
- Remove the oil pan gasket.
- Clean the following items:

| • | The oil pan flanges |
| • | The oil pan rail |
| • | The front cover |
| • | The rear main bearing cap |
| • | The threaded holes |
Installation Procedure
- Apply sealer to both sides of the crankshaft rear main bearing cap (1) and the front cover/block mating area. Press the sealer into the gap using a putty knife. Refer to Adhesives, Fluids, Lubricants, and Sealers for the correct part number.
- Install a NEW oil pan gasket.
- Position the oil pan to the engine.
- Install the oil pan bolts (2) and tighten to 25 N·m (18 lb ft).
- Install the left side oil pan side bolts (1).
- Using the J 39505 , install the right side oil pan side bolts and tighten to 50 N·m (37 lb ft).
- Install the engine mount bracket bolts and tighten to 50 N·m (37 lb ft).
- Lower the vehicle.
- Using the engine support fixture, lower the engine.
- Raise the vehicle.
- Install the rear transaxle brace to engine/oil pan bolts and tighten to 63 N·m (46 lb ft).
- Install the front transaxle brace and the brace to engine bolts and tighten to 63 N·m (46 lb ft).
- Connect the oil level sensor electrical connector.
- Install the engine harness clips to the oil pan and the transaxle brace.
- Tighten the transaxle mount lower nuts. Refer to Transmission Mount Replacement - Left Side.
- Position the A/C compressor, and install the A/C compressor nut and bolt and tighten to 50 N·m (37 lb ft).
- Install the A/C compressor rear bolt and tighten to 50 N·m (37 lb ft).
- Install the starter. Refer to Starter Replacement.
- Install the oil filter adapter. Refer to Oil Filter Adapter and Bypass Valve Assembly Replacement.
- Install the accessory drive belt. Refer to Drive Belt Replacement.
- Install the front wheelhouse liner. Refer to Front Wheelhouse Liner Replacement.
- Install the right front tire and wheel. Refer to Tire and Wheel Removal and Installation.
- Install the catalytic converter. Refer to Catalytic Converter Replacement.
- Lower the vehicle.
- Remove the engine support fixture.
- Install the engine mount struts. Refer to Engine Mount Strut Replacement.
- Fill the crankcase with new engine oil.
- Connect the negative battery cable. Refer to Battery Negative Cable Disconnection and Connection.
Caution: Refer to Fastener Caution in the Preface section.
