For 1990-2009 cars only
Removal Procedure
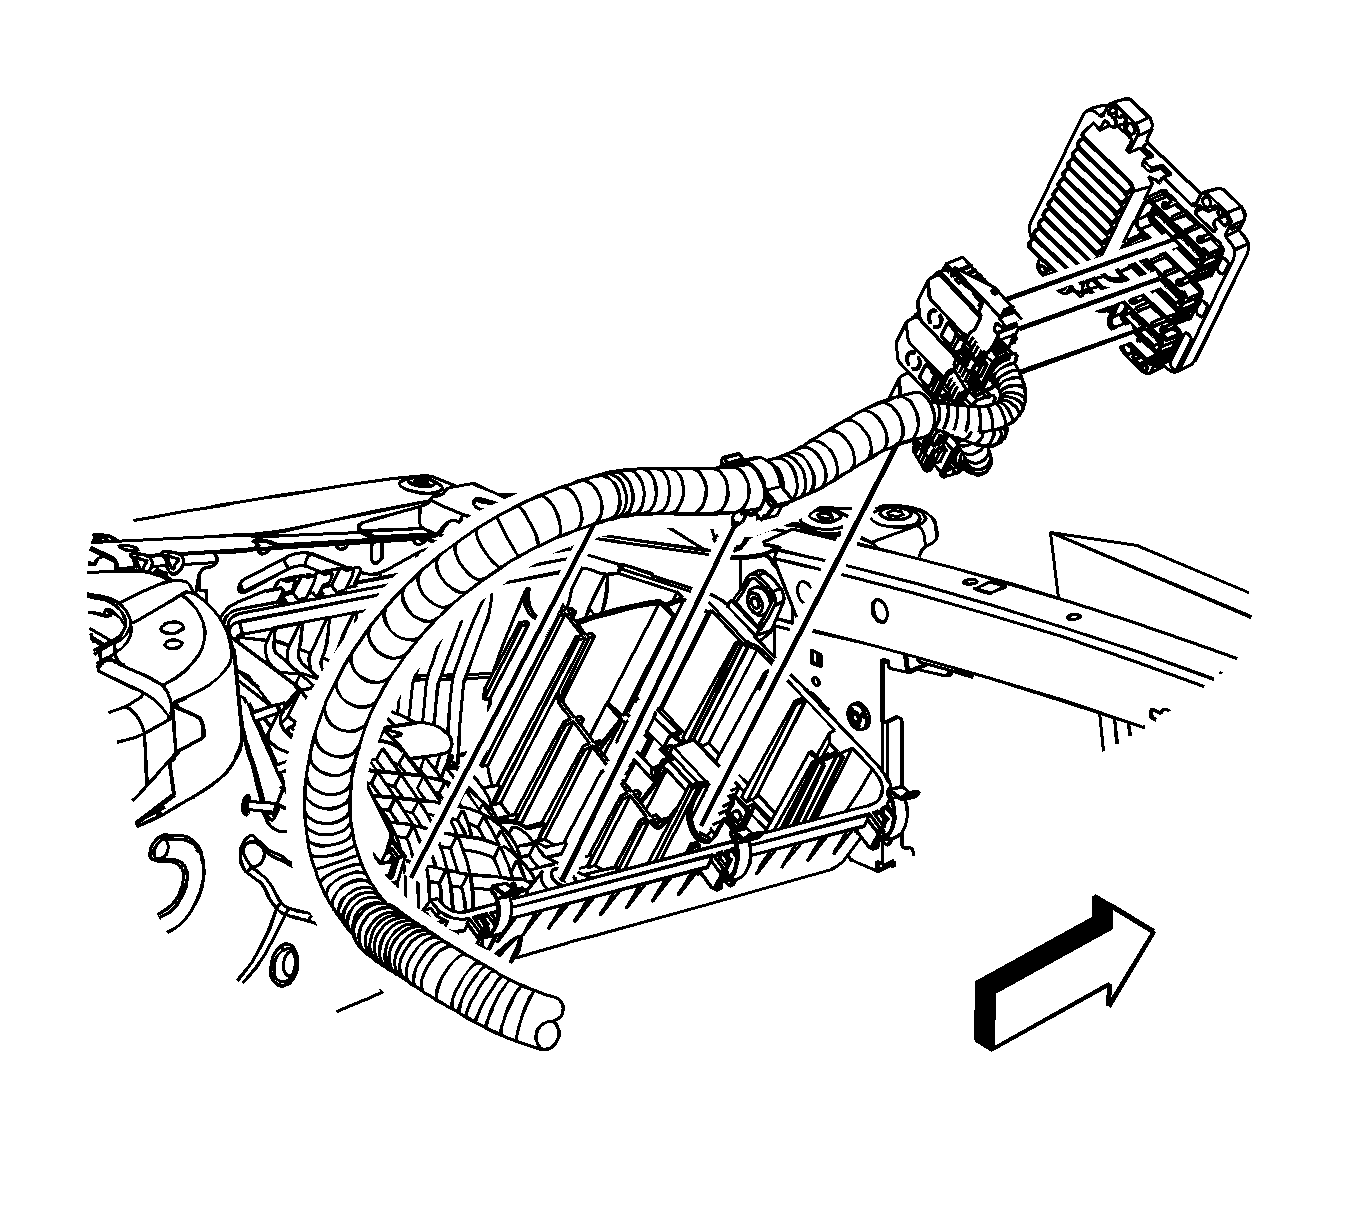
- Disconnect the engine harness electrical connector from the mass air flow (MAF)/intake air temperature (IAT) sensor.
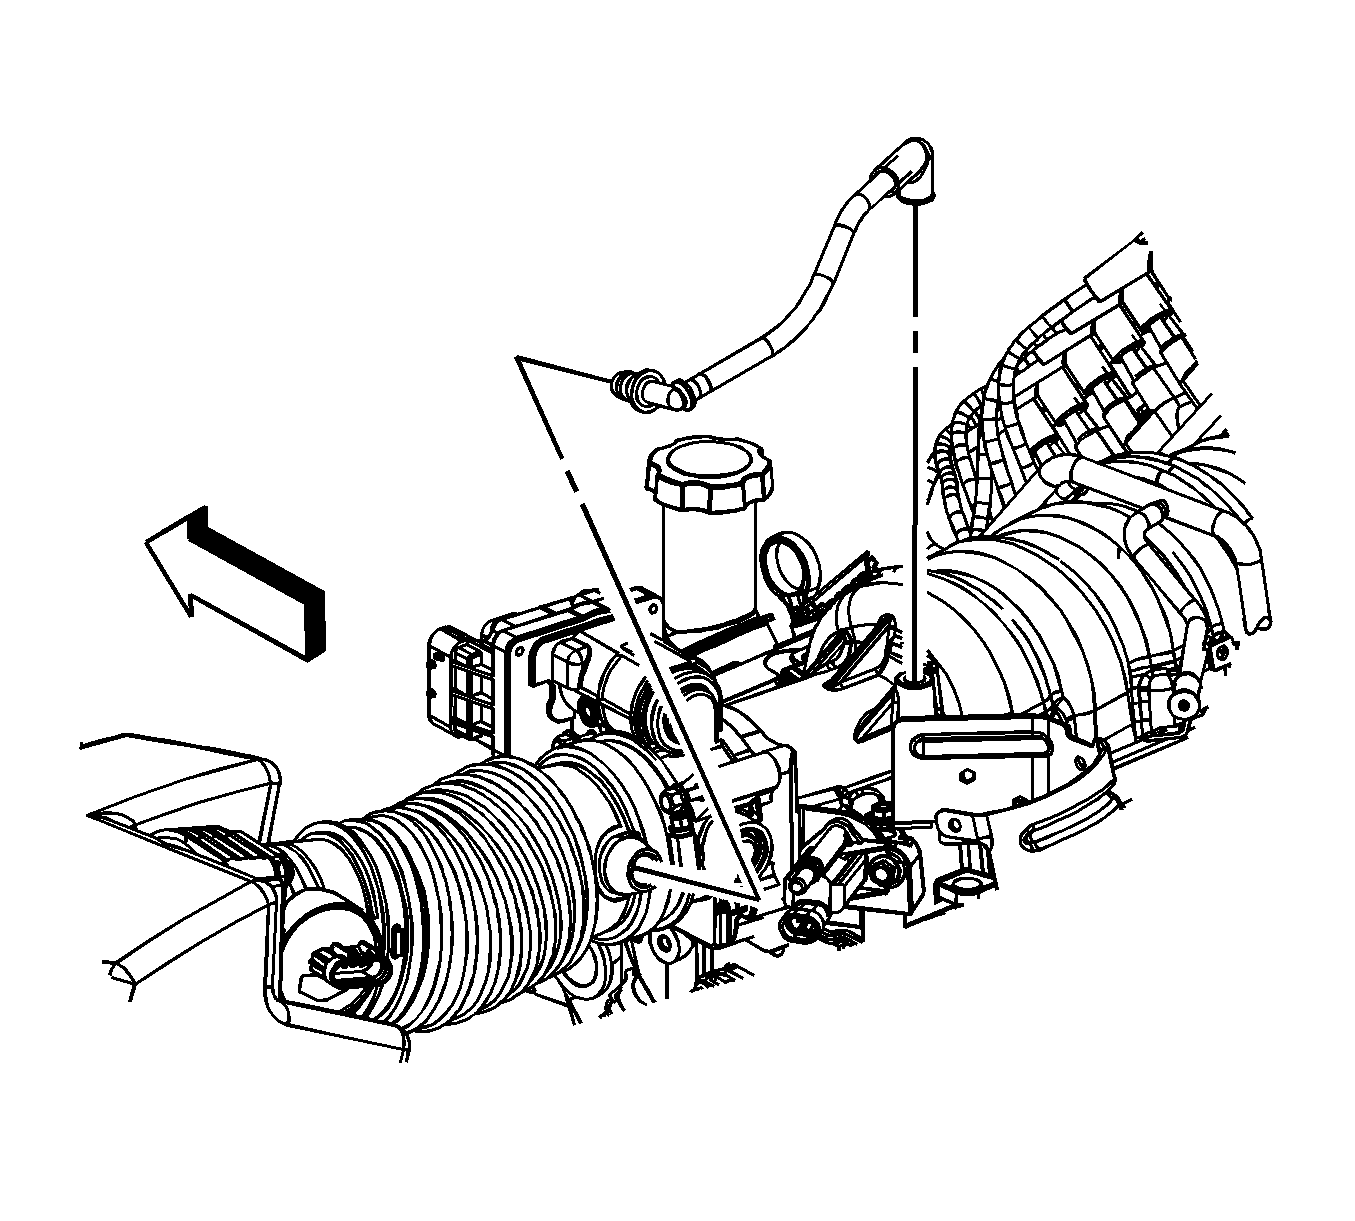
- Disconnect the positive crankcase ventilation (PCV) tube quick connect fitting from the air cleaner outlet duct. Refer to Plastic Collar Quick Connect Fitting Service .
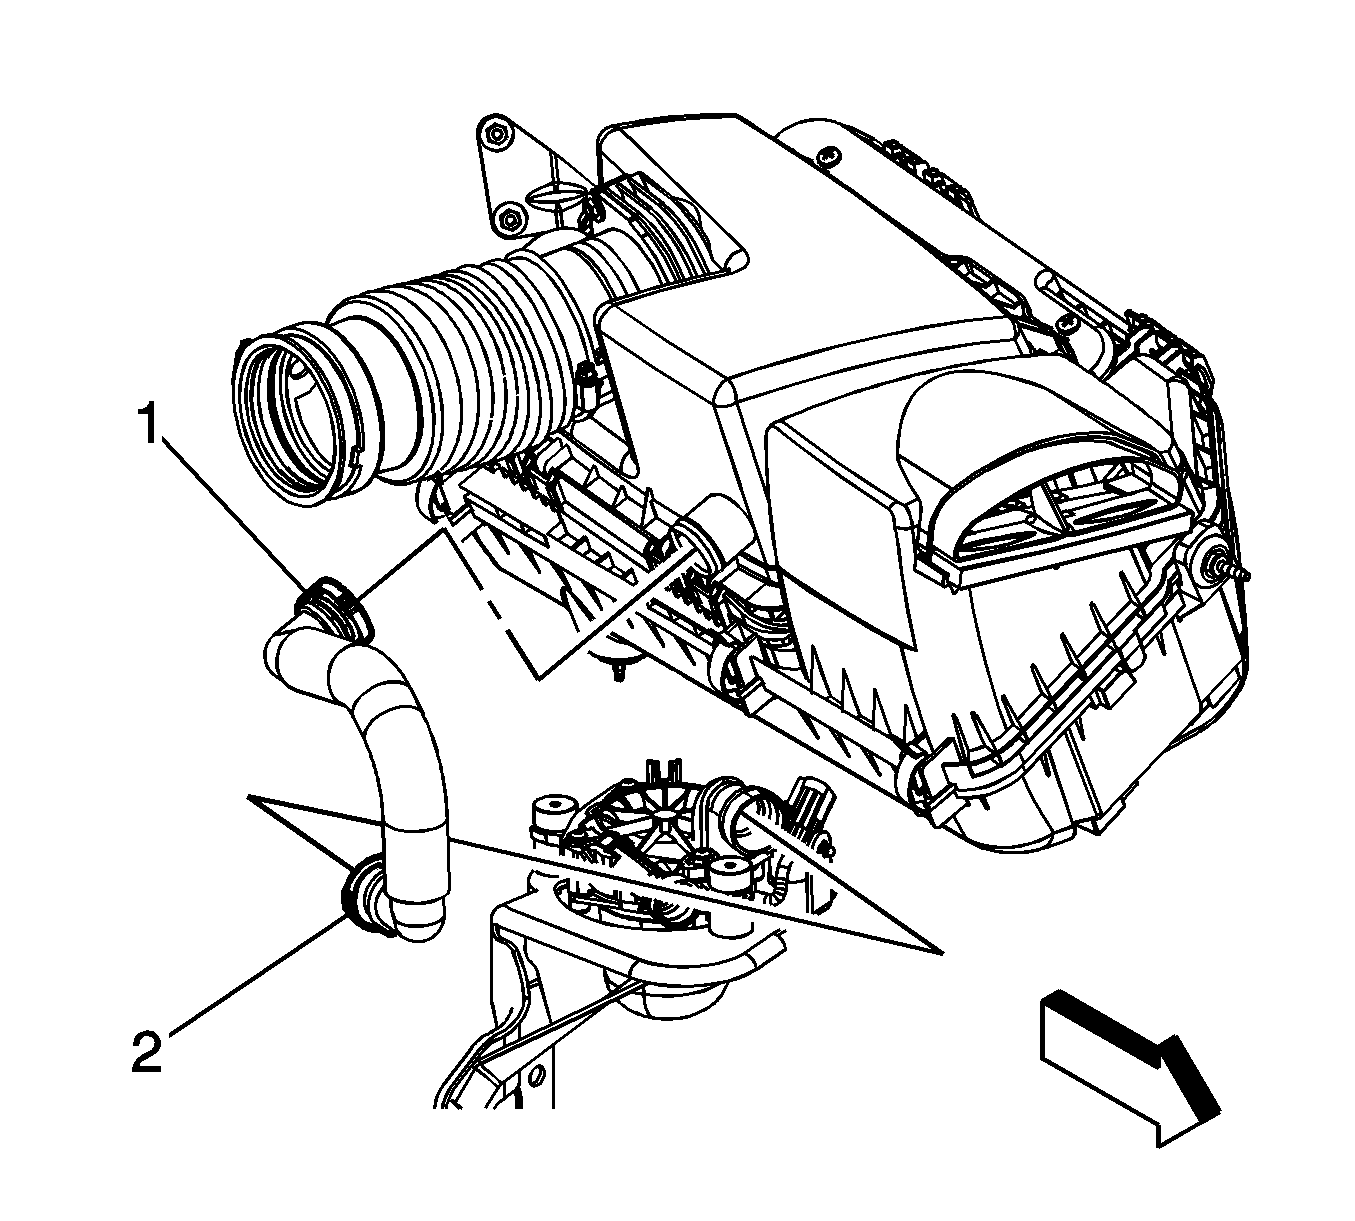
- Disconnect the secondary air injection (AIR) hose quick connect fitting (1) from the air cleaner, if equipped. Refer to Plastic Collar Quick Connect Fitting Service .
- Loosen the air cleaner outlet duct clamp at the throttle body.
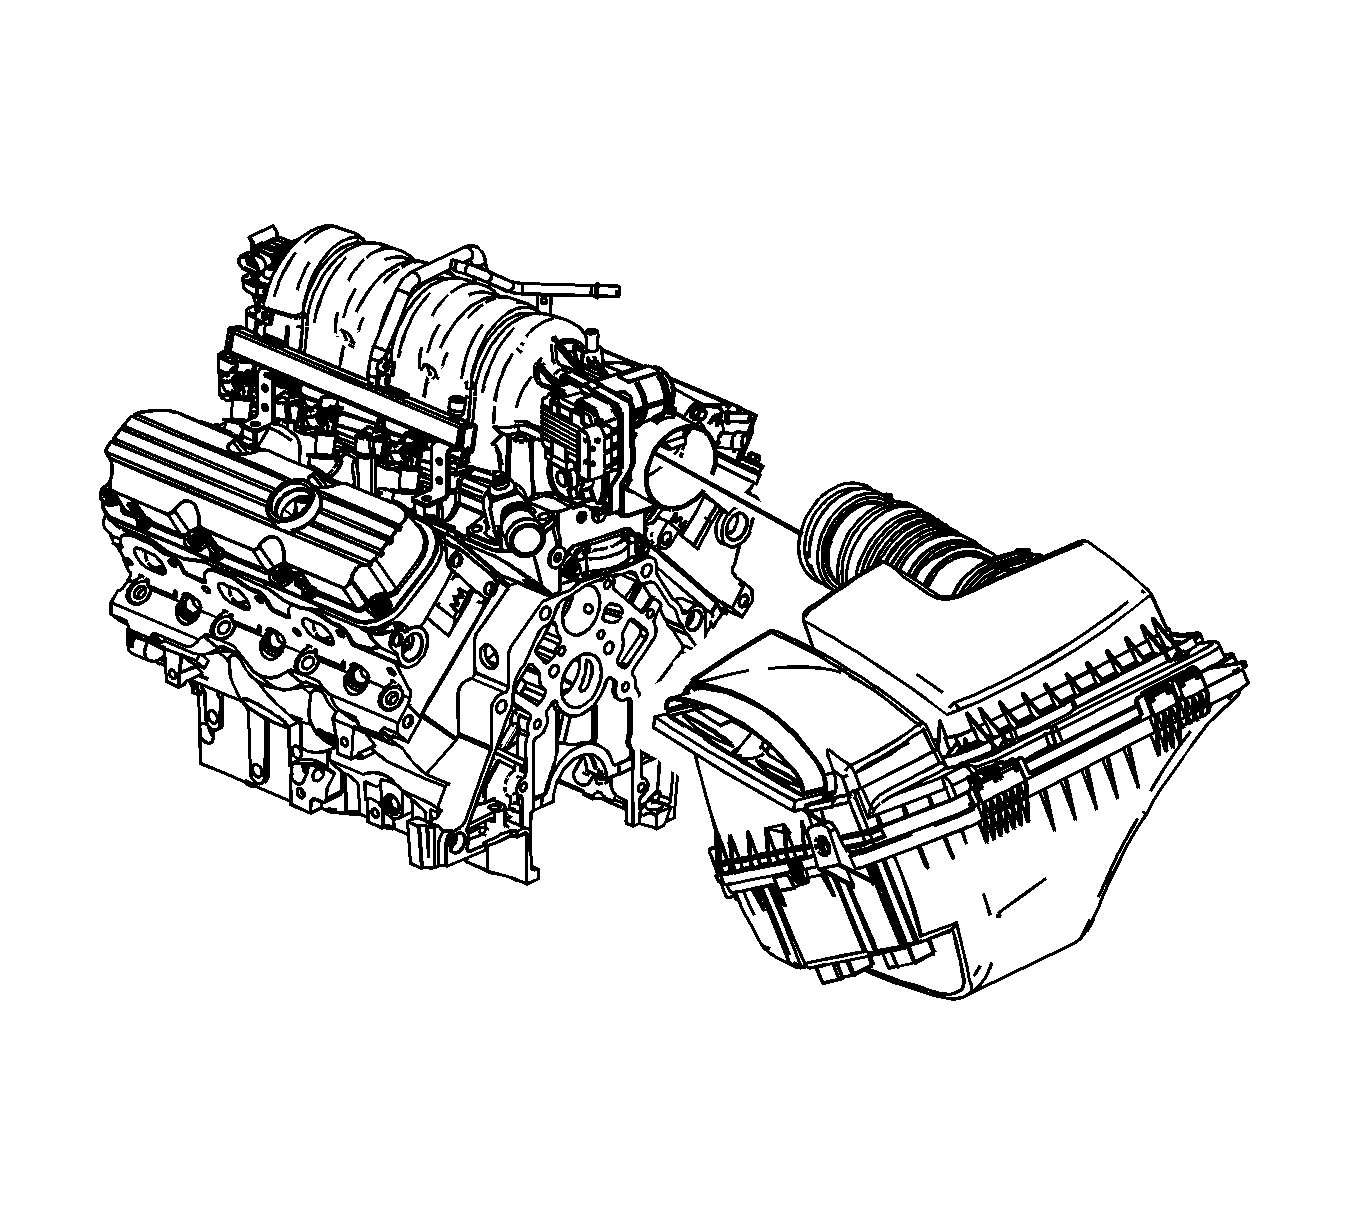
- Remove the air cleaner outlet duct from the throttle body.
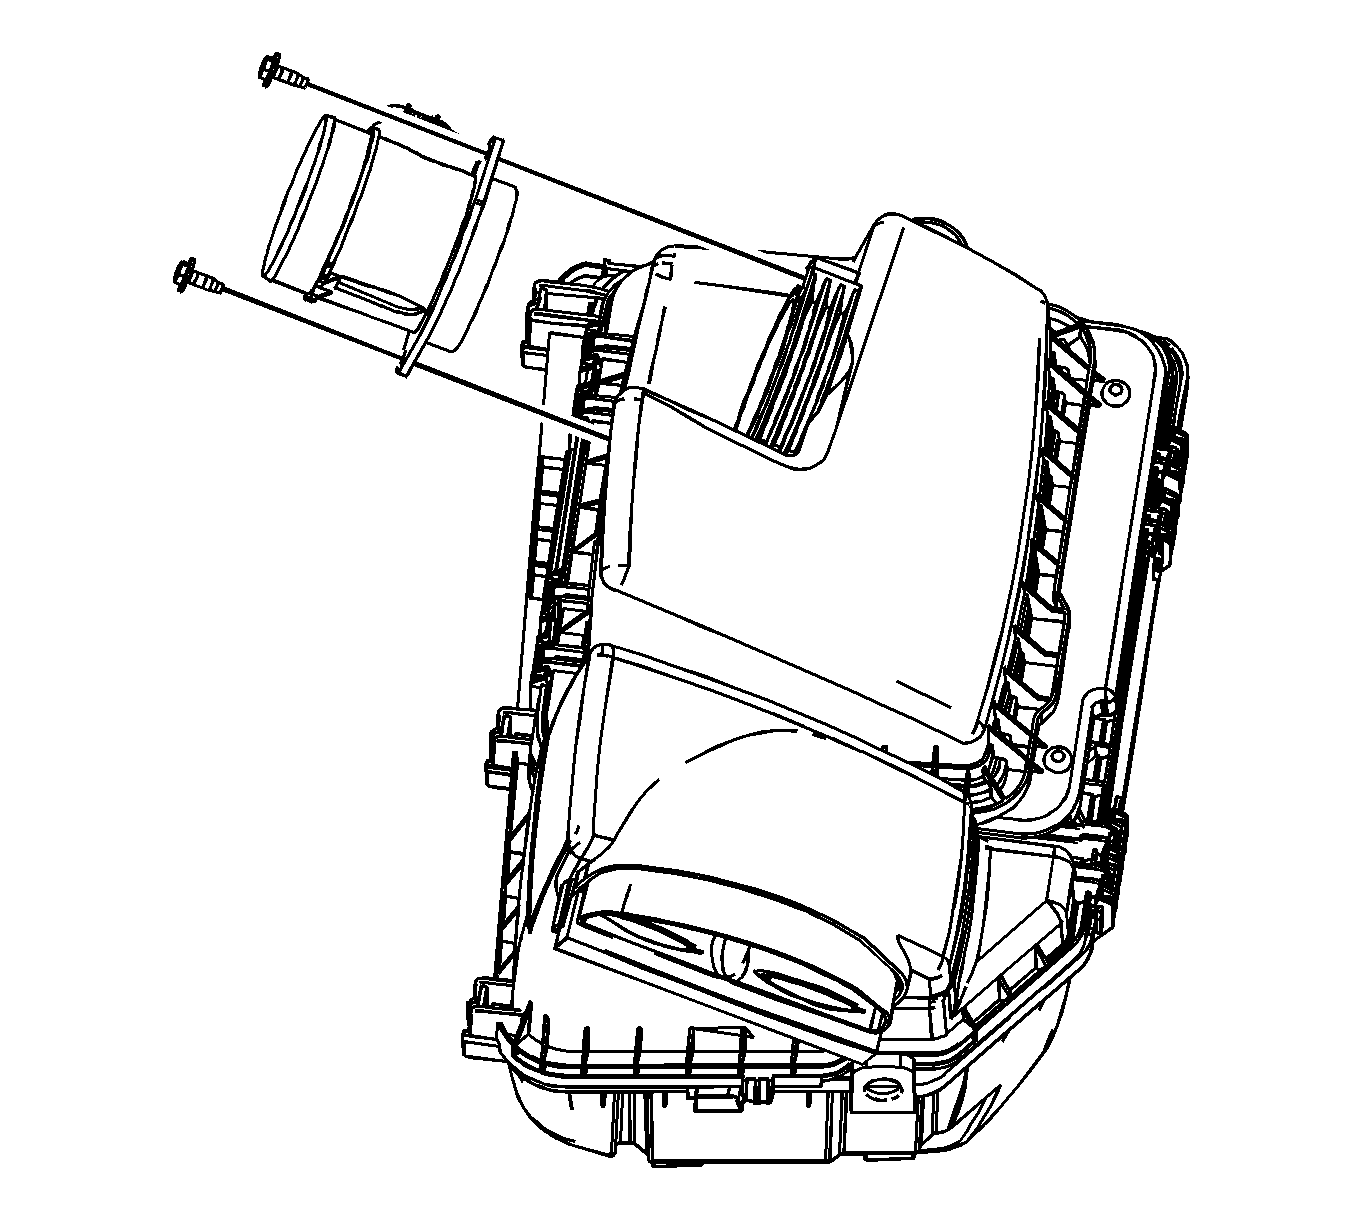
- Disengage the 3 integral clips (1) on the lower housing from the upper housing.
- Remove the air cleaner upper housing.
- If replacing the air cleaner lower housing also, perform the following steps if not proceed to step 12.
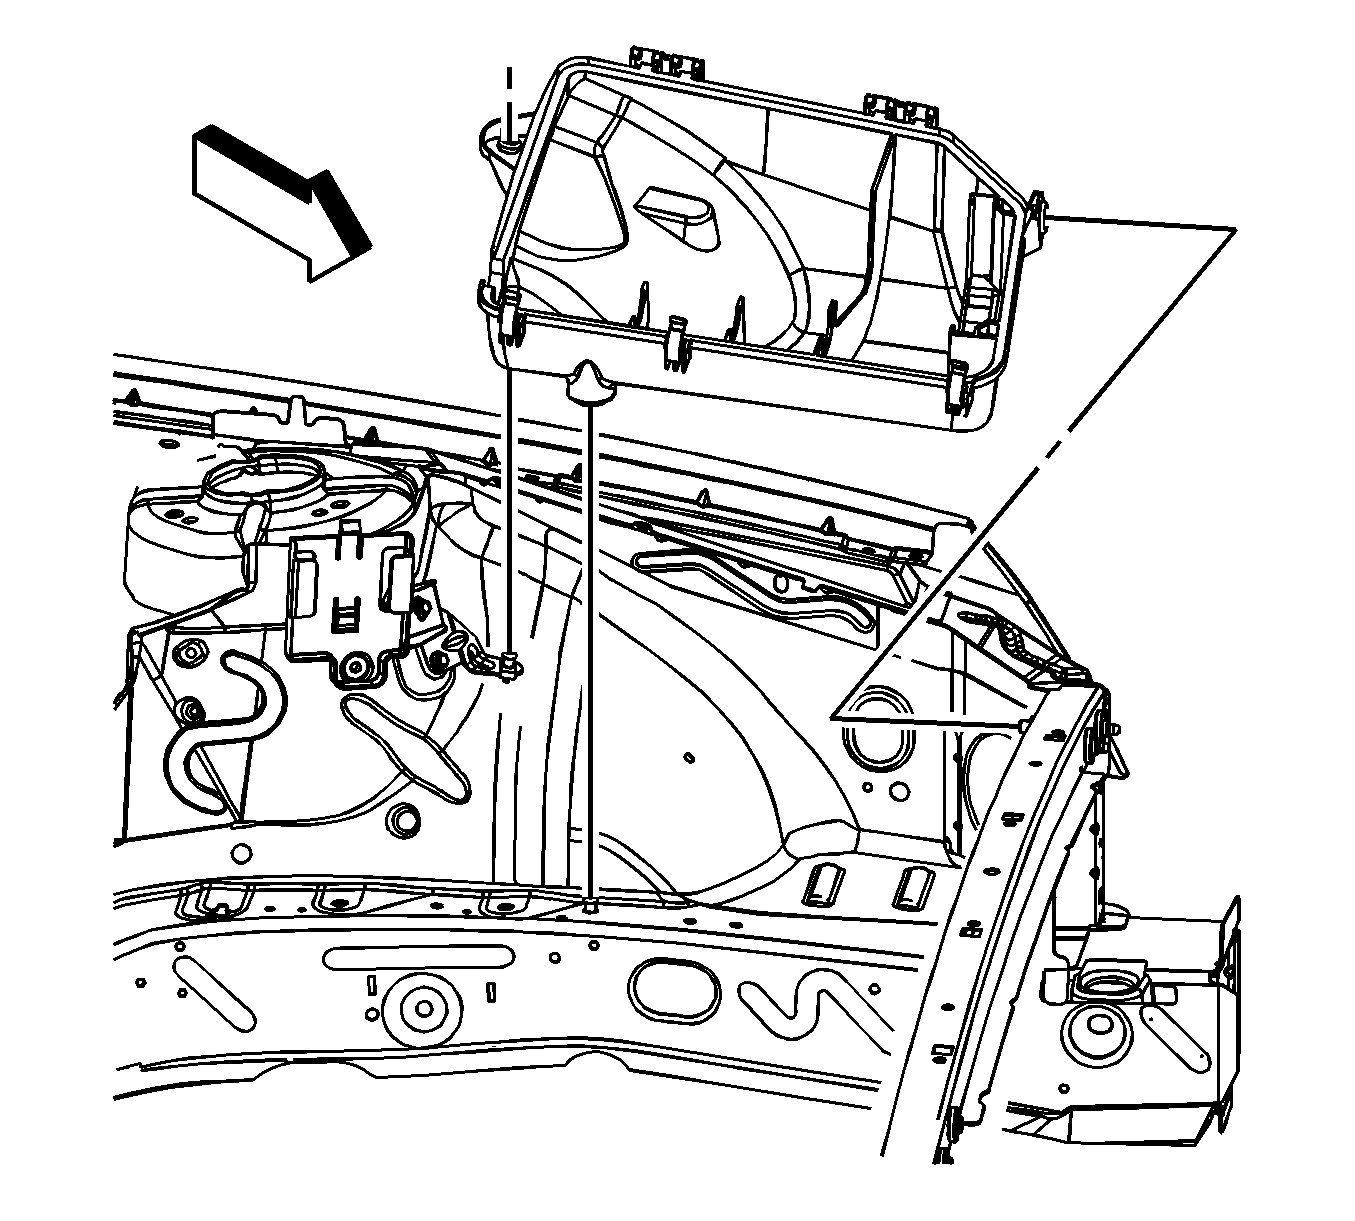
- Remove the engine harness and powertrain control module (PCM) from the lower housing.
- Pull up firmly on the lower housing in order to disengage the grommets from the studs. Remove the air cleaner lower housing.
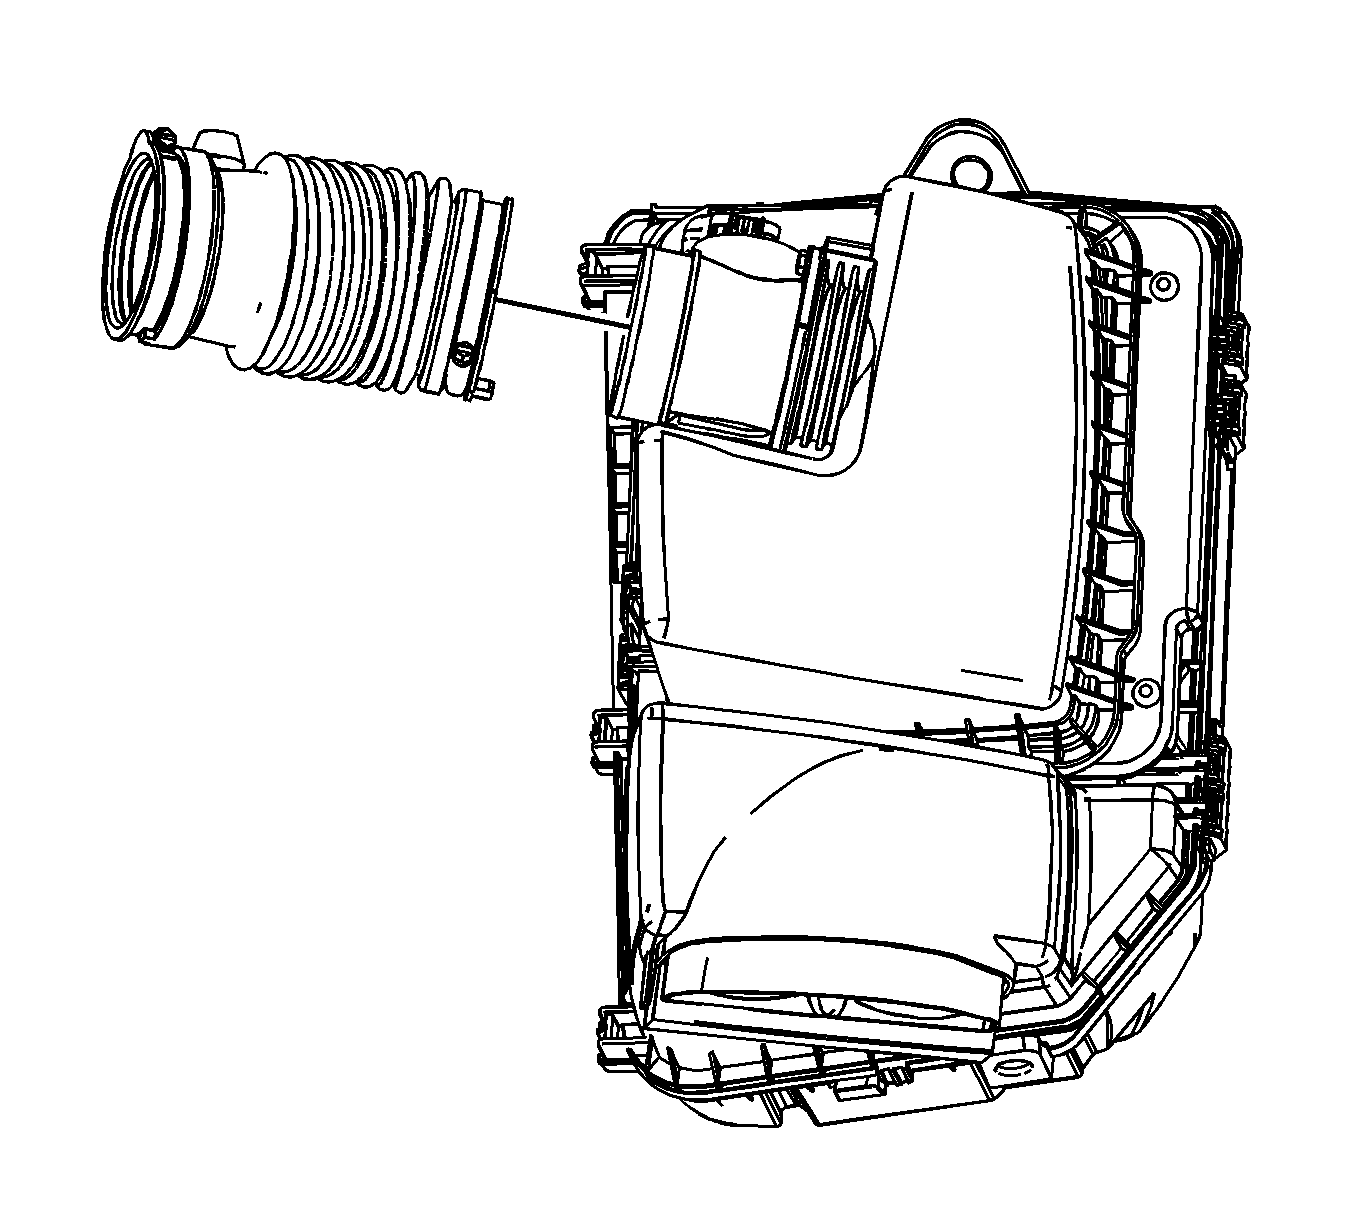
- If replacing the air cleaner upper housing only perform the following steps, loosen the air cleaner outlet duct clamp at the MAF/IAT sensor.
- Remove the air cleaner outlet duct.
- Remove the MAF/IAT sensor bolts.
- Remove the MAF/IAT sensor.

Notice:
• Handle the MAF sensor carefully. • Do not drop the MAF sensor in order to prevent damage to the MAF
sensor. • Do not damage the screen located on the air inlet
end of the MAF. • Do not touch the sensing elements. • Do not allow solvents and lubricants to come in contact with the
sensing elements. • Use a small amount of a soap based solution in order to aid in
the installation.
Installation Procedure
- If the upper air cleaner housing was replaced only perform the following steps otherwise proceed to step 6.
- Install the MAF/IAT sensor.
- Install the MAF/IAT sensor bolts.
- Install the air cleaner outlet duct.
- Tighten the air cleaner outlet duct clamp at the MAF/IAT sensor.
- Place the lower air cleaner housing over the studs and push down firmly in order to engage the grommets to the studs.
- Install the engine harness and PCM to the lower housing.
- Install the air cleaner upper housing.
- Engage the 3 integral clips (1) on the lower housing to the upper housing.
- Install the air cleaner outlet duct to the throttle body.
- Tighten the air cleaner outlet duct clamp at the throttle body.
- Connect the AIR hose quick connect fitting (1) to the air cleaner, if equipped. Refer to Plastic Collar Quick Connect Fitting Service .
- Connect the PCV tube quick connect fitting to the air cleaner outlet duct. Refer to Plastic Collar Quick Connect Fitting Service .
- Connect the engine harness electrical connector to the MAF/IAT sensor.
Notice: Refer to Fastener Notice in the Preface section.
Tighten
Tighten the bolts to 4 N·m (35 lb ft).
Tighten
Tighten the clamp to 4 N·m (35 lb in).
Tighten
Tighten the clamp to 4 N·m (35 lb in).
