For 1990-2009 cars only
- Remove the rear fascia. Refer to Rear Bumper Fascia Replacement .
- Disconnect the sensor harness.
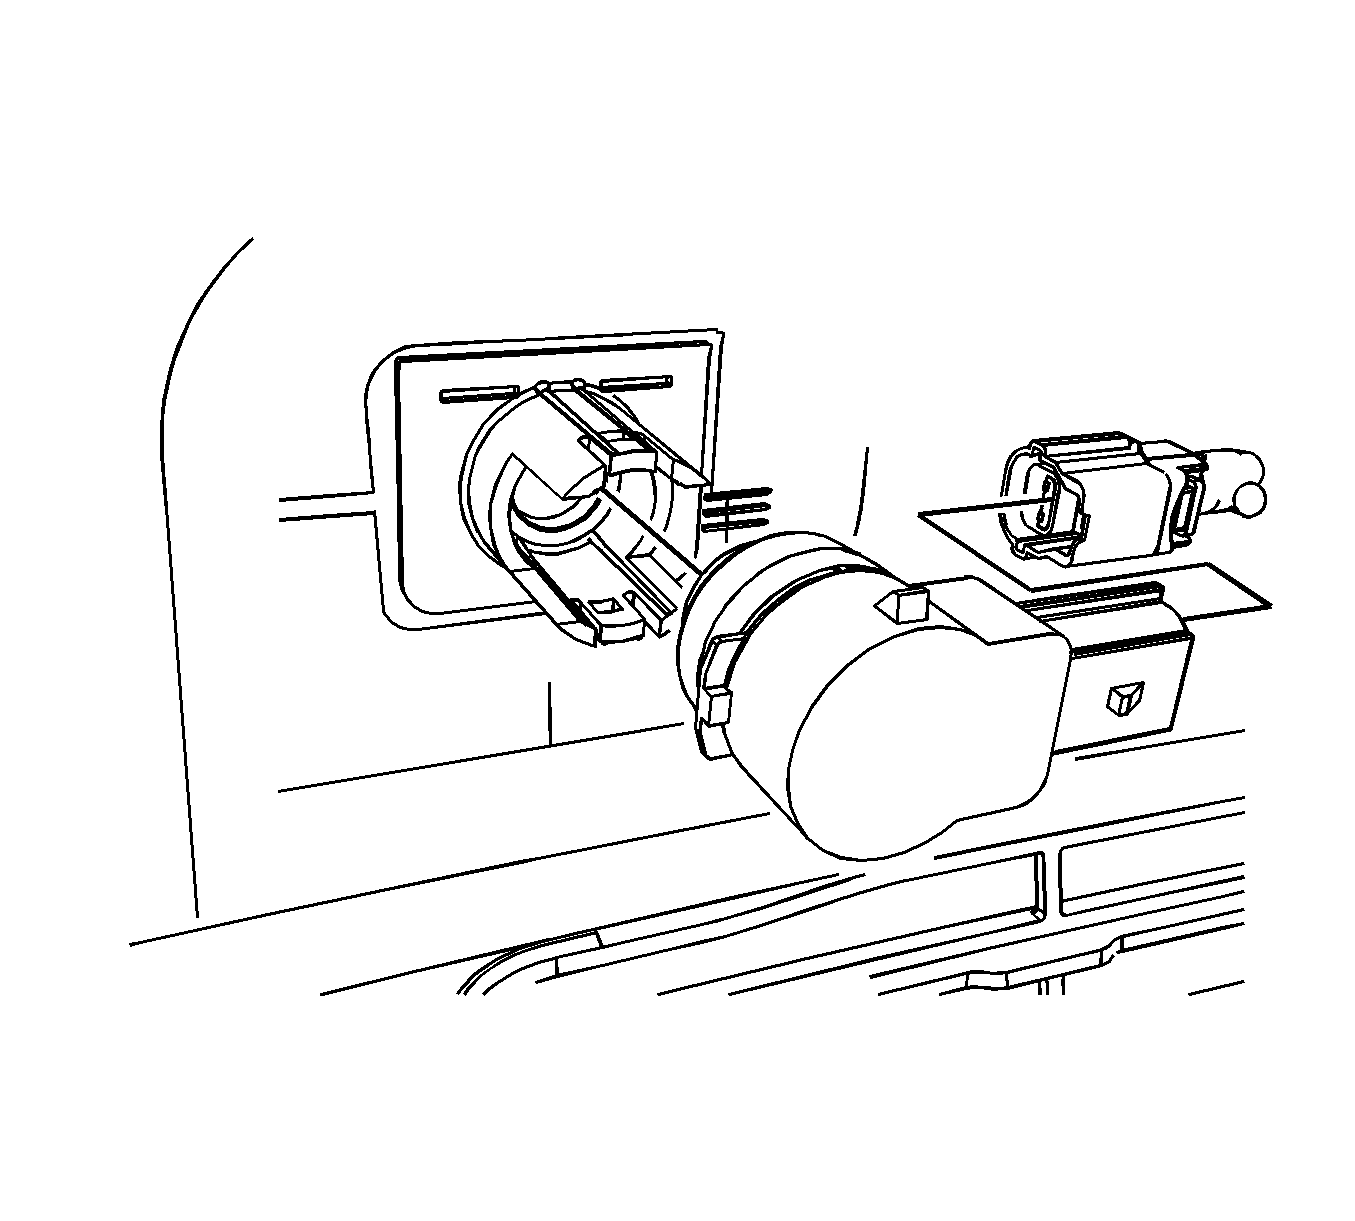
- Remove the sensor from the sensor housing.
- Paint the new sensor. Refer to Basecoat/Clearcoat Paint Systems
- Inspect the paint thickness to ensure it does not exceed 6 mm using a paint thickness gauge suitable for non-ferrous metals. Refer to Paint Gages
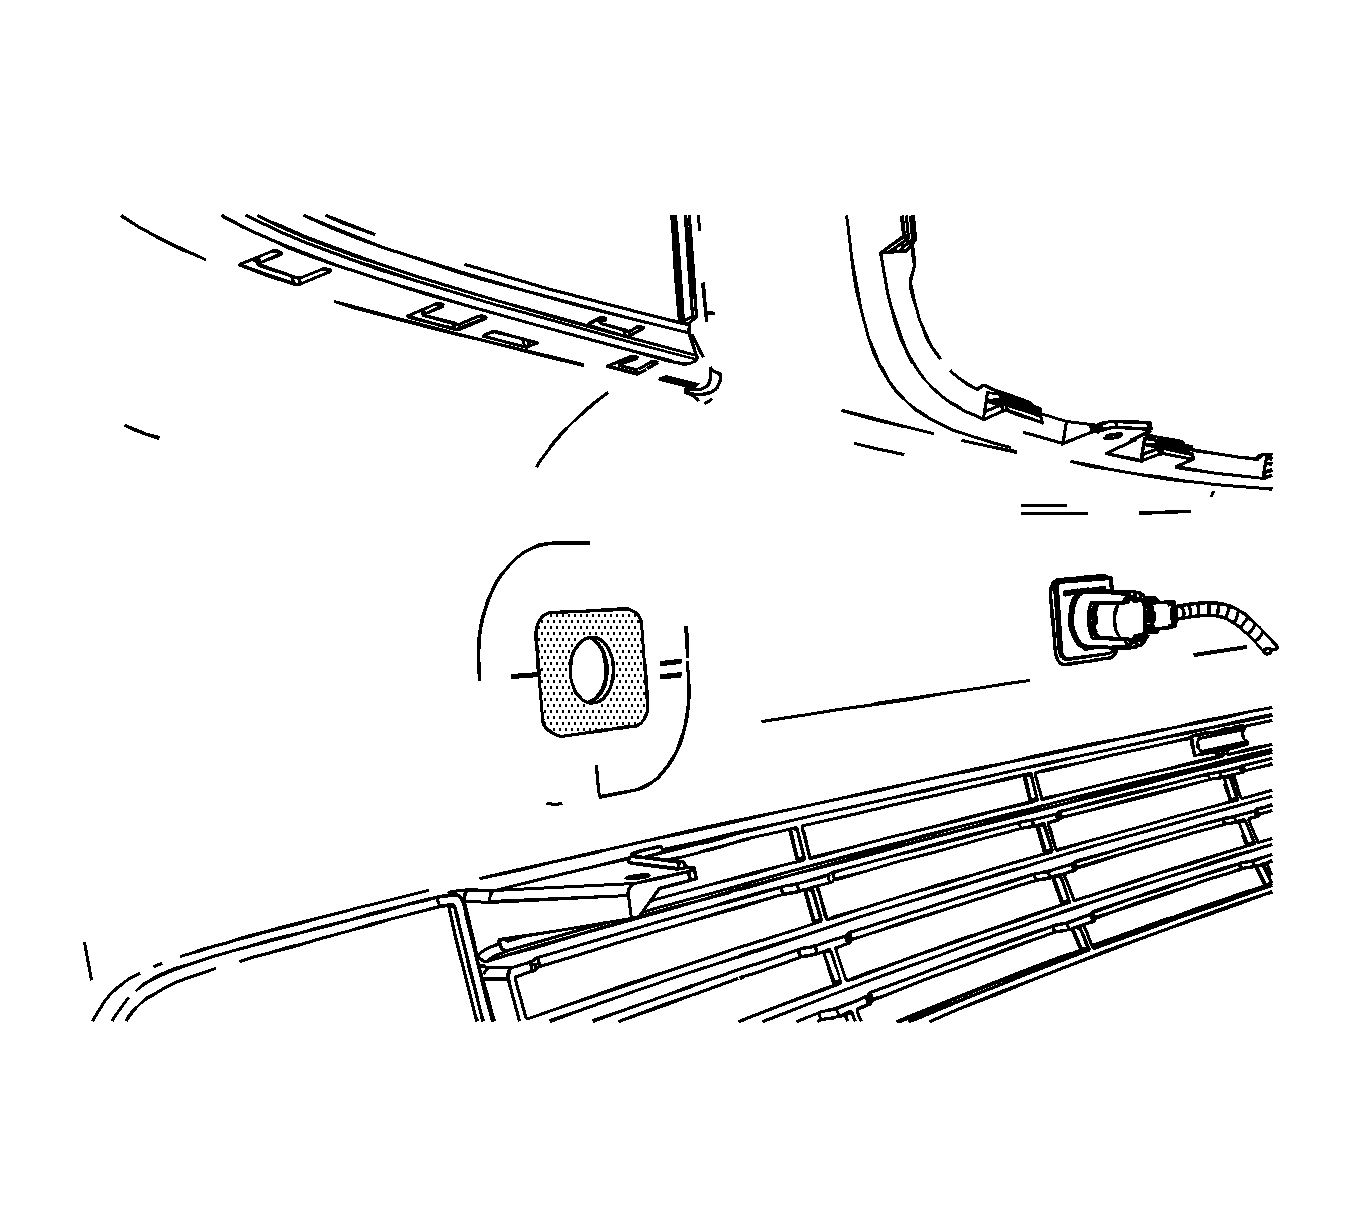
- Sand/grind sonic weld plastic residue from the fascia.
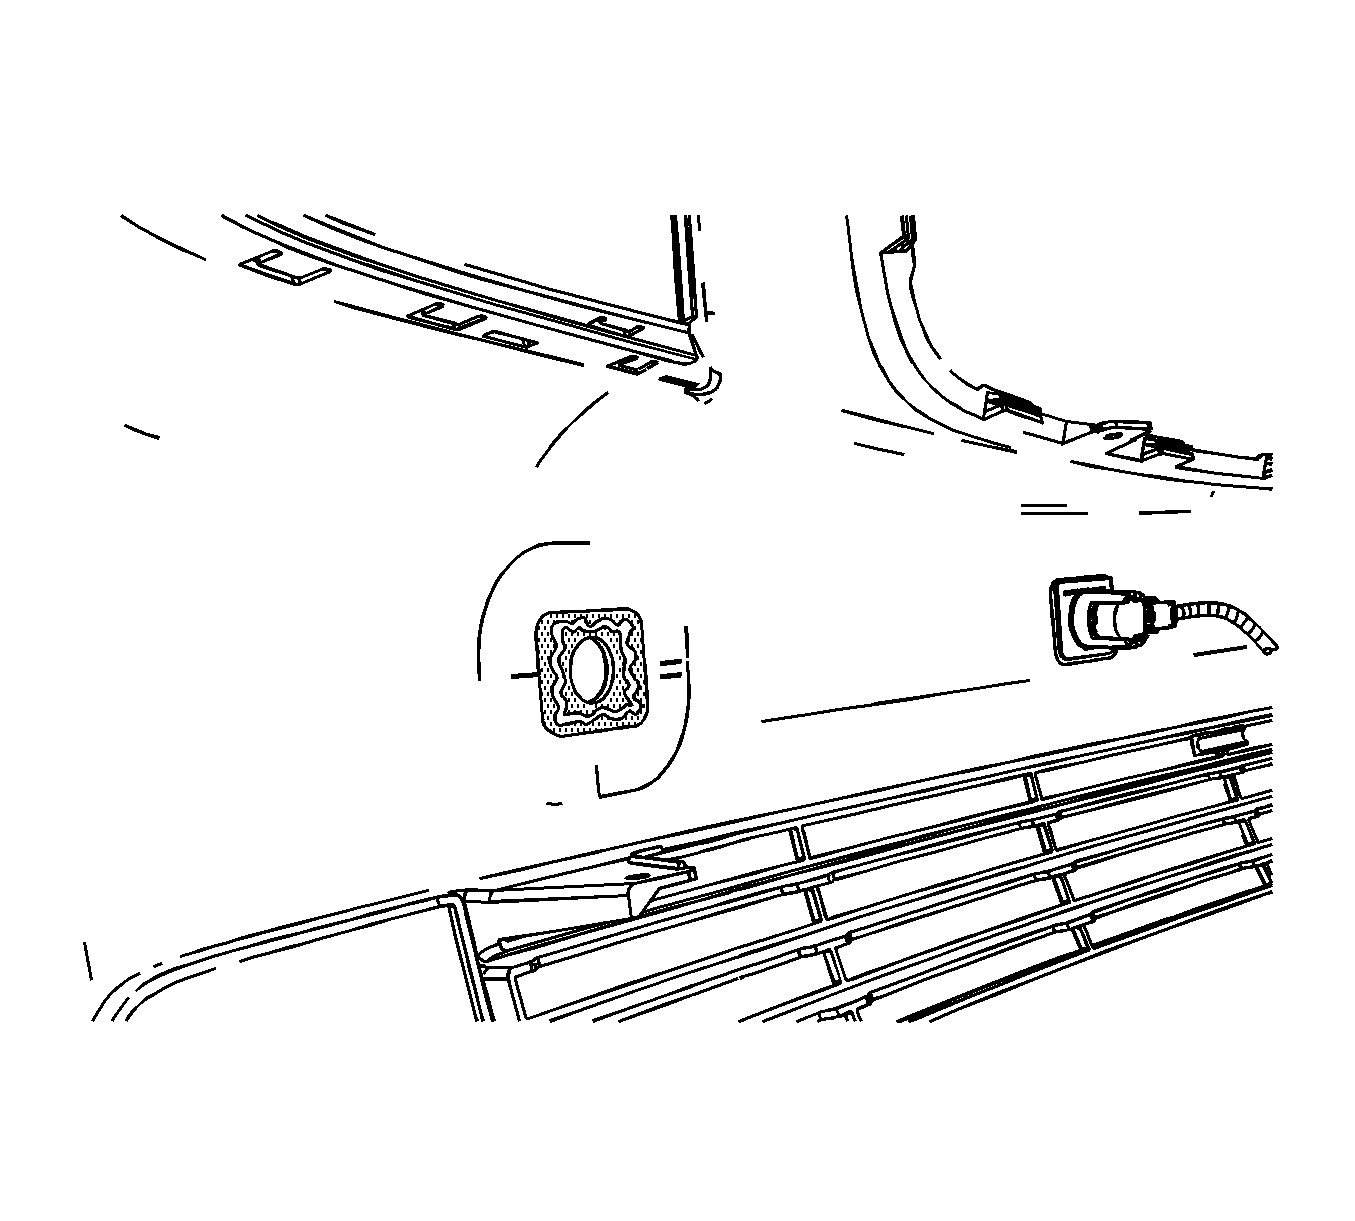
- Apply structural adhesive epoxy, Lord Fusor™ 127EZ or equivalent, to fascia at mating surface.
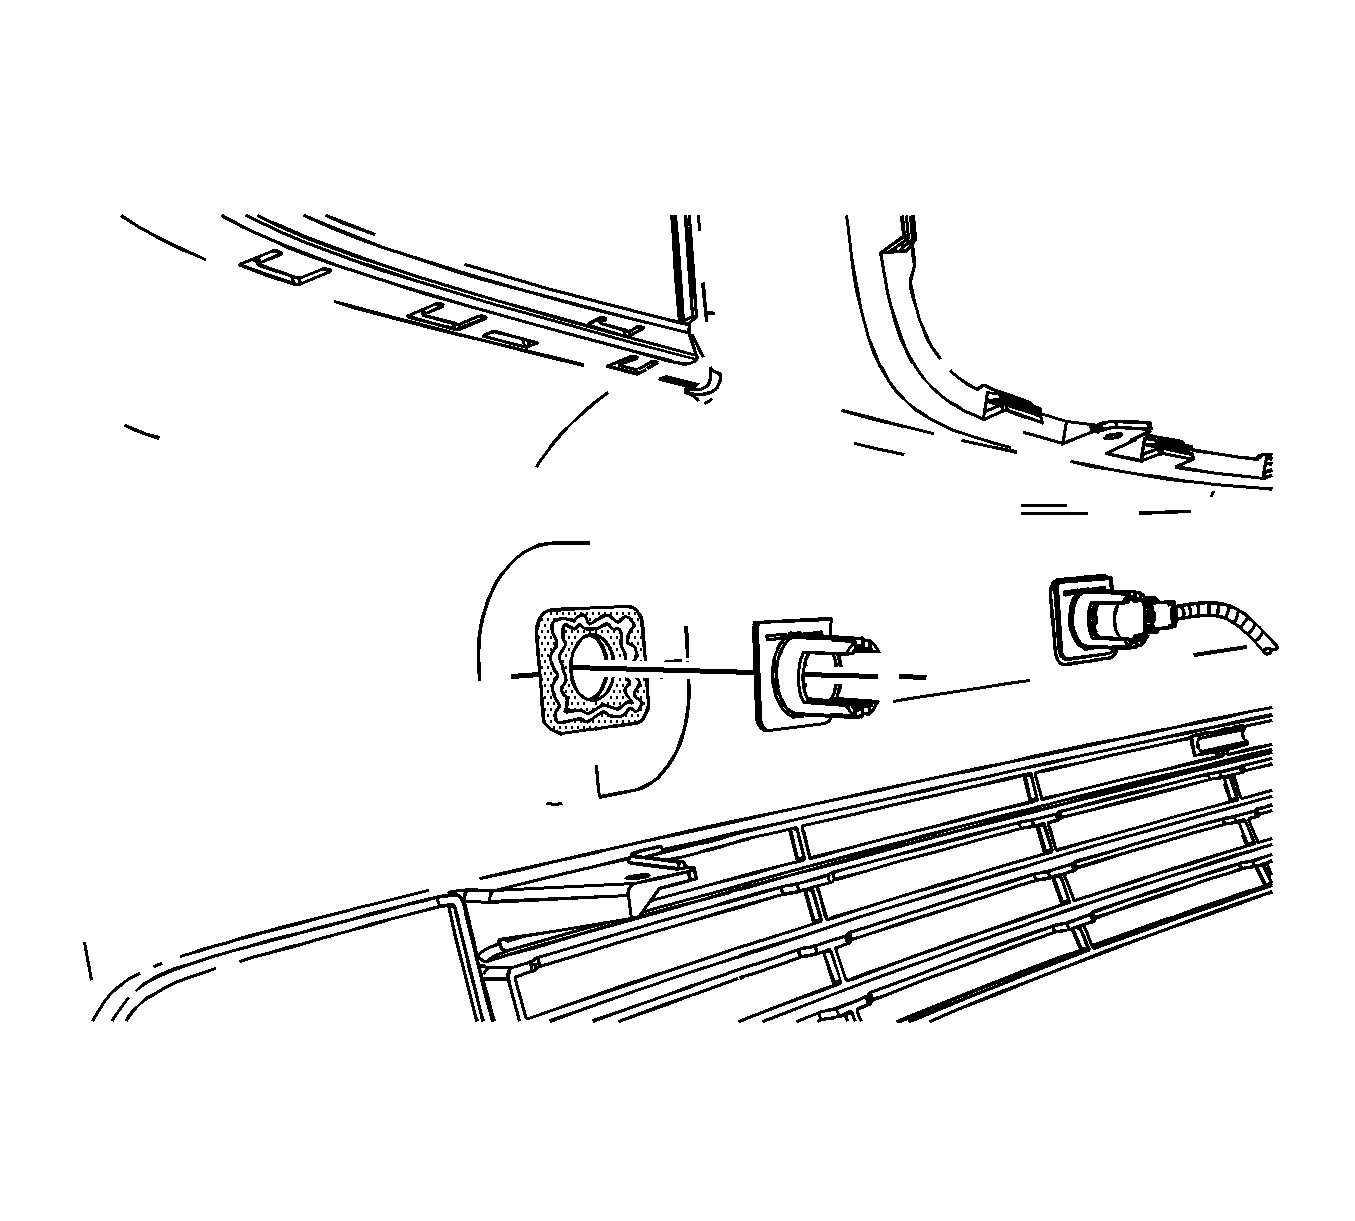
- Using the alignment tabs, install the sensor housing to the fascia.
- Allow adhesive to cure according to manufacturer's directions.
- Install the sensor to the sensor housing.
- Connect the electrical harness.
- Install the rear fascia. Refer to Rear Bumper Fascia Replacement .

Important: Do not refinish previously painted sensors. Excessive paint build up will cause the sensor to be inoperative.

Important: Do Not grind off alignment tabs.


