For 1990-2009 cars only
Removal Procedure
- Remove the air cleaner outlet duct.
- Remove the fuel rail assembly. Refer to Fuel Injection Fuel Rail Assembly Replacement .
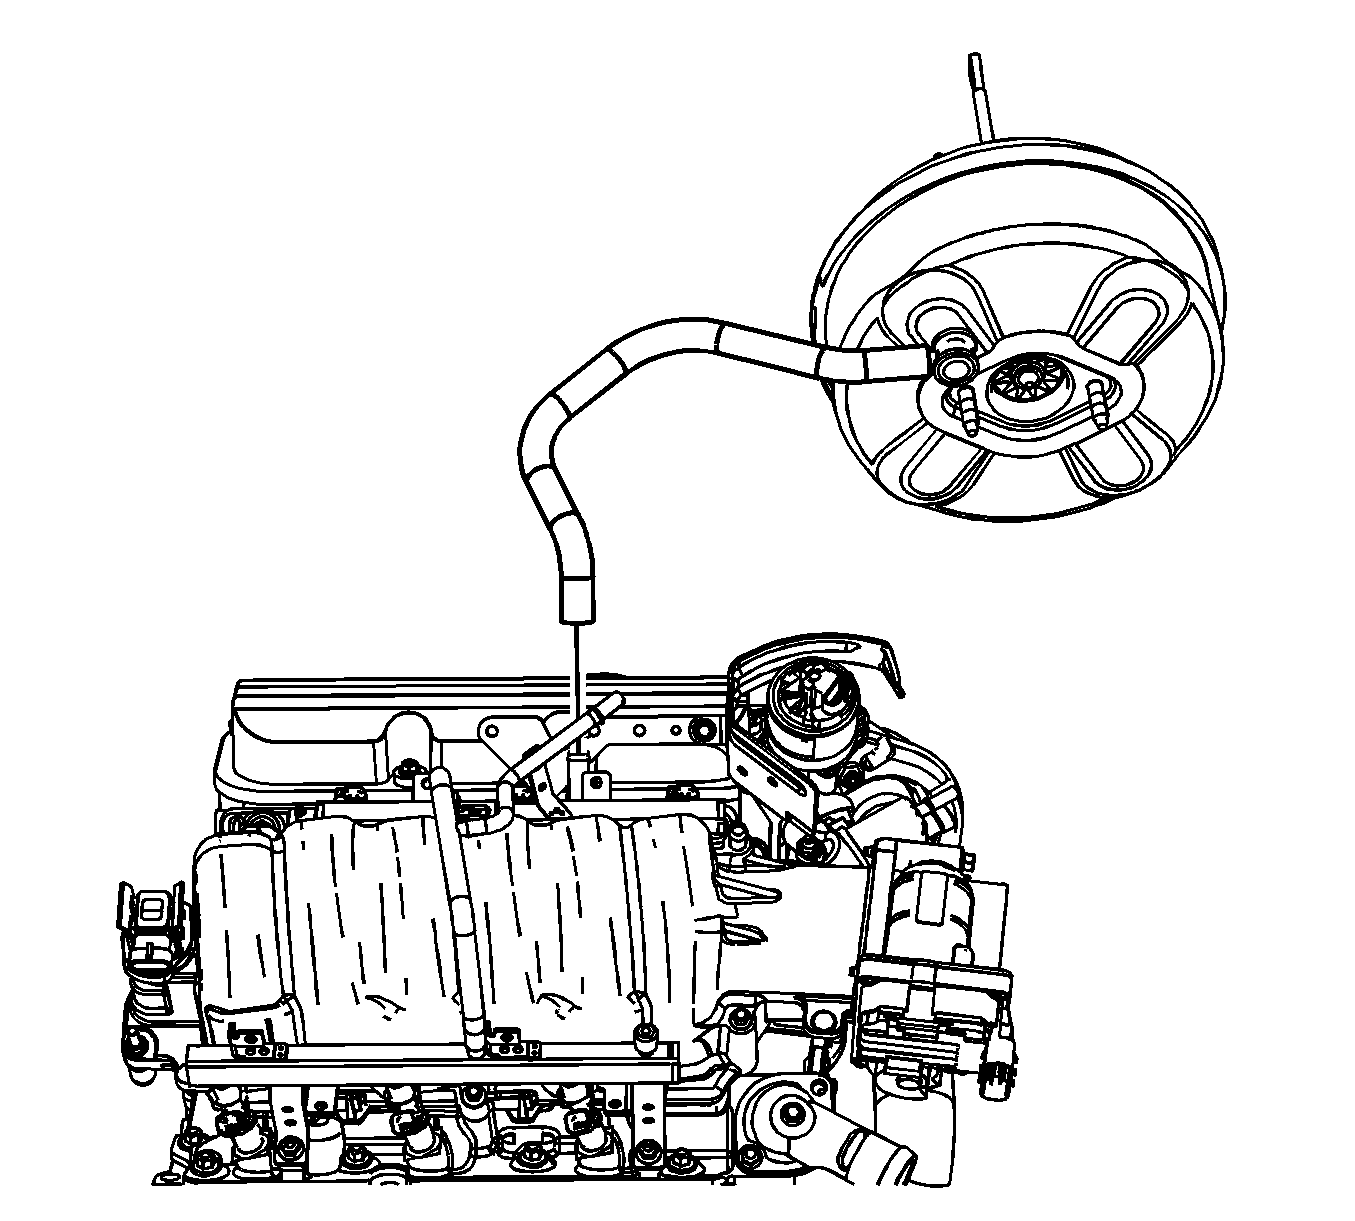
- Remove the brake booster vacuum hose from the upper intake manifold fitting.
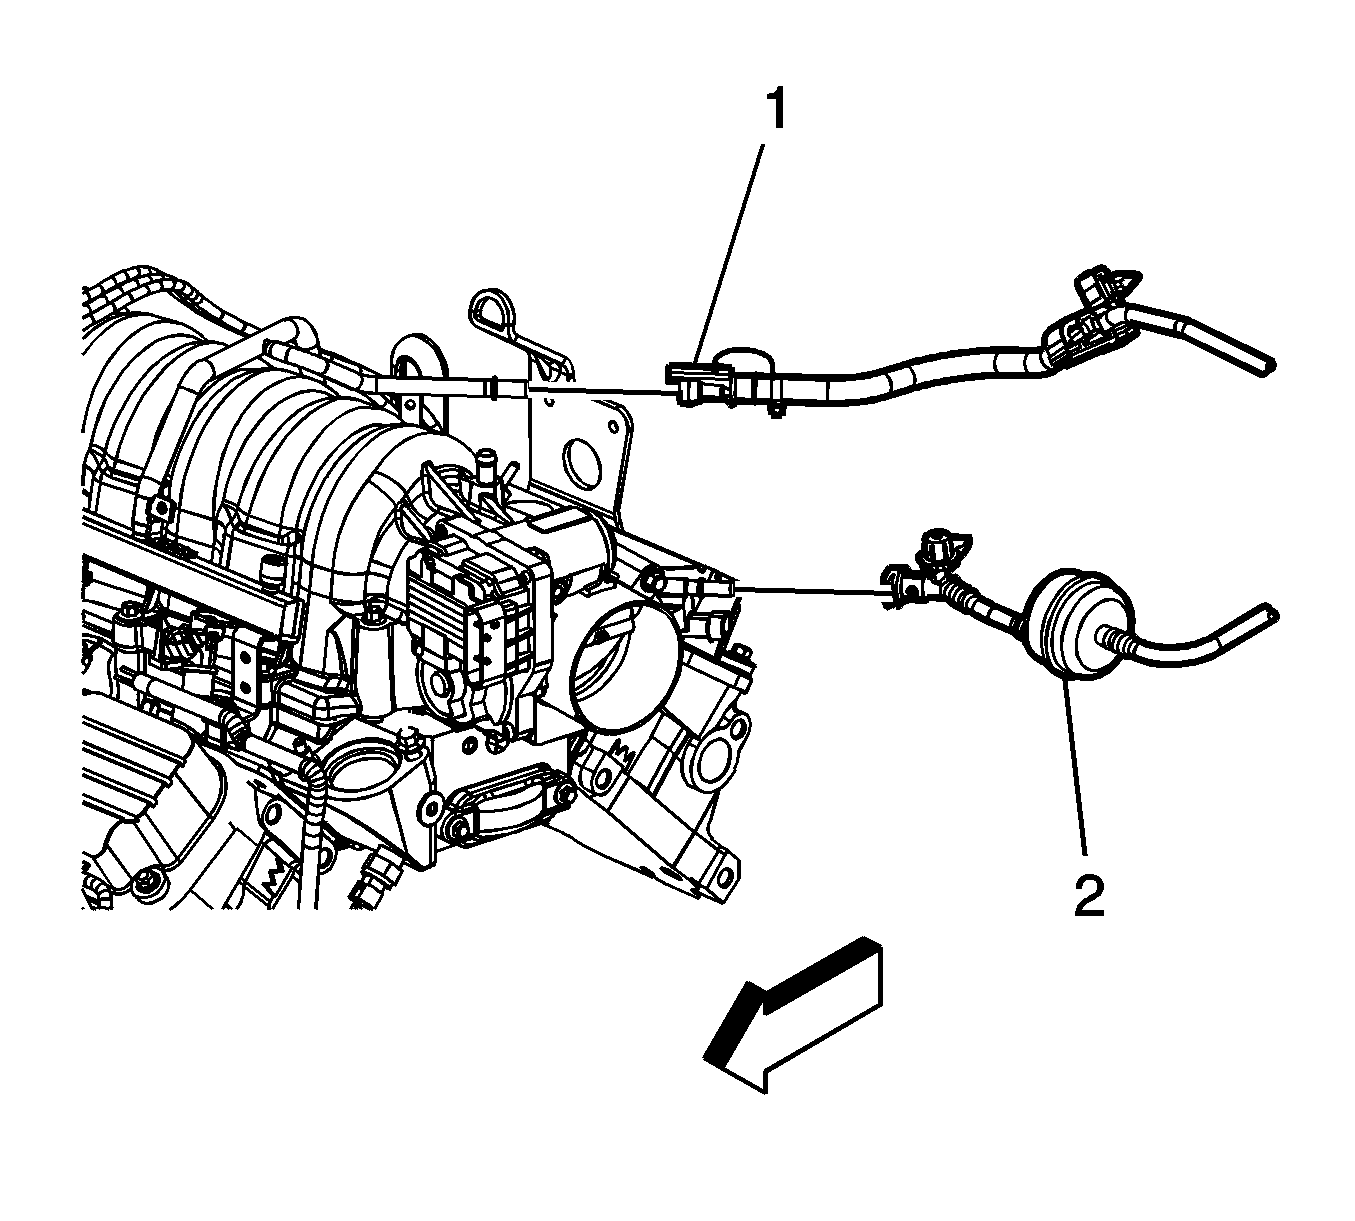
- Disconnect the evaporative emission (EVAP) pipe quick connect fitting (2) from the purge solenoid. Refer to Plastic Collar Quick Connect Fitting Service .
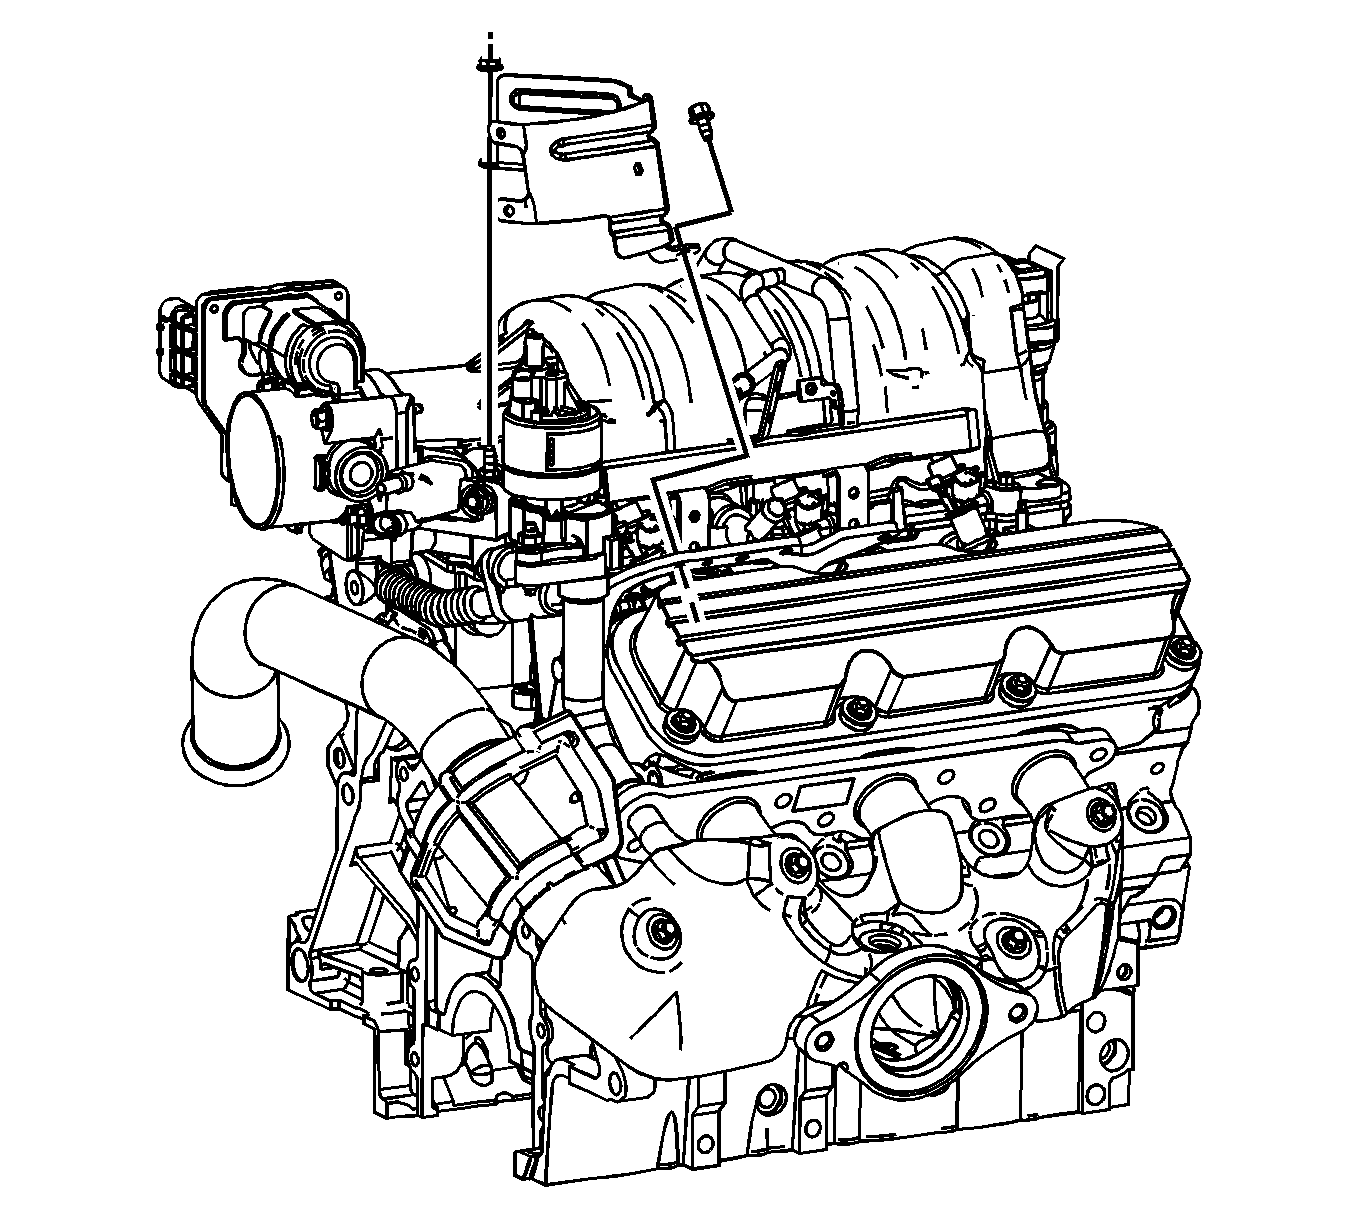
- Remove the engine wiring harness heat shield nut and bolt.
- Remove the engine wiring harness heat shield.
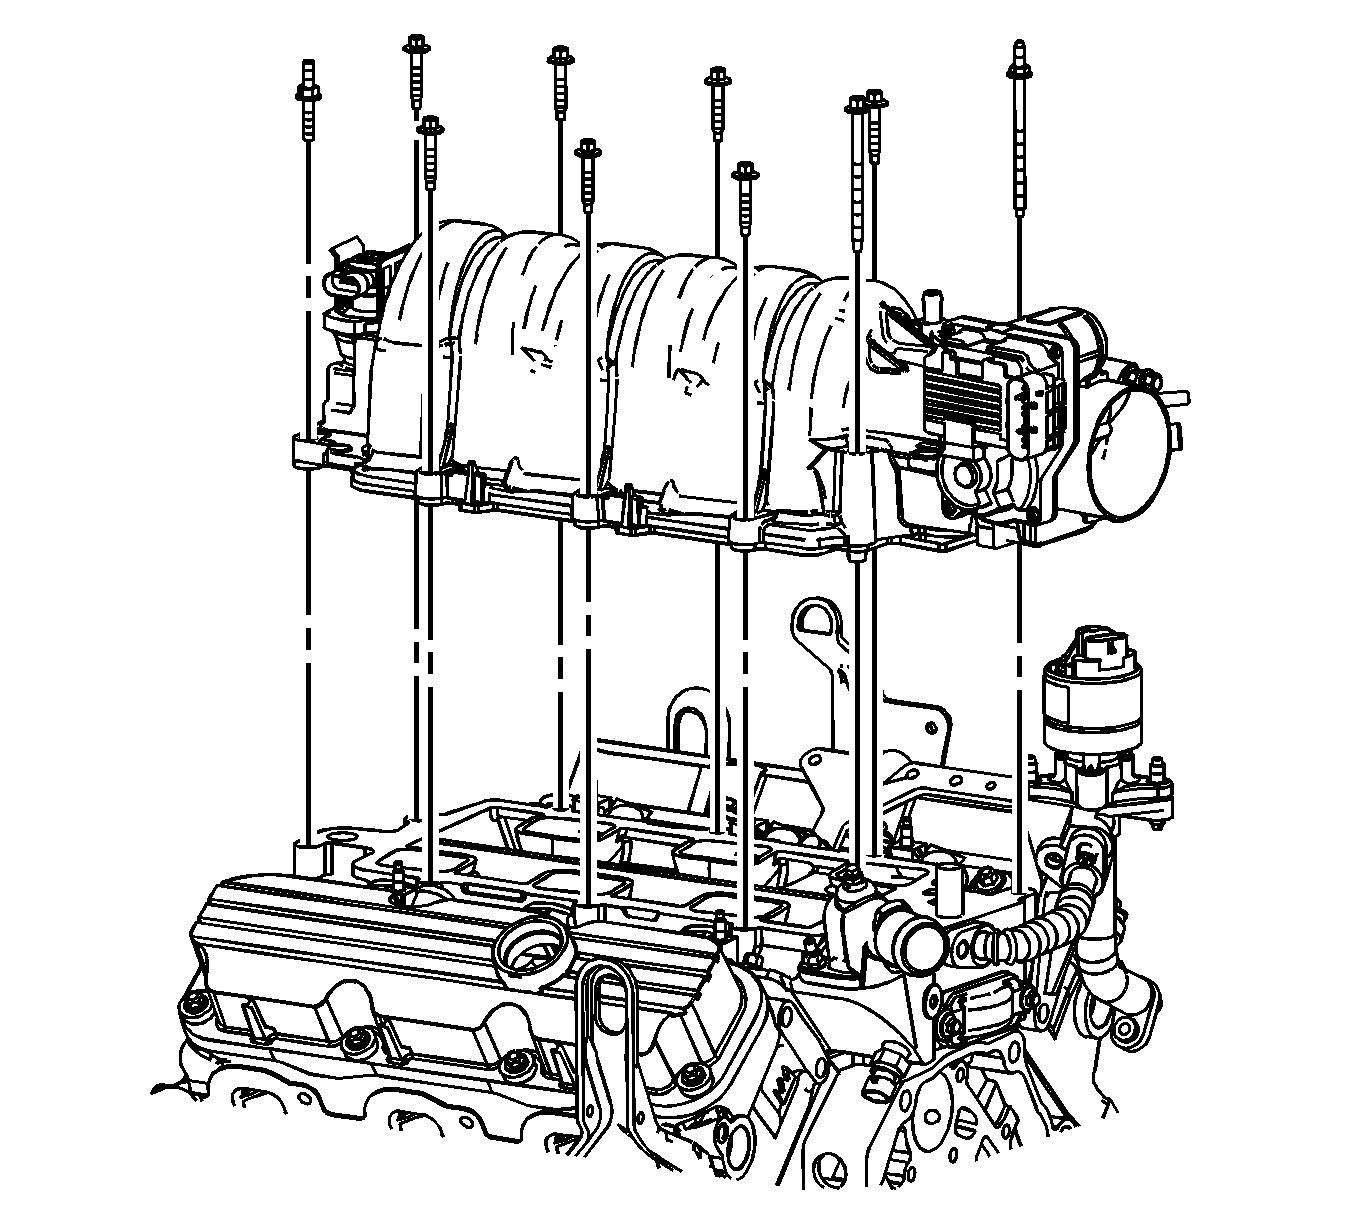
- Remove the upper intake manifold bolts and studs.
- Remove the upper intake manifold.
- If replacing the intake manifold perform the following steps, otherwise proceed to step 10 in the installation procedure.
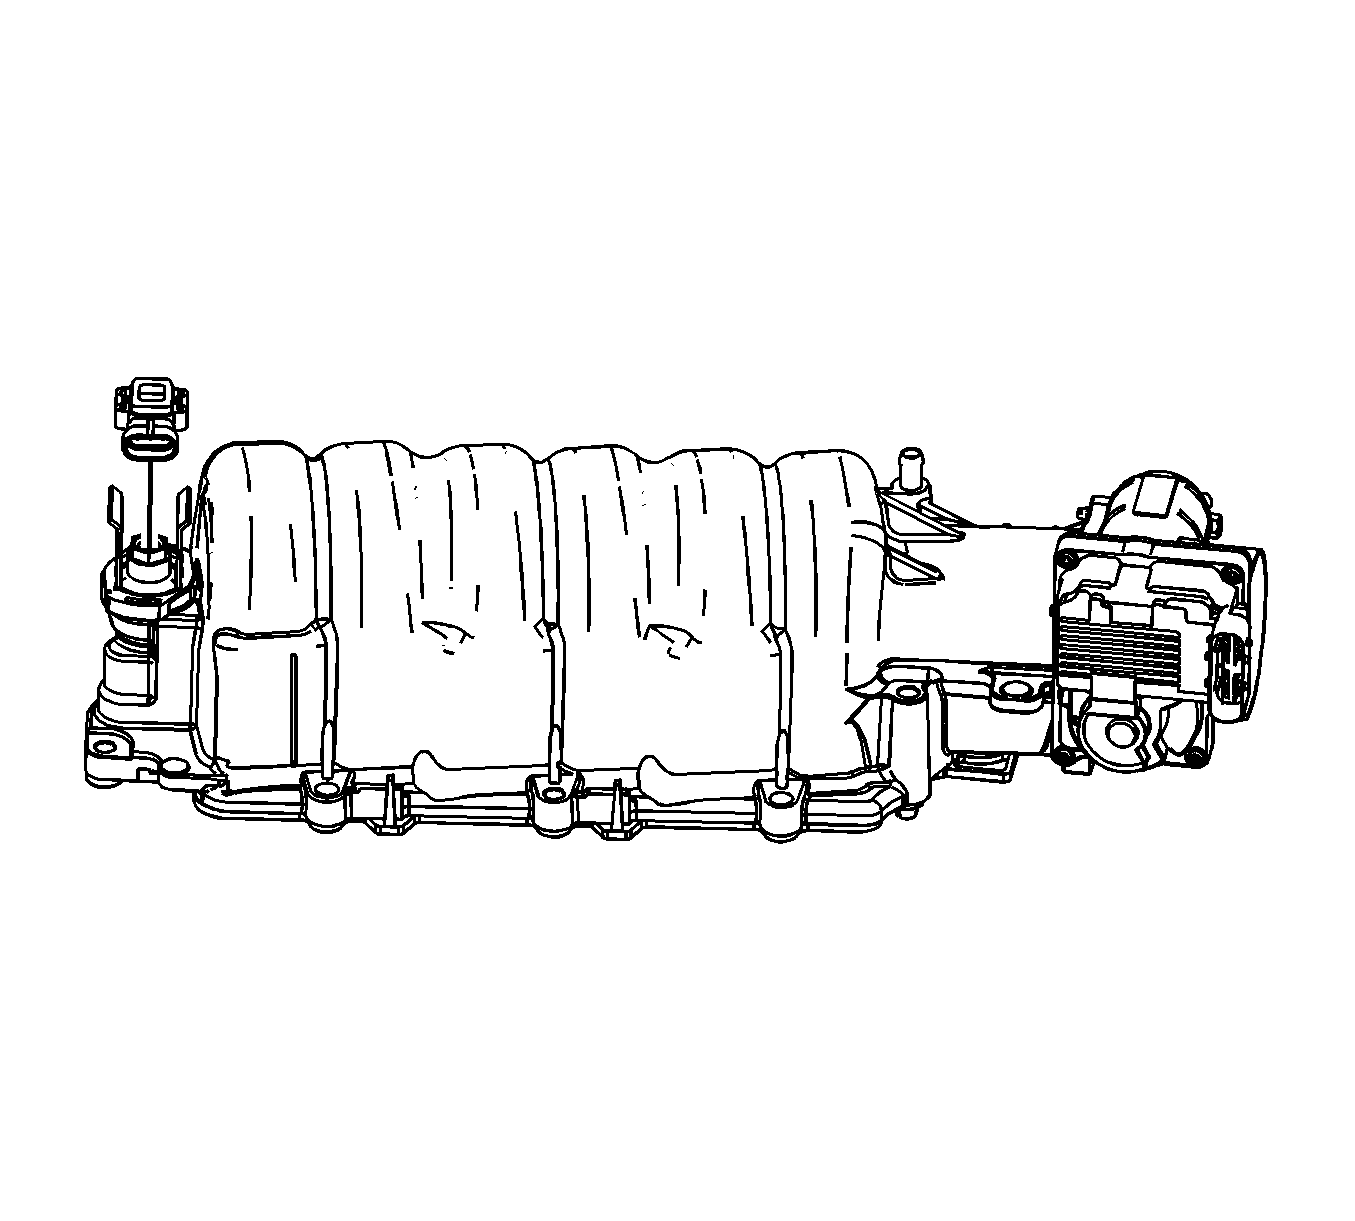
- Disengage the retainers and remove the manifold absolute pressure (MAP) sensor.
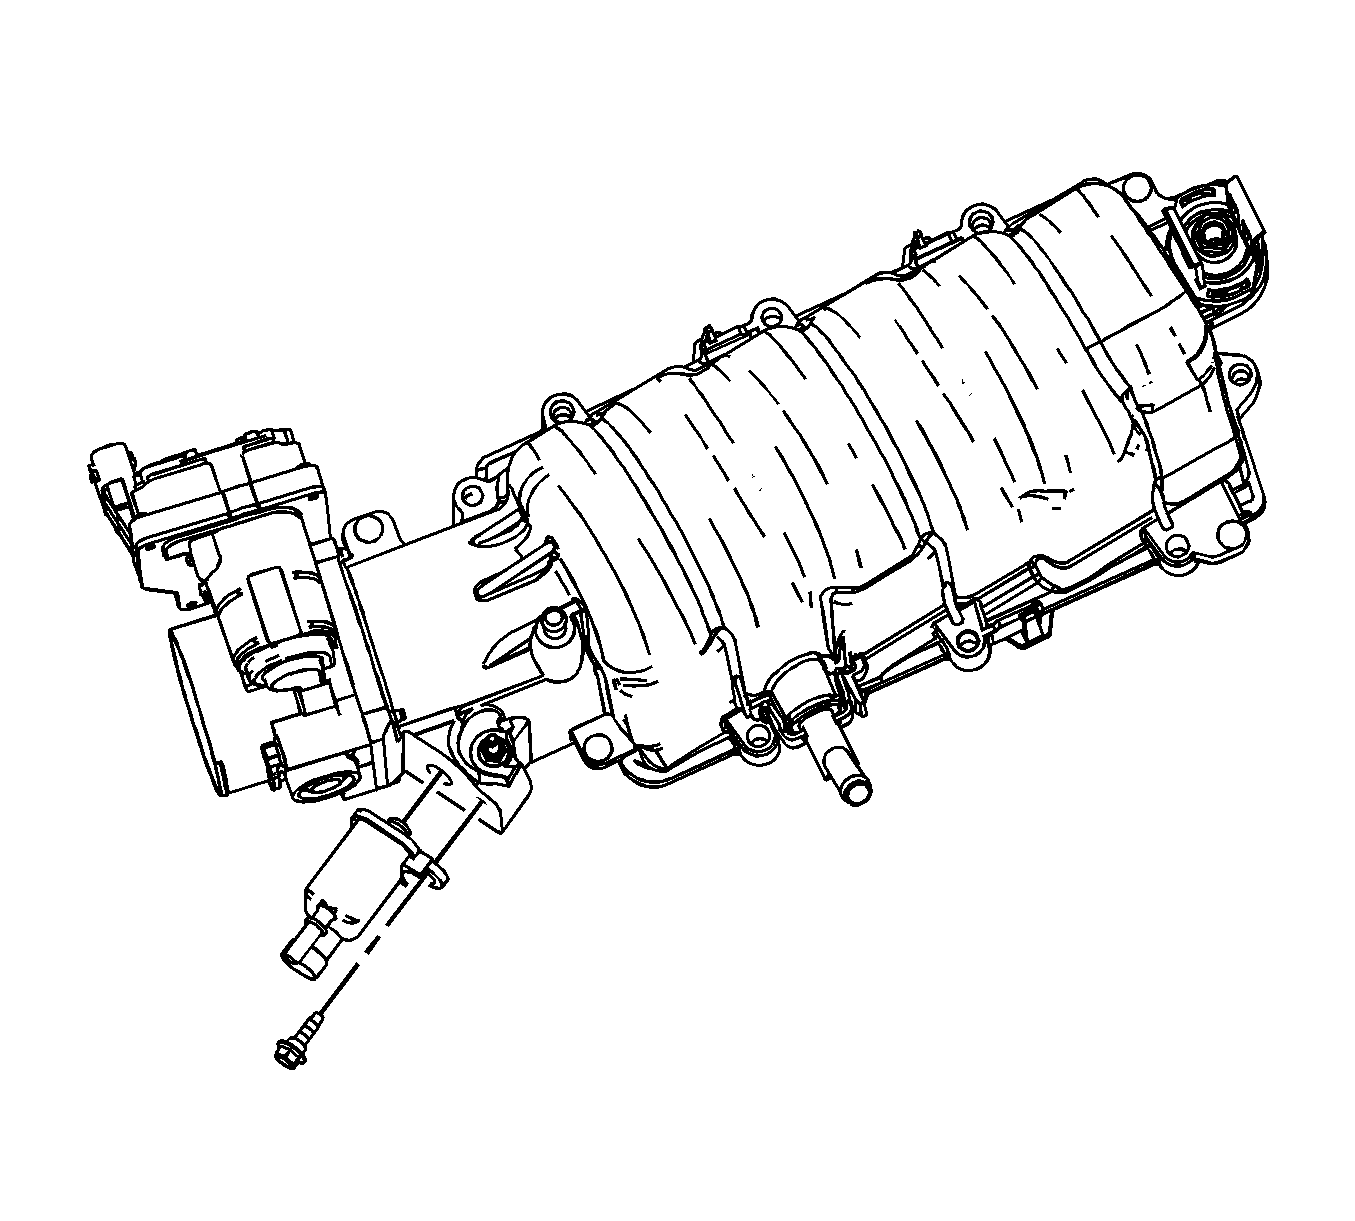
- Remove the EVAP purge solenoid bolt and solenoid.
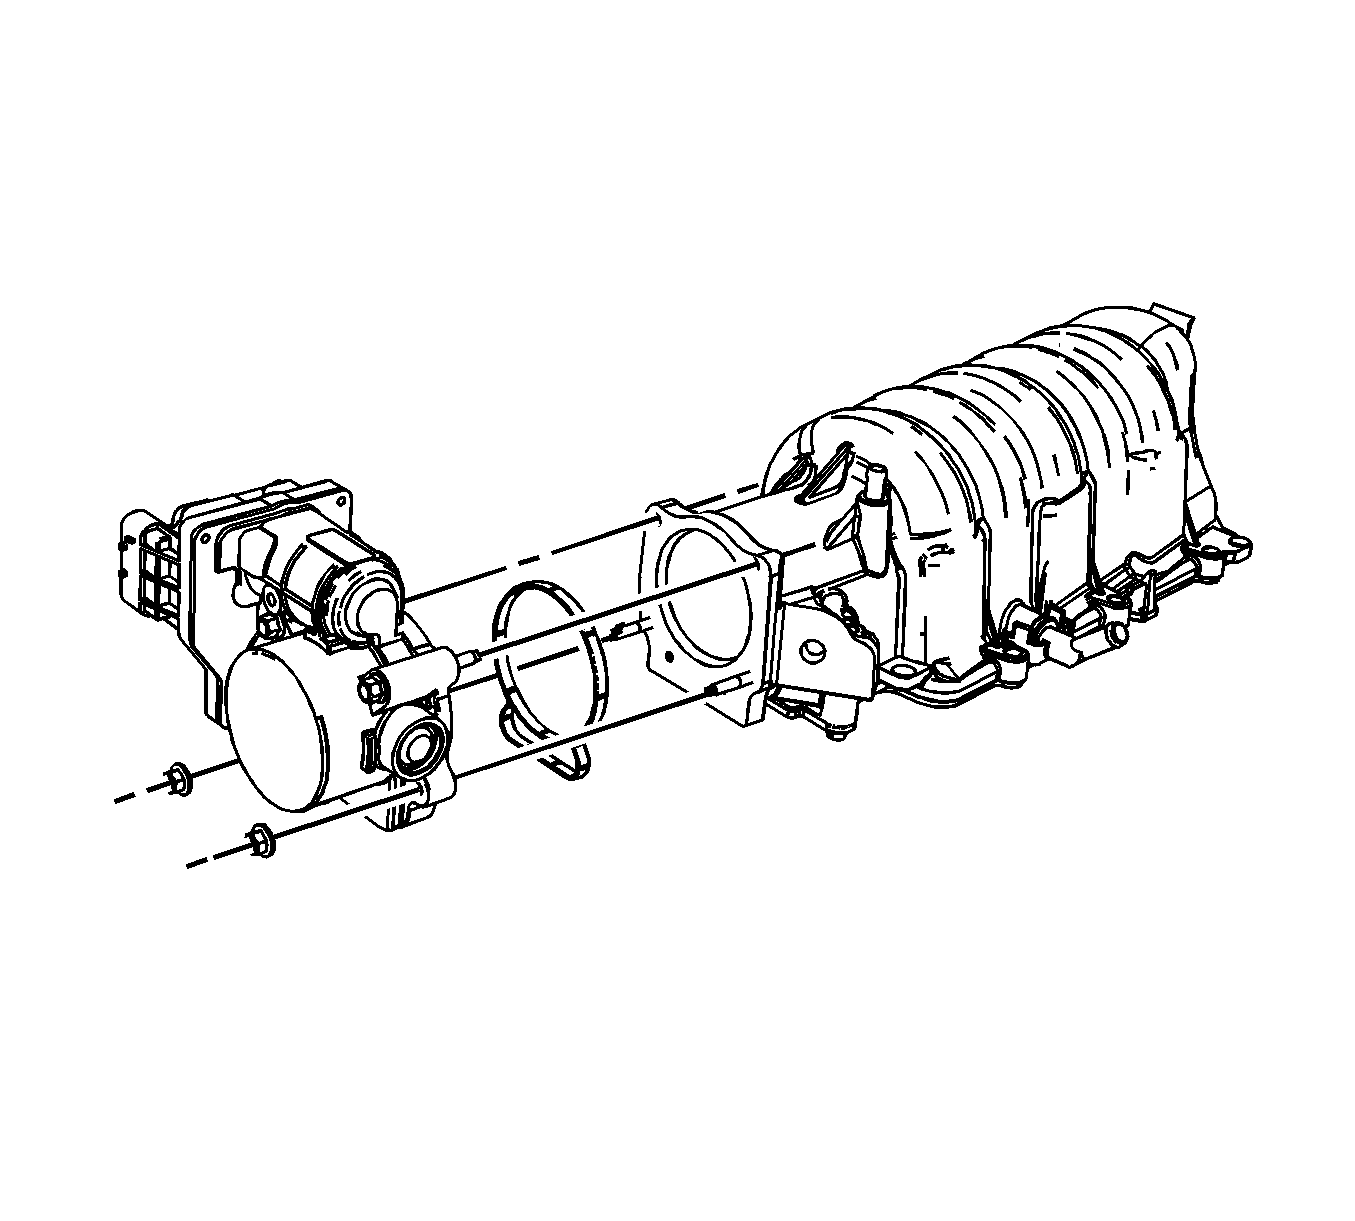
- Loosen the throttle body upper bolts.
- Remove the throttle body lower nuts.
- Remove the throttle body.
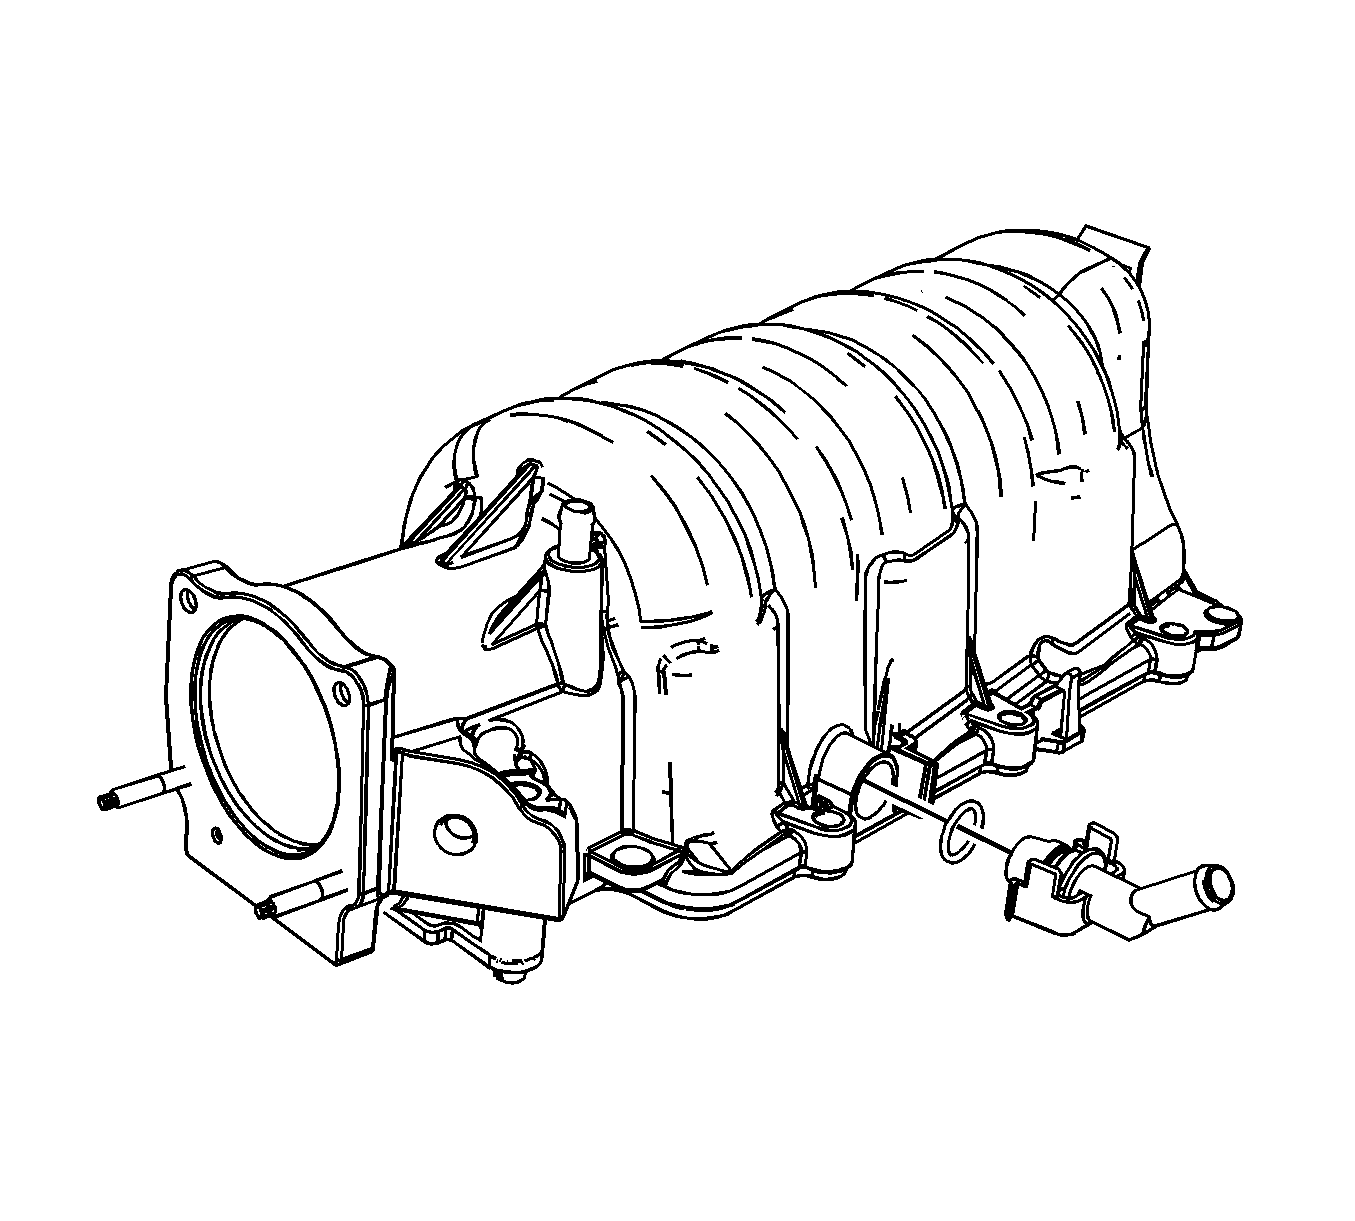
- Squeeze the sides of the vacuum fitting in order to disengage the retainers and remove the vacuum fitting.
- Remove and discard the O-ring seal.
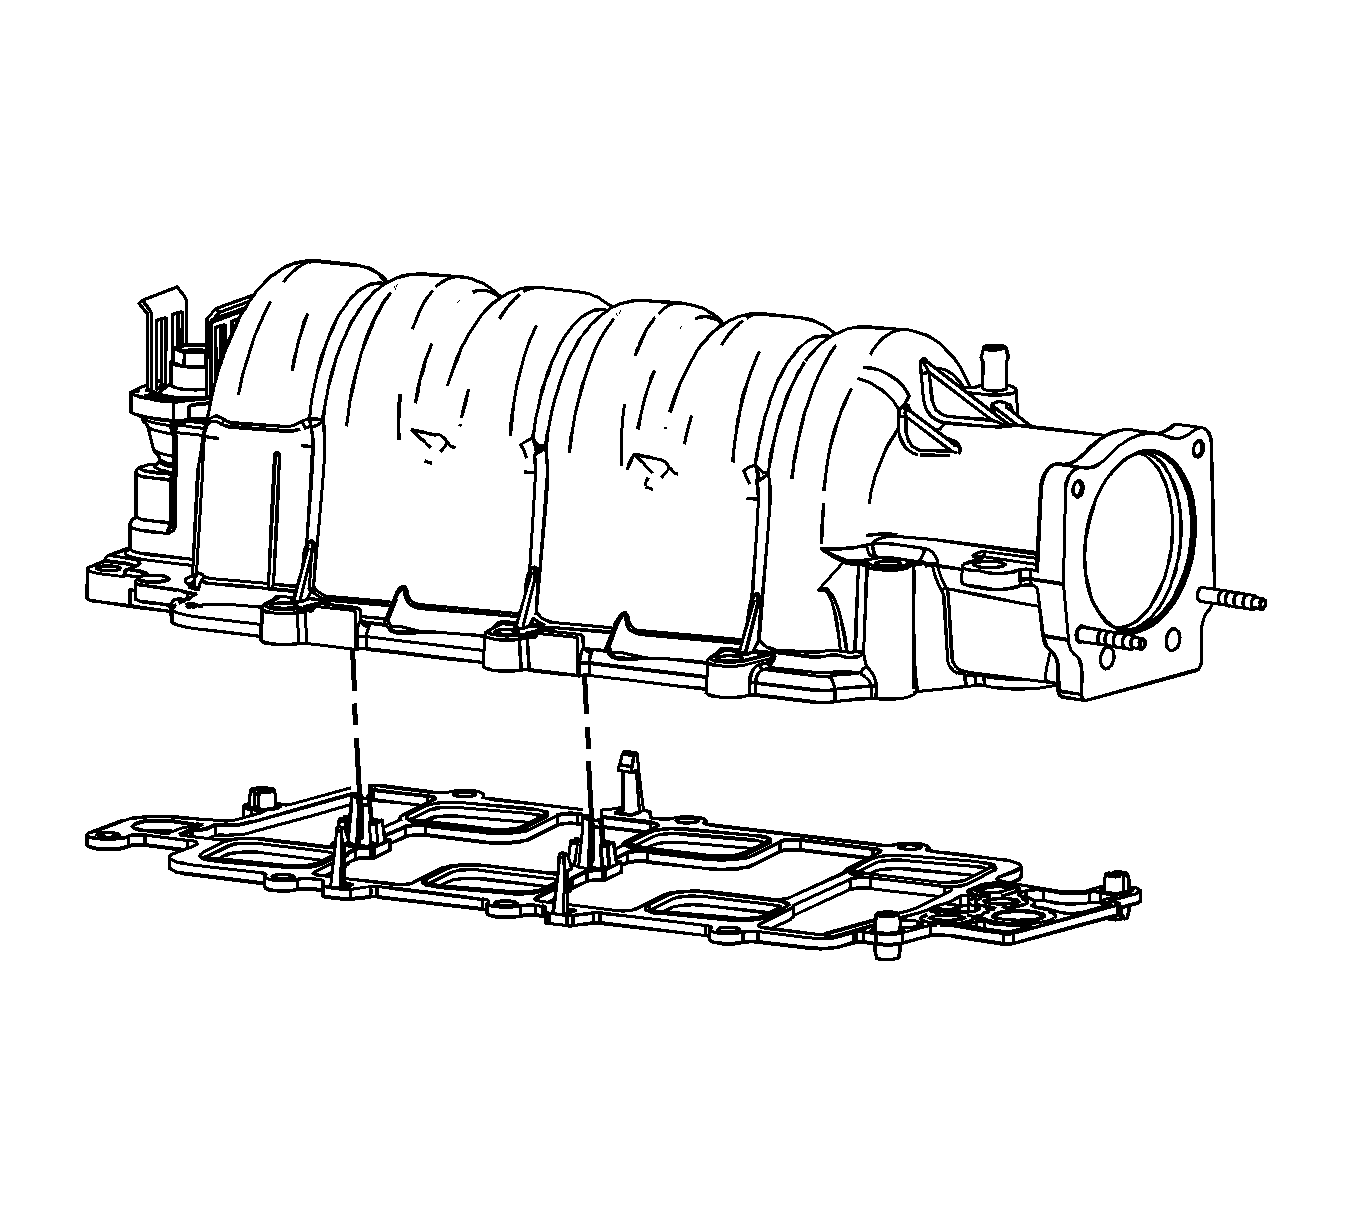
- Remove the intake manifold gasket carrier from the upper intake manifold.
Installation Procedure
- If replacing the intake manifold perform the following steps, otherwise proceed to 10.
- Install a the intake manifold gasket carrier to the upper intake manifold.
- Install a NEW vacuum fitting O-ring seal.
- Squeeze the sides of the vacuum fitting in order to install the vacuum fitting.
- Install the throttle body.
- Tighten the throttle body upper bolts.
- Install the throttle body lower nuts.
- Install the EVAP purge solenoid and bolt.
- Install the MAP sensor.
- Install the upper intake manifold.
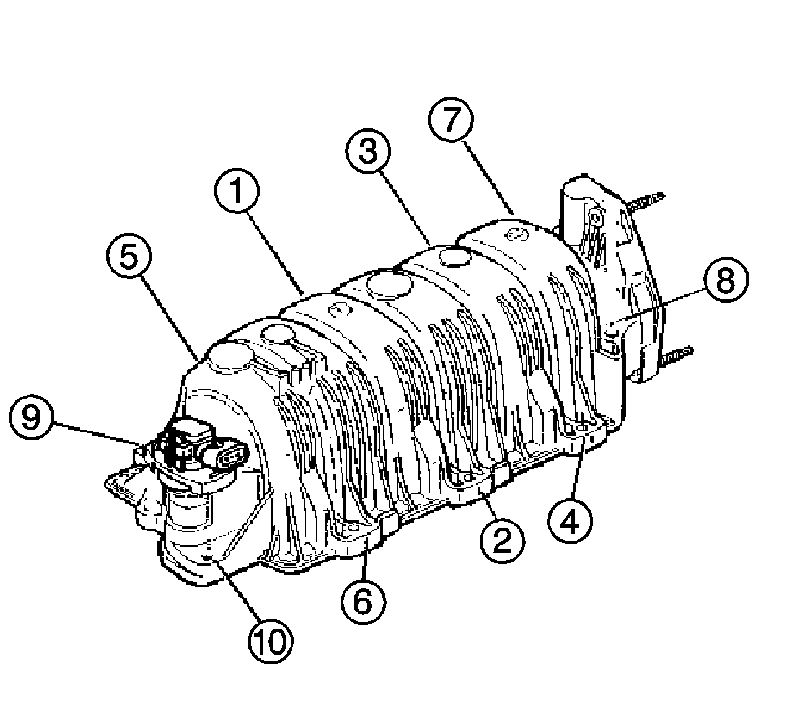
- Install the upper intake manifold bolts and studs.
- Tighten the upper intake manifold bolts and studs in the sequence shown.
- Install the engine wiring harness heat shield.
- Install the engine wiring harness heat shield nut and bolt.
- Connect the EVAP pipe quick connect fitting (2) to the purge solenoid. Refer to Plastic Collar Quick Connect Fitting Service .
- Install the brake booster vacuum hose to the upper intake manifold fitting.
- Install the fuel rail assembly. Refer to Fuel Injection Fuel Rail Assembly Replacement .
- Install the air cleaner outlet duct.


Notice: Refer to Fastener Notice in the Preface section.
Tighten
Tighten the bolts/nuts to 10 N·m (89 lb in).

Tighten
Tighten the bolt to 10 N·m (89 lb in).


Tighten
Tighten the bolts/studs to 10 N·m (89 lb in).

Tighten
Tighten the bolt/nut to 10 N·m (89 lb in).


