Tools Required
| • | J 38185 Hose Clamp Pliers |
| • | J 41623-B Cooler Quick Connect Tool |
Removal Procedure
- Drain the engine coolant. Refer to Cooling System Draining and Filling .
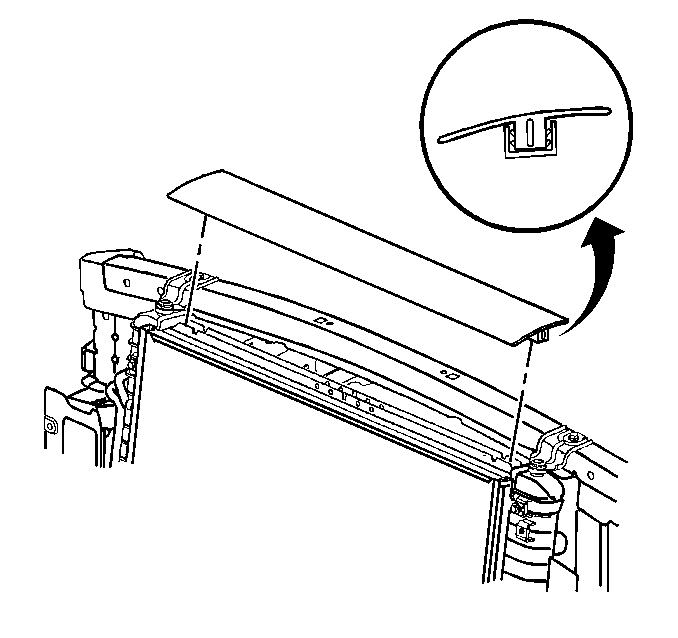
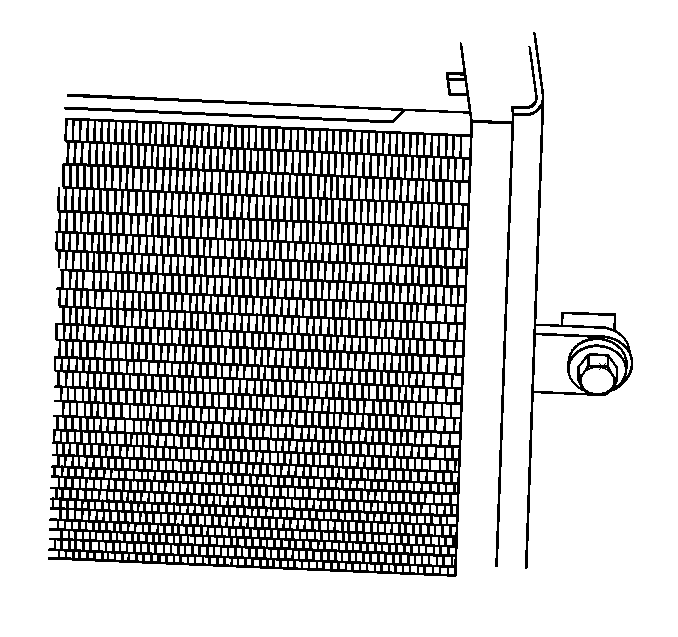
- Remove the upper radiator seal.
- Remove the upper tie bar. Refer to Front End Upper Tie Bar Replacement in Body Front End.
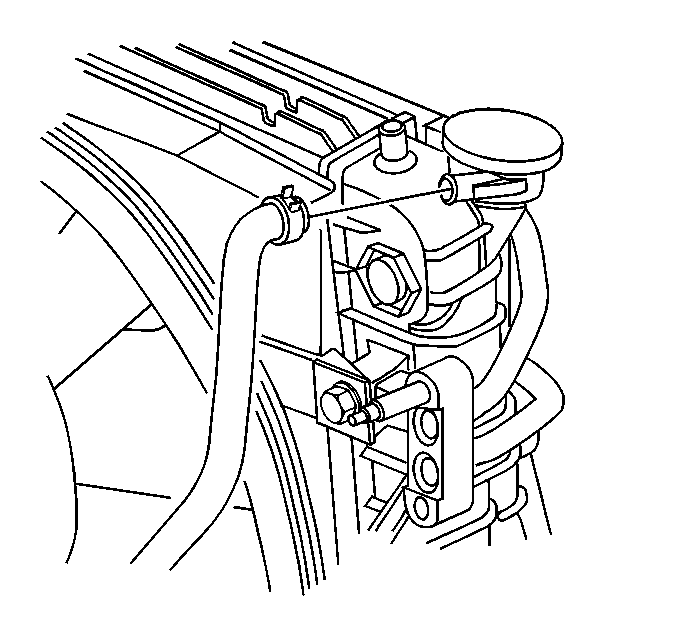
- Using the J 38185 , disconnect the coolant overflow hose from the radiator.
- Plug the coolant overflow hose.
- Disconnect the upper and lower radiator hoses from the radiator using the J 38185 , and position the hoses aside.
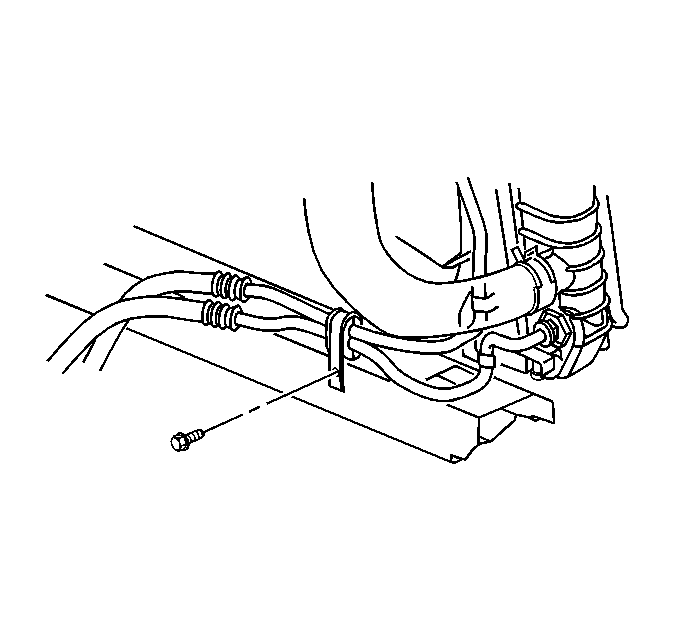
- Remove the transaxle oil cooler pipe bracket bolt from the lower tie bar.
- Remove the cooling fans. Refer to Engine Cooling Fan Replacement .
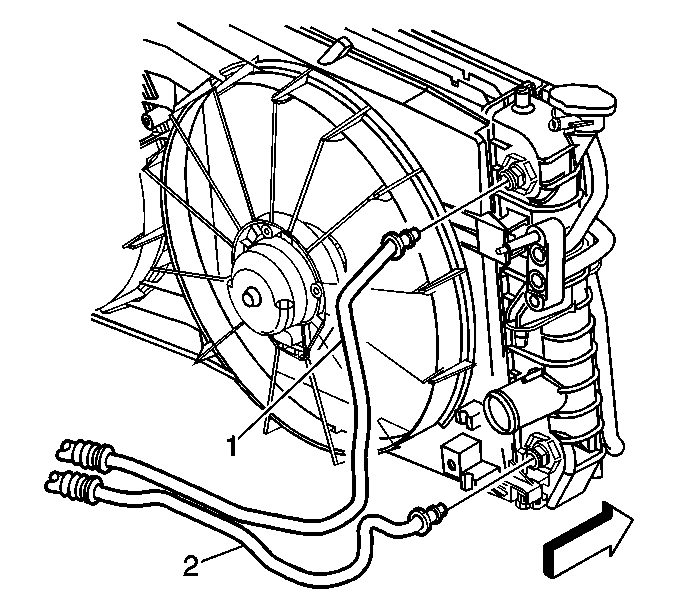
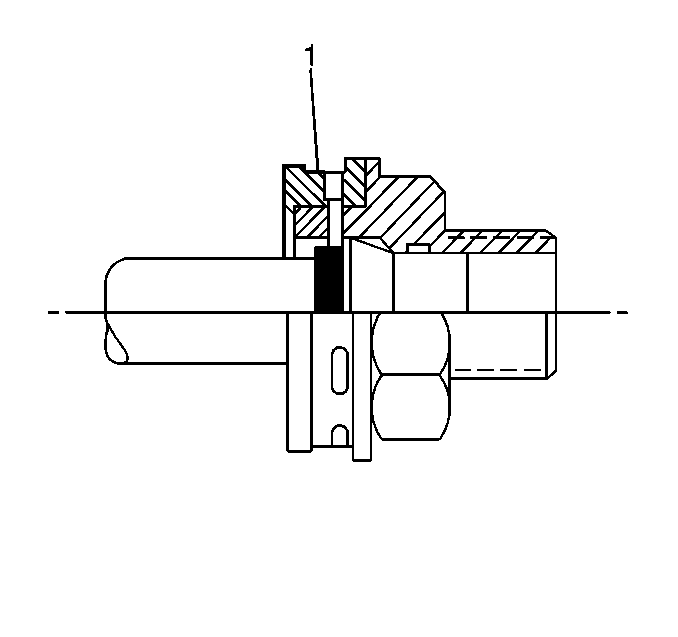
- Slide the plastic cap off the transaxle oil cooler pipe quick connect fittings.
- Disconnect the upper (1) and lower (2) transaxle oil cooler pipes from the radiator using the J 41623-B .
- Remove the A/C condenser mounting bolts.
- Separate the condenser from the radiator.
- Lift the radiator up and out of the vehicle.

Installation Procedure
- Install the radiator to the vehicle. Place the bottom of the radiator in the lower pads.
- Install the condenser to the radiator.
- Install the A/C condenser mounting bolts.
- Push the upper and lower transaxle oil cooler pipes into the radiator quick connect fittings, until a "click" is heard.
- Tug gently on the cooler pipes to ensure proper retention.
- Slide the plastic caps (1) over the quick connect joints.
- Install the cooling fans. Refer to Engine Cooling Fan Replacement .
- Install the transaxle oil cooler pipe bracket bolt to the lower tie bar.
- Install the upper and lower radiator hoses to the radiator using the J 38185 .
- Connect the coolant recovery hose to the radiator neck using the J 38185 .
- Install the upper tie bar. Refer to Front End Upper Tie Bar Replacement in Body Front End.
- Install the upper radiator seal.
- Fill the cooling system. Refer to Cooling System Draining and Filling .
- Inspect the transmission oil level. Refer to Transmission Fluid Check in Transmission/Transaxle.
Notice: The bolt retaining the condenser to the radiator end tank is a special length and should be the ONLY bolt used upon reinstallation. The use of a longer bolt will damage the radiator end tank.
Notice: Use the correct fastener in the correct location. Replacement fasteners must be the correct part number for that application. Fasteners requiring replacement or fasteners requiring the use of thread locking compound or sealant are identified in the service procedure. Do not use paints, lubricants, or corrosion inhibitors on fasteners or fastener joint surfaces unless specified. These coatings affect fastener torque and joint clamping force and may damage the fastener. Use the correct tightening sequence and specifications when installing fasteners in order to avoid damage to parts and systems.
Tighten
Tighten the bolts to 13 N·m (115 lb in).
Tighten
Tighten the bolt to 10 N·m (89 lb in).
