Draining Procedure
Caution: To avoid being burned, do not remove the radiator cap or surge tank
cap while the engine is hot. The cooling system will release scalding fluid
and steam under pressure if radiator cap or surge tank cap is removed while
the engine and radiator are still hot.
Caution: An electric fan under the hood can start up even when the engine is
not running and can injure you. Keep hands, clothing and tools away from any
underhood electric fan.
- Remove the radiator pressure cap.
| 1.3. | If necessary, replace the cap. |
| 1.4. | Clean the radiator filler neck. Inspect the filler neck. |
| 1.5. | Removal of the front lower air deflector is recommended to ensure
no coolant remains trapped when draining the system. |
Important: Recover and store used coolant in a used coolant holding tank and submit
the used coolant for recycling on a regular basis. Do NOT pour used coolant
down the drain! Ethylene glycol antifreeze is very toxic. Disposing of
ethylene glycol into the sewer system or ground water is both illegal and
ecologically unsound!
- Place a drain pan under the radiator drain valve in order to collect
all of the used coolant.
- Remove the radiator pressure cap.
| 3.3. | If necessary, replace the cap. |
| 3.4. | Clean the radiator filler neck. Inspect the filler neck. |
- Completely drain the cooling
system by opening the radiator drain cock at the bottom of the radiator.
- If the coolant is dirty, or if there are deposits in the radiator,
flush the cooling system before refilling. Refer to
Flushing
.
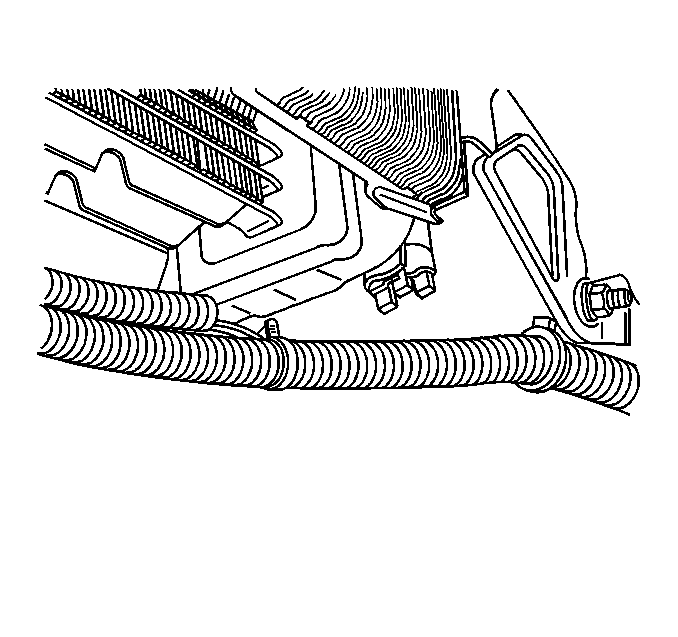
- Disconnect the hose from the coolant recovery reservoir. Remove
the reservoir. Refer to
Coolant Recovery Reservoir Replacement
.
| 6.1. | Clean the outside of the coolant recovery reservoir. |
| 6.3. | Thoroughly clean the inside of the reservoir using soap and water. |
| 6.4. | Thoroughly flush the reservoir with clean water. Drain the reservoir. |
- Install the reservoir. Connect the reservoir hose. Refer to
Coolant Recovery Reservoir Replacement
.
Notice: Use the correct fastener in the correct location. Replacement fasteners
must be the correct part number for that application. Fasteners requiring
replacement or fasteners requiring the use of thread locking compound or sealant
are identified in the service procedure. Do not use paints, lubricants, or
corrosion inhibitors on fasteners or fastener joint surfaces unless specified.
These coatings affect fastener torque and joint clamping force and may damage
the fastener. Use the correct tightening sequence and specifications when
installing fasteners in order to avoid damage to parts and systems.
- Install the radiator
drain plug.
Tighten
Tighten the drain plug to 1.2 N·m (11 lb in).
Filling Procedure
Notice: Do not add cold water to the cooling system with the engine at or above
operating temperature. Adding cold water causes rapid cooling, resulting in
possible engine damage.
Notice: DO NOT use cooling system seal tabs, or similar compounds, unless otherwise
instructed. The use of cooling system seal tabs, or similar compounds, may
restrict coolant flow through the passages of the cooling system or the engine
components. Restricted coolant flow may cause engine overheating and/or damage
to the cooling system or the engine components/assembly.
NOTICE: When adding coolant, it is important that you use GM Goodwrench DEX-COOL®
or HAVOLINE® DEX-COOL® coolant. If Coolant other than DEX-COOL®
or HAVOLINE® DEX-COOL® is added to the system the engine coolant will
require change sooner; at 50 000 km (30,000 mi)
or 24 months.
Notice: Do not use a solution stronger than 70 percent antifreeze. Pure antifreeze
can freeze at -22°C (-8°F).
- Fill the radiator and the coolant resevoir (to the full cold line)
with GM Goodwrench® DEX-COOL® or Havoline® DEX-COOL®. To ensure
sufficient engine cooling, freezing and corrosion protection, maintain
the protection level at -37°C (-34°F) lower.
- Wait for two minutes and recheck the level of the coolant in the
radiator. If necessary, add coolant to radiator until the coolant level is
at the base of the radiator fill neck.
- Install the radiator pressure cap, making sure the arrows on
the cap line up with the coolant recovery tube.
- Place the heater and A/C control in any A/C mode except Max and
the temperature in the highest setting.
- Start the engine and allow to idle until the lower radiator to
coolant pump hose is hot.
- Cycle the engine speed up to about 3000 rpm and back to idle five
times. Slowly open the bleed valve on the top of the thermostat housing for
approximately 15 seconds to expel any trapped air in the cooling system.
- Close the air bleed valve. Do not overtighten.
- Allow the engine to cool to outside temperature. Ensure the coolant
level in the reservoir and the radiator are at the proper levels.
