Tools Required
| • | J 4972-4 Output Shaft Needle Bearing Installer |
| • | J 8092 Driver Handle |
| • | J-08614-A Pinion Flange Holder |
| • | J 44809 Output Shaft Seal Installer |
| • | J 44871 Hub Seal Installer |
| • | J 44872 Pinion Shaft Seal Installer |
| • | J-44873-2 Shoulder Bolts |
| • | J 44875 Right Bearing Race Installer |
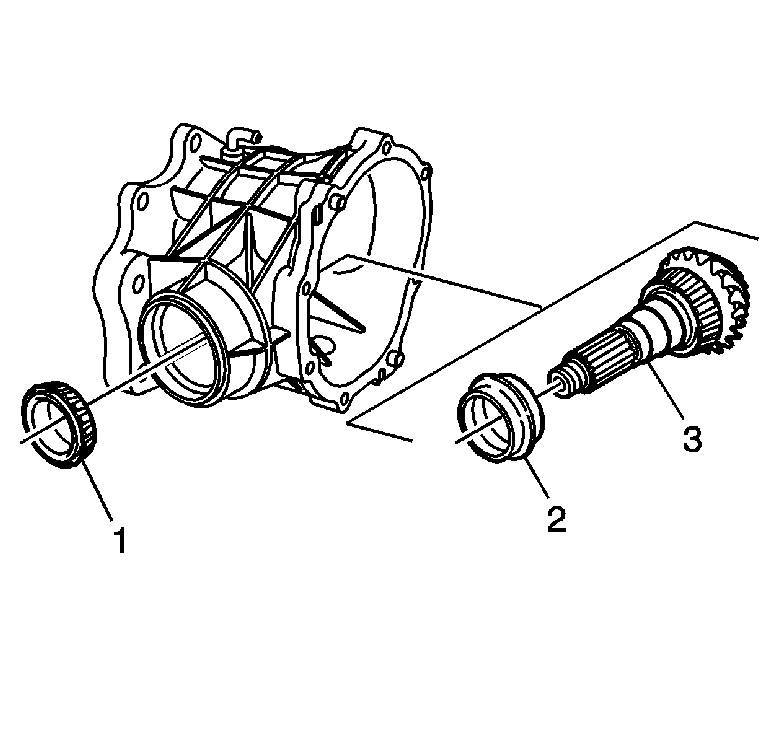
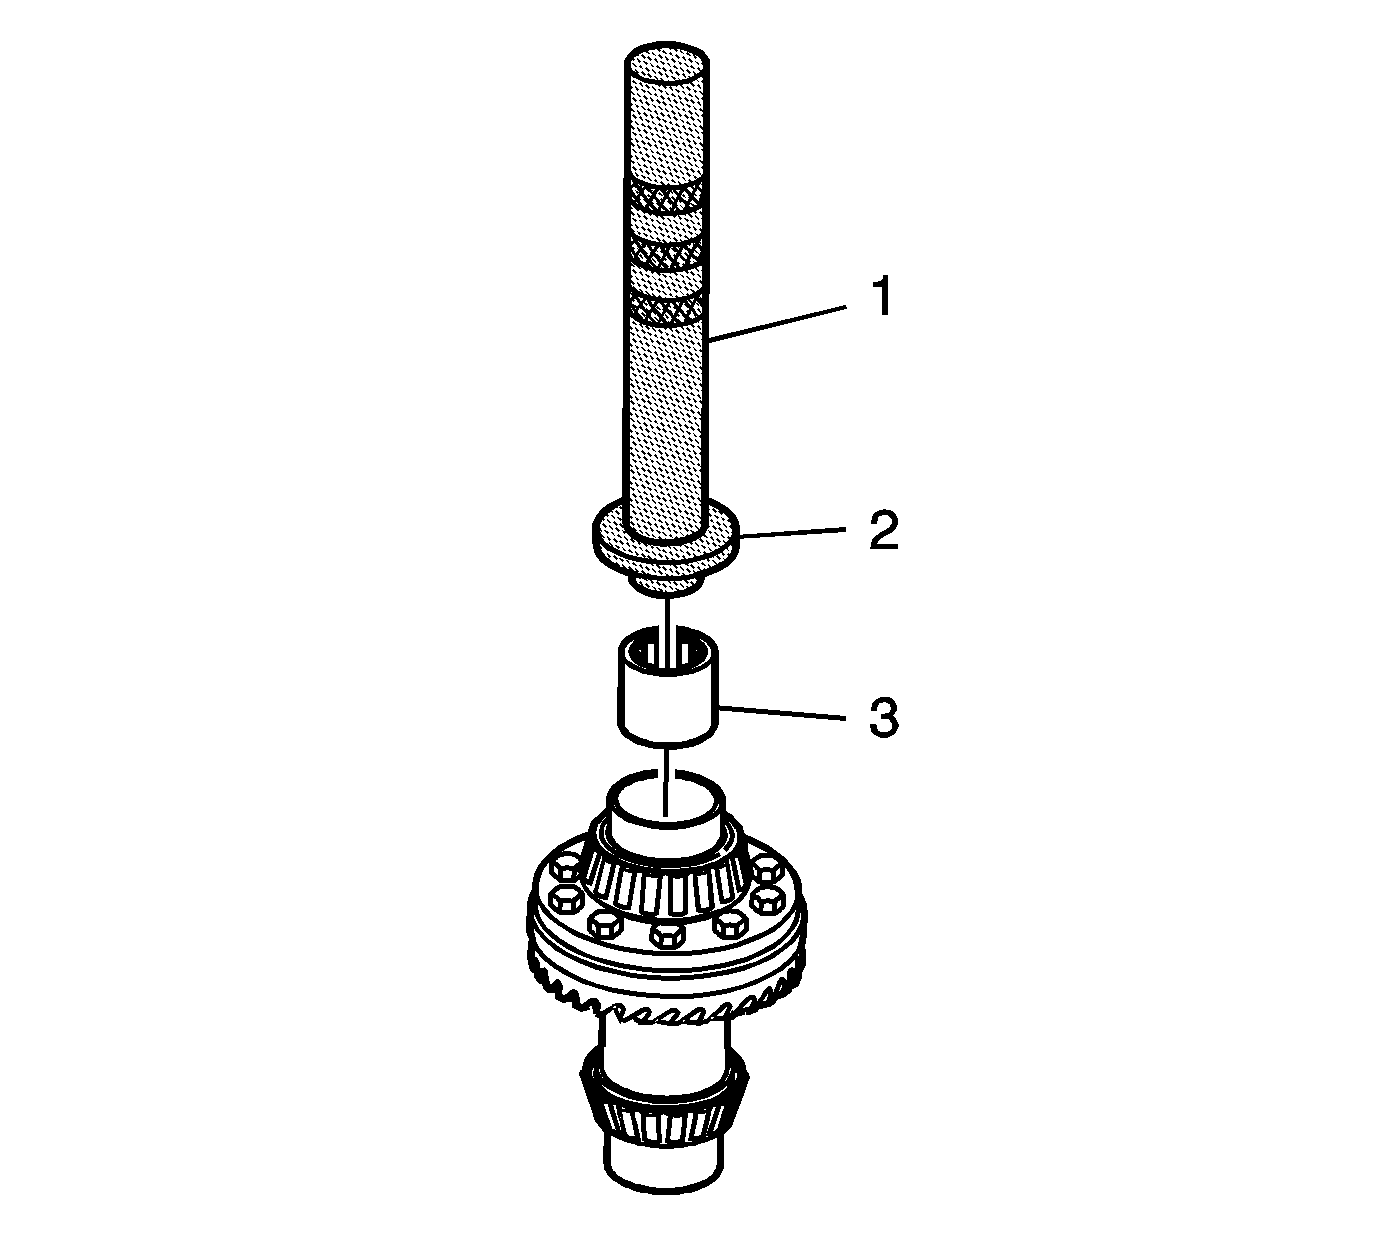
- Install the NEW collapsible spacer (2) onto the pinion shaft (3).
- Install the pinion shaft (3) into the housing.
- Install the bearing (1) onto the pinion shaft.
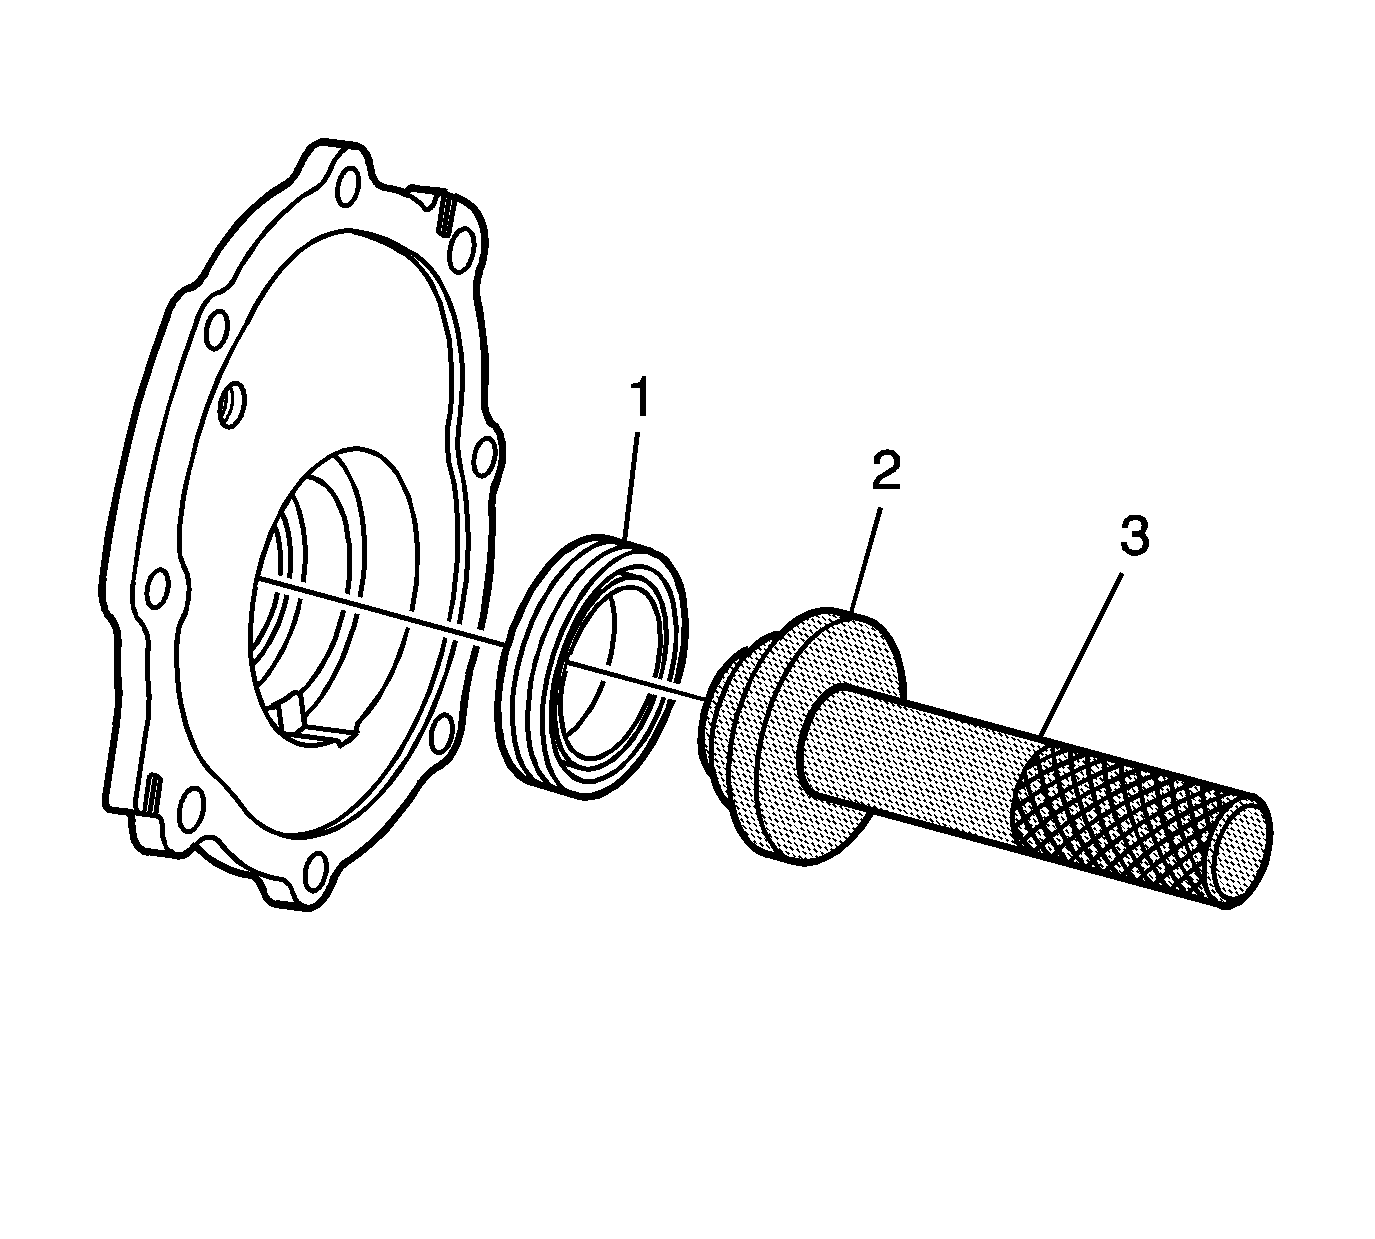
- Install the slinger washer (2) and the new pinion seal (1) to the housing.
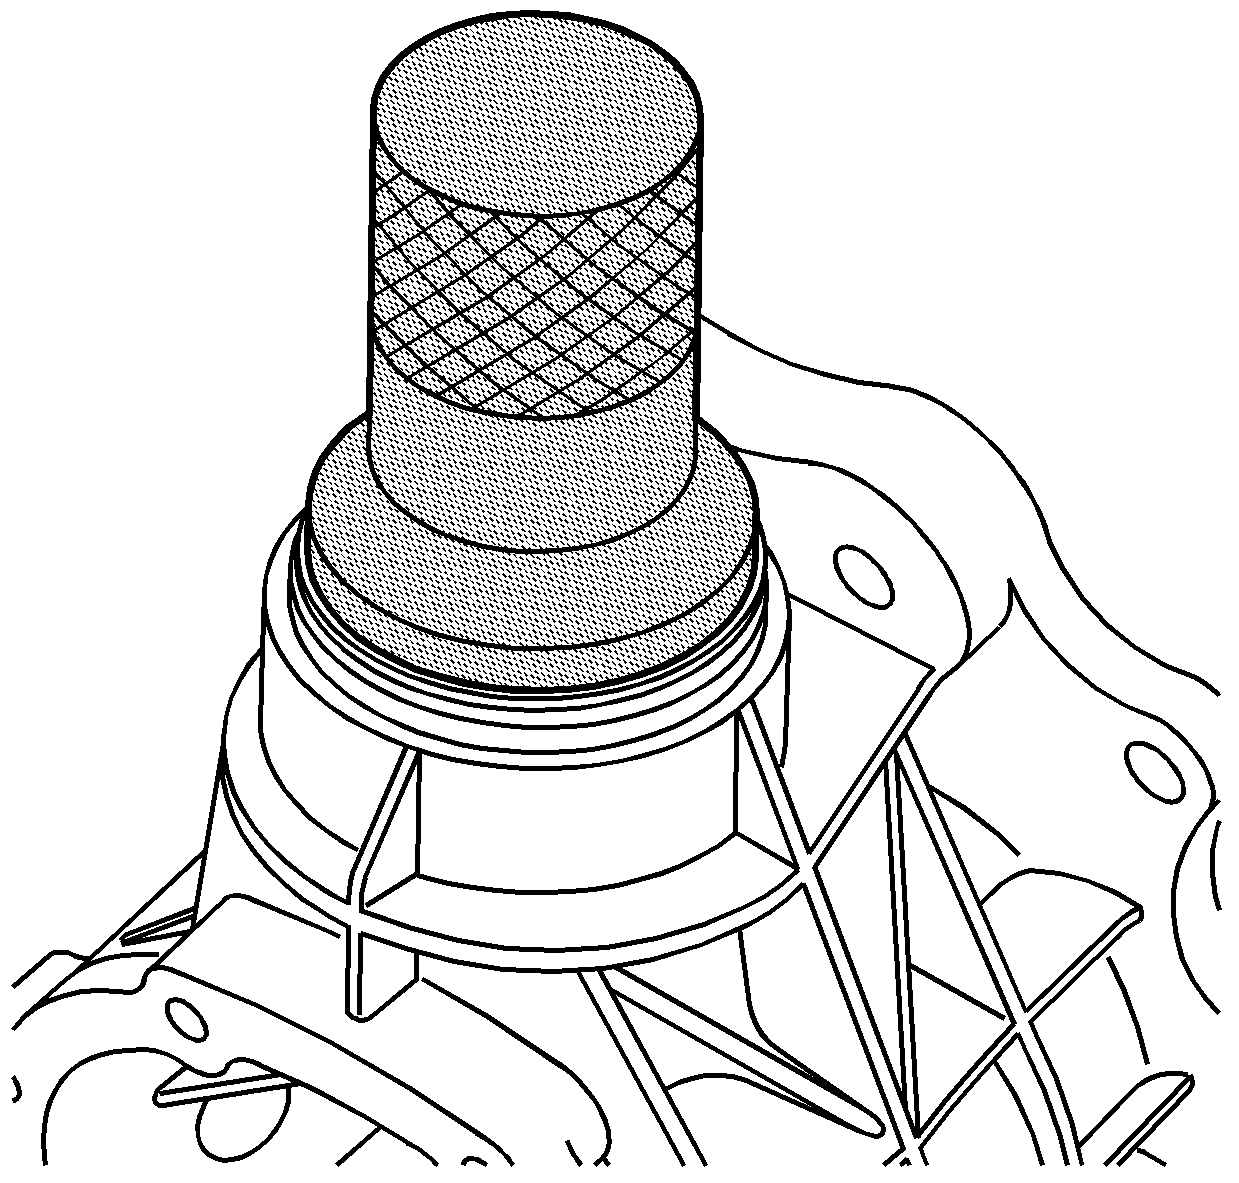
- Using J 44872 , install the new pinion seal.
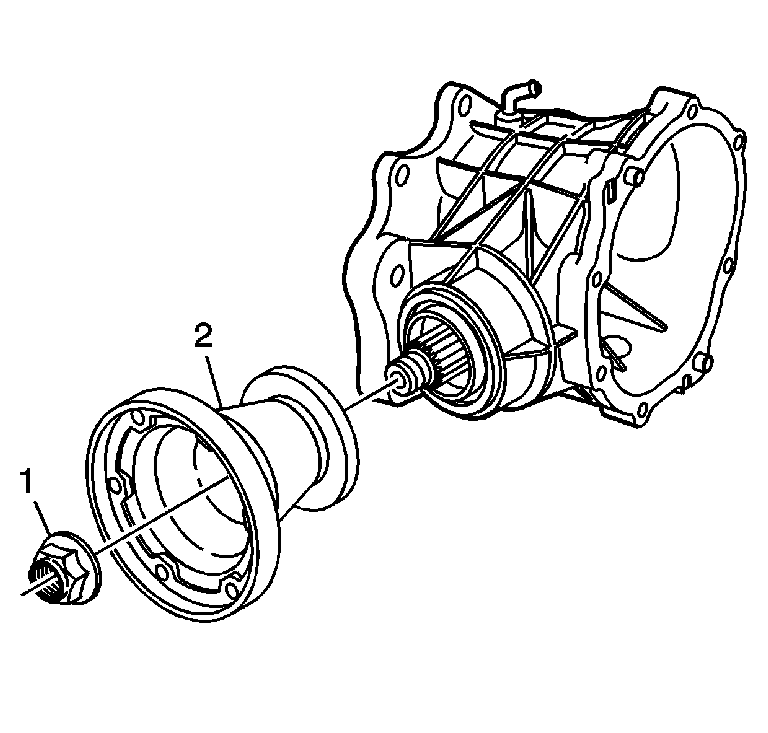
- Using a NEW pinion nut (1), install the pinion flange (2) to the pinion shaft.
- Install J-08614-A (2) and J-44873-2 (1) in order to hold the pinion flange while tightening the nut.
- Tighten the pinion flange nut until it is snug.
- Tighten the nut slowly in order to crush the collapsible spacer.
- Remove J-08614-A (2) and J-44873-2 (1).
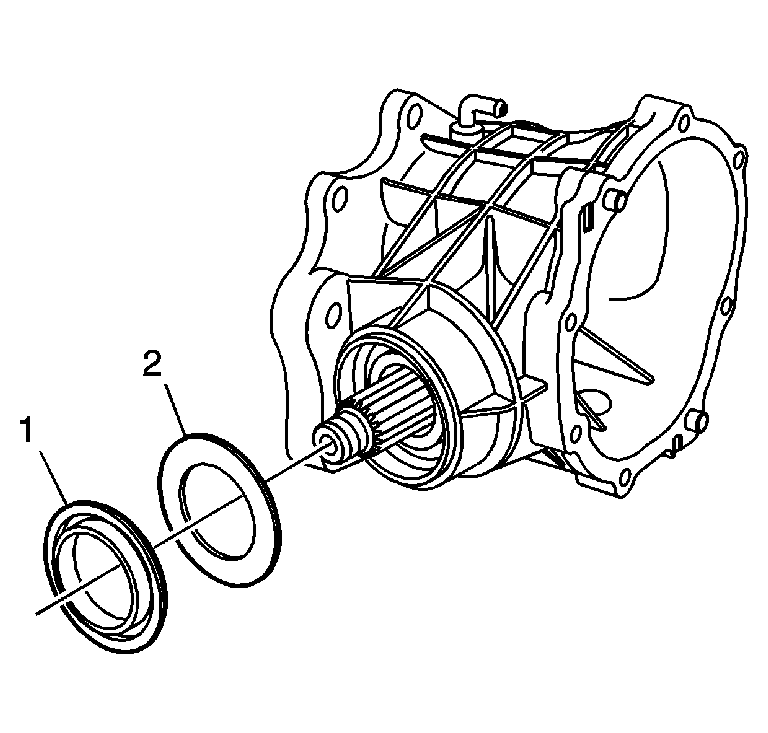
- Using J 4972-4 (2) and J 8092 (1), install the axle shaft bearing (3) to the carrier until the bearing seats.
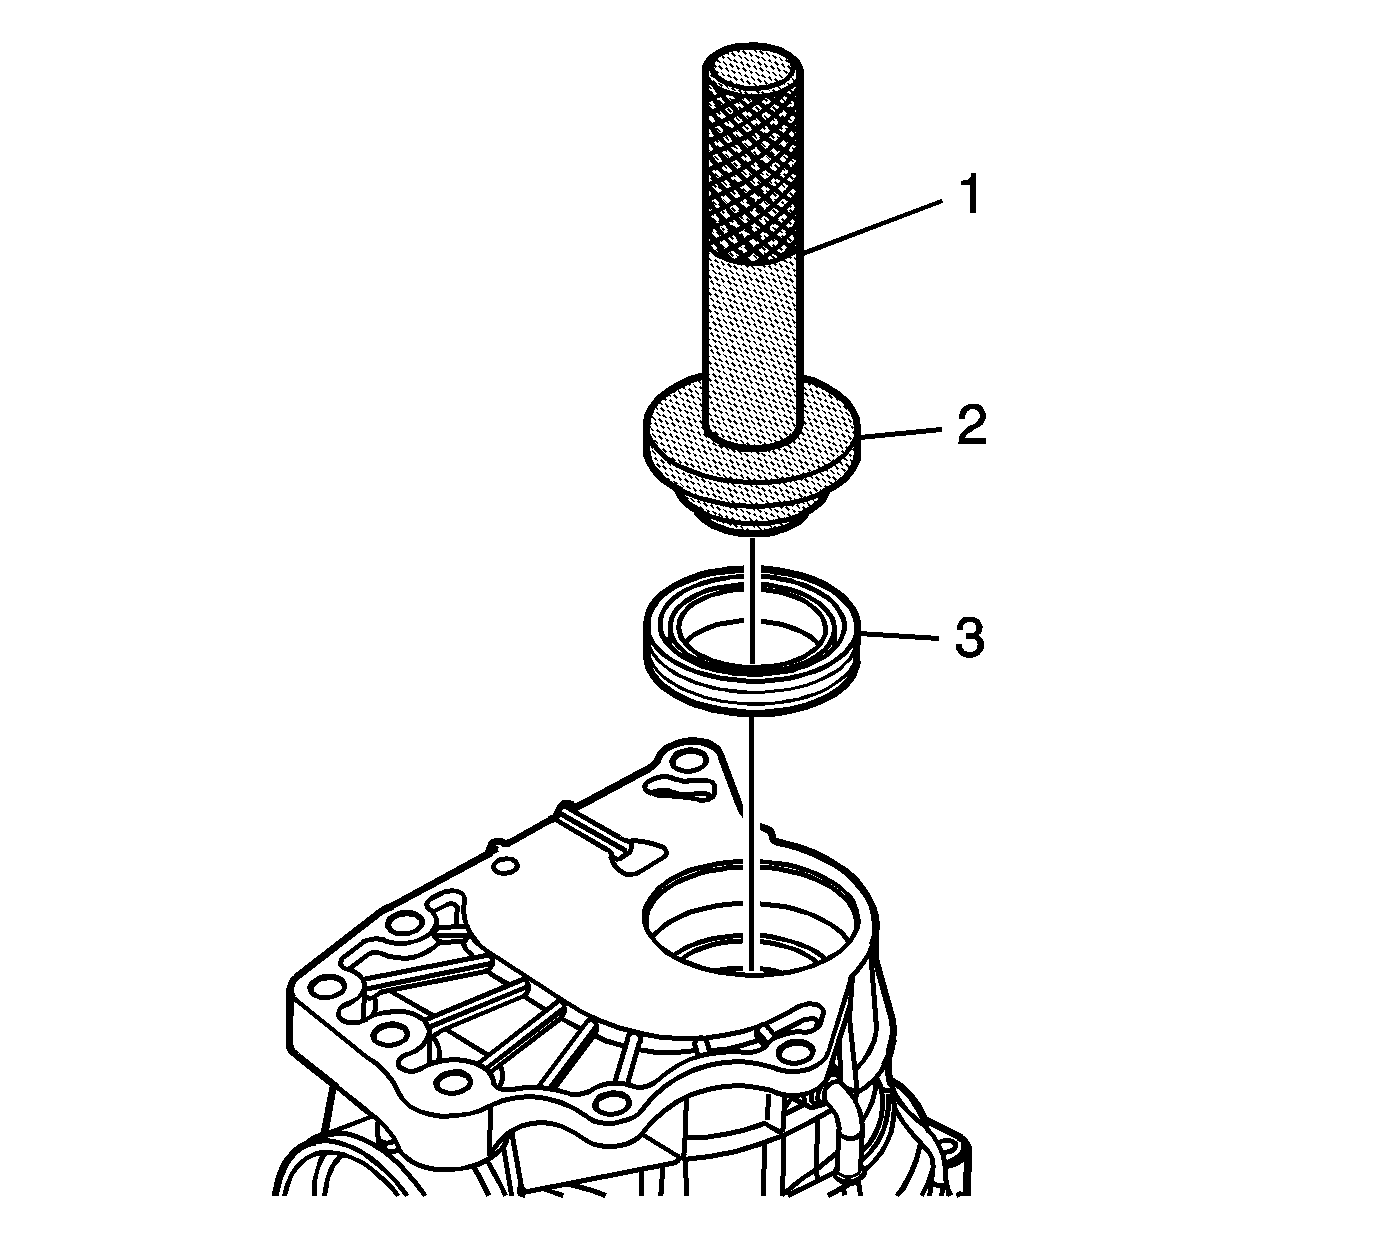
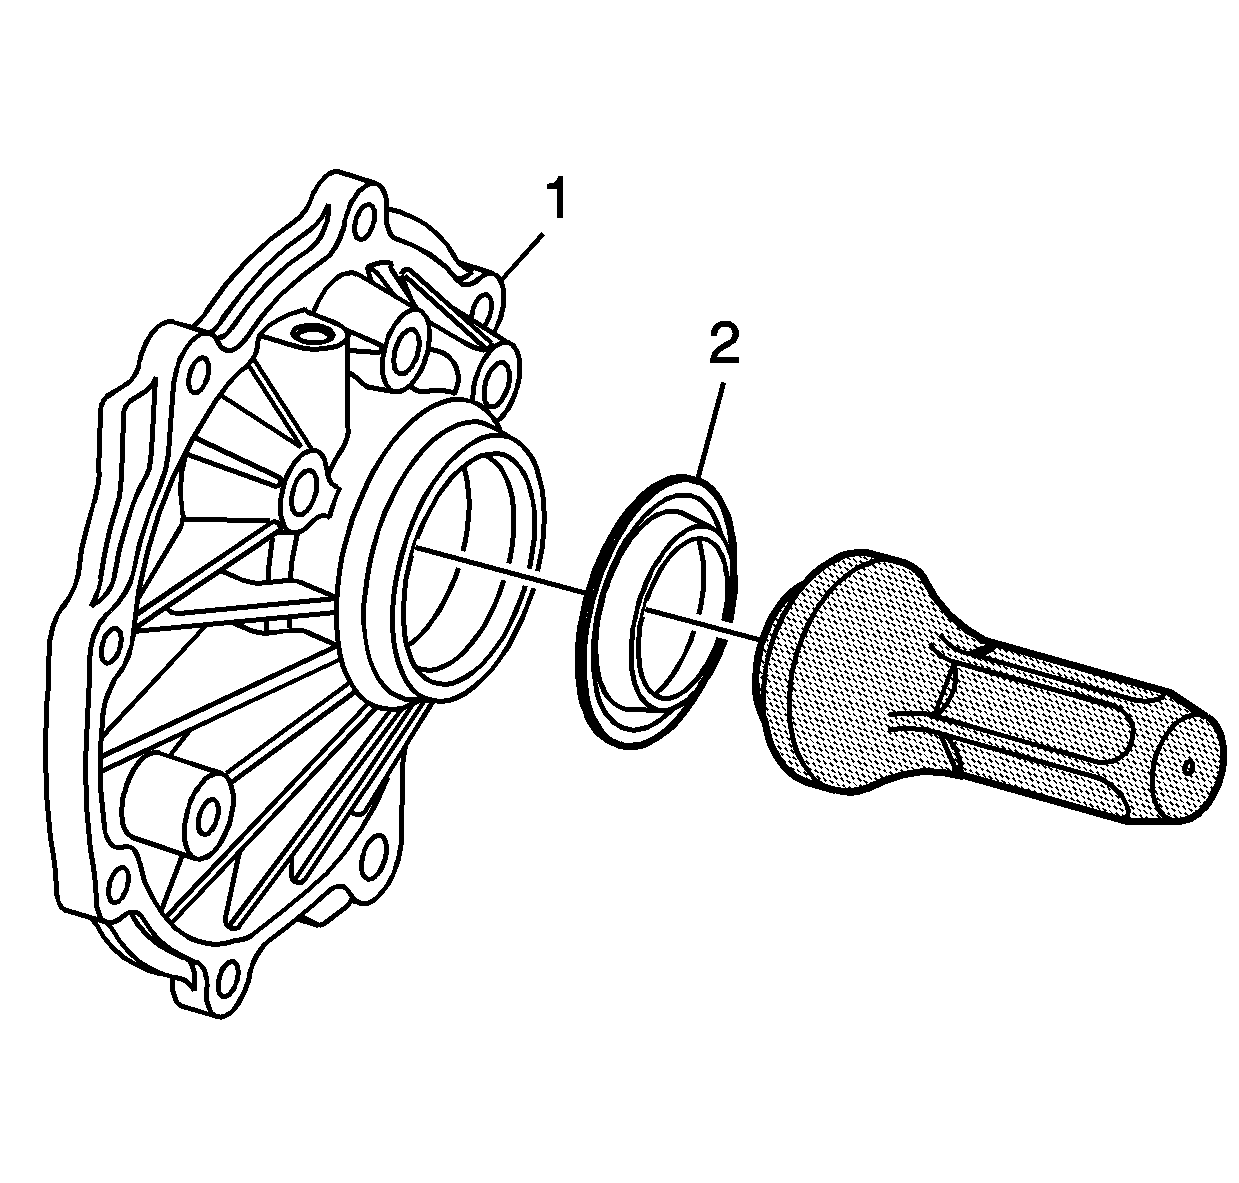
- Using the J 44871 (2) and the J 8092 (1), install the oil seal (3) to the housing.
- Using the J 44871 (2) and the J 8092 (3), install the inner oil seal (1) into the cover.
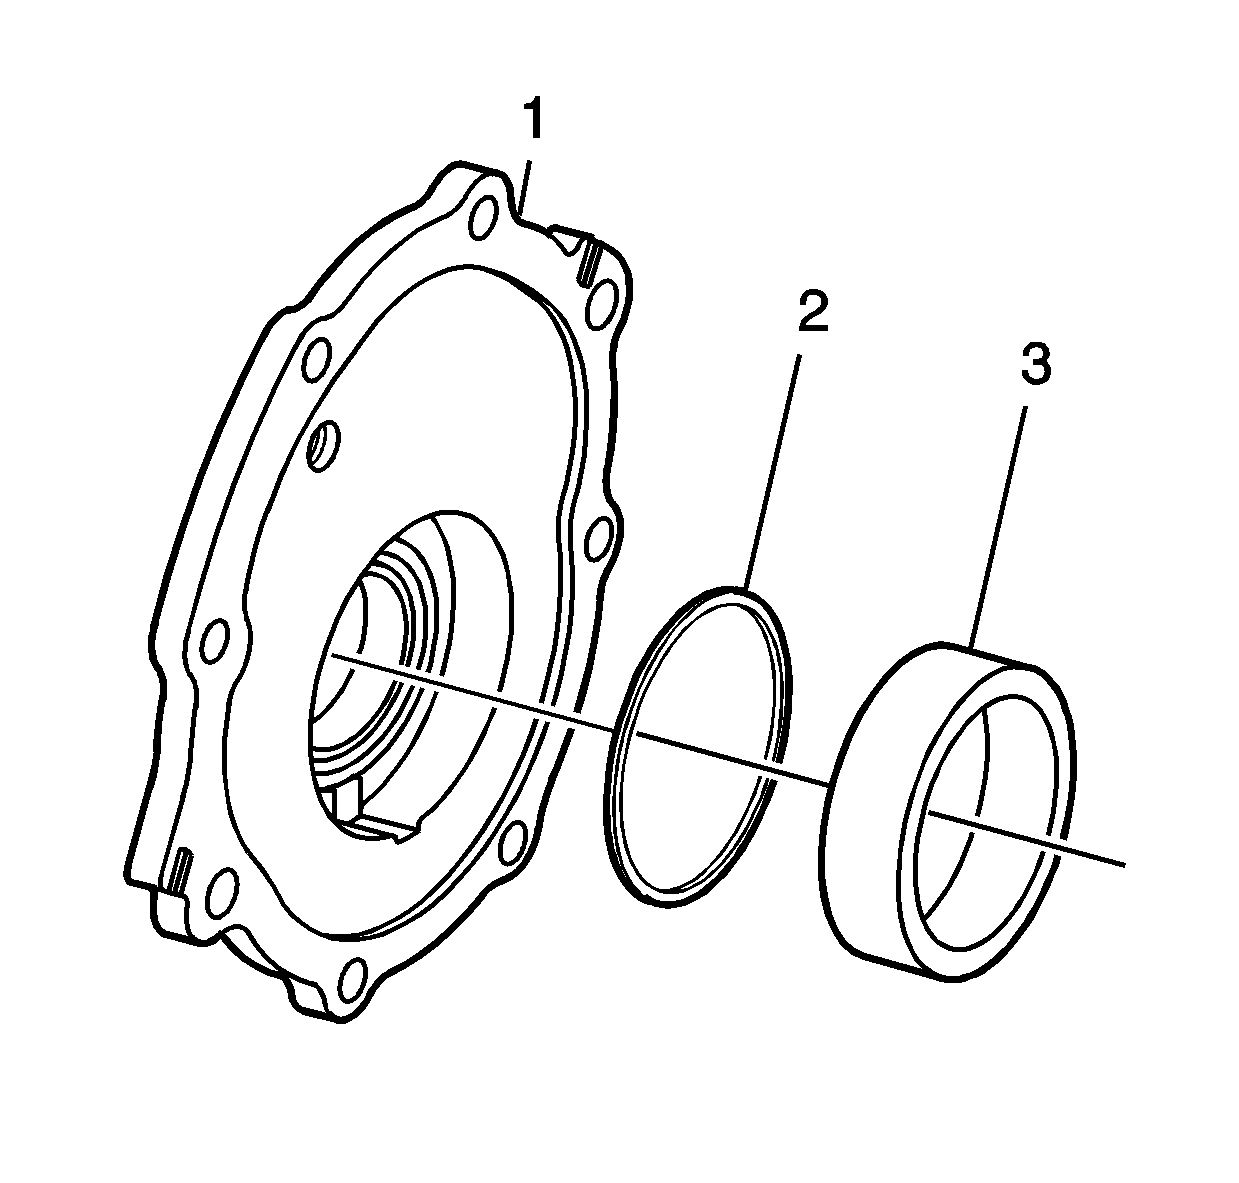
- Install the shim (2) and bearing cup (3) into the side cover (1).
- Using the J 44875 (2) and the J 8092 (1), install the cup and the shim.
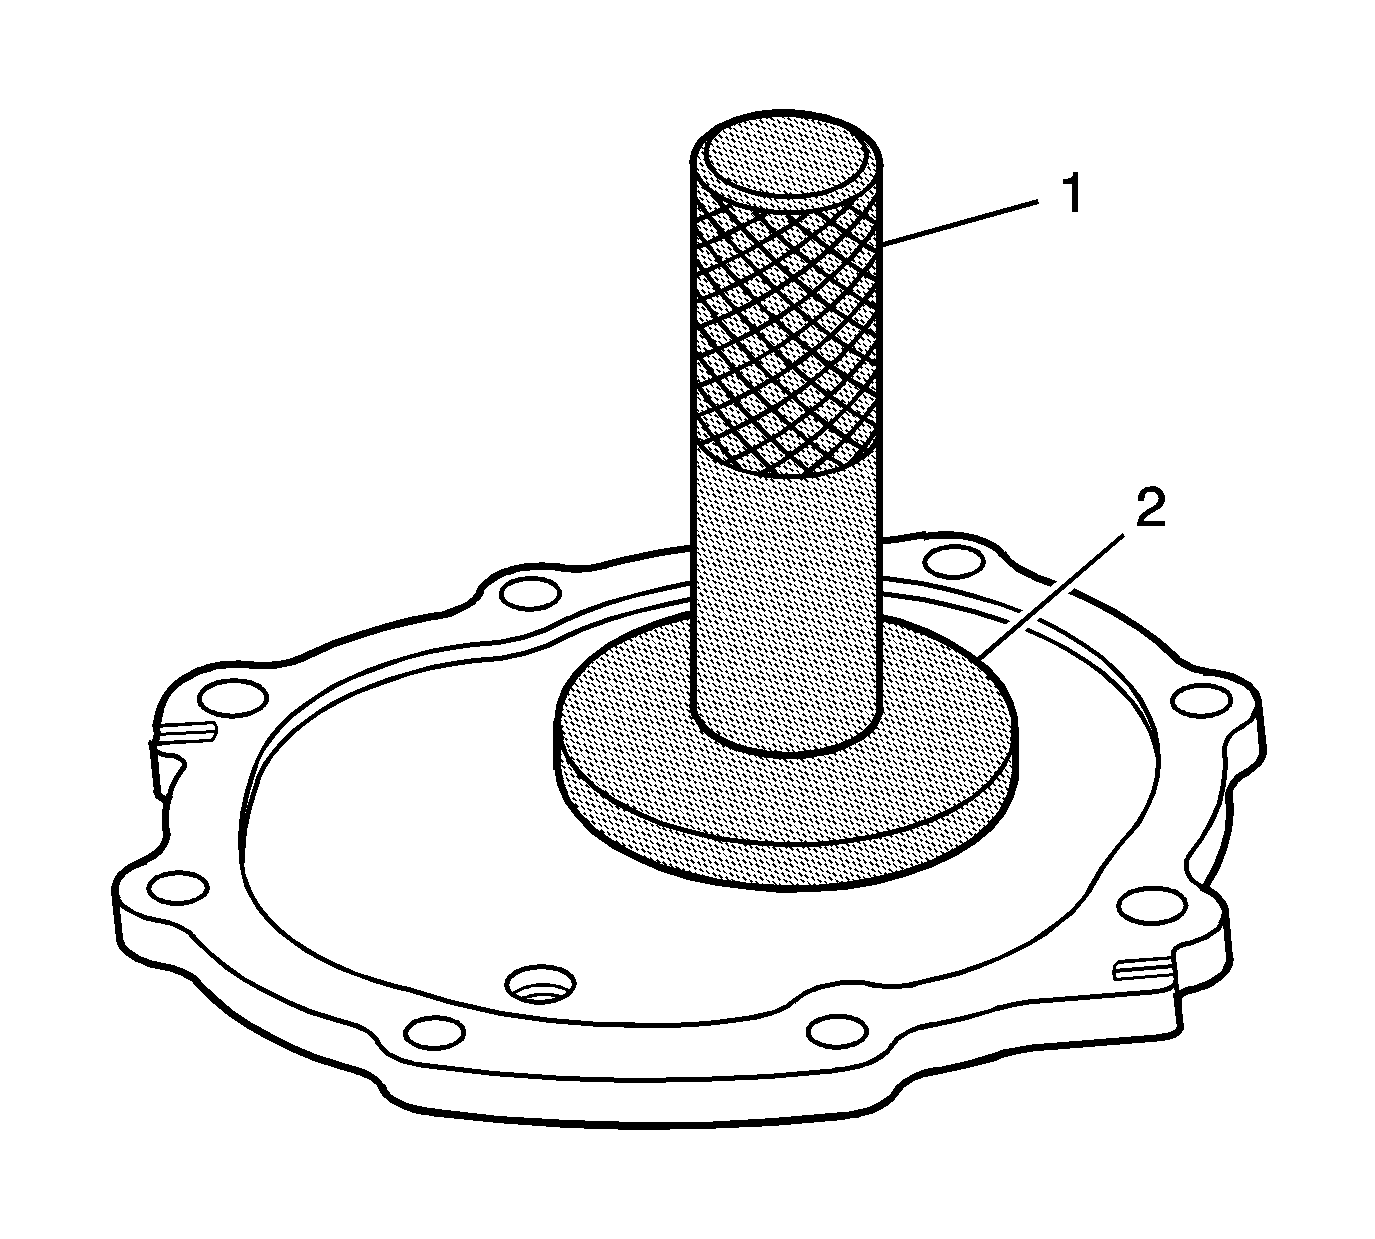
- Using the J 44809 , install the axle shaft oil seal (2) to the side cover (1).
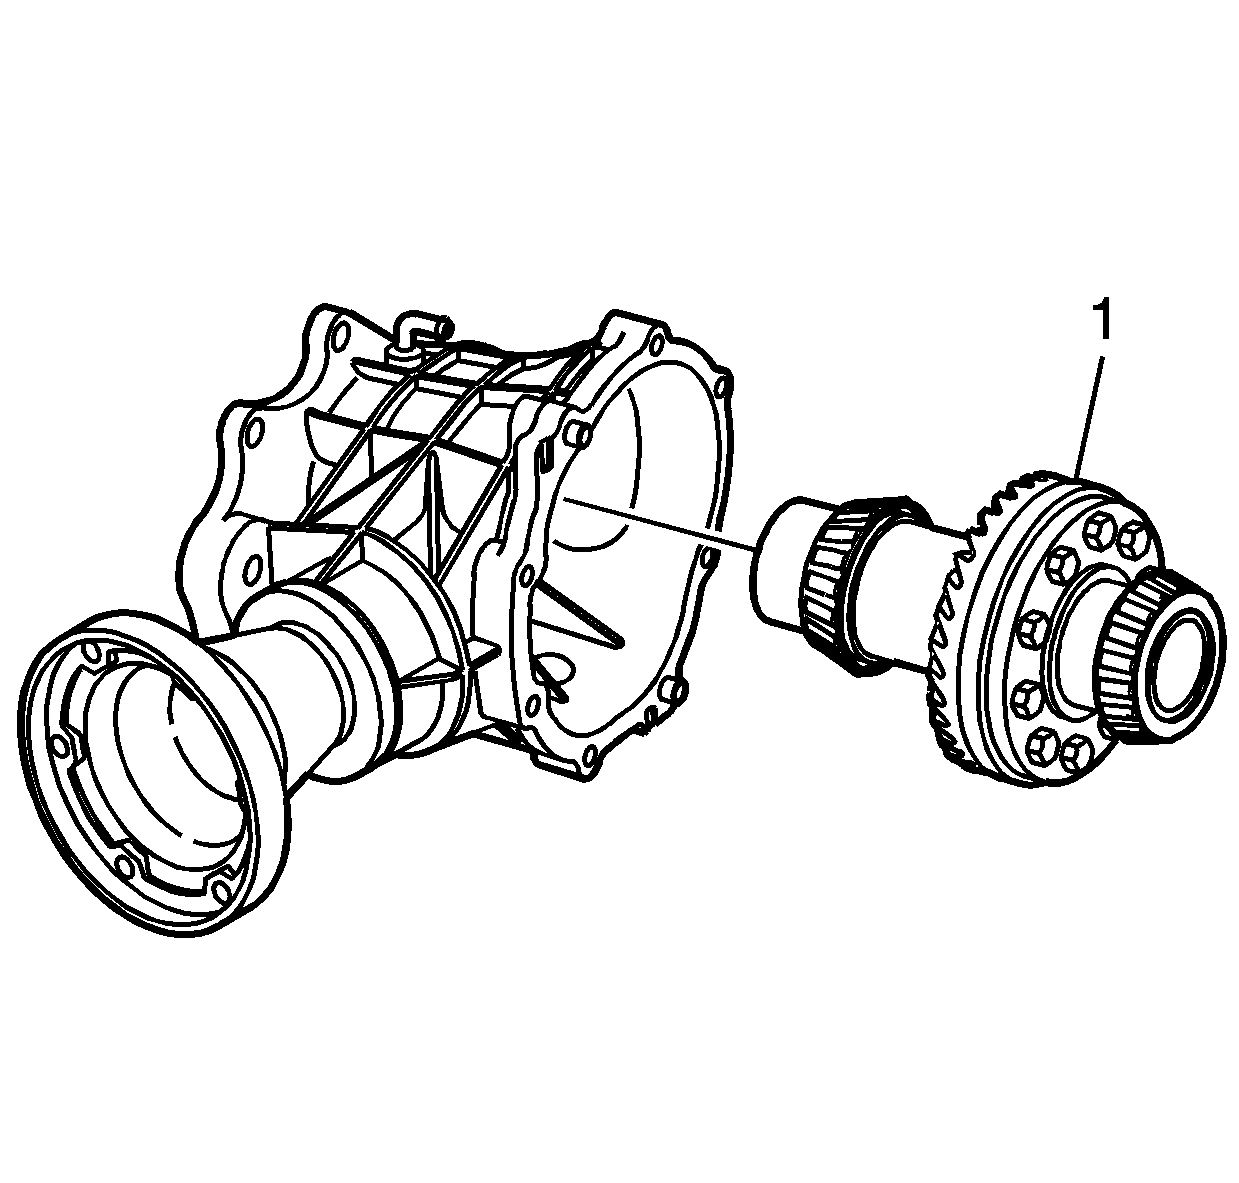
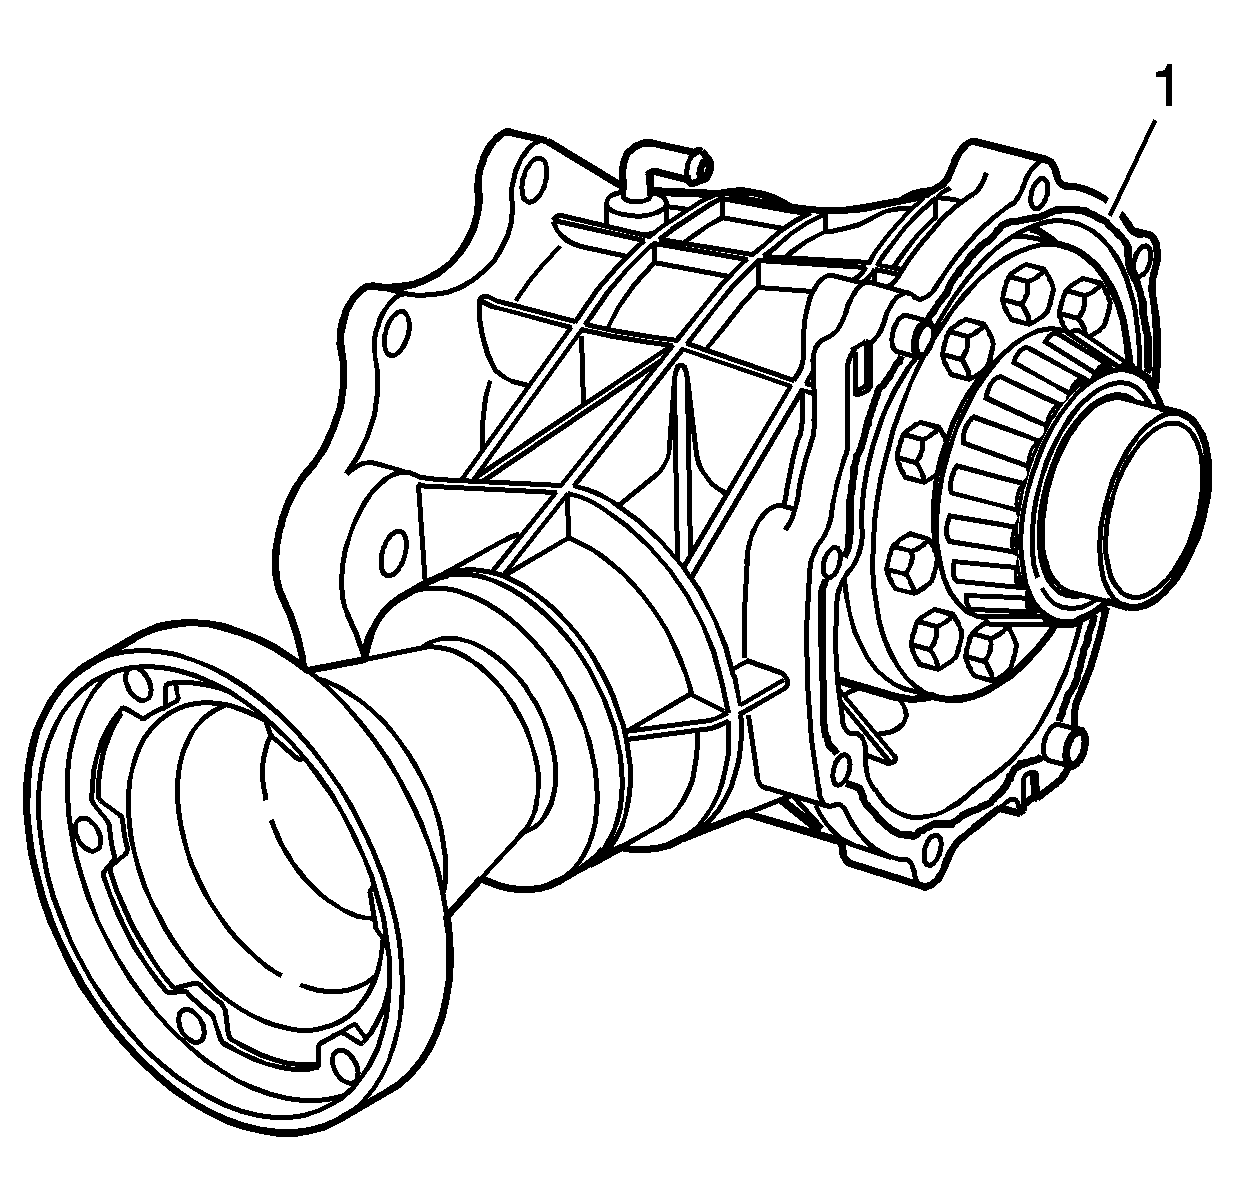
- Install the carrier assembly (1) to the housing.
- Apply a 2-3 mm (0.08-0.12 in) amount of sealer GM P/N 1052943 (Canadian P/N 10953491), or equivalent, to the housing (1).
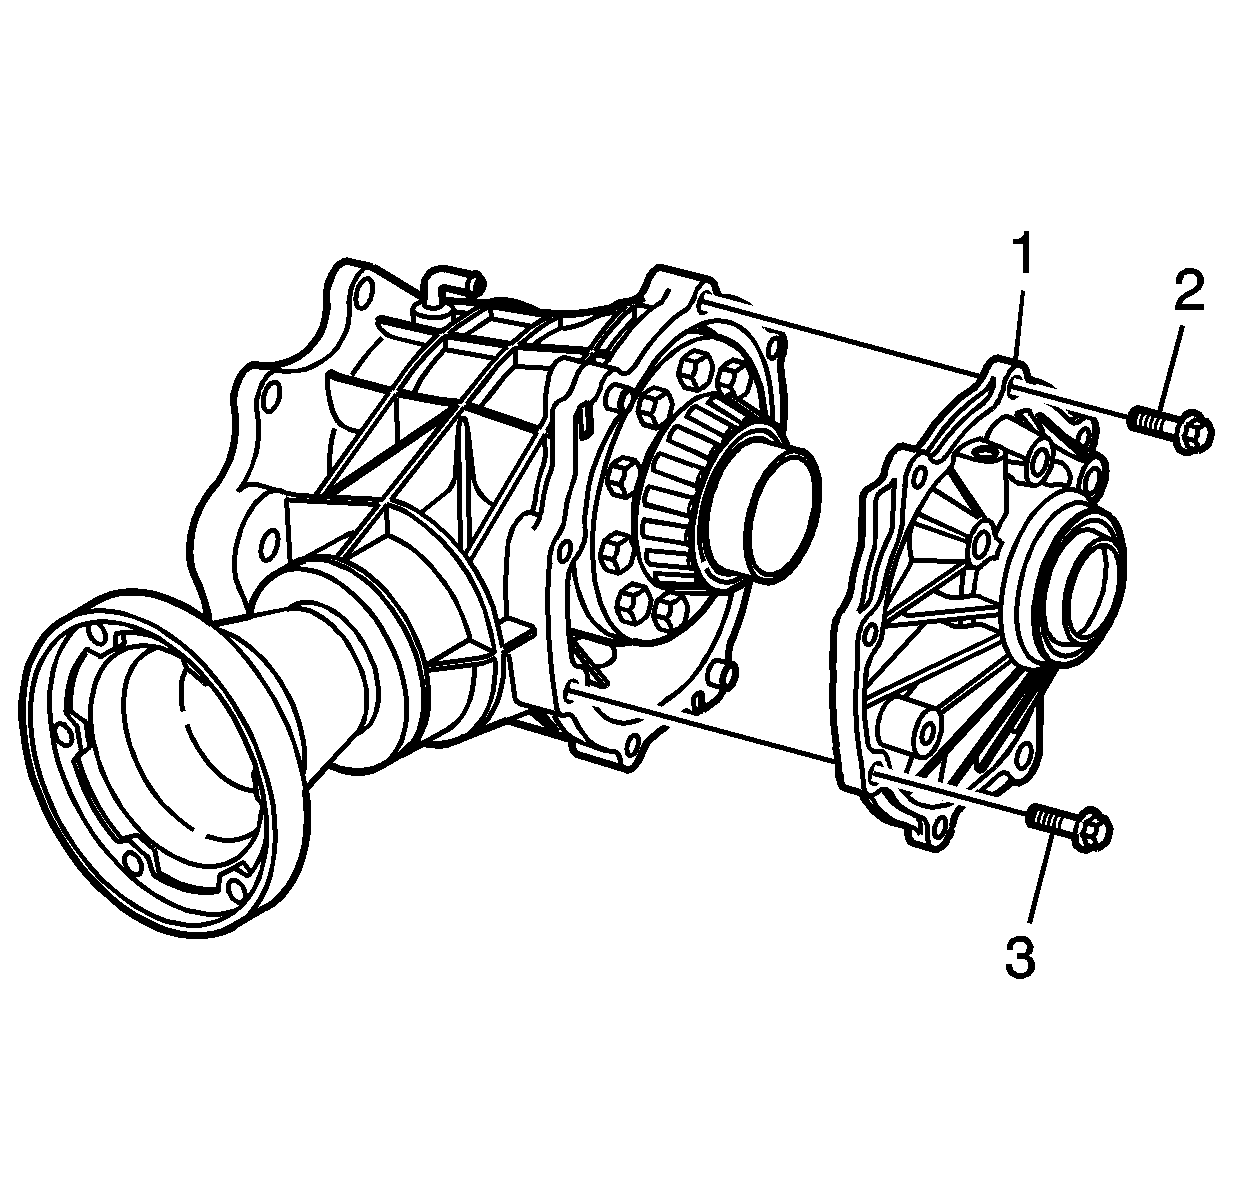
- Install the side cover (1) and bolts (2 and 3) to the housing.
- Apply sealant GM P/N 12346004 (Canadian P/N 10953480), or equivalent, to the threads of the drain plug.
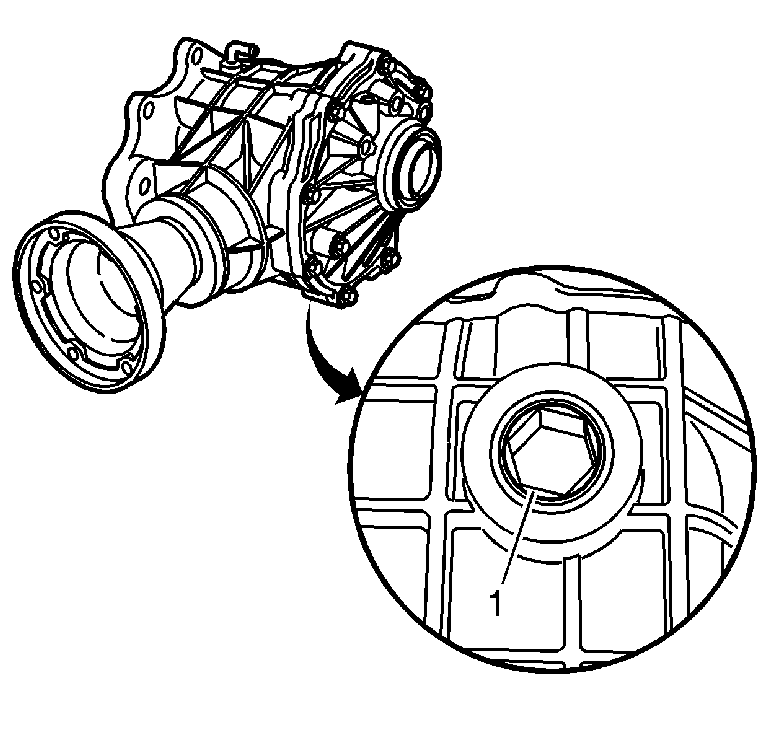
- Install the drain plug (1) into the housing.
- Fill the transfer case with 500 ml (17 oz) gear oil GM P/N 12378514 (Canadian P/N 88901045), or equivalent, or until the lube is to the bottom of the lube fill hole.
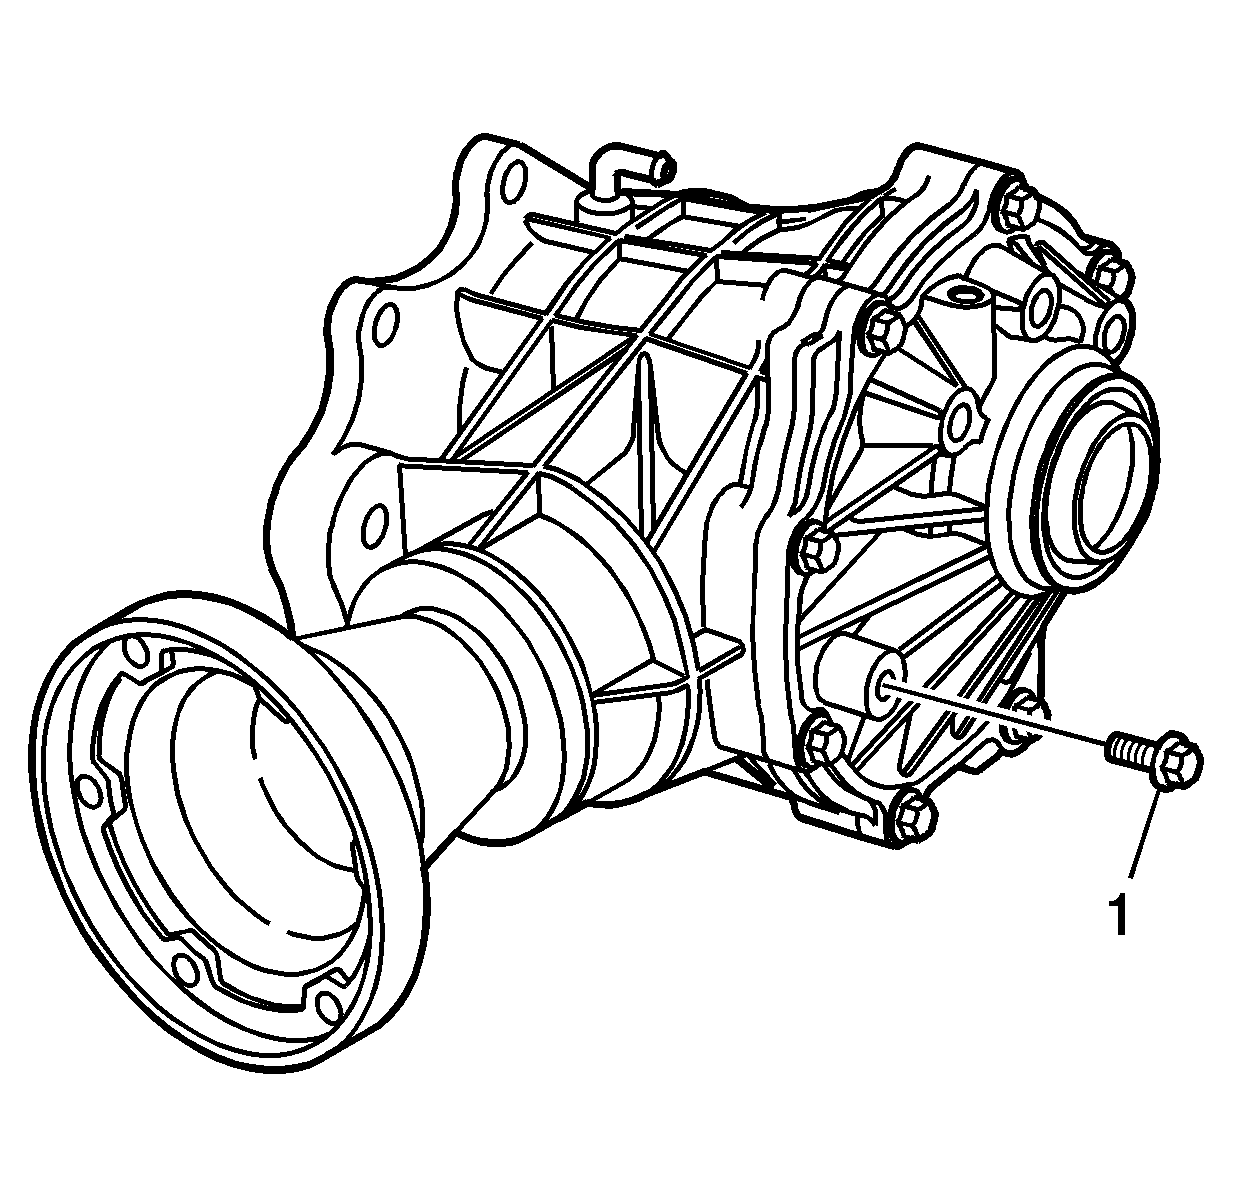
- Apply adhesive GM P/N 12345493 (Canadian P/N 10953488), or equivalent, to the threads of the fill plug (1).
- Install the fill plug (1) to the side cover.
Important: Use a NEW pinion nut.

Notice: Refer to Fastener Notice in the Preface section.
Tighten
Tighten the nut to achieve a rotating torque of 0.9-1.5 N·m (8-14 lb in).
Notice: Do not install the seal from inside the housing. The outside diameter of the bearing cup may cause seal damage.
Notice: The bearing cup must be removed in order to install the seal. If the bearing cup is not removed first, seal damage may occur.
Notice: Do not heat the cover to install the cup. Heating the cover will damage the seal.
Important: Grease the seal lips to protect the seal and to ease in assembly.
Important: Do not apply excess sealer. Excess sealer could cause premature failure.
Important:
• Grease the seal lips to protect the seal and to ease in assembly. • Coat the bolt threads with sealant GM P/N 12345382 (Canadian P/N 10953489).
There is not a specific tightening sequence, but the bolts with dowel pins should be tightened first, and alternate the others from side to side.
Tighten
Tighten the side cover bolts to 37 N·m (27 lb ft).
Tighten
Tighten the drain plug to 24 N·m (18 lb ft).
Tighten
Tighten the fill plug to 15 N·m (11 lb ft).
