Before proceeding, refer to
General Plastic Repair
and
Plastic Repair Precautions
.
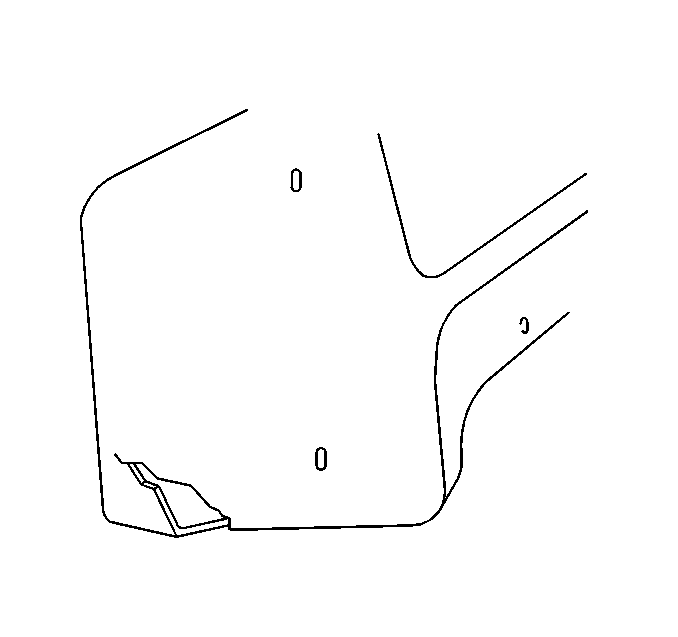
- Clean and inspect the damaged
area. Refer to
General Plastic Repair
.
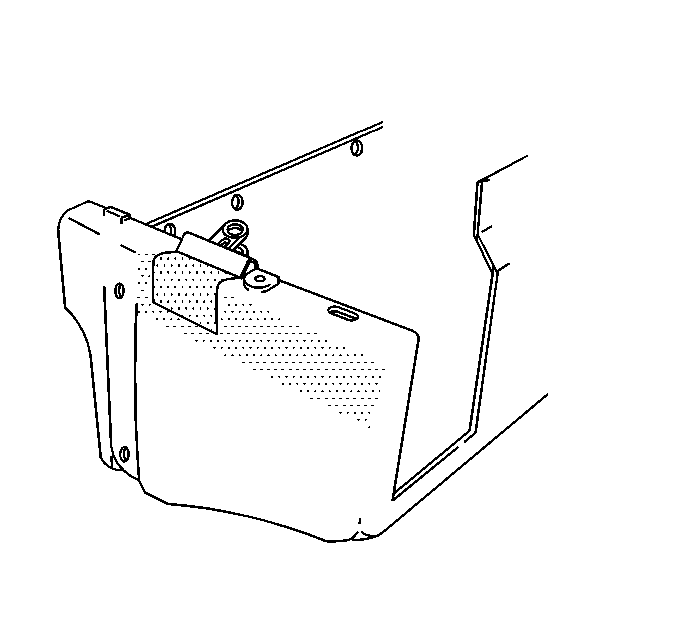
- Clamp
or tape the damaged area in order to maintain alignment.
- Prepare the damaged area for the installation of a backing patch.
| • | If the rear of the damage is accessible, proceed with steps 4 through 6. |
| • | If the rear of the damage is not accessible, proceed to step 7. |
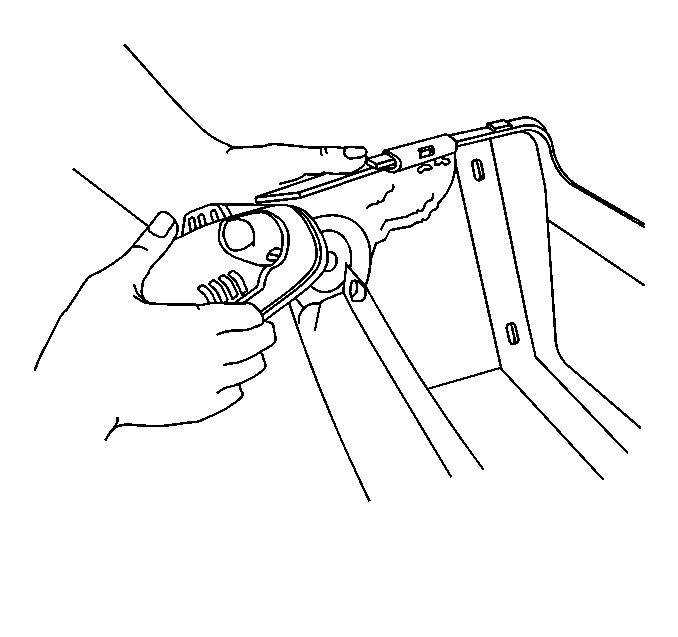
- Scuff the inner surface with a
#80 grit disc on a D A sander or by hand if the access is limited.
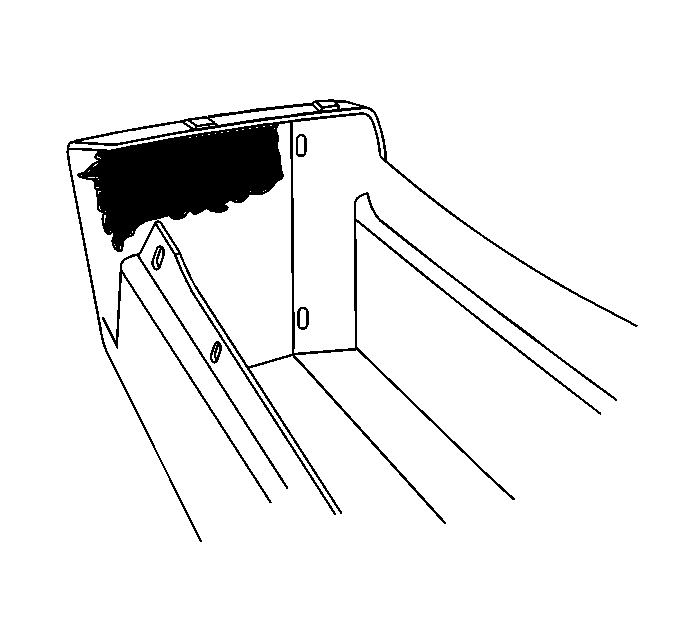
- Determine the proper repair material.
Refer to
Flexible Plastic Part Repair Materials
or
Rigid Plastic Part Repair Materials
.
- Mix the repair material following the manufacturers instructions.
- Following the manufacturers instructions, apply the repair material to
the inner surface.
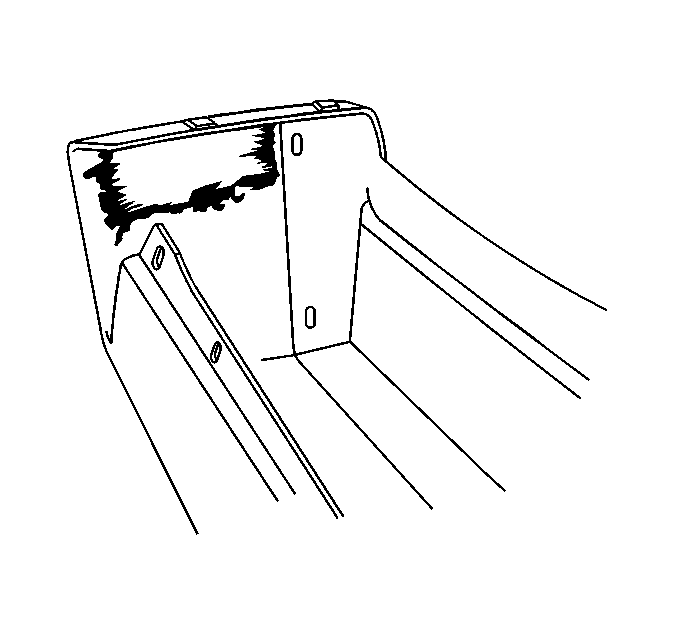
- Apply
a backing patch and proceed to step 21. Refer to
Backing Patch Fabrication
.
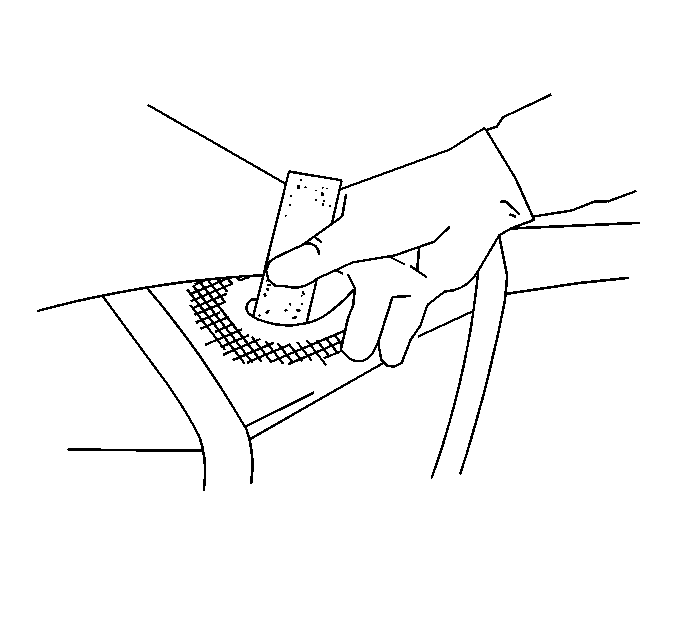
- If
the rear of the damaged area is not accessible, remove some of the damaged material
in order to form an access hole through which you can slip a backing patch.
- Cut a backing patch from a scrap piece of panel. Refer to
Backing Patch Fabrication
.
- Sand the mating surface of the patch.
- Reach through the access hole and sand the underside of the repair area.
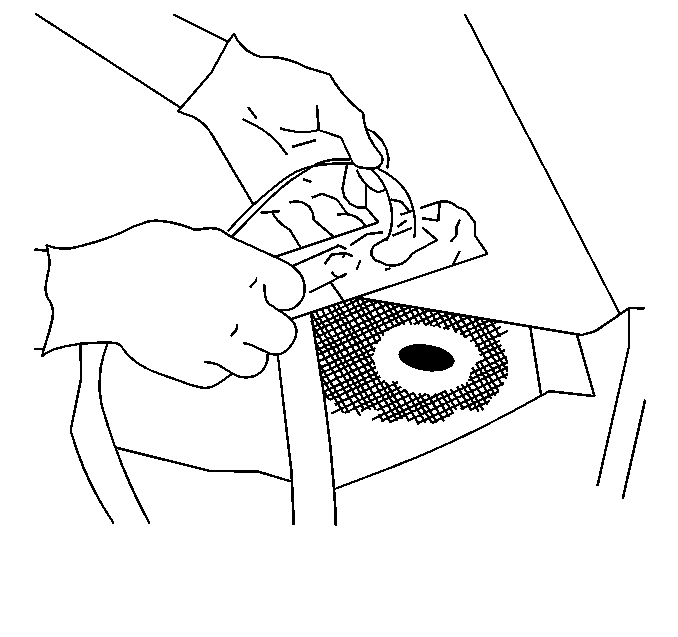
- Drill
2 holes in the backing patch.
- Thread a piece of waxed wire through the holes in order to assist in holding
the patch in place after installation.
- Determine the proper repair material. Refer to
Flexible Plastic Part Repair Materials
or
Rigid Plastic Part Repair Materials
.
- Following the manufacturers recommendations, mix the correct repair material.
- Following the manufacturers recommendation, apply the correct repair material
to the mating surface of the patch.
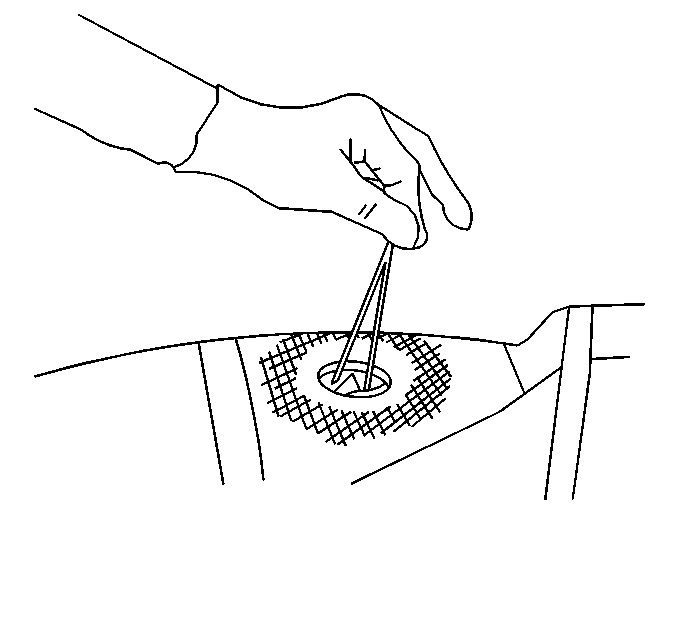
- Slip the patch through the access
hole.
- Pull up hard on the waxed wire until the repair material squeezes out
on all sides.
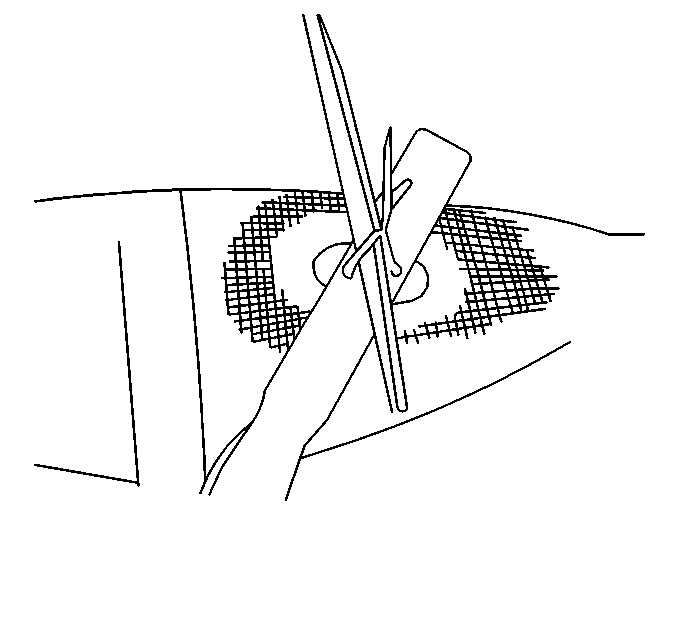
- Twist
the wire around a piece of wood in order to hold the patch in position until the repair
material cures.
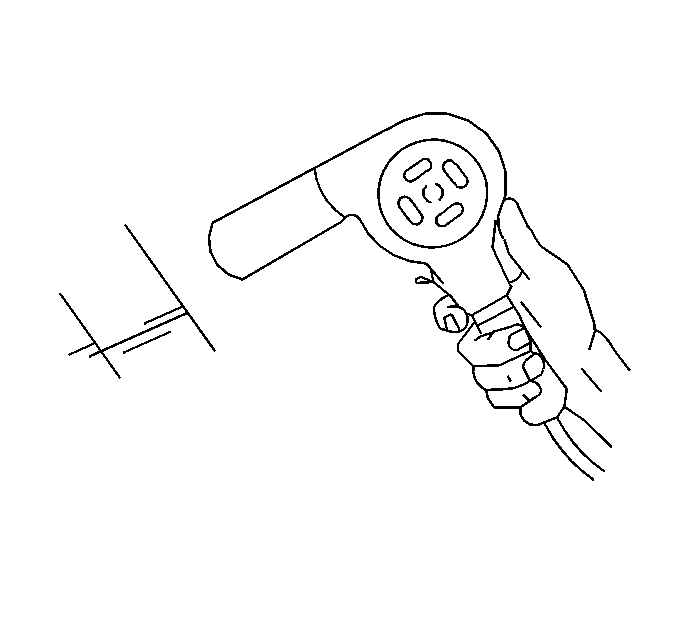
- Cure the repair material according to the manufacturers instructions.

- Remove
any tape, clamps, or waxed wire used to maintain alignment.
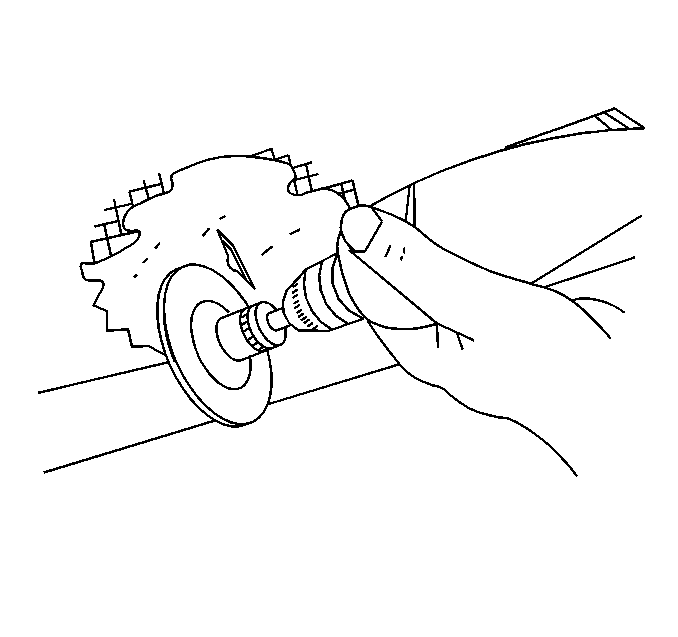
- On the outer surface of the panel,
bevel the damaged area with a #50 grit Roloc disc in order to extend the contact
between the repair material and the substrate.
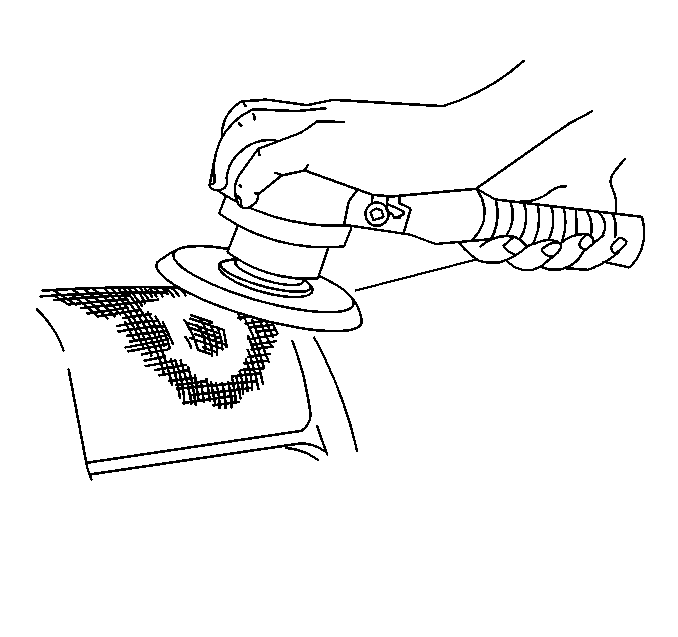
- Using a D A sander, feather out
several inches beyond the damaged area in order to remove any paint or primer from
the substrate, and provide a proper adhesion surface.
| • | Use a #80 grit disc on rigid panels. |
| • | Use a #180 grit disc on flexible panels. |
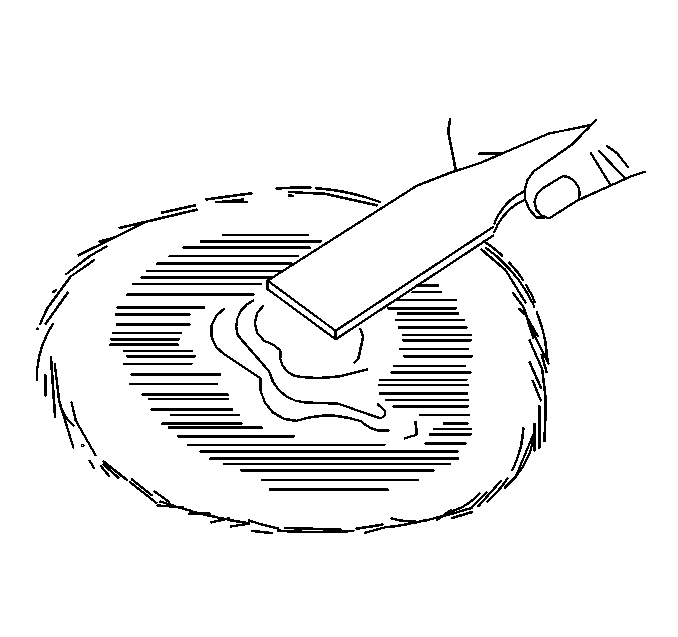
- Carefully and smoothly apply a
light coat of repair material to the damaged area.
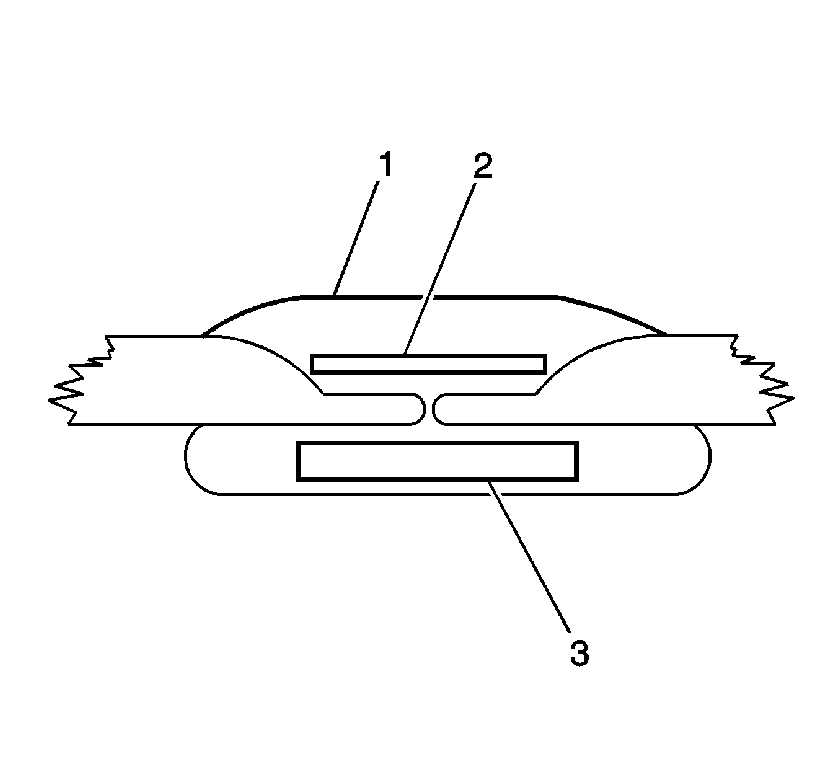
- Add
mat material as needed to strengthen.
- Apply a final layer of repair material (1) at a slightly higher
level than the surrounding area.

- Cure the repair material according to the manufacturers instructions.
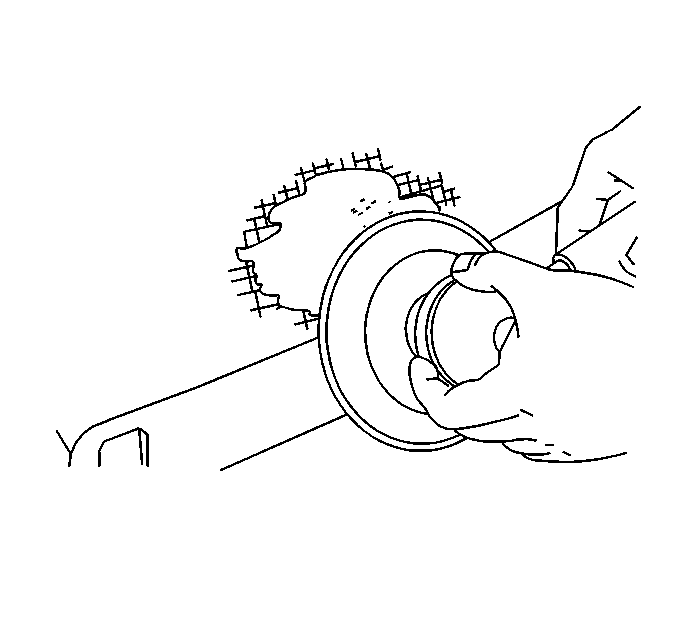
- Rough
out the surface using a #80 grit disc on a D A sander or a curved-tooth body
file.
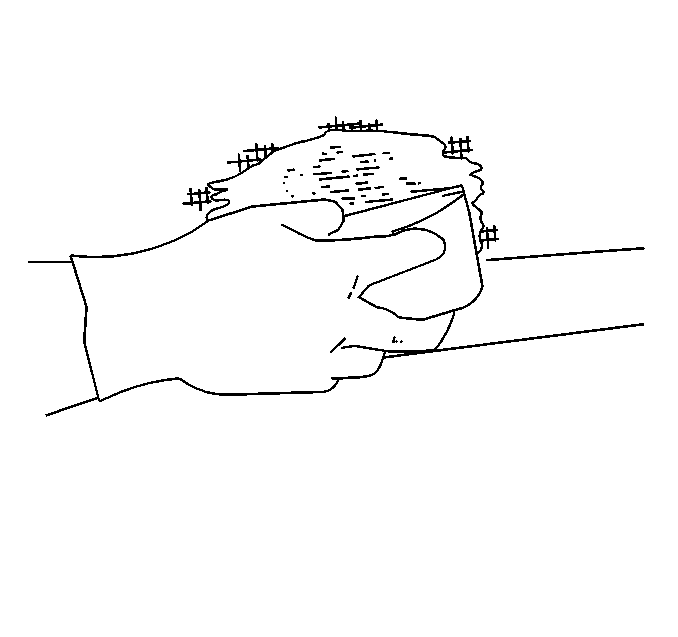
- Finish
sanding using a #220-320 grit wet or dry sandpaper on a sanding block.
- Prime and refinish as necessary. Refer to GM 4901 M-D for a listing
of approved materials. Follow the procedures recommended by the material manufacturer.


